If you’re gearing up to give your space a makeover, you’re in for a treat. We’re diving into hardwood floor installation, and guess what? We’re spilling the beans on a crucial tool in this process – the angled nailer. Think of it as your trusty sidekick in achieving that perfectly snug and visually stunning hardwood floor. From the basics to the nitty gritty, I’ve got your back. Let’s roll up our sleeves and get ready to nail this installation!
Understanding Angle Nailers for Hardwood Floor Installation
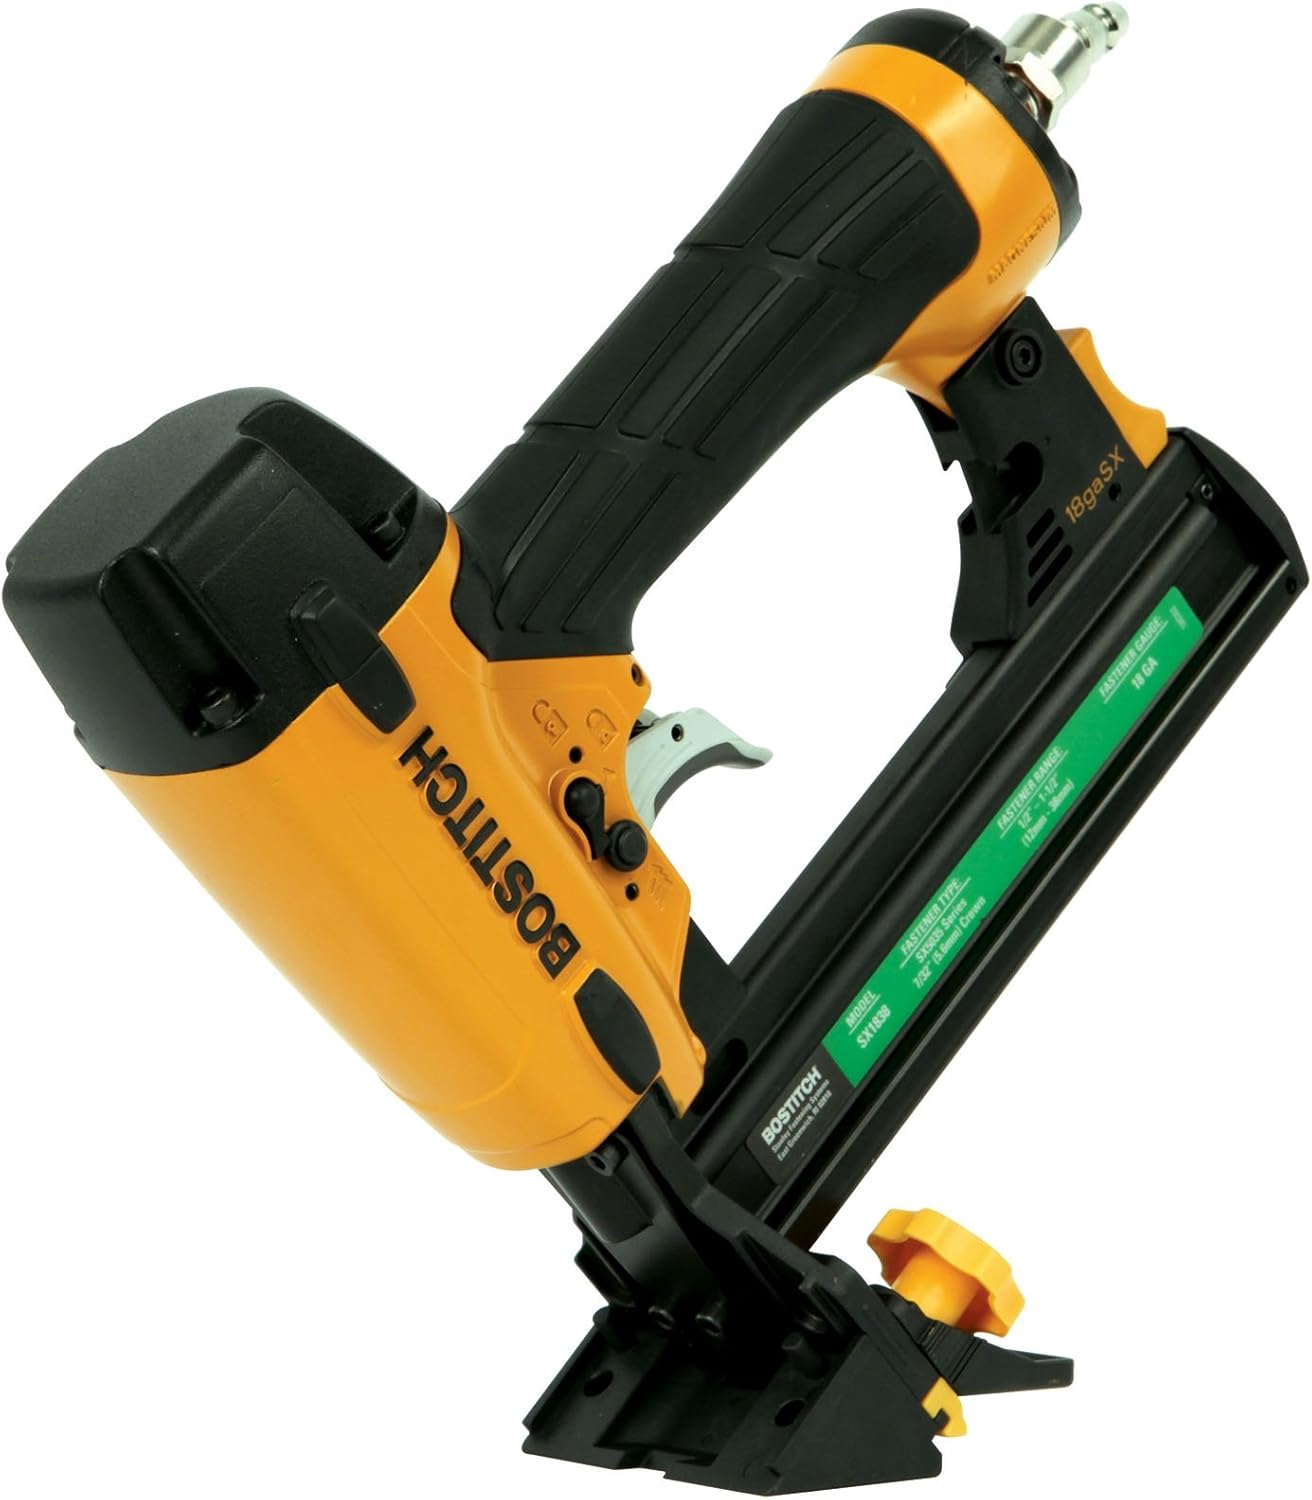
Before we get into the nitty-gritty, let’s get one thing straight – angle nailers are like the superheroes of the flooring world. These tools make your hardwood floor installation smoother than butter on toast. They’re not your regular nailers; they come at an angle, making securing those planks in tight spots and corners possible.
When it comes to angle nailers, we’ve got two main flavors: pneumatic and cordless. Pneumatic nailers rely on air power, making them heavy lifters for big projects. On the other hand, cordless nailers give you the freedom to move around without being tethered to an air compressor. Both have perks, so you can pick the one that suits your style and project size.
Preparing for Hardwood Floor Installation
First things first, let’s talk about acclimation. Do you know how we humans need time to adjust to new environments? Well, hardwood planks are no different. Give them a chance to hang out in your space for a few days before installation. This helps prevent any surprises like warping down the road.
Next up is the subfloor. Think of it as the foundation for your hardwood masterpiece. It must be clean, level, and as dry as your sense of humor. Any lumps, bumps, or moisture issues can mess with your hardwood’s groove. So, get your subfloor game on point before laying down those planks.
Step-by-Step Guide to Angle Nailer Hardwood Floor Installation
Alright, grab your toolbelt because it’s showtime. First, ensure you’ve got everything you need, from the hardwood planks to your angle nailer. Safety gear is key, so gear up with eye protection and earplugs – we’re in for some noise.
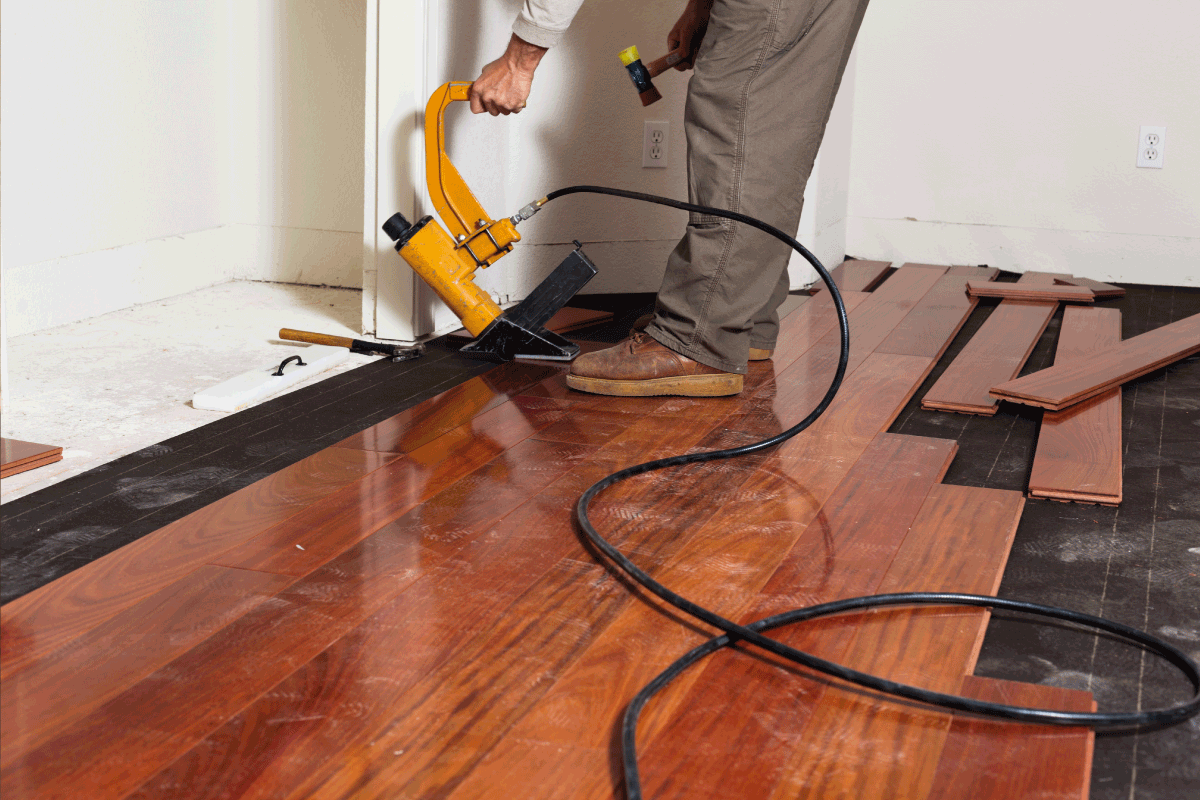
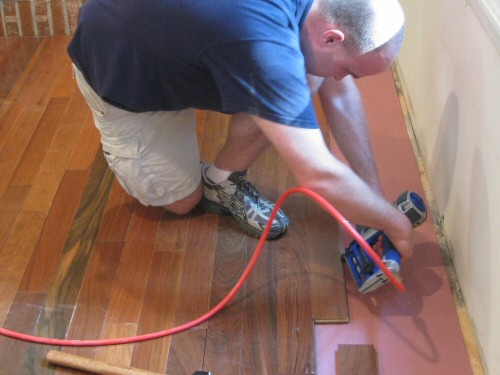
Starting with the first row, it’s all about nailing that initial plank. Remember to leave a smidge of space along the walls for expansion – hardwood needs room to breathe. As you move forward, it’s angle nailer time. Position it just right, aim, and let it do the magic. Nail by nail, row by row, your floor is taking shape.
Tips and Considerations for Successful Installation
Maintaining your angle nailer is like giving it a spa day – it’ll work better and last longer. Keep it clean and well-oiled to avoid any hiccups mid-project. Now, challenges might pop up, like tight spaces or wonky walls. Don’t sweat it. There’s always a workaround, and I’ll guide navigating these hurdles.
Finishing Touches and Final Checks
We’re almost there! Once your planks are in place, it’s time to fill those nail holes and gaps. Think of it as the cherry on top. Grab your favorite filler, apply it like a pro, and watch your floor come together seamlessly.
But before you kick back and admire your masterpiece, thoroughly inspect it. Check for any gaps, squeaky spots, or unevenness. You want a floor that’s beautiful, sturdy, and dependable.
What is an angle nailer hardwood floor?
An angle nailer hardwood floor refers to a specific type of flooring installation method that utilizes an angle nailer tool. This tool is designed to drive nails at an angle into hardwood flooring materials, securing them to the subfloor. The angle nailer hardwood floor technique is often used when installing solid hardwood floors, as it provides a secure and durable bond between the flooring material and the subfloor.
How does an angle nailer hardwood floor work?
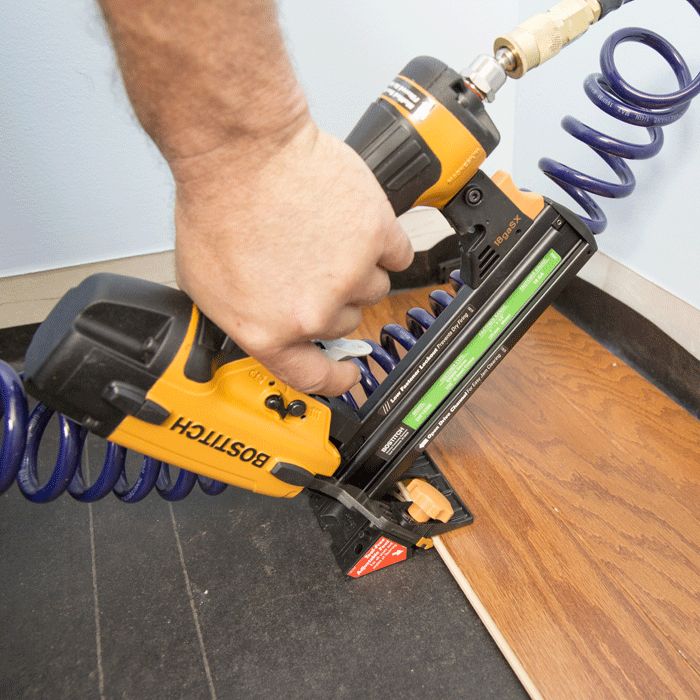
The angle nailer hardwood floor works by using a specialized nailer tool that is designed to drive nails at an angle into the hardwood flooring material. The angle at which the nails are driven helps to ensure a secure attachment between the flooring and the subfloor. The angle nailer tool is typically operated by compressing it against the flooring material and then striking it with a mallet or hammer to drive the nails into place. This method allows for efficient and precise installation of hardwood floors, resulting in a professional and aesthetically pleasing finish.
What are the benefits of using an angle nailer hardwood floor?
There are several benefits to using an angle nailer hardwood floor installation method. Firstly, it provides a strong and secure bond between the hardwood flooring and the subfloor, ensuring that the flooring remains in place even under heavy foot traffic. Additionally, the angle nailer technique allows for a more efficient and precise installation process, saving time and effort compared to traditional methods. The angle nailer also helps to prevent the risk of splitting or damaging the hardwood flooring during installation, resulting in a smoother and more visually appealing finish. Finally, the angle nailer hardwood floor method offers versatility, as it can be used for various types of hardwood flooring materials and subfloor surfaces.
Can an angle nailer hardwood floor be installed by a DIY enthusiast?
While the angle nailer hardwood floor installation method can be done by a DIY enthusiast, it is important to note that it requires some level of skill and experience. Operating the angle nailer tool and driving the nails at the correct angle requires precision and attention to detail, which may take practice to master. It is recommended that individuals attempting to install an angle nailer hardwood floor have prior experience with flooring installations or seek guidance from professionals. This will help ensure that the installation is done correctly, minimizing the risk of mistakes or damage to the hardwood flooring or subfloor.
Are there any precautions or considerations to keep in mind when using an angle nailer hardwood floor?
Yes, there are several precautions and considerations to keep in mind when using an angle nailer hardwood floor installation method. It is important to ensure that the subfloor is clean, level, and free of any debris or obstacles that may interfere with the installation process. Additionally, it is crucial to use the correct size and type of nails recommended for the specific hardwood flooring material being installed. Failure to use the appropriate nails may result in inadequate attachment or damage to the flooring. Lastly, it is essential to practice proper safety measures when operating the angle nailer tool, such as wearing protective eyewear and following the manufacturer’s instructions.
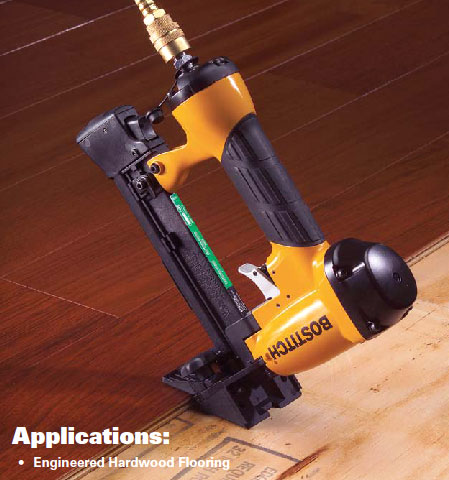
Bostitch Flooring Stapler for Engineered Hardwood
How to Install an Engineered Hardwood Floor
What Type And Size Of Nails For Hardwood Floors?
Nail Gun Depot FAQ Frequently Asked Questions
Floor Runner Laminated Hardwood Flooring
What is Blind Nailing in Hardwood Floor Installations?
We use cookies on our website to give you the most relevant experience by remembering your preferences and repeat visits. By clicking “Accept All”, you consent to the use of ALL the cookies. However, you may visit "Cookie Settings" to provide a controlled consent.
This website uses cookies to improve your experience while you navigate through the website. Out of these, the cookies that are categorized as necessary are stored on your browser as they are essential for the working of basic functionalities of the website. We also use third-party cookies that help us analyze and understand how you use this website. These cookies will be stored in your browser only with your consent. You also have the option to opt-out of these cookies. But opting out of some of these cookies may affect your browsing experience.
Necessary cookies are absolutely essential for the website to function properly. These cookies ensure basic functionalities and security features of the website, anonymously.
Cookie
Duration
Description
cookielawinfo-checkbox-analytics
11 months
This cookie is set by GDPR Cookie Consent plugin. The cookie is used to store the user consent for the cookies in the category "Analytics".
cookielawinfo-checkbox-functional
11 months
The cookie is set by GDPR cookie consent to record the user consent for the cookies in the category "Functional".
cookielawinfo-checkbox-necessary
11 months
This cookie is set by GDPR Cookie Consent plugin. The cookies is used to store the user consent for the cookies in the category "Necessary".
cookielawinfo-checkbox-others
11 months
This cookie is set by GDPR Cookie Consent plugin. The cookie is used to store the user consent for the cookies in the category "Other.
cookielawinfo-checkbox-performance
11 months
This cookie is set by GDPR Cookie Consent plugin. The cookie is used to store the user consent for the cookies in the category "Performance".
viewed_cookie_policy
11 months
The cookie is set by the GDPR Cookie Consent plugin and is used to store whether or not user has consented to the use of cookies. It does not store any personal data.
Functional cookies help to perform certain functionalities like sharing the content of the website on social media platforms, collect feedbacks, and other third-party features.
Performance cookies are used to understand and analyze the key performance indexes of the website which helps in delivering a better user experience for the visitors.
Analytical cookies are used to understand how visitors interact with the website. These cookies help provide information on metrics the number of visitors, bounce rate, traffic source, etc.
Advertisement cookies are used to provide visitors with relevant ads and marketing campaigns. These cookies track visitors across websites and collect information to provide customized ads.


 Related Posts: