Steps to Take Before Removing Cork Floor Tiles
Before diving into the process of removing cork floor tiles, it is crucial to prepare adequately. Taking the necessary steps beforehand can make the removal process smoother and minimize any potential damage to the subfloor. Let me guide you through the important steps to take before removing cork floor tiles.
- Clear the Area: Start by removing all furniture and objects from the room to create a clear workspace. This will allow you to move freely and avoid any obstructions during the removal process. Additionally, cover any nearby furniture or items with plastic sheets or drop cloths to protect them from dust and debris.
- Wear Protective Gear: Cork floor tile removal can be a dusty and potentially hazardous task. It is important to protect yourself by wearing safety goggles, a dust mask, and gloves. These precautions will shield you from any airborne particles and prevent injuries during the removal process.
- Gather Necessary Tools: Before starting the removal process, gather the necessary tools to ensure a smooth operation. Some essential tools for removing cork floor tiles include a pry bar, putty knife, utility knife, scraper, and hammer. Having these tools readily available will make the removal process more efficient.
- Inspect the Floor: Before removing the cork tiles, inspect the floor for any signs of damage or decay. Look for areas with water damage, mold, or weak spots. Addressing these issues beforehand will prevent further damage and ensure a stable subfloor for future flooring installation.
- Test for Asbestos: If your cork floor tiles were installed before the 1980s, it is crucial to test for asbestos before removal. Asbestos was commonly used in flooring materials during that period and poses serious health risks if disturbed. Consult with a professional asbestos testing service to ensure a safe removal process if asbestos is present.
- Disconnect Utilities: For areas such as kitchens or bathrooms, it is essential to disconnect any utilities, such as water or gas lines, before removing cork floor tiles. This step will prevent any accidents or damage to the utilities during the removal process.
Tools and Materials Needed
To successfully remove cork floor tiles, having the right tools and materials is essential. Below is a comprehensive list of the essential equipment needed for the removal process. By having these tools readily available, you can tackle the task effectively and efficiently.
- Pry Bar: A pry bar is a versatile tool used for lifting and removing cork floor tiles. It helps in loosening the tiles from the adhesive or subfloor, making the removal process easier. Opt for a pry bar with a flat, wide edge for better leverage and minimized damage to the subfloor.
- Putty Knife: A putty knife is useful for scraping off any adhesive residue left behind after removing the cork tiles. It helps in achieving a smooth and clean surface for further flooring installation.
- Utility Knife: A utility knife is essential for cutting and scoring the cork tiles during the removal process. It allows you to create clean, precise cuts, making it easier to lift and remove the tiles.
- Scraper: A scraper is a handy tool for removing stubborn adhesive residue from the subfloor. It helps in scraping off any remaining adhesive to ensure a clean and smooth surface for the new flooring.
- Hammer: A hammer is useful for tapping the pry bar gently and providing additional leverage when removing stubborn cork tiles. It aids in the removal process by loosening the tiles from the subfloor.
- Dust Mask and Safety Goggles: Wearing a dust mask and safety goggles is crucial to protect yourself from airborne particles and potential eye injuries during the removal process. Ensure that the dust mask provides adequate respiratory protection and that the safety goggles are impact-resistant.

The Step-by-Step Removal Process
Removing cork floor tiles can be a challenging task, but with the right approach, it can be accomplished efficiently and safely. Follow this step-by-step guide to removing cork floor tiles, ensuring a smooth and successful removal process.
- Start at the Edge: Begin by identifying a corner or edge of the room to start the removal process. Insert a pry bar or putty knife at a slight angle underneath the edge of the cork tile. Gently lift and apply pressure to loosen the tile from the adhesive or subfloor.
- Work in Sections: Divide the room into manageable sections to make the removal process more manageable. Start by removing one tile at a time, gradually working your way across the room. This approach will help prevent damage to the subfloor and ensure a systematic removal process.
- Lift and Remove: Once you have loosened the edge of a cork tile, lift it gently using the pry bar or putty knife. Apply steady pressure and continue lifting until the entire tile is free from the adhesive or subfloor. Set aside the removed tiles in an organized manner to avoid confusion during reinstallation or disposal.
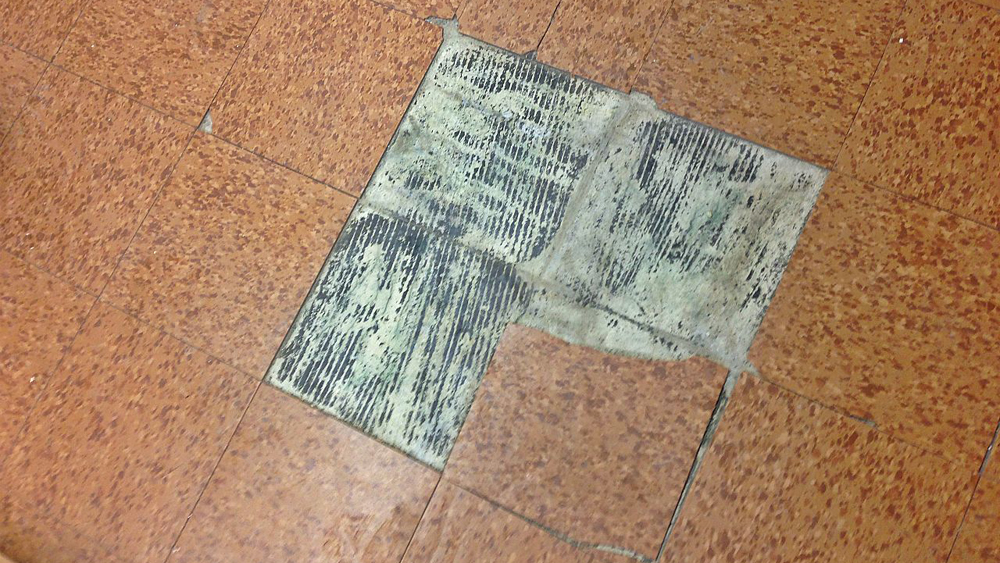
- Remove Adhesive Residue: After removing the cork tiles, you may encounter adhesive residue on the subfloor. Use a putty knife or scraper to carefully scrape off the residue. Be cautious not to damage the subfloor in the process. If the adhesive is particularly stubborn, you can use a commercial adhesive remover following the manufacturer’s instructions.
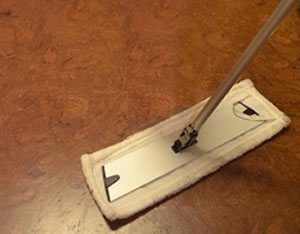
- Clean the Subfloor: Once you have removed the adhesive residue, thoroughly clean the subfloor. Use a broom or vacuum to remove any loose debris or dust. Then, dampen a mop or cloth with a mild cleaning solution and wipe down the subfloor to ensure it is clean and ready for further flooring installation.
- Dispose of the Tiles and Debris: Properly dispose of the removed cork tiles and any debris generated during the removal process. Check local regulations for guidelines on recycling or disposing of the materials. If the cork tiles are still in good condition, consider donating them or repurposing them for other projects.
Dealing with Stubborn Adhesive
After removing cork floor tiles, you may encounter stubborn adhesive residue on the subfloor. Removing this residue is essential to ensure a clean and smooth surface for further flooring installation. Below are some strategies for effectively removing adhesive residue from cork floor tiles.
Scrape with a Putty Knife: Start by using a putty knife to scrape off as much adhesive residue as possible. Hold the putty knife at a slight angle and apply gentle pressure to avoid damaging the subfloor. Scrape in a back-and-forth motion, gradually removing the residue from the surface.
Use an Adhesive Remover: If scraping alone does not remove all the adhesive residue, consider using a commercial adhesive remover. Choose a remover specifically designed for the type of adhesive used. Follow the manufacturer’s instructions carefully, applying the adhesive remover and allowing it to penetrate the residue before scraping or wiping it away.
Apply Heat: Heat can help soften stubborn adhesive residue, making it easier to remove. Use a heat gun or a hairdryer on the lowest setting to gently warm the residue. Keep the heat source moving to avoid overheating or damaging the subfloor. Once the adhesive softens, scrape it off using a putty knife or scraper.
Try Solvents: Certain solvents, such as rubbing alcohol or mineral spirits, can effectively dissolve adhesive residue. Apply a small amount of solvent to a clean cloth or sponge and gently rub the residue. Be cautious when using solvents and test them in an inconspicuous area first to ensure they do not damage the subfloor or flooring materials.
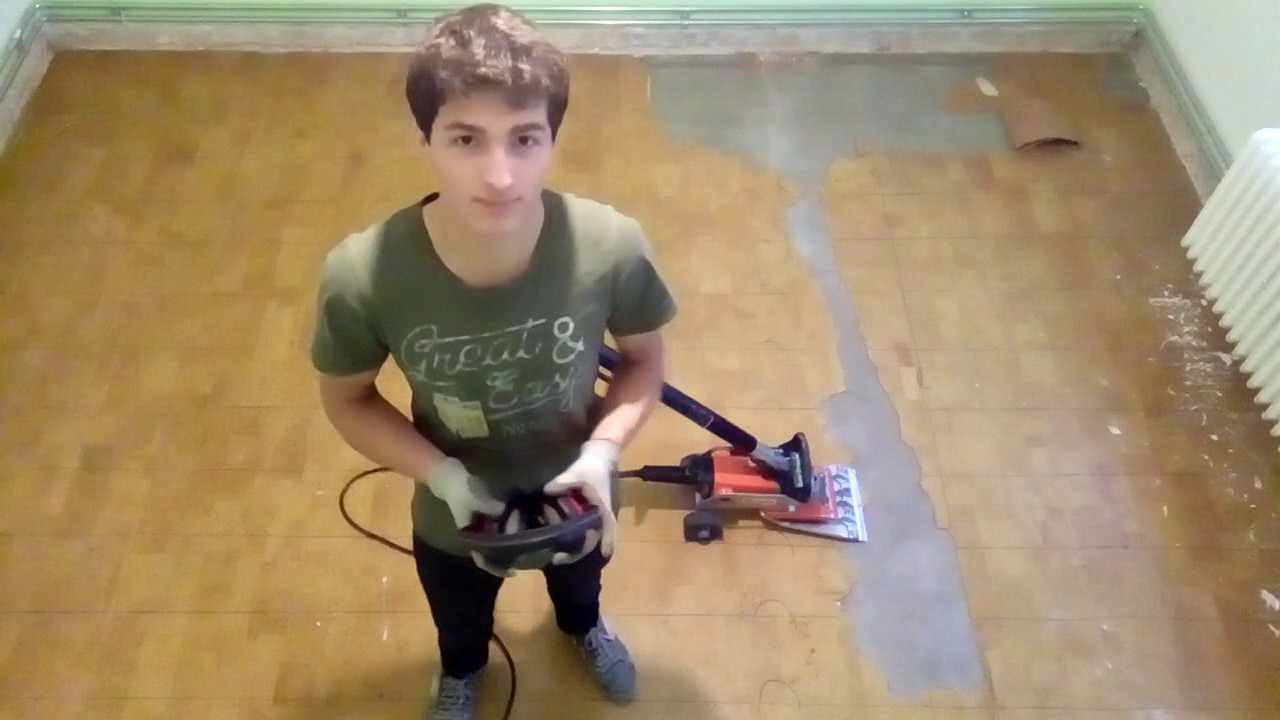
Sand the Surface: If all other methods fail, you may need to resort to sanding the surface to remove stubborn adhesive residue. Use a fine-grit sandpaper or a floor sander to carefully sand the residue until it is smooth and flush with the subfloor. Vacuum or sweep away the sanding dust afterward.
Clean and Prepare the Subfloor: After removing the adhesive residue, thoroughly clean the subfloor to remove any remaining debris or dust. Use a mild cleaning solution and a damp mop or cloth to wipe down the surface. Allow the subfloor to dry completely before proceeding with further flooring installation.
Tips for Cleaning and Maintaining Your Floor After Removing Cork Tiles
After successfully removing cork floor tiles, it is crucial to properly clean and maintain the floor to ensure its longevity and appearance. Here are some essential tips for cleaning and maintaining your floor after removing cork tiles.
Use the Right Cleaning Products: When cleaning your floor, it’s important to use the appropriate cleaning products to avoid damaging the surface. For cork tiles, avoid using harsh chemicals or abrasive cleaners that can cause discoloration or scratches. Instead, opt for pH-neutral cleaners specifically designed for cork floors. Follow the manufacturer’s instructions for dilution ratios and application methods.
Avoid Excessive Moisture: Cork is a porous material that can absorb moisture, so it’s crucial to prevent excessive water or liquid from sitting on the floor. Clean up spills immediately using a soft, absorbent cloth or mop. Avoid using excessive water when mopping and ensure the mop is only slightly damp. Excessive moisture can cause the cork to warp or swell, leading to potential damage.
Protect from Furniture Scratches: To prevent scratches and damage from furniture, use felt pads or furniture glides on the legs of chairs, tables, and other heavy pieces. These pads provide a cushioning effect and reduce the risk of scratches when moving or sliding furniture across the floor. Regularly check and replace the pads if they become worn or damaged.
Place Mats and Rugs: Strategically place mats or rugs in high-traffic areas, such as entryways or near kitchen sinks, to protect the floor from dirt, moisture, and scratches. Choose mats or rugs with non-slip backings to prevent them from shifting or causing accidents. Regularly clean and shake out these mats to prevent the accumulation of debris that can scratch the floor.
Trim Pet Nails: If you have pets, it’s essential to keep their nails trimmed to prevent scratches on the cork floor. Long or sharp nails can easily damage the surface when pets walk or run across it. Regularly trim your pet’s nails or consider using protective nail caps to minimize the risk of scratches.
Avoid Direct Sunlight: Prolonged exposure to direct sunlight can cause cork flooring to fade or discolor over time. To prevent this, use curtains, blinds, or UV-protective window films to filter or block out harmful UV rays. Alternatively, rearrange furniture periodically to allow for even exposure to sunlight and prevent uneven fading.
Regularly Dust and Sweep: To maintain the cleanliness of your cork floor, make it a habit to dust and sweep regularly. Use a soft-bristle broom or a microfiber dust mop to remove loose dirt, dust, and debris. This simple routine can prevent particles from scratching the floor’s surface and help maintain its overall appearance.
Schedule Routine Maintenance: Consider scheduling routine maintenance for your cork floor to keep it in optimal condition. This may include professional cleaning and sealing every few years to rejuvenate the appearance and protect the surface. Consult with flooring professionals or follow the manufacturer’s recommendations for the appropriate maintenance schedule.
How to Clean Cork Floors: 10 Steps (with Pictures) – wikiHow

Cleaning Cork Flooring – ICork Floor
Removing Cork Tiles from Floors and Walls DIY Doctor

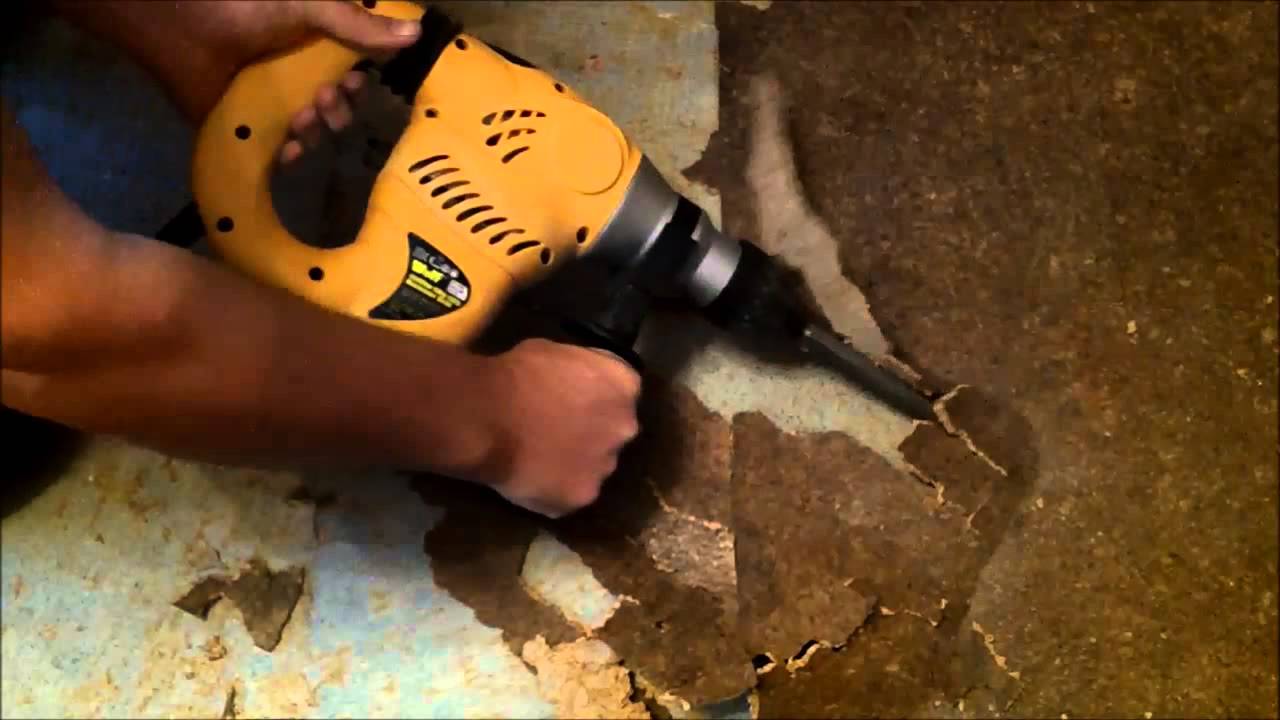
Wolf Craft 1500w SDS impact drill removing bonded cork tiles
Removing Cork Tiles from Floors and Walls DIY Doctor

How to Clean Cork Floors: 10 Steps (with Pictures) – wikiHow

Related Posts: