The rewards that an individual can buy through the polshed concrete floors are very numerous and some of them include the fact which the polished concrete floors provide a real very low cost solution to the notion of flooring as a well as providing a good option in terms of eco-friendly options.
Images about Concrete Floor Polishing DIY
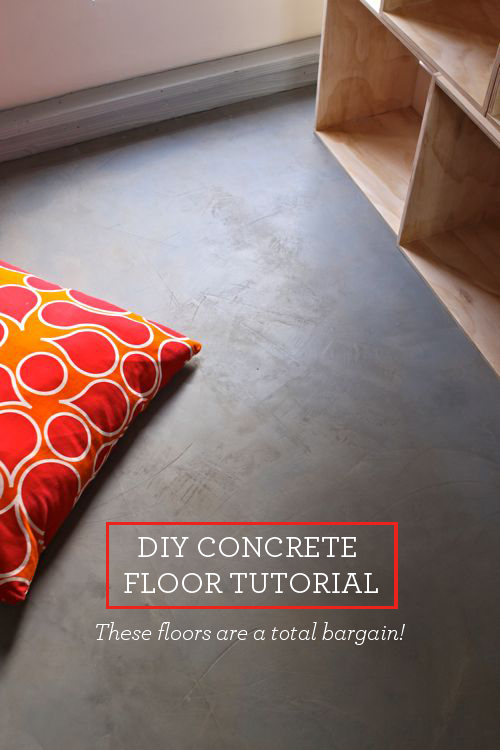
Concrete Floor Polishing DIY
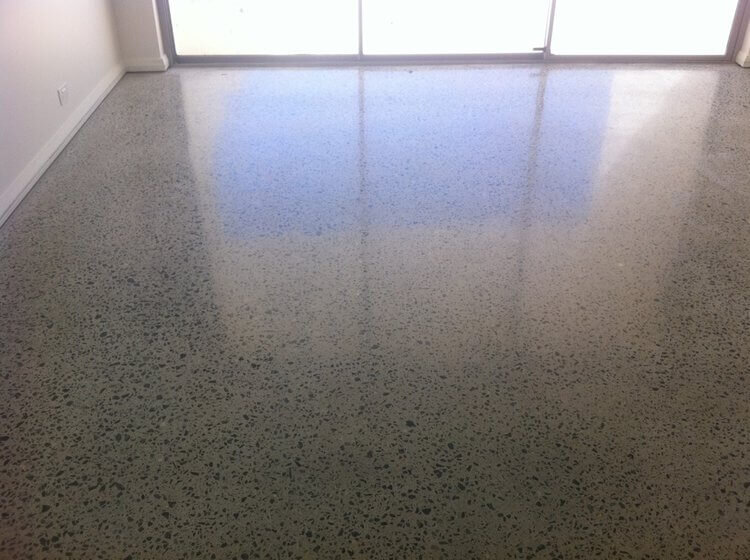
A number of advantages of polished concrete flooring are its long life, as well as the virtually endless design options available. Concrete flooring is ideal for warm climates as it remains cool even in the hottest weather. In case you’re planning the floor of your workplace or home to be concreted, you will find a couple of things you need to check.
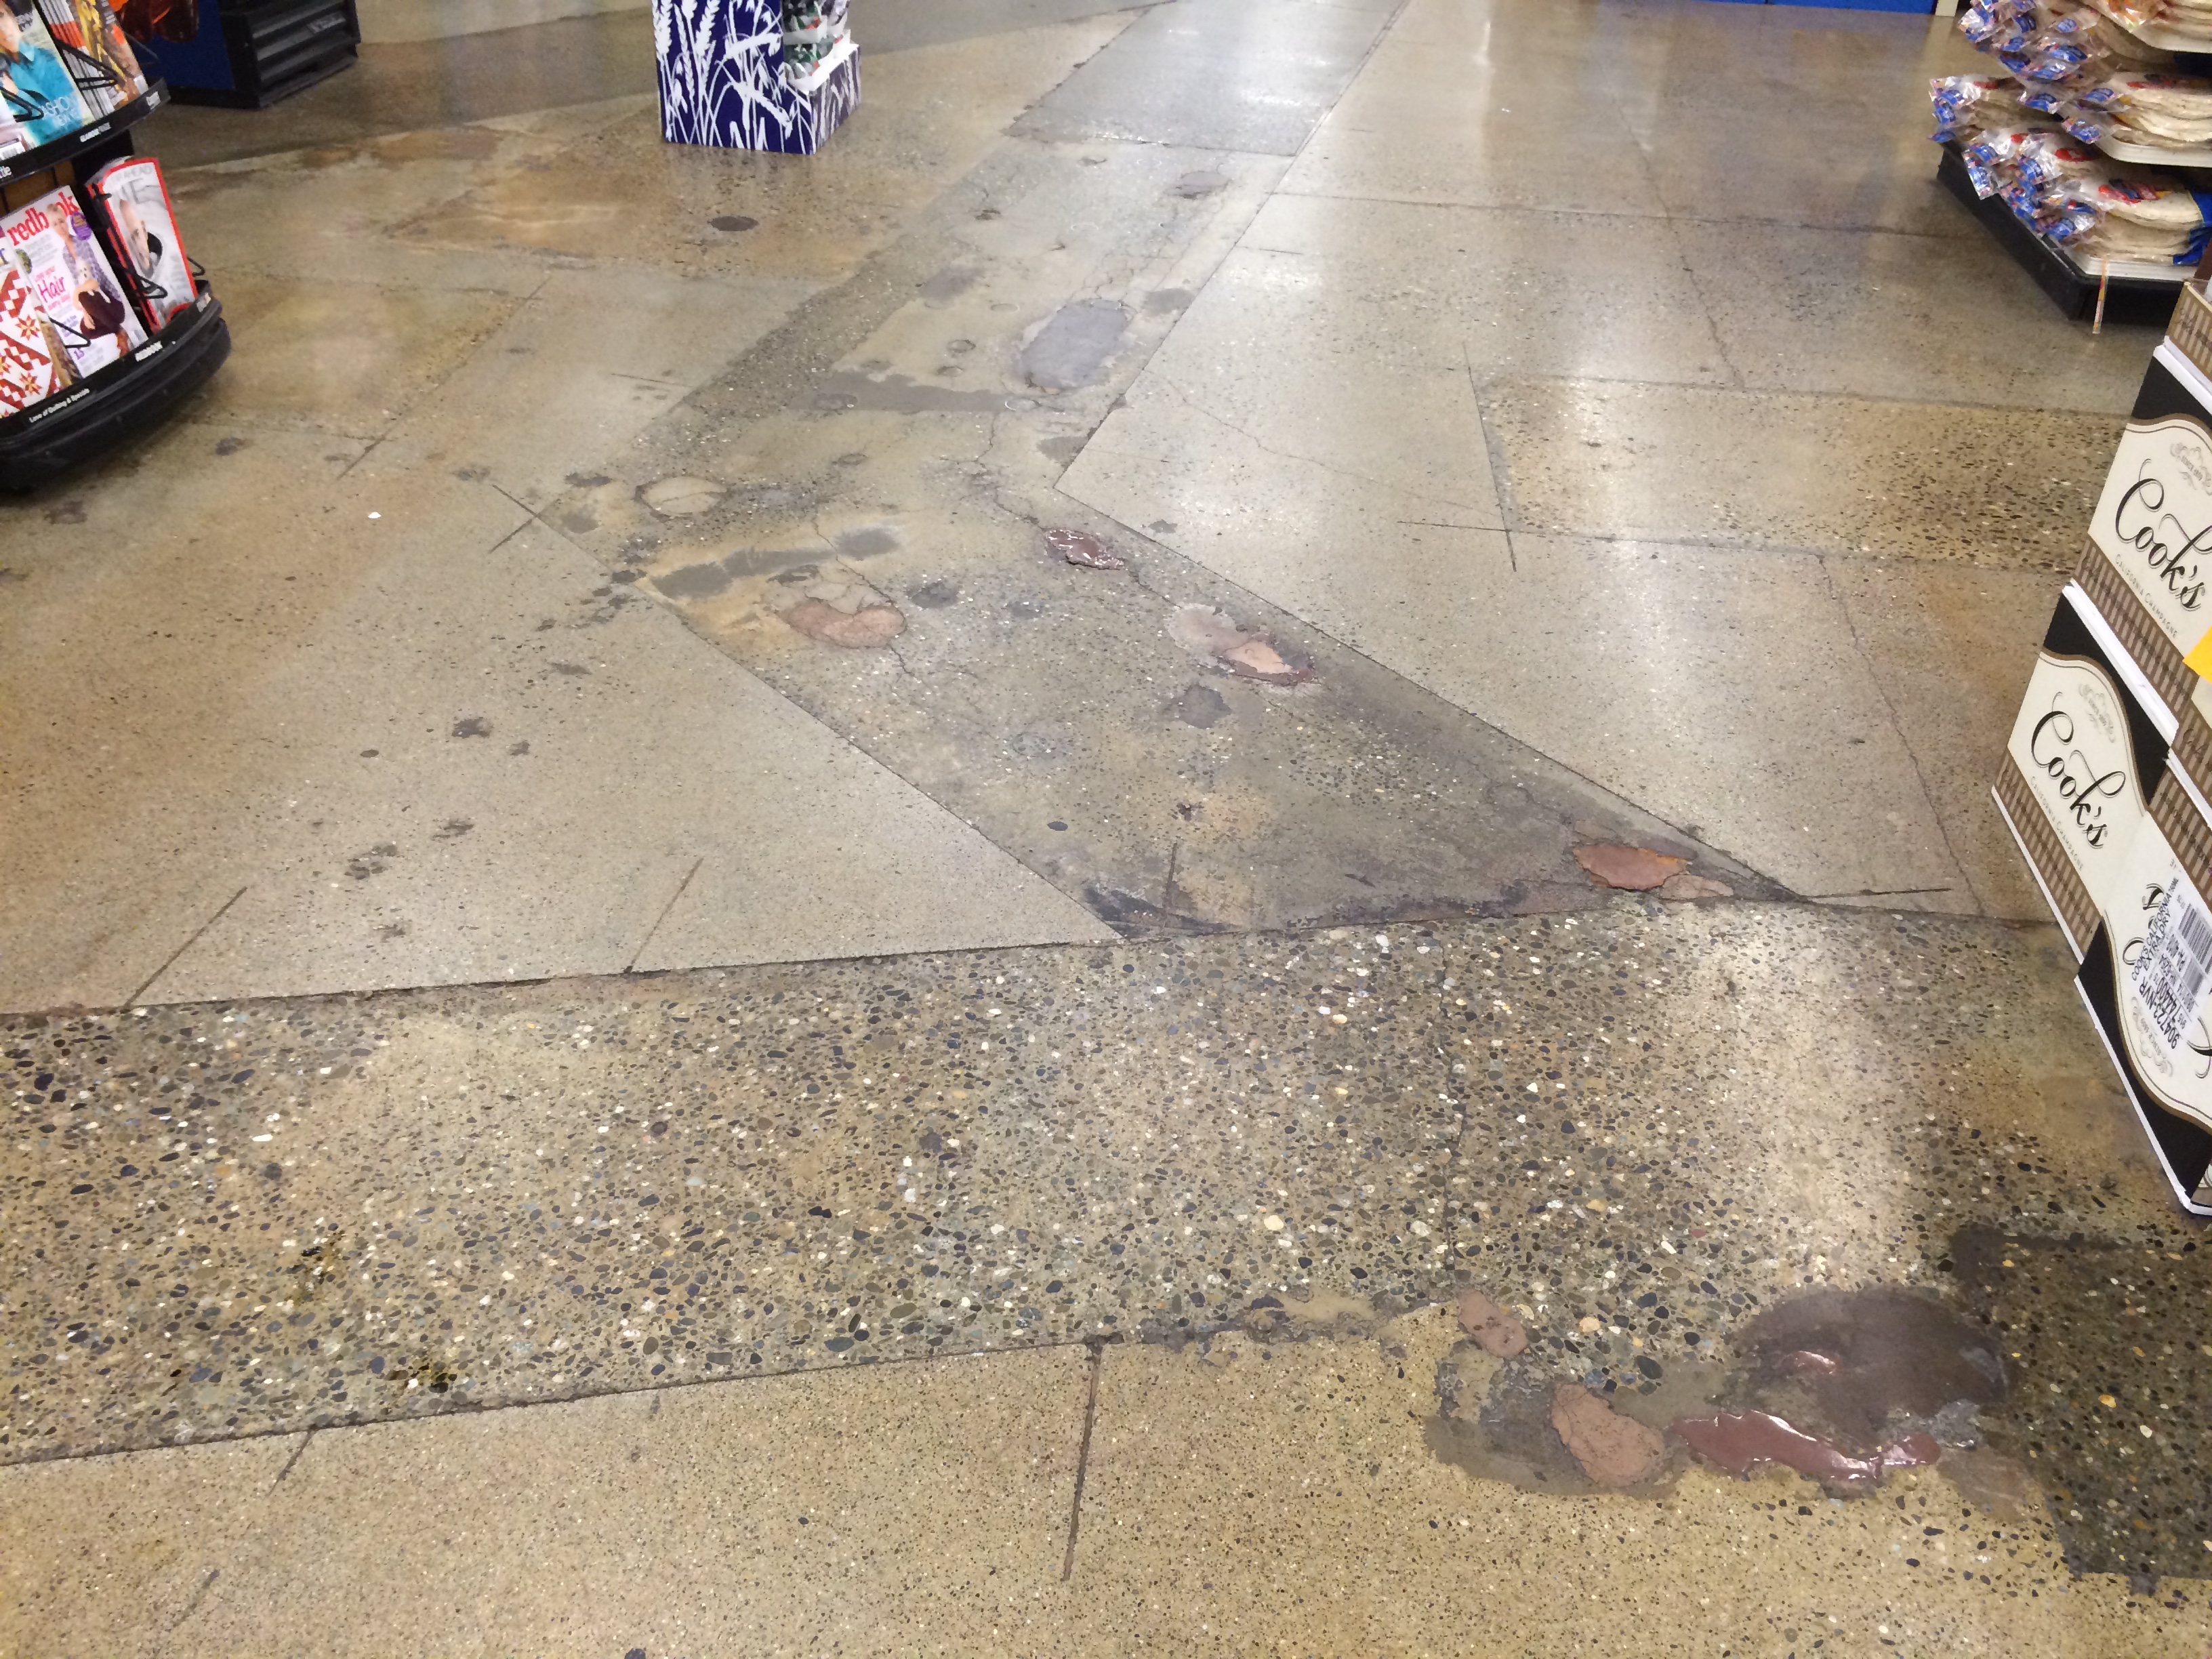
Ugly, unacceptable polished concrete What are my options? And
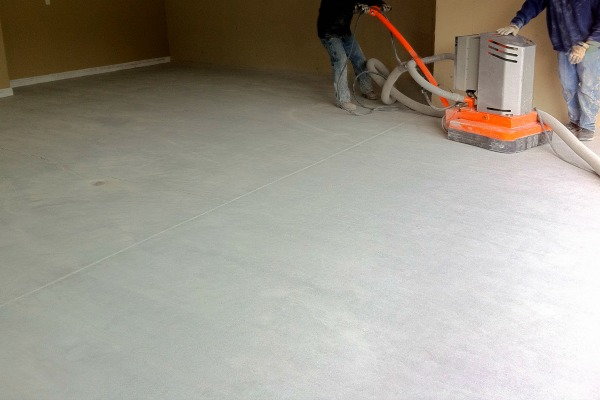
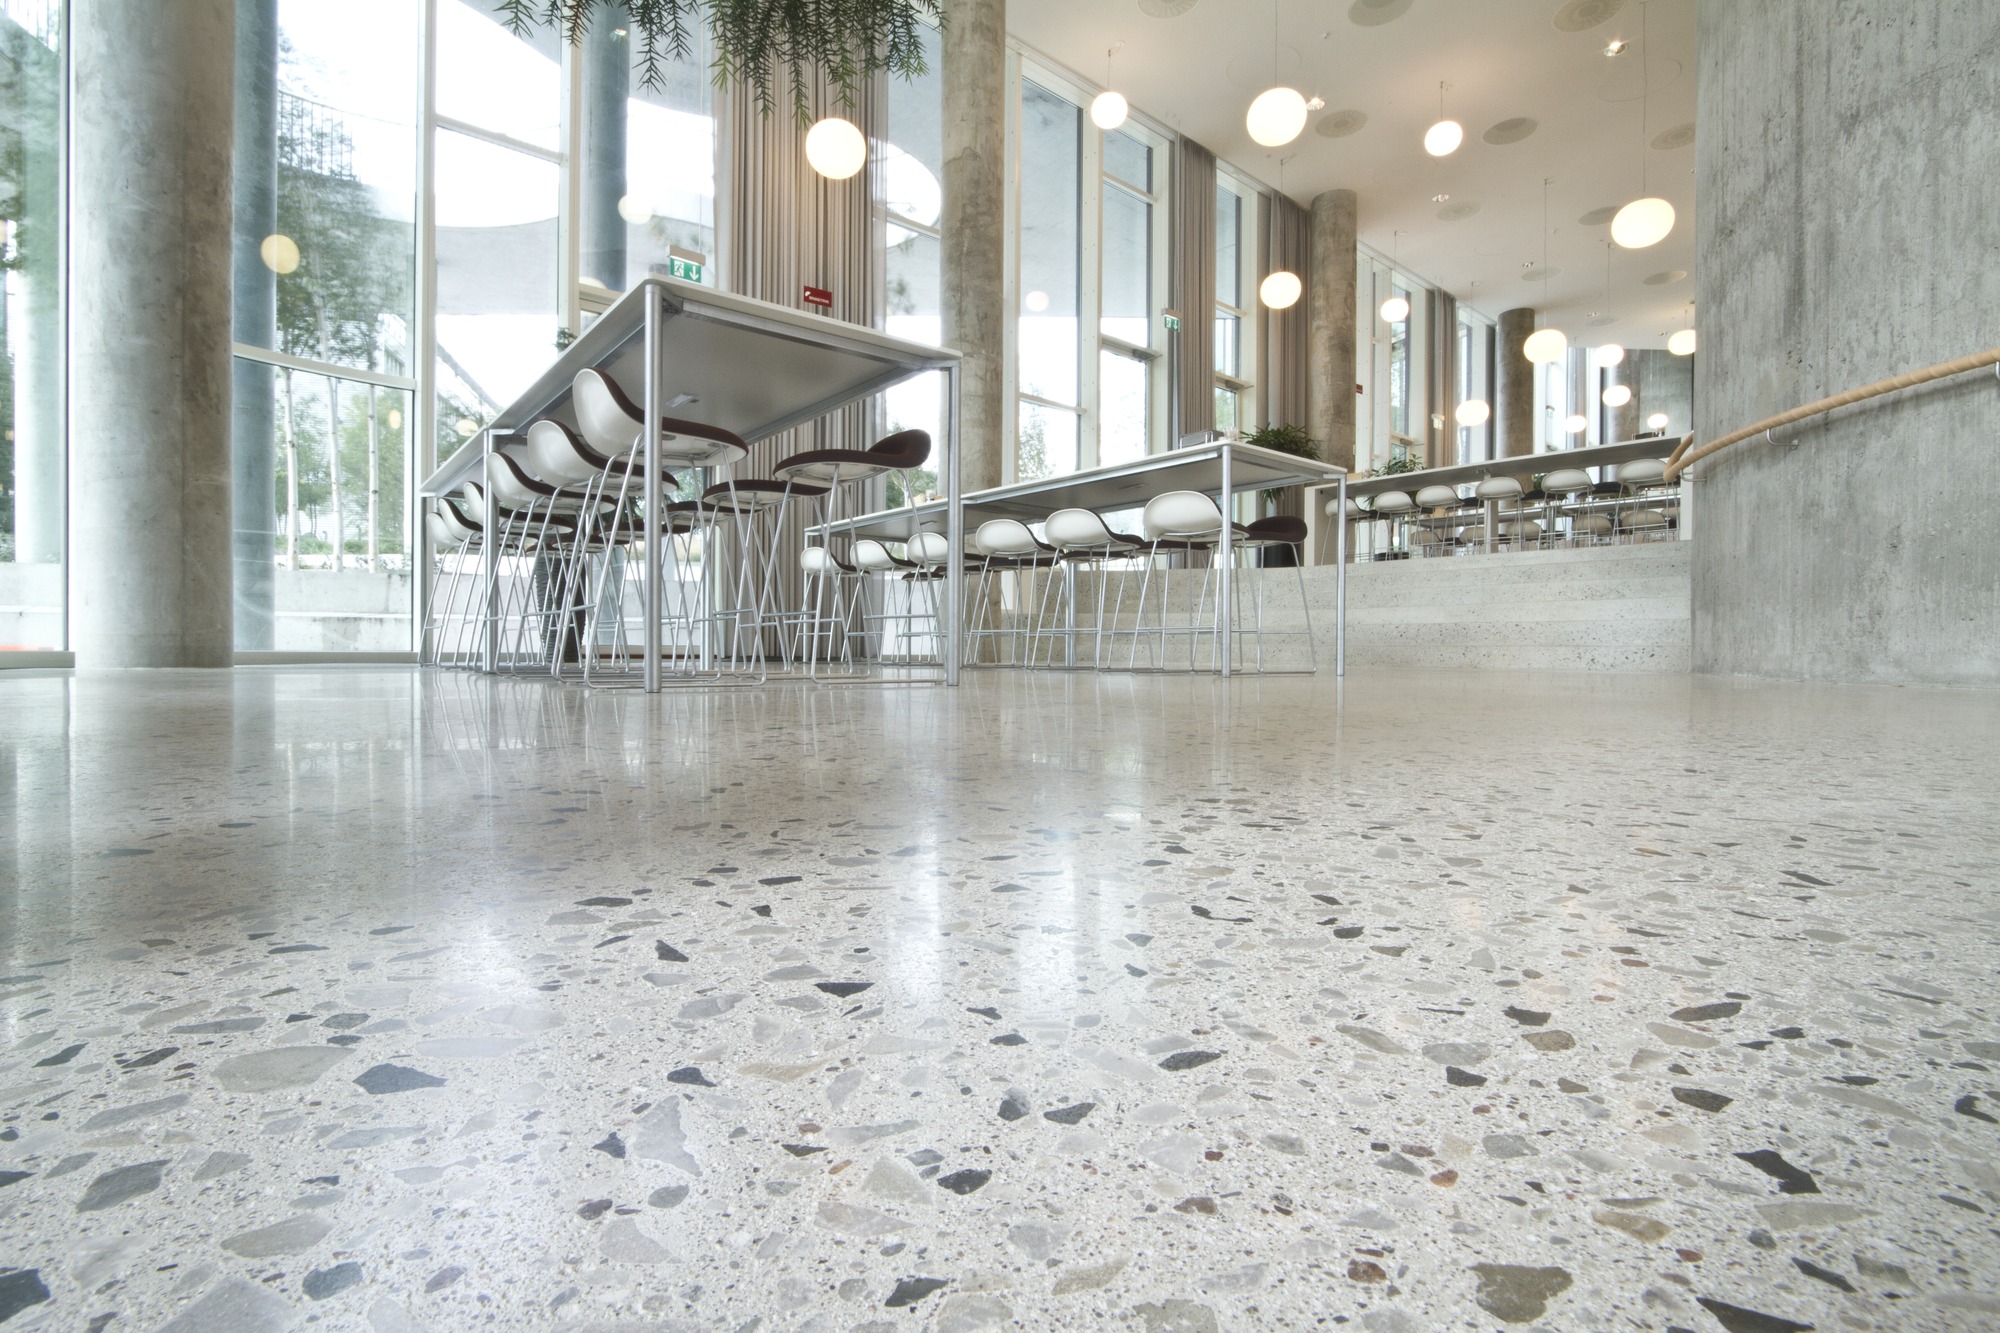
Keeping the gloss and glamour on the concrete floors polishing is something that everyone will prefer to do although the first thing that has to be recognized is that keeping the concrete floor clean is actually the very first step. Next, diamond-embedded coarse pads buff and polish the floor until it shines.
How Do I Polish My Concrete Floor?
DIY – How To Polish Concrete : Concrete Grinder – Concrete Edger
How to Polish Concrete Floors Concrete Densifier and Floor Sealer

DIY Concrete Floor Cheap Home DIYs Design Mom
Guide to DIY polished concrete traditional and new

Can All Concrete Be Polished? All Things Flooring
How to – Polish a concrete floor – DIY – Survive France
Polished Concrete – How I Got My Slab Ready for Paint – Uncookie

SNAP! Floor Polishing System – Tomcat Commercial Floor Cleaning

Cost and Benefits of Diamond Polishing Concrete Slabs

Guide to DIY polished concrete traditional and new

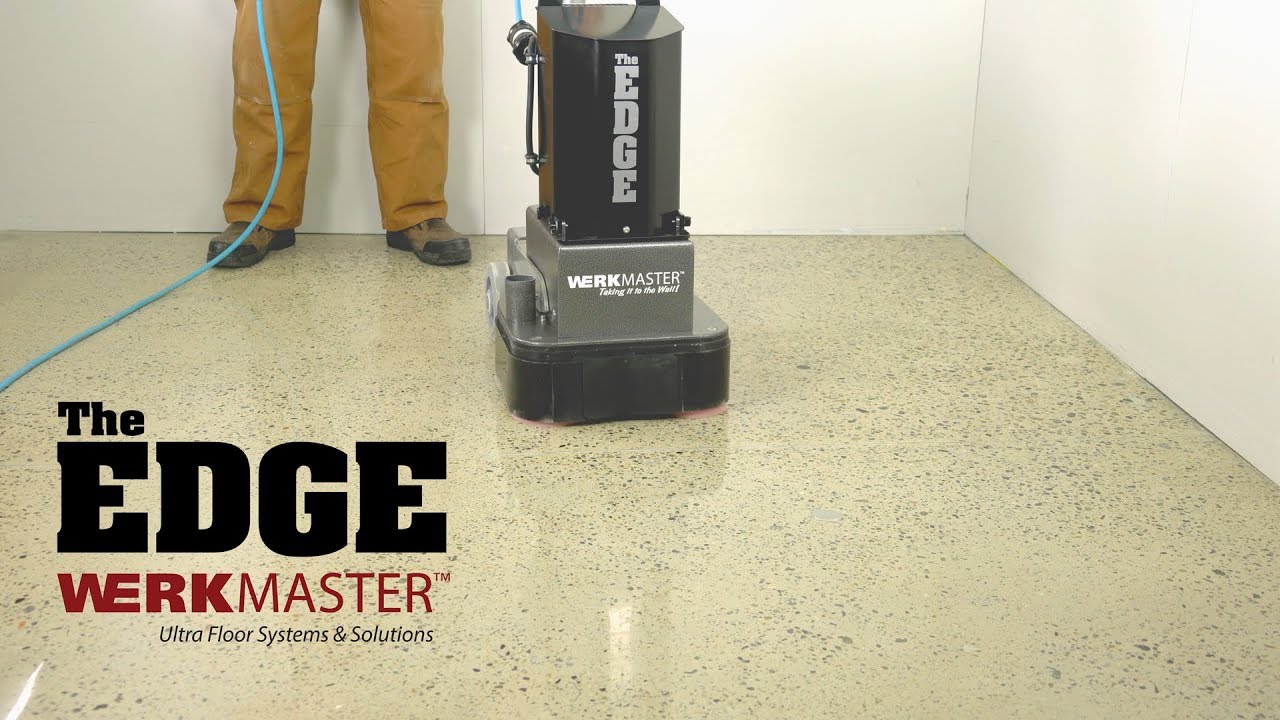
WerkMaster has the right tools to help you polish concrete.

Related Posts:
- Acid Stain Concrete Floors Yourself
- Resurfacing A Concrete Floor
- Interior Concrete Floor Stain
- Acid Stained Concrete Floors
- Concrete Floor Paint Flakes
- Epoxy Concrete Floor DIY
- Fixing Concrete Floors
- Rustic Stained Concrete Floors
- Painting Concrete Floors Basement
- Concrete Floor Tiles Interior
Concrete Floor Polishing DIY: A Comprehensive Guide
When it comes to making a home attractive and stylish, few things can match the beauty of a polished concrete floor. Concrete floor polishing is a process that requires some skill and proper equipment, but can be performed by most homeowners with some patience and practice. In this comprehensive guide, we will explain the basics of concrete floor polishing, including the materials needed, the tools required, and the step-by-step process for achieving a professional-grade finish.
Materials Needed for Polishing Concrete Floors
The first step in any successful DIY project is having the right materials on hand. For polishing concrete floors, you will need several items to complete the job.
First, you will need a concrete grinder with multiple grinding heads. These are available in both large and small sizes, depending on your needs. You’ll also need several types of abrasive pads, which range from coarse to extra fine. Additionally, you’ll need a vacuum cleaner to keep the dust under control during the polishing process. Finally, you’ll need a sealer to protect your newly polished floor from wear and tear.
Tools Necessary for Polishing Concrete Floors
In addition to the materials listed above, there are several tools you will need to properly polish your concrete floors. The most important tool is an oscillating edge grinder, which is used to cut back any high spots or rough edges in your concrete surface. You may also wish to invest in an angle grinder if you have particularly tricky edges or corners to work with. Additionally, you’ll need a power drill with a variety of attachments for working on the edges and corners of your concrete surface. Finally, you’ll need a wet/dry vacuum to keep your work area clean and free of dust during the polishing process.
Step-By-Step Guide To Polishing Concrete Floors
Now that you have all of your materials and tools ready to go, it’s time to begin polishing your concrete floors! Follow our step-by-step guide below for best results:
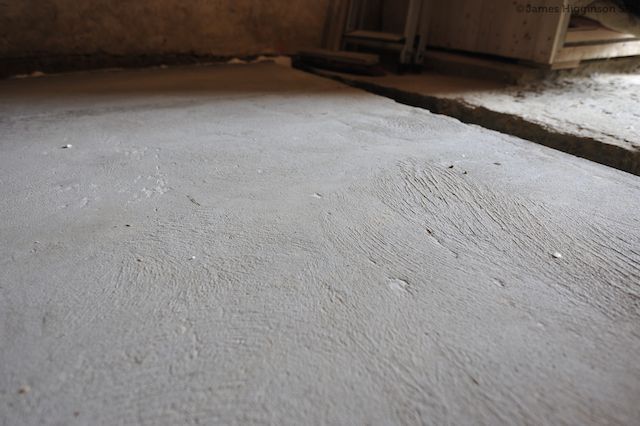
1. Prepare Your Work Area: Before you begin polishing your concrete floors, make sure that the area is well-ventilated and free of dust and debris. Clean up any dust or dirt on the surface using a damp cloth or vacuum cleaner before beginning.
2. Edge Grinding: Begin by using an oscillating edge grinder to cut back any high spots or rough edges in your concrete surface. If needed, use an angle grinder for more challenging areas.
3. Coarse Grinding: Once all of the edges and corners have been addressed, it’s time to begin grinding with a coarse abrasive pad. Attach this pad to your concrete grinder and begin working on the surface from one corner to another until it has been ground down evenly all over.
4. Medium Grinding: Once the coarse grinding is complete, switch out the grinding pad for one rated for medium grinding. Work on one section at a time until all areas have been ground down evenly with this pad.
5. Fine Grinding: Finally, switch out your medium grinding pad for one rated for fine grinding and work on each section until all areas have been ground down evenly with this pad as well.
6. Vacuuming: Once all of the grinding is complete, use a wet/dry vacuum cleaner to remove any dust or dirt on the surface of your concrete flooring before applying sealer or other finishes.
7. Applying Sealer: Finally, apply sealer according to manufacturer’s instructions and allow it to dry completely before walking on it or allowing furniture back into the room.
FAQs About Concrete Floor Polishing DIY
Q: What type of abrasive pads should I use?
A: Generally speaking, you should use pads that range from coarse (for edging) to extra fine (for final polishing). This will ensure that your final results are smooth and even with no visible imperfections or scratches remaining on the surface after completion.