Concrete Floor Staining Process Hard concrete flooring has the potential to intensify sounds, however, this weakness may be rectified with no difficulty by the addition of some judiciously placed rugs, mats or runners. In terms that are basic , floors which are polished make use of concrete polishing which is a mechanically ground material which is in that case polished to attain a specific appearance.
Images about Concrete Floor Staining Process
Concrete Floor Staining Process
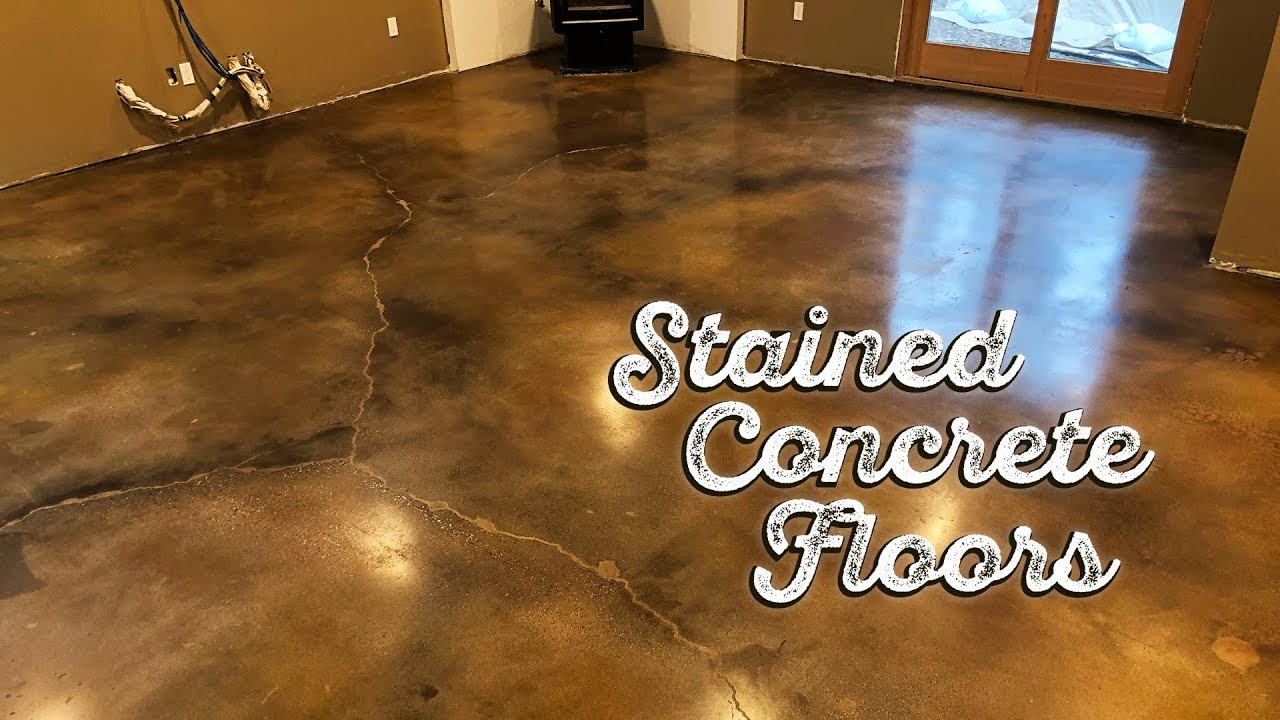
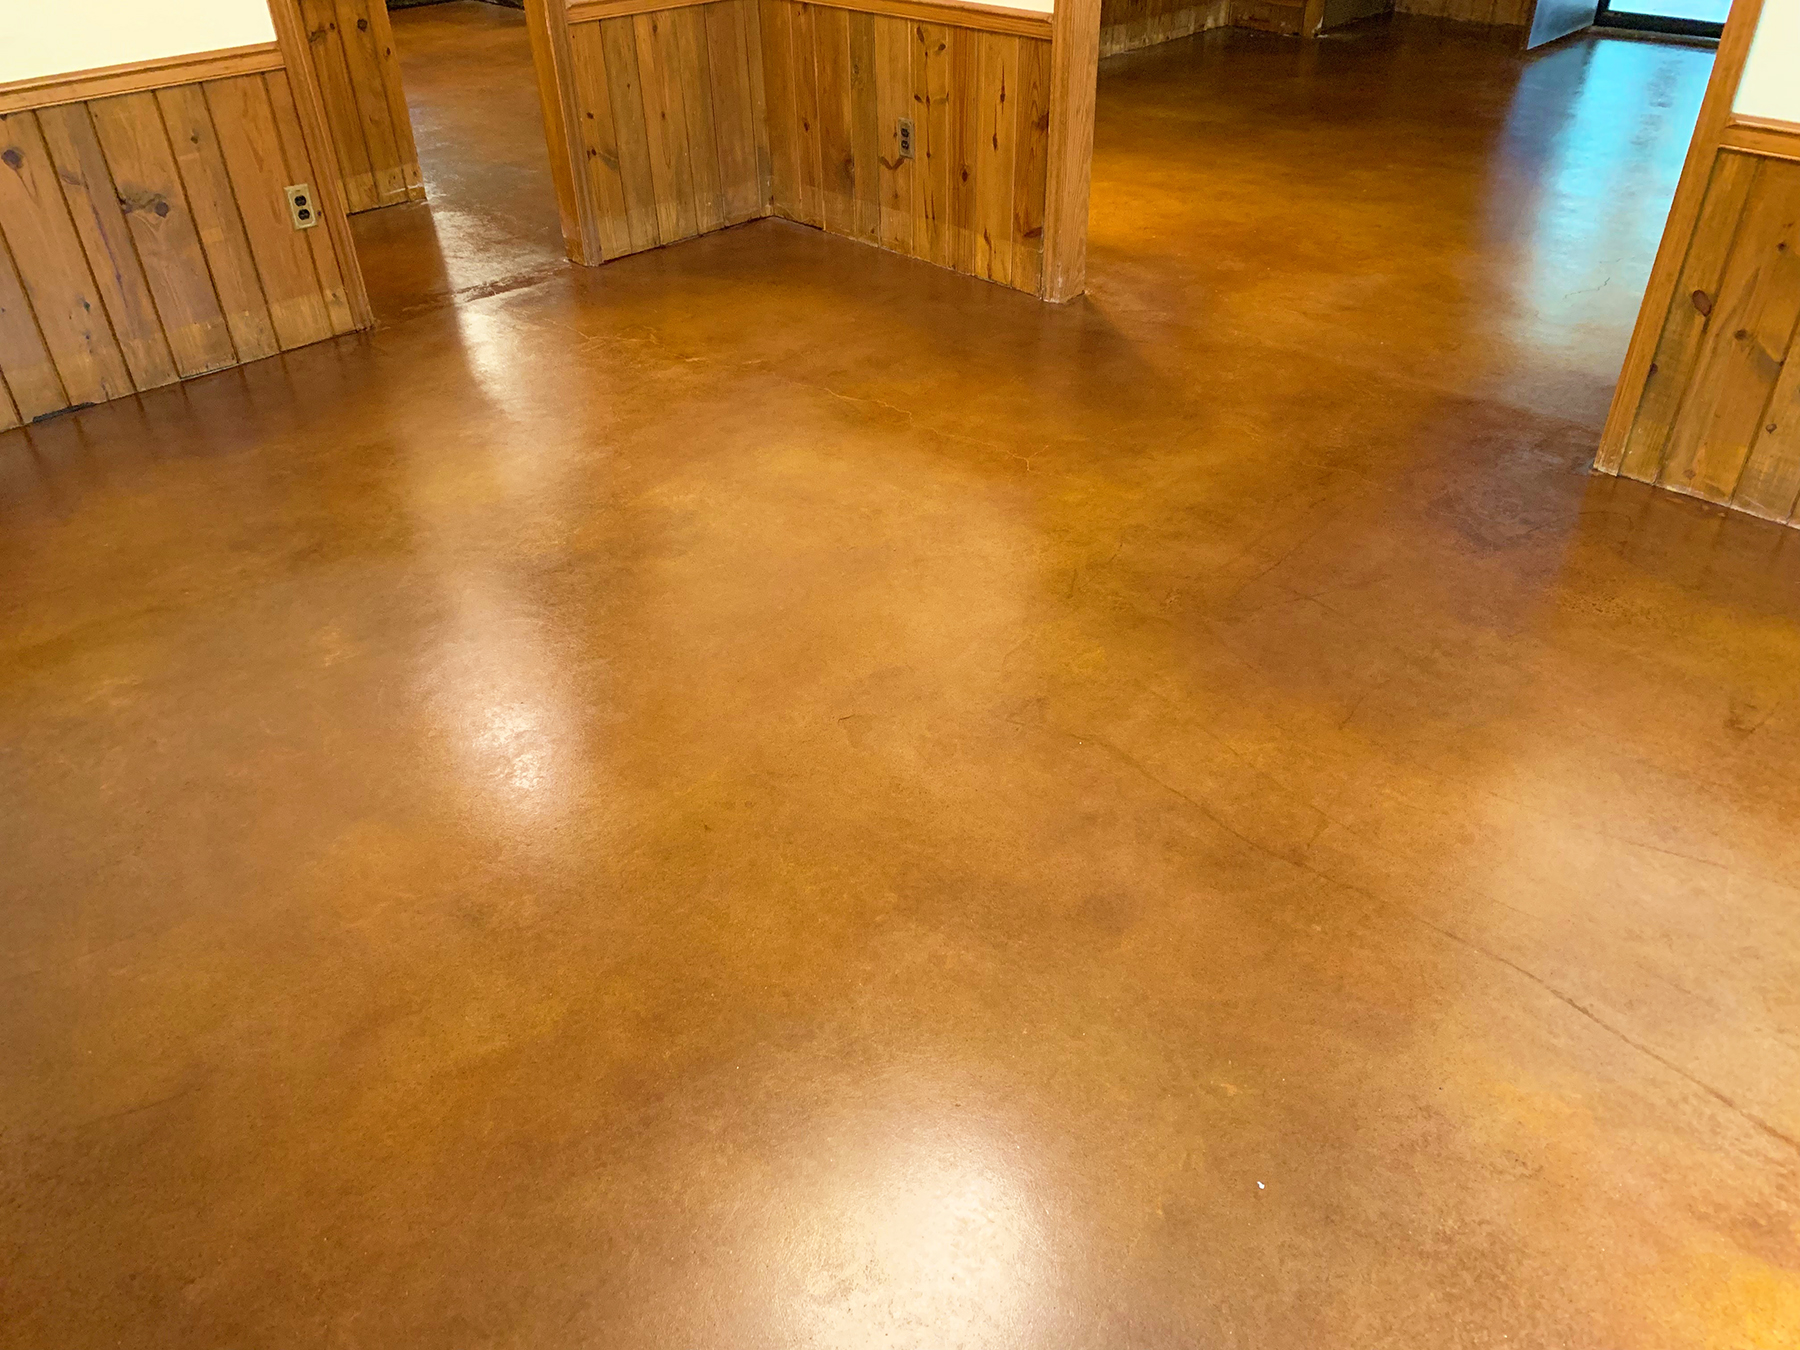
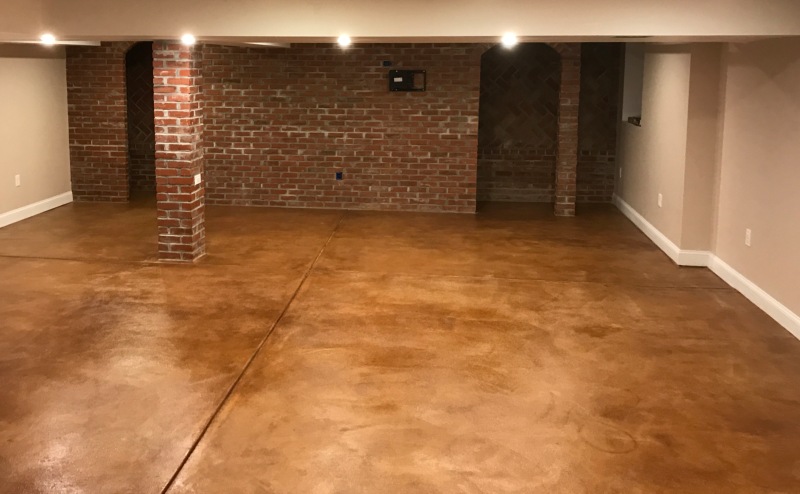
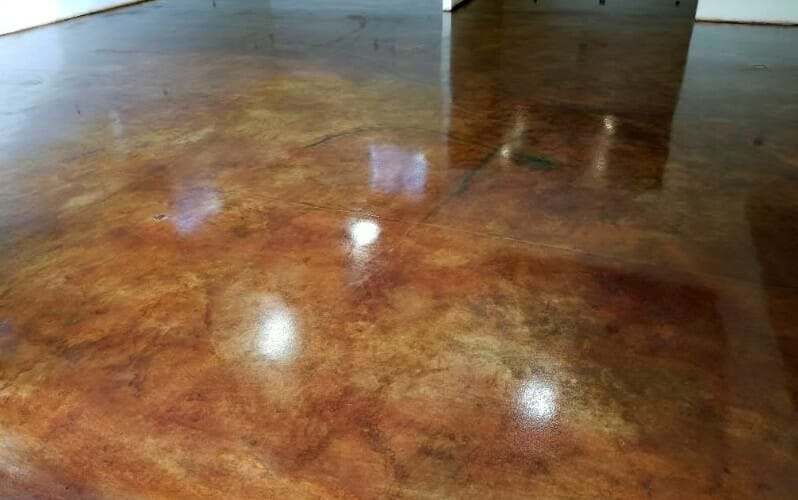
Polished concrete floors don't only look great, they also boast a wide range of benefits which mark them as being beyond other choices of flooring. The covering put on to polished flooring is glossy though it's extensively tested for slip resistance at all traffic amounts. Earlier concrete floors which were generally known as cement floors had merely a gray as well as a boring look, but today which isn't the case.
How to Stain Concrete
The color of the tile could possibly be utilized as the same color to stain the concrete floor. Concrete floors are hard and durable. The concrete floors is there to remain and whenever you move on at some point, the brand new owners will be able to enjoy the many benefits this kind of flooring offers. Most common flooring have rigorous cleaning requirements.
Concrete Stain
Stained Concrete Atlanta – Concrete Staining u2014 Grindkings Flooring
Concrete Staining: Types, Procedure, and Advantages – The Constructor

Do it yourself concrete staining: How to stain concrete floors
How to Stain Concrete (simple DIY method)
How to stain interior concrete floors in 5 steps – Prosoco
How to Acid Stain a Concrete Floor – Plank and Pillow

Stained Concrete Floors: Cost, How to Stain DIY, Maintenance Tips
A Guide to Stained Concrete Basement Floors
How to Acid Stain a Concrete Floor – Plank and Pillow

Why this Water-based Concrete Stain is Better than Acid All
Concrete Stain Application Benefits of Stained Concrete Floors

Related Posts:
- Acid Stain Concrete Floors Yourself
- Resurfacing A Concrete Floor
- Interior Concrete Floor Stain
- Acid Stained Concrete Floors
- Concrete Floor Paint Flakes
- Epoxy Concrete Floor DIY
- Fixing Concrete Floors
- Rustic Stained Concrete Floors
- Painting Concrete Floors Basement
- Concrete Floor Tiles Interior
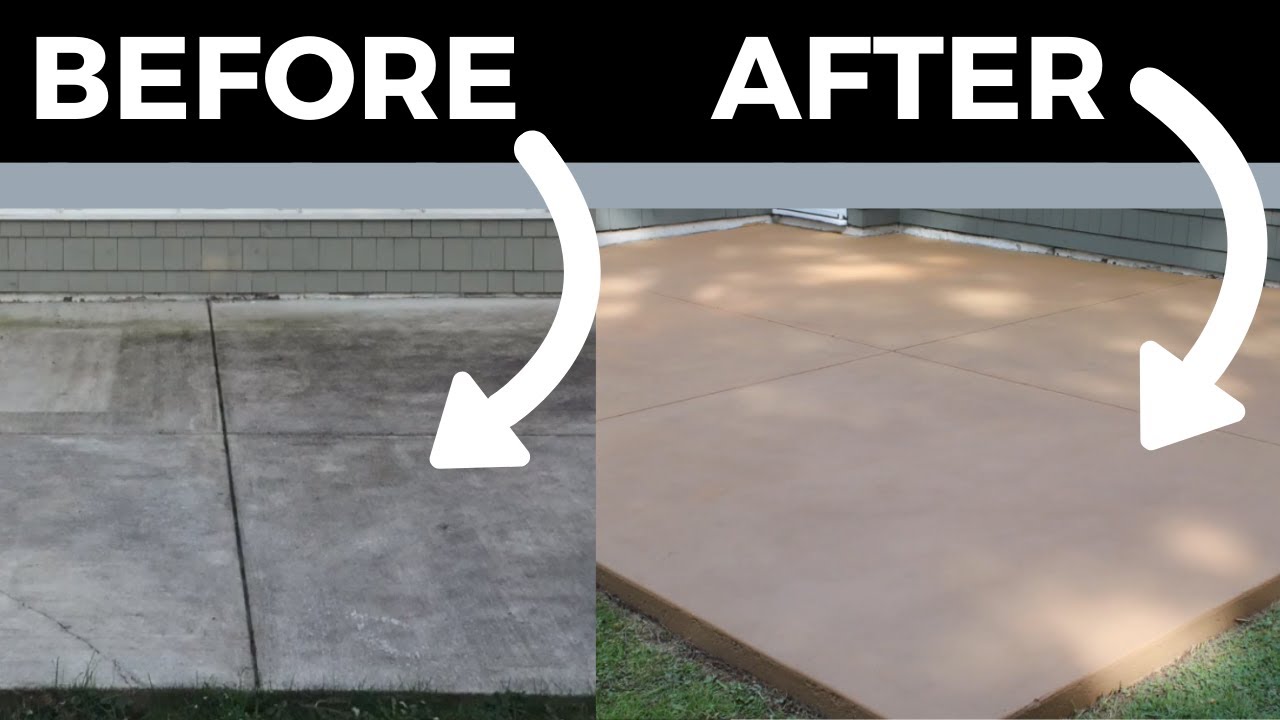
Concrete Floor Staining Process: A Comprehensive Guide
Staining concrete floors is an increasingly popular way to liven up a room or outdoor area. Although it may appear daunting, the staining process is actually fairly simple and straightforward if you follow the right steps. Here, we’ll guide you through the complete concrete floor staining process, from preparation to application. We’ll also answer some frequently asked questions about the process.
Getting Ready to Stain
Before beginning any staining project, it’s essential to adequately prepare the surface. This means ensuring that the concrete is clean and free of debris, dirt, and dust. To do this, use a power washer with a pressure setting of between 1,500 and 2,000 psi. Once the surface is cleaned, allow it to dry for at least 24 hours before proceeding.
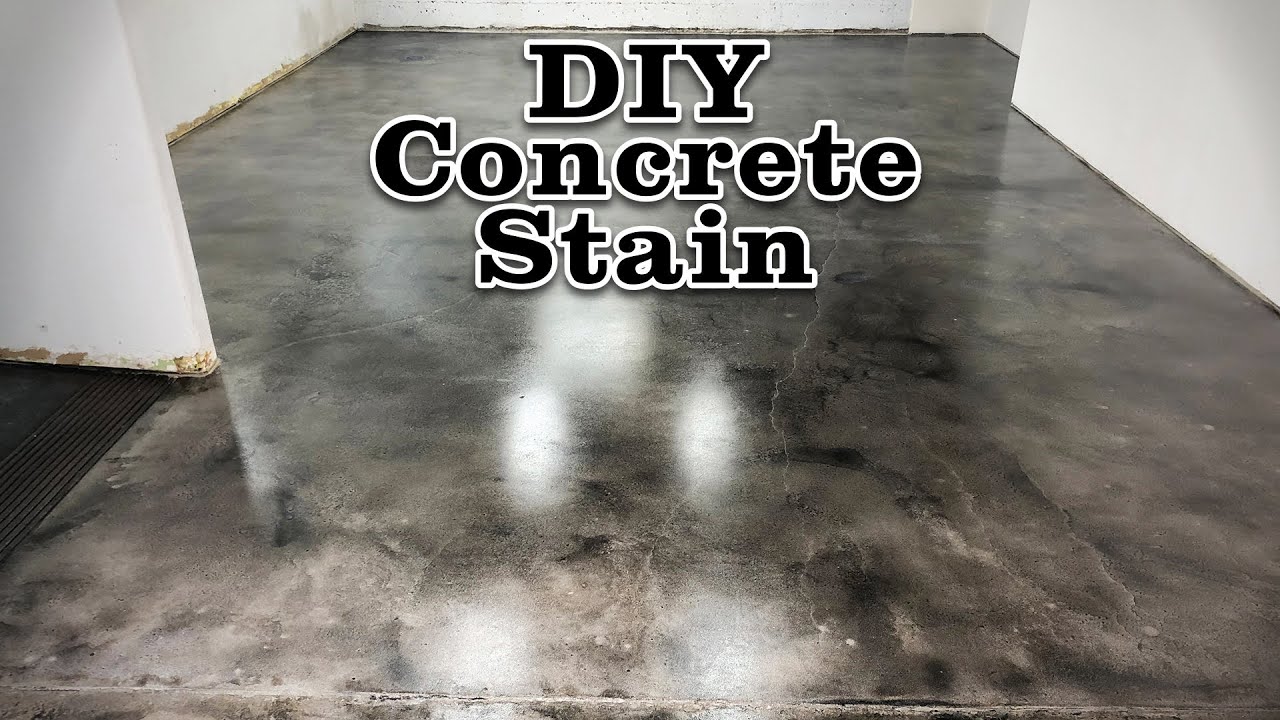
Selecting the Right Stain
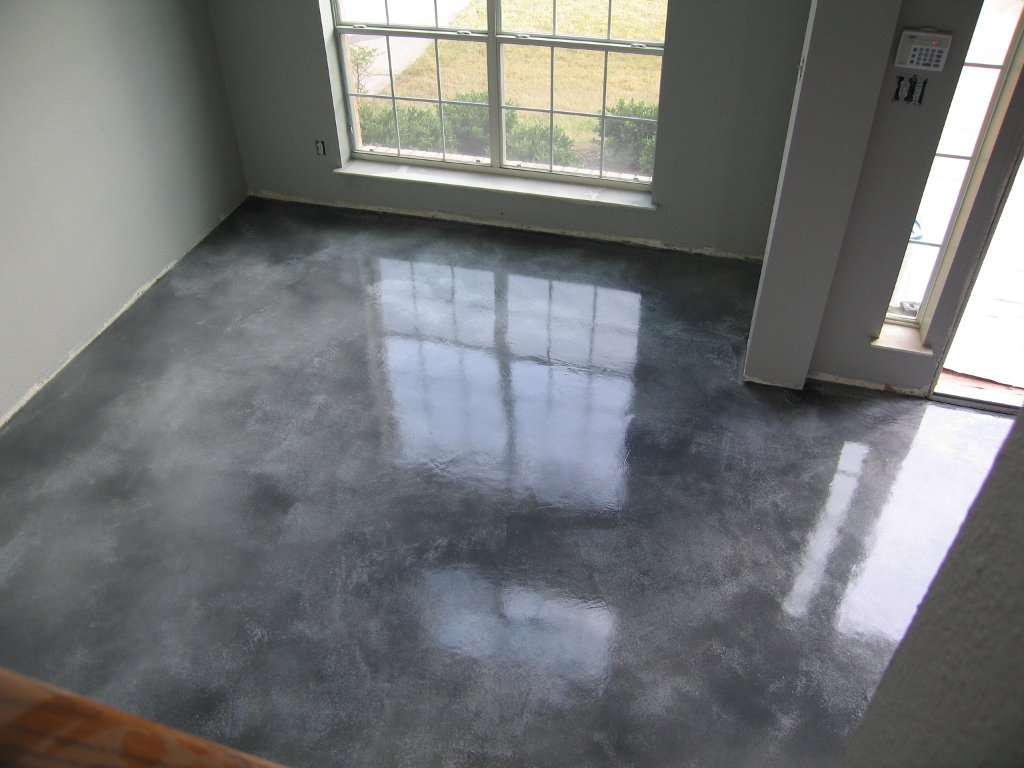
When selecting a concrete floor stain, there are several factors to consider. The most important is the type of stain you want to apply. There are two main types of concrete floor stains: water-based and acid-based. Water-based stains are generally easier to apply and less hazardous to work with than acid-based stains, but they don’t last as long and won’t penetrate as deeply into the concrete. Acid-based stains tend to be more durable and can leave a more vibrant color, but they require special protective equipment when applying them.
You’ll also need to decide on the color of stain you want to use. Stains come in a variety of colors, so you’re sure to find one that suits your needs. Additionally, some stains contain tints or dyes that can be mixed with water or solvents to create a custom blend of colors.
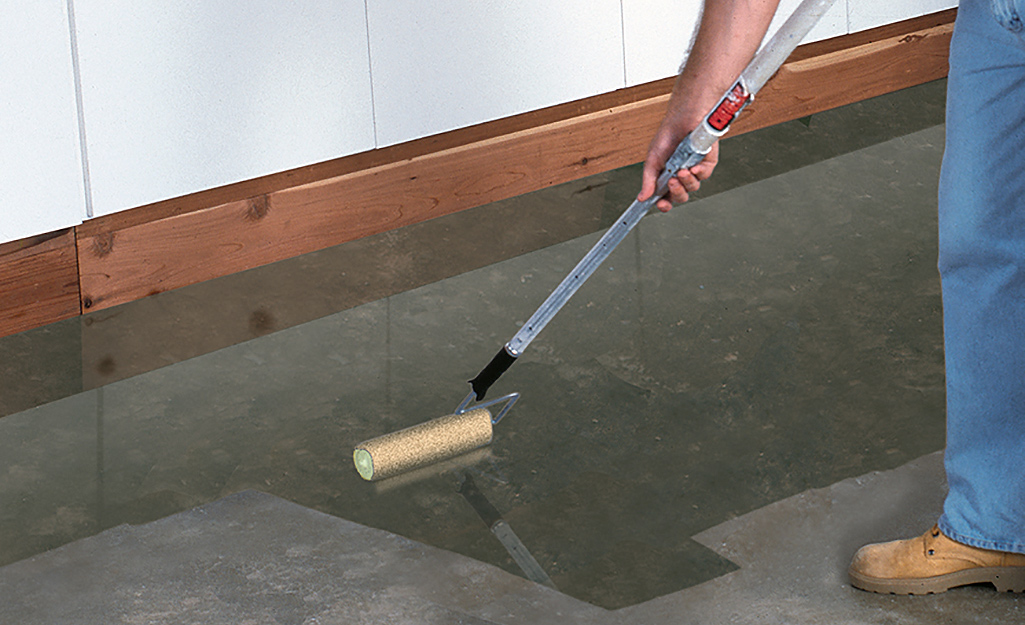
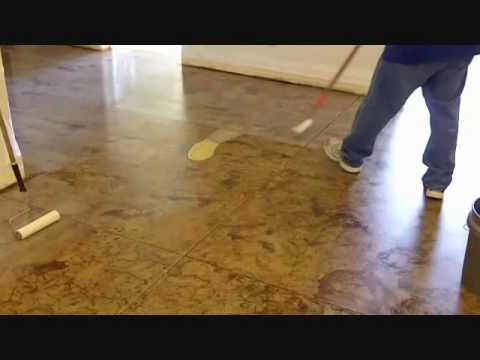
Applying the Stain
Before applying the stain, thoroughly stir it using a paint stirrer or drill bit attached to a power drill. As you mix the stain, be sure to wear safety glasses and a breathing mask to protect against any potential fumes or splashes.
Once you have mixed the stain, begin carefully pouring it onto the concrete surface in small sections. Use a roller or brush to spread it evenly across the surface before moving onto the next section. Continue until the entire surface has been covered with stain. Allow it to sit for 15-20 minutes before wiping any excess off with a clean cloth or paper towels.
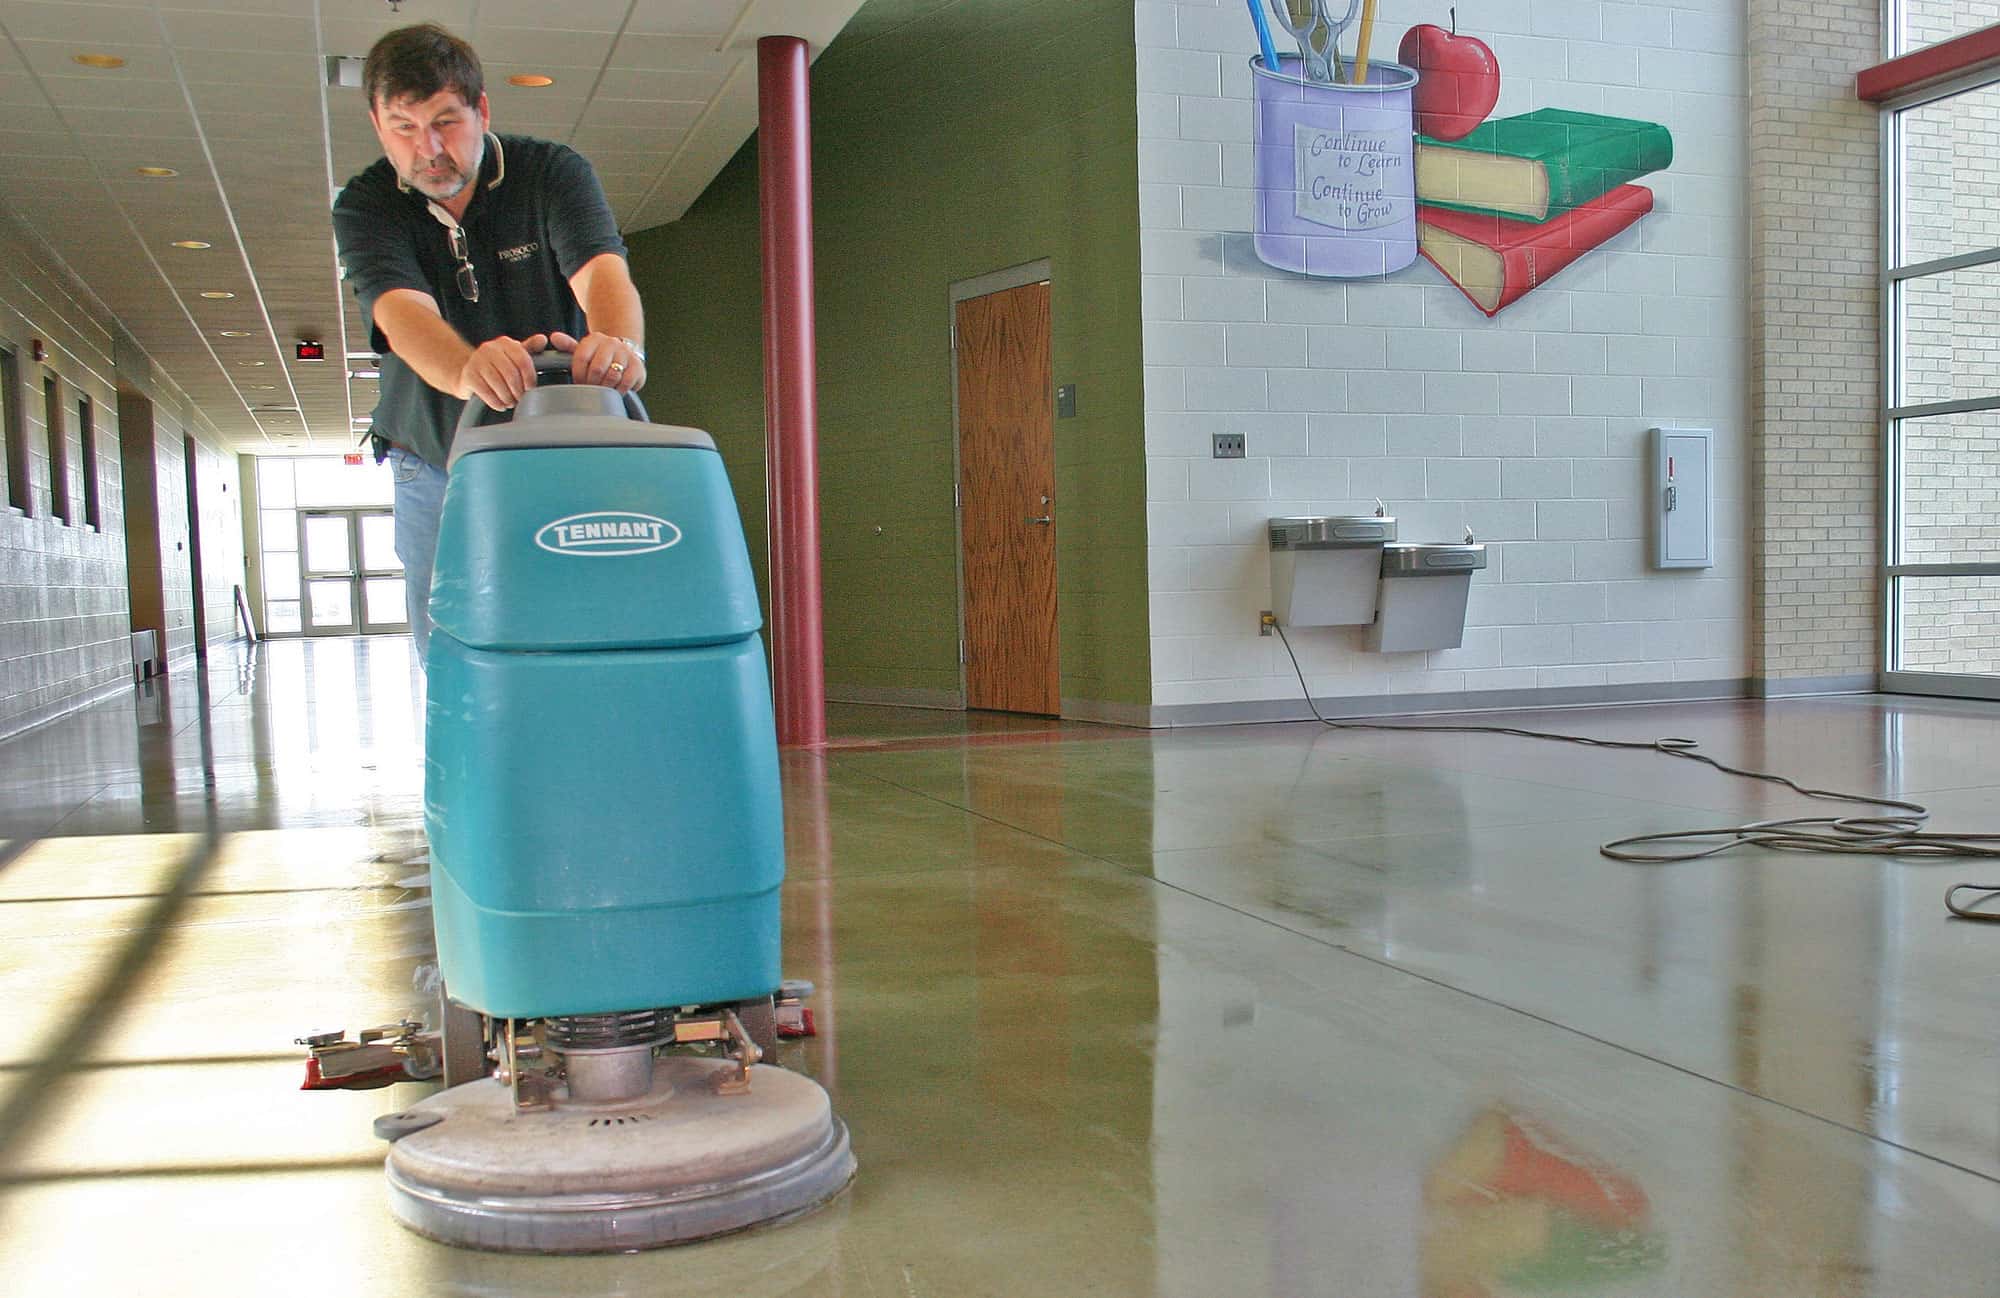
Sealing the Surface
Once the stain has had time to dry and set in the concrete, it’s important to seal it properly so that it won’t fade or flake off over time. Begin by testing a small area in an inconspicuous spot with a sealer before applying it over the entire stained surface. This will help you determine whether you need one or two coats of sealer and if you need to add additional layers of protection against harsh weather elements or heavy foot traffic in certain areas.
Once you’ve determined how many coats of sealer you need, begin applying them with either a brush or roller. Allow each coat of sealer to dry completely before adding another layer. Once all coats are applied, allow them to cure for at least 24 hours before walking on them or placing furniture on them.
FAQs about Concrete Floor Staining Process
Q: How long does concrete floor staining last?
A: The longevity of concrete floor staining depends on several factors such as proper preparation and application techniques, type of stain used, number of coats applied, and how much wear and tear the surface receives over time. Generally speaking, when properly applied and sealed, concrete floor staining can last for up to 10 years before needing reapplication or touch ups in certain areas.
Q: Is concrete floor staining difficult?
A: Concrete floor staining is not necessarily difficult if you follow the steps outlined above and take care when preparing and applying your stain and sealer. With careful attention paid each step of the way, anyone can achieve beautiful results with their own concrete floor staining project!
Q: Can I apply multiple colors when staining my concrete?
A: Yes! Many types of stains come with tints that