Bathroom tiles are more hygienic than other flooring types because they’re easy to clean. In fact, vinyl lasts for years. Most importantly, don’t compromise on the look that you would like. In case you’d prefer the appearance of wood for a substance which can tolerate the perils of the bathroom, laminate flooring might be for you.
Images about Copper Penny Bathroom Floor
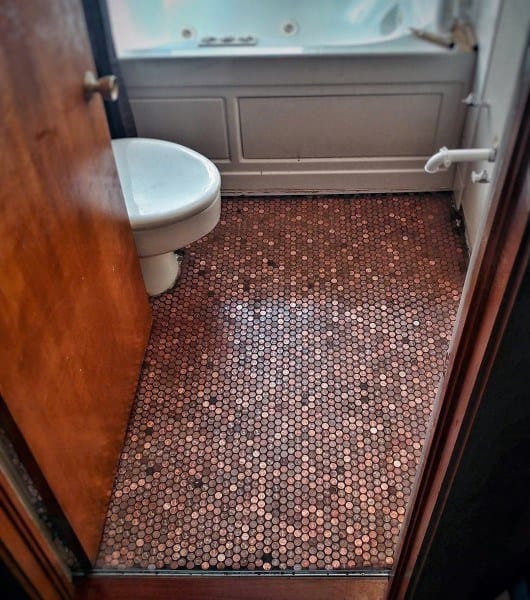
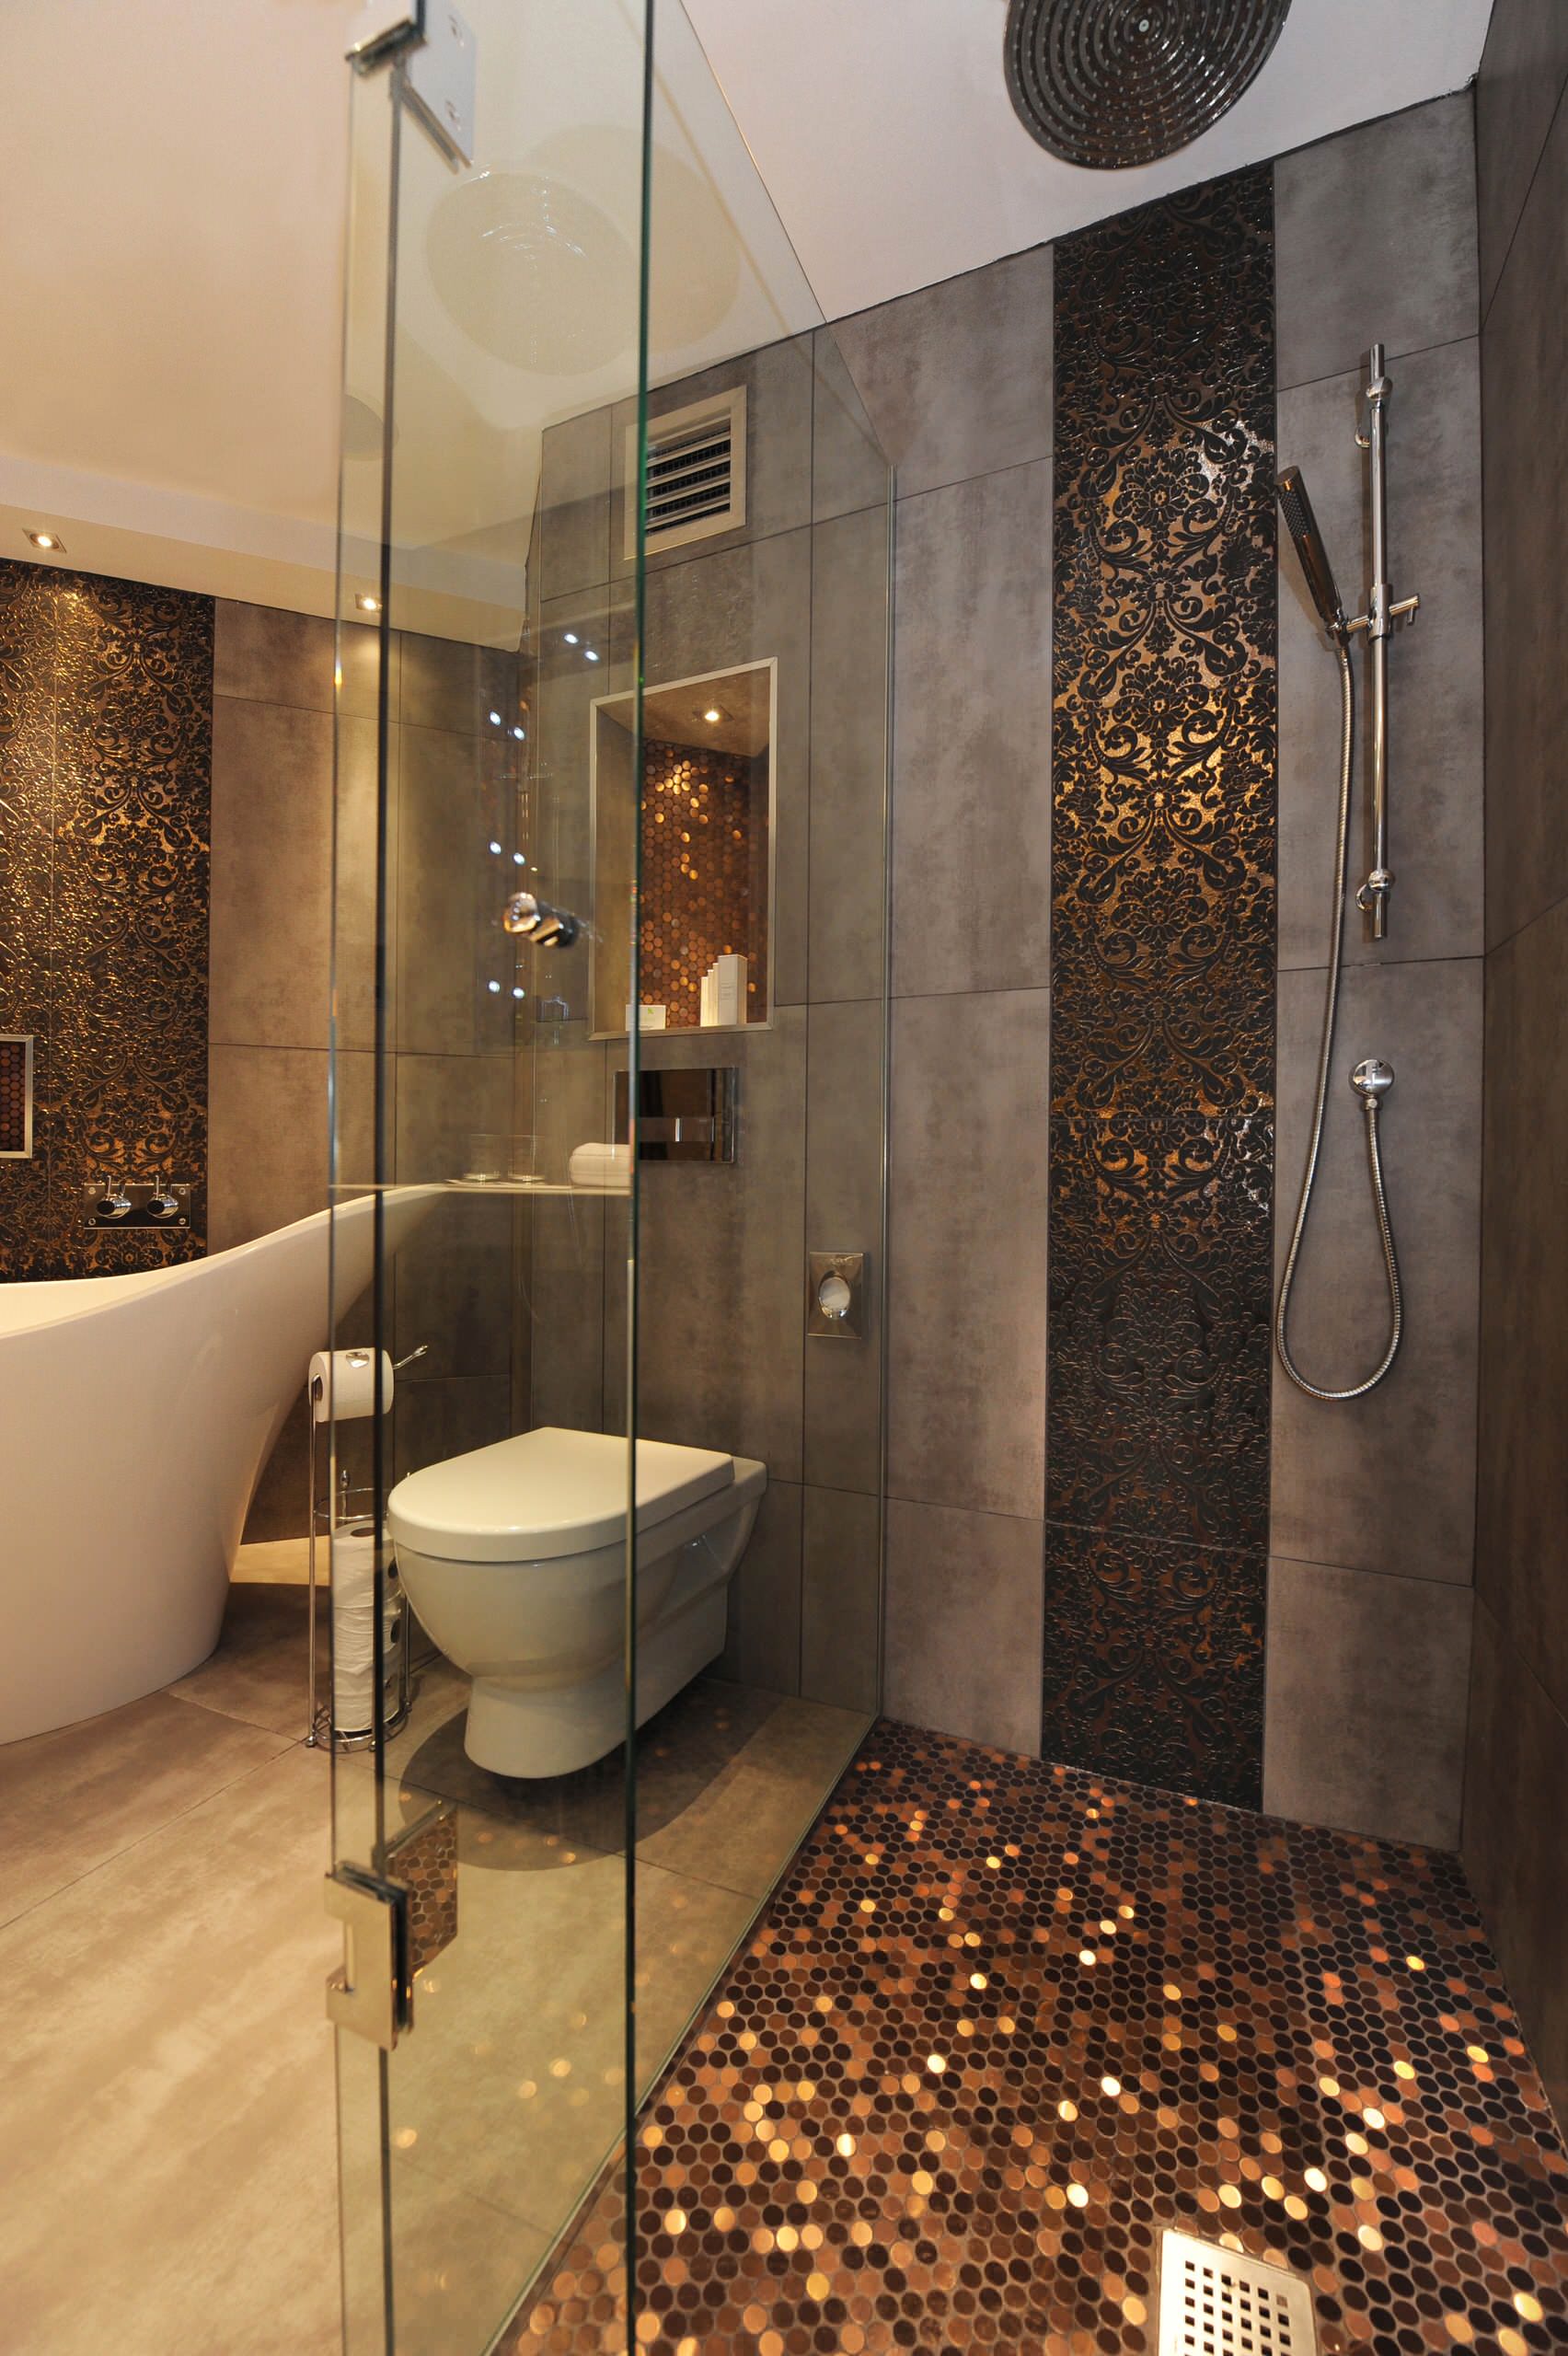
Copper Penny Bathroom Floor

After all a lot of time and money went into locating the perfect flooring for the bath room of yours, you want to be able to enjoy it before problems start to develop from it not being correctly installed. These are not widely used as moisture will take its toll on these floors.
Bathroom penny floor Penny floor, Living room styles, Copper

In the event you decide to undertake the bathroom tile using cork, add a few potted plants and use fixtures with a metallic finish to give a cool and natural look. marble, slate and limestone are the most desirable choice, they’re durable and resistant to wear and tear, though they may require sealing to protect against staining and are cool underfoot, thus you might want to consider heated bath room flooring.
Pin by Lori Woodard on Vintage bathroom Penny floor, House

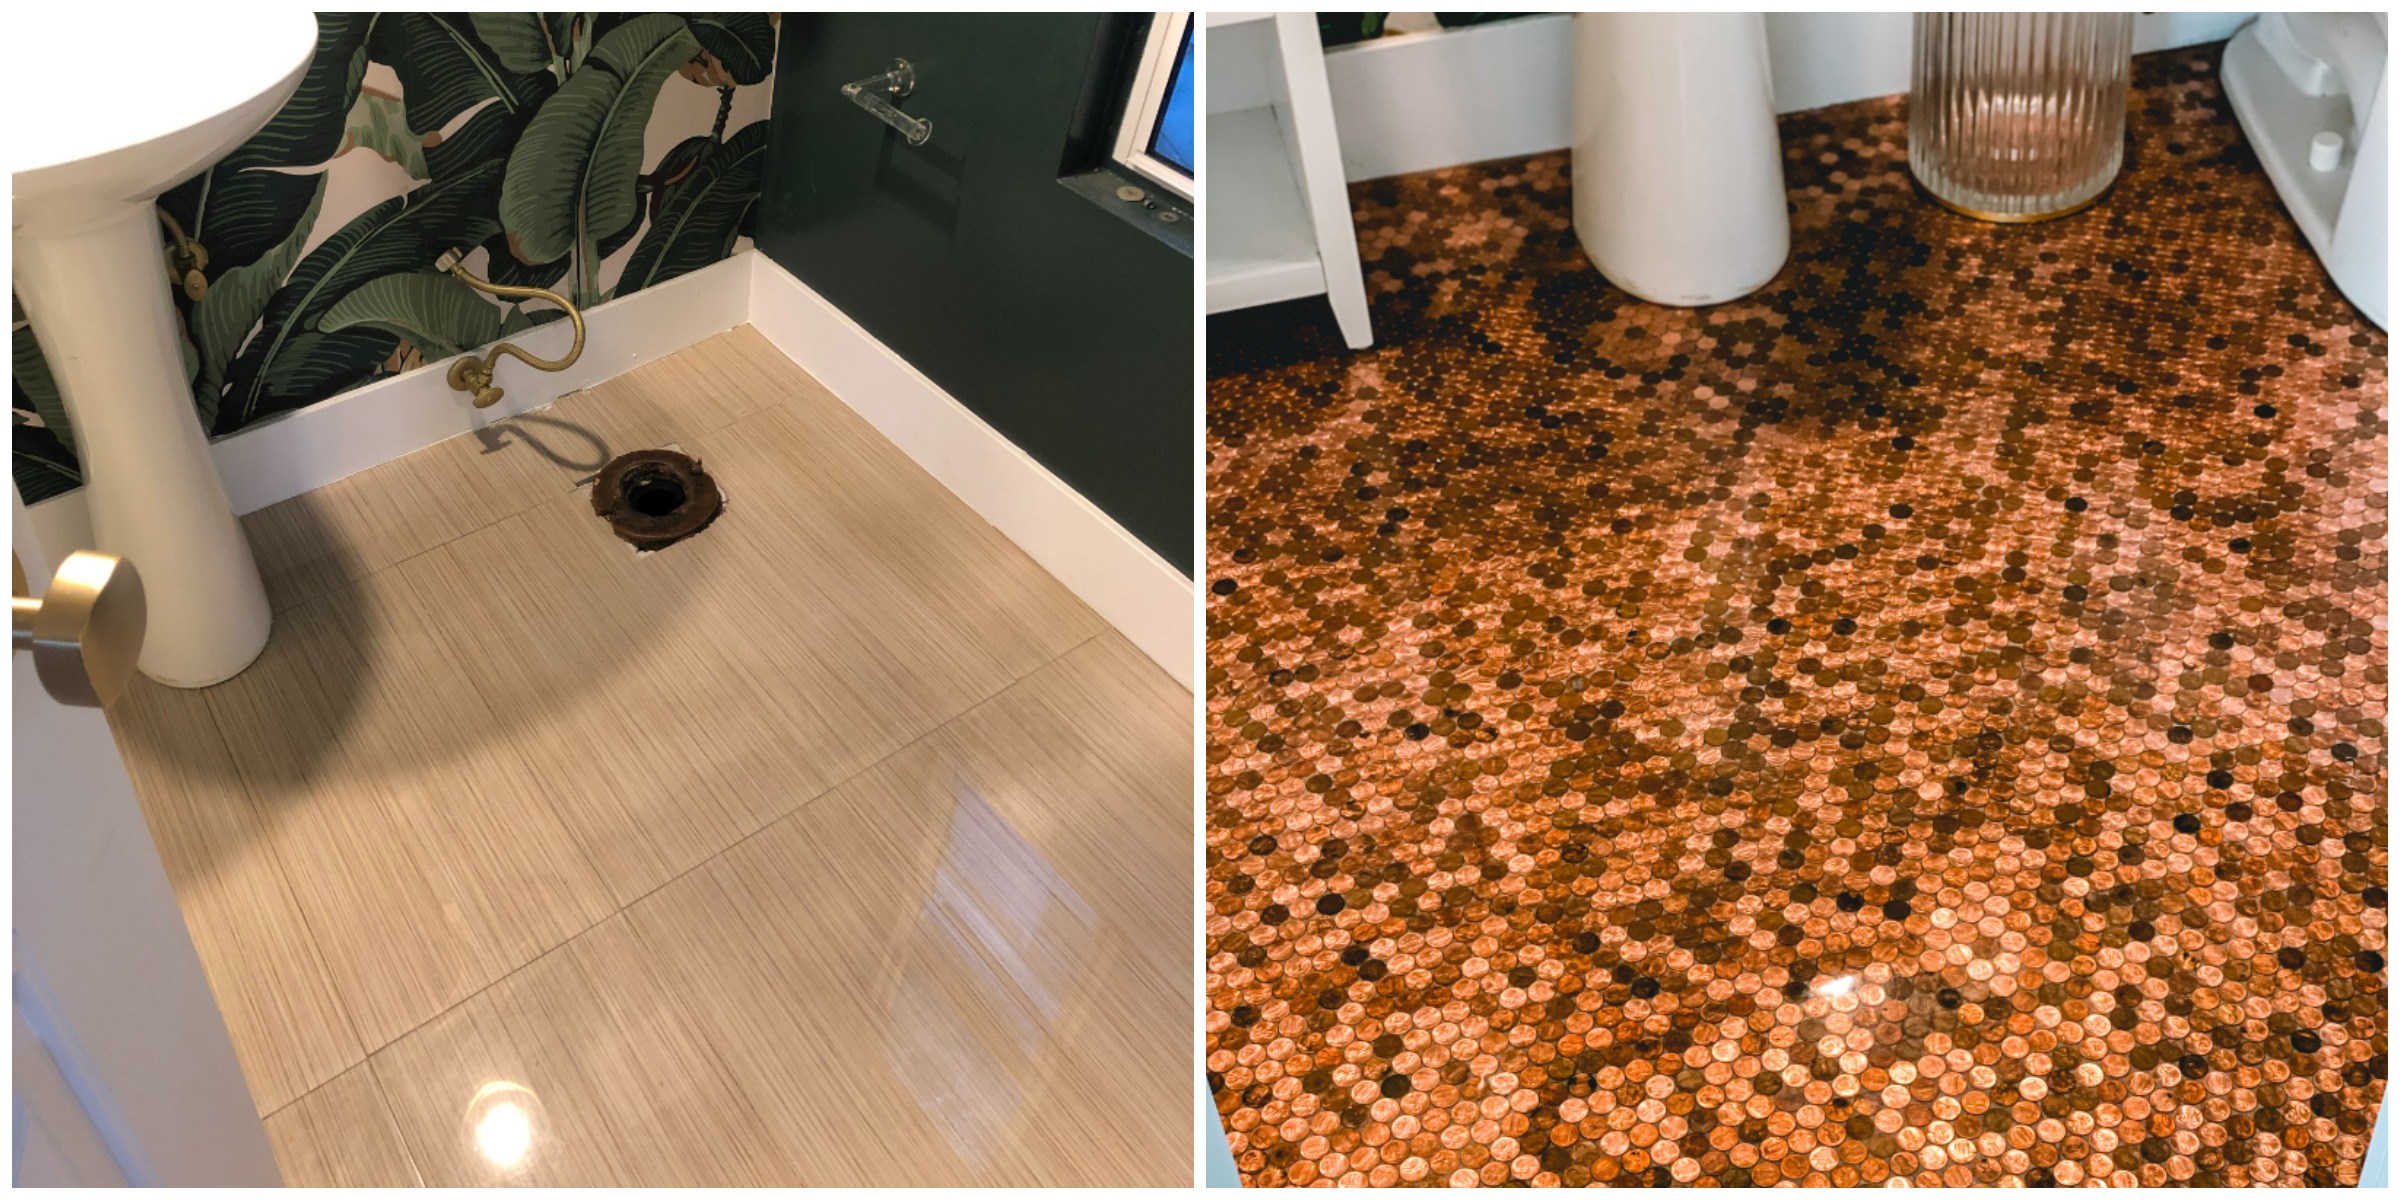
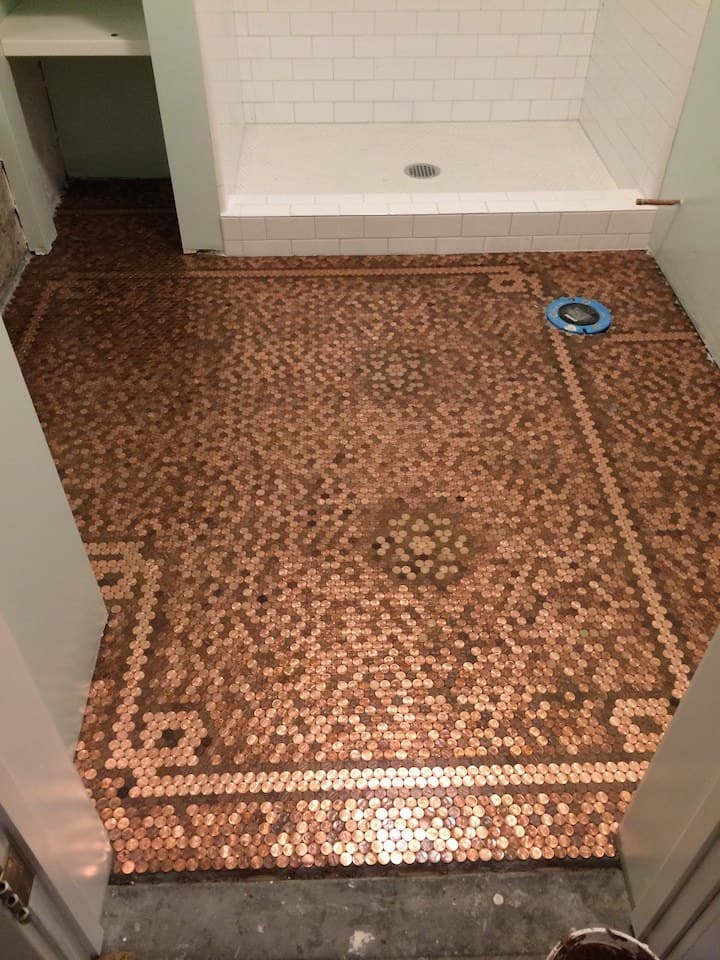
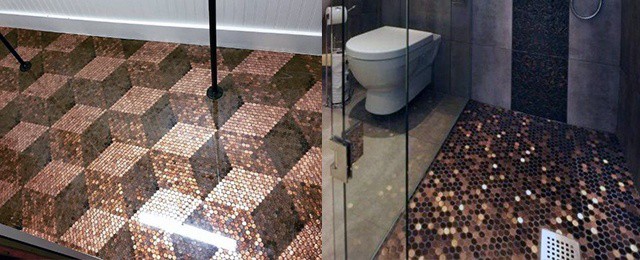
Top 60 Best Penny Floor Design Ideas – Copper Coin Flooring

Top 60 Best Penny Floor Design Ideas – Copper Coin Flooring
Top 60 Best Penny Floor Design Ideas – Copper Coin Flooring

How To Install A Penny Floor – A Made in USA DIY Project u2022 USA

Woman Spends 16 Hours Painstakingly Gluing $77 Worth of Pennies to
Copper Penny Floor Tile – Eclectic – Phoenix – by Alpentile Houzz

These 4 Home Owners Tiled Their Bathroom Floors With Pennies
How To Make Copper Penny Flooring In 9 Easy Steps

The definitive guide to penny floor costs – Penny Portrait

Top 60 Best Penny Floor Design Ideas – Copper Coin Flooring
Copper Penny Tile – Photos u0026 Ideas Houzz
Related Posts:
- Reglazing Bathroom Floor Tiles
- Colorful Bathroom Floor Tile
- Vinyl Flooring For Bathrooms
- Bathroom Flooring Ideas
- Bathroom Floor Patterns
- Bathroom Tile Floors
- Modern Vinyl Bathroom Flooring
- Mosaic Bathroom Floor Tiles
- Wood Bathroom Floor
- 1930s Bathroom Floor Tile
Creating a Copper Penny Bathroom Floor: A Detailed Guide
Are you looking to give your bathroom a unique, eye-catching makeover? Installing a copper penny bathroom floor might be the perfect solution! Not only is it visually stunning, but it’s also an affordable and creative way to upgrade your bathroom. Here’s a complete guide to creating a copper penny bathroom floor.
What You’ll Need
Before you get started, you’ll need some supplies:
– Copper pennies
– Liquid epoxy resin adhesive
– Resin hardener
– Measuring cup
– Paint stirrer
– Paint roller
– Protective gloves and mask
– Sponge and bucket of water
– Wax sealant
– White grout
– Grout sealant
Preparing the Floor
The first step is to prepare the floor for installation. Begin by cleaning the surface of any dirt, dust, or debris. Then, use a damp sponge and bucket of water to mop the floor. Once the floor has dried, use a paint roller to apply two coats of liquid epoxy resin adhesive. Allow each coat to dry completely before applying the next coat.
Installing the Copper Pennies
The next step is to install the copper pennies. Pour one part hardener and one part resin into a measuring cup and stir with a paint stirrer until they are completely combined. Using protective gloves, spread the mixture thinly over the entire surface of the floor. Then, carefully place the pennies onto the adhesive in an even pattern. Make sure each penny is pressed firmly into place. Once all of the pennies have been installed, allow them to dry for 24 hours.
Adding Wax Sealant and Grout
The final step is to add wax sealant and grout. Start by using a paint roller to cover the entire floor with wax sealant. This will help protect the pennies from water damage. Allow the sealant to dry for 24 hours before adding grout. Mix white grout with water in a bucket until it reaches a thick consistency and then spread it evenly over the entire floor with a paint roller. Allow the grout to dry completely before applying grout sealant with another paint roller. Wait 24 hours before standing on your new copper penny bathroom floor!
Frequently Asked Questions
Q: How long does it take to install a copper penny bathroom floor?
A: The entire process can take several days depending on how large your bathroom is. It’s important to allow each coat of liquid epoxy adhesive and sealant to dry completely before adding the next layer.
Q: How do I clean my copper penny bathroom floor?
A: To clean your copper penny bathroom floor, simply use a damp mop or cloth with warm water and mild soap. Avoid using harsh chemicals or abrasive cleaners that could damage the pennies or sealant.
Q: Will my copper penny bathroom floor last for a long time?
A: With proper care and maintenance, your copper penny bathroom floor should last for many years without any issues!