Understanding the Need for Cork Floor Repair
Cork floors are known for their durability and natural beauty. However, over time, they can be subjected to wear and tear, resulting in the need for repair. Understanding the need for cork floor repair is crucial to maintaining the longevity and aesthetic appeal of your cork flooring.
- Identifying Common Issues: Cork floors can develop a range of issues, including scratches, dents, stains, and water damage. These problems can occur due to heavy foot traffic, furniture movement, or accidental spills. By understanding the common issues, you can assess the severity of the damage and determine if repair is necessary.
- Preventing Further Damage: Ignoring minor issues can lead to more significant problems down the line. For example, a small scratch can expand and become more noticeable if left untreated. By recognizing the need for repair and taking immediate action, you can prevent further damage and maintain the integrity of your cork flooring.
- Preserving Aesthetic Appeal: Cork floors are prized for their natural beauty and unique patterns. When damaged, the overall appearance of the floor can be compromised. Repairing any imperfections ensures that your cork flooring remains visually appealing, allowing you to enjoy its natural charm for years to come.
- Ensuring Safety: Damaged cork floors can pose a safety hazard, especially if there are loose tiles or protruding edges. Repairing these issues promptly will help prevent accidents, ensuring a safe environment for you and your family.
- Extending the Lifespan of Your Flooring: By addressing the need for cork floor repair on time, you can extend the lifespan of your flooring. Regular maintenance and repair will help minimize the impact of wear and tear, allowing your cork floors to last for many years.
Exploring the Components of a Cork Floor Repair Kit
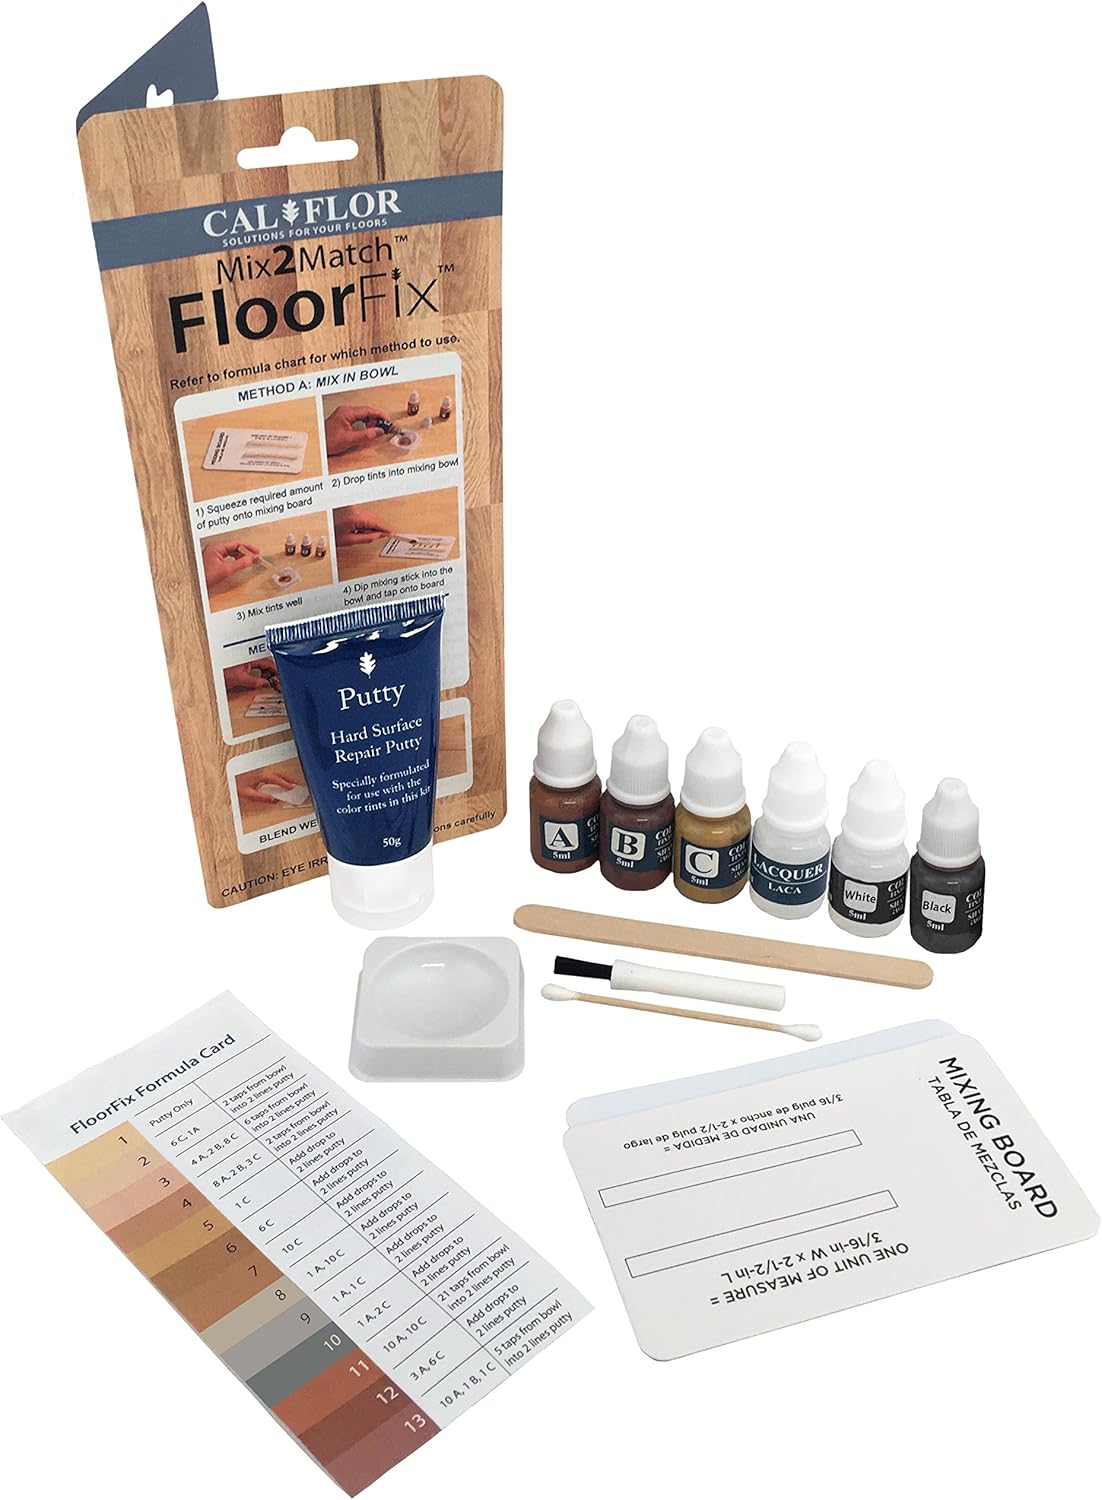
A cork floor repair kit is a valuable tool that can help you address minor damages to your cork flooring. Understanding the components of a cork floor repair kit is essential to ensure you have everything you need to effectively and efficiently repair your floors.
Filler: The filler is a crucial component of a cork floor repair kit. It is used to fill in scratches, dents, and other minor imperfections in the cork flooring. The filler is typically a blend of cork particles and adhesive, designed to match the color and texture of your existing flooring.
Applicator: An applicator, such as a putty knife or spatula, is included in the repair kit to facilitate the smooth application of the filler. The applicator ensures that the filler is evenly distributed and properly leveled, resulting in a seamless repair.
Sandpaper: Sandpaper is used to prepare the damaged area for repair. It helps to smooth out rough edges, remove any loose particles, and create a clean surface for the filler. The repair kit usually includes different grits of sandpaper to accommodate various levels of damage.
Protective Coating: Once the filler has been applied and dried, a protective coating is used to seal and protect the repaired area. The coating provides an additional layer of durability, preventing further damage and ensuring the longevity of the repair.
Instructions: A comprehensive set of instructions is typically included in a cork floor repair kit. These instructions guide you through the repair process, providing step-by-step guidance on how to use each component effectively. It is essential to read and follow these instructions carefully to achieve the best results.
Step-by-Step Guide to Using a Cork Floor Repair Kit
Repairing cork floors using a repair kit can be a simple process when following a step-by-step guide. Here is a comprehensive guide to help you effectively use a cork floor repair kit and restore the beauty of your cork flooring.
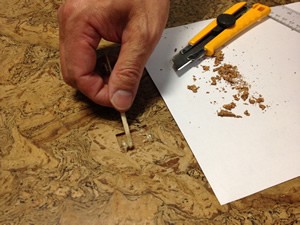
Assess the Damage: Begin by assessing the damage to your cork flooring. Identify any scratches, dents, or other imperfections that require repair. Take note of the severity and size of the damage to determine the amount of filler and other materials you will need.
Clean the Area: Before starting the repair, ensure that the damaged area is clean and free of debris. Use a broom or vacuum cleaner to remove any loose particles. Wipe the area with a damp cloth to remove any dirt or stains that could interfere with the repair process.
Prepare the Filler: Follow the instructions provided with your cork floor repair kit to prepare the filler. Mix the filler and adhesive as directed until you achieve a smooth consistency. Take care to match the color and texture of the filler with your existing flooring.
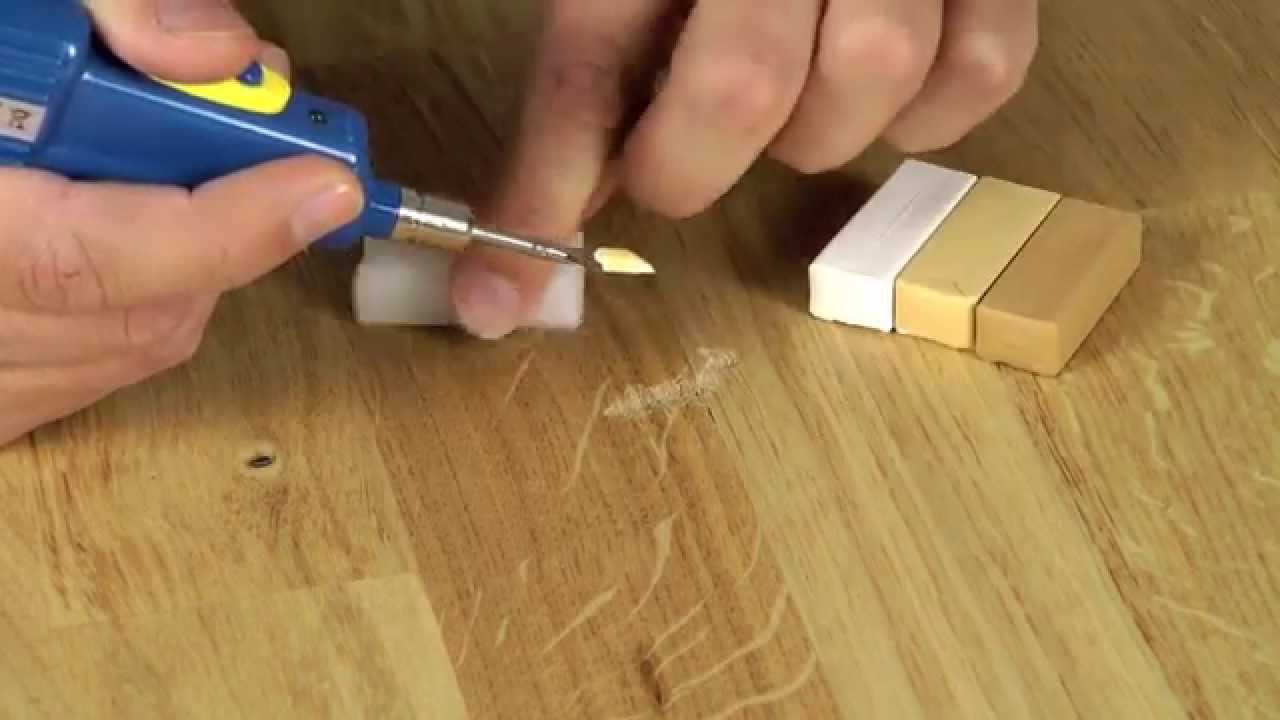
Apply the Filler: Using the applicator provided in the repair kit, apply the filler to the damaged area. Spread the filler evenly, ensuring that it fills in the scratch or dent completely. Use the applicator to smooth out the surface of the filler, blending it seamlessly with the surrounding cork flooring.
Let it Dry: Allow the filler to dry completely according to the instructions provided. This usually takes a few hours or overnight, depending on the type of filler used. Avoid walking on the repaired area until it is fully dry to prevent any damage to the filler.
Sand and Refine: Once the filler has dried, use the sandpaper included in the repair kit to sand down the repaired area. Start with a coarser grit to remove any excess filler and rough edges. Gradually progress to finer grits to achieve a smooth and seamless finish.
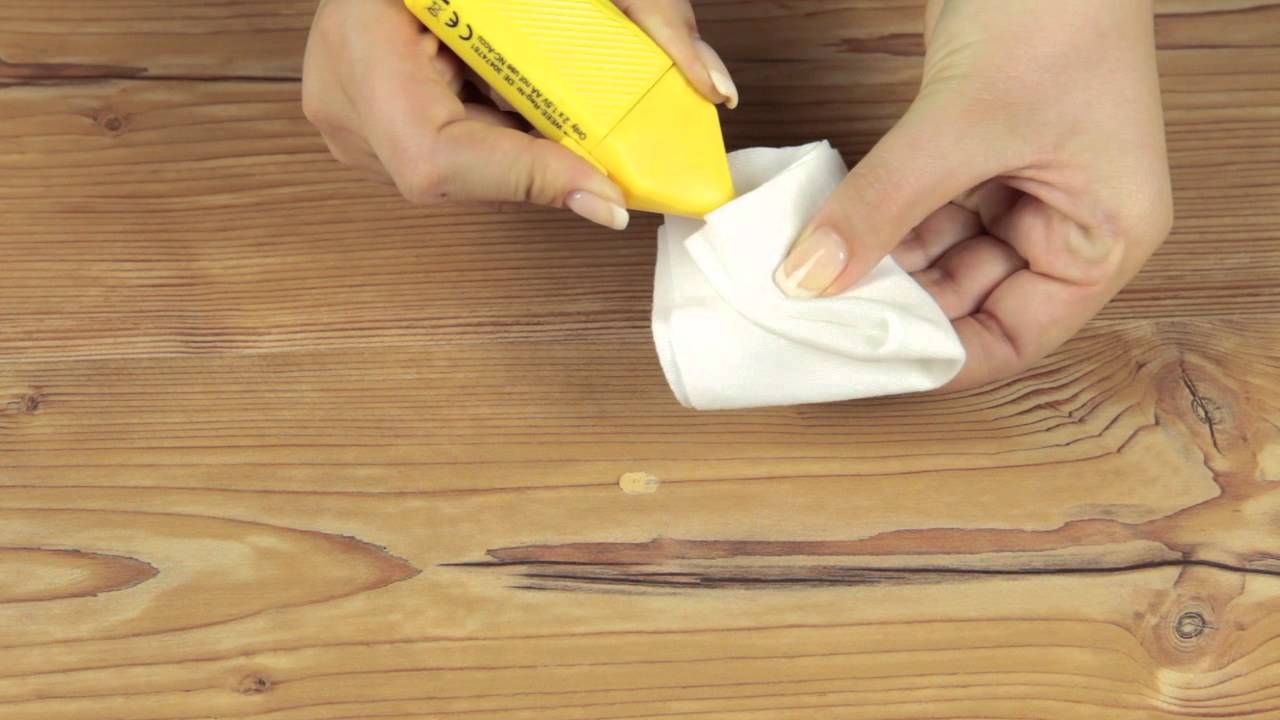
Apply the Protective Coating: After sanding, apply the protective coating as directed in the repair kit instructions. The coating will seal and protect the repaired area, ensuring its longevity and durability. Follow the drying time specified before using the floor.

Tips and Tricks for Seamless Cork Floor Repairs
Repairing cork floors can be a DIY task with the right knowledge and techniques. Here are some tips and tricks to help you achieve seamless cork floor repairs using a repair kit.
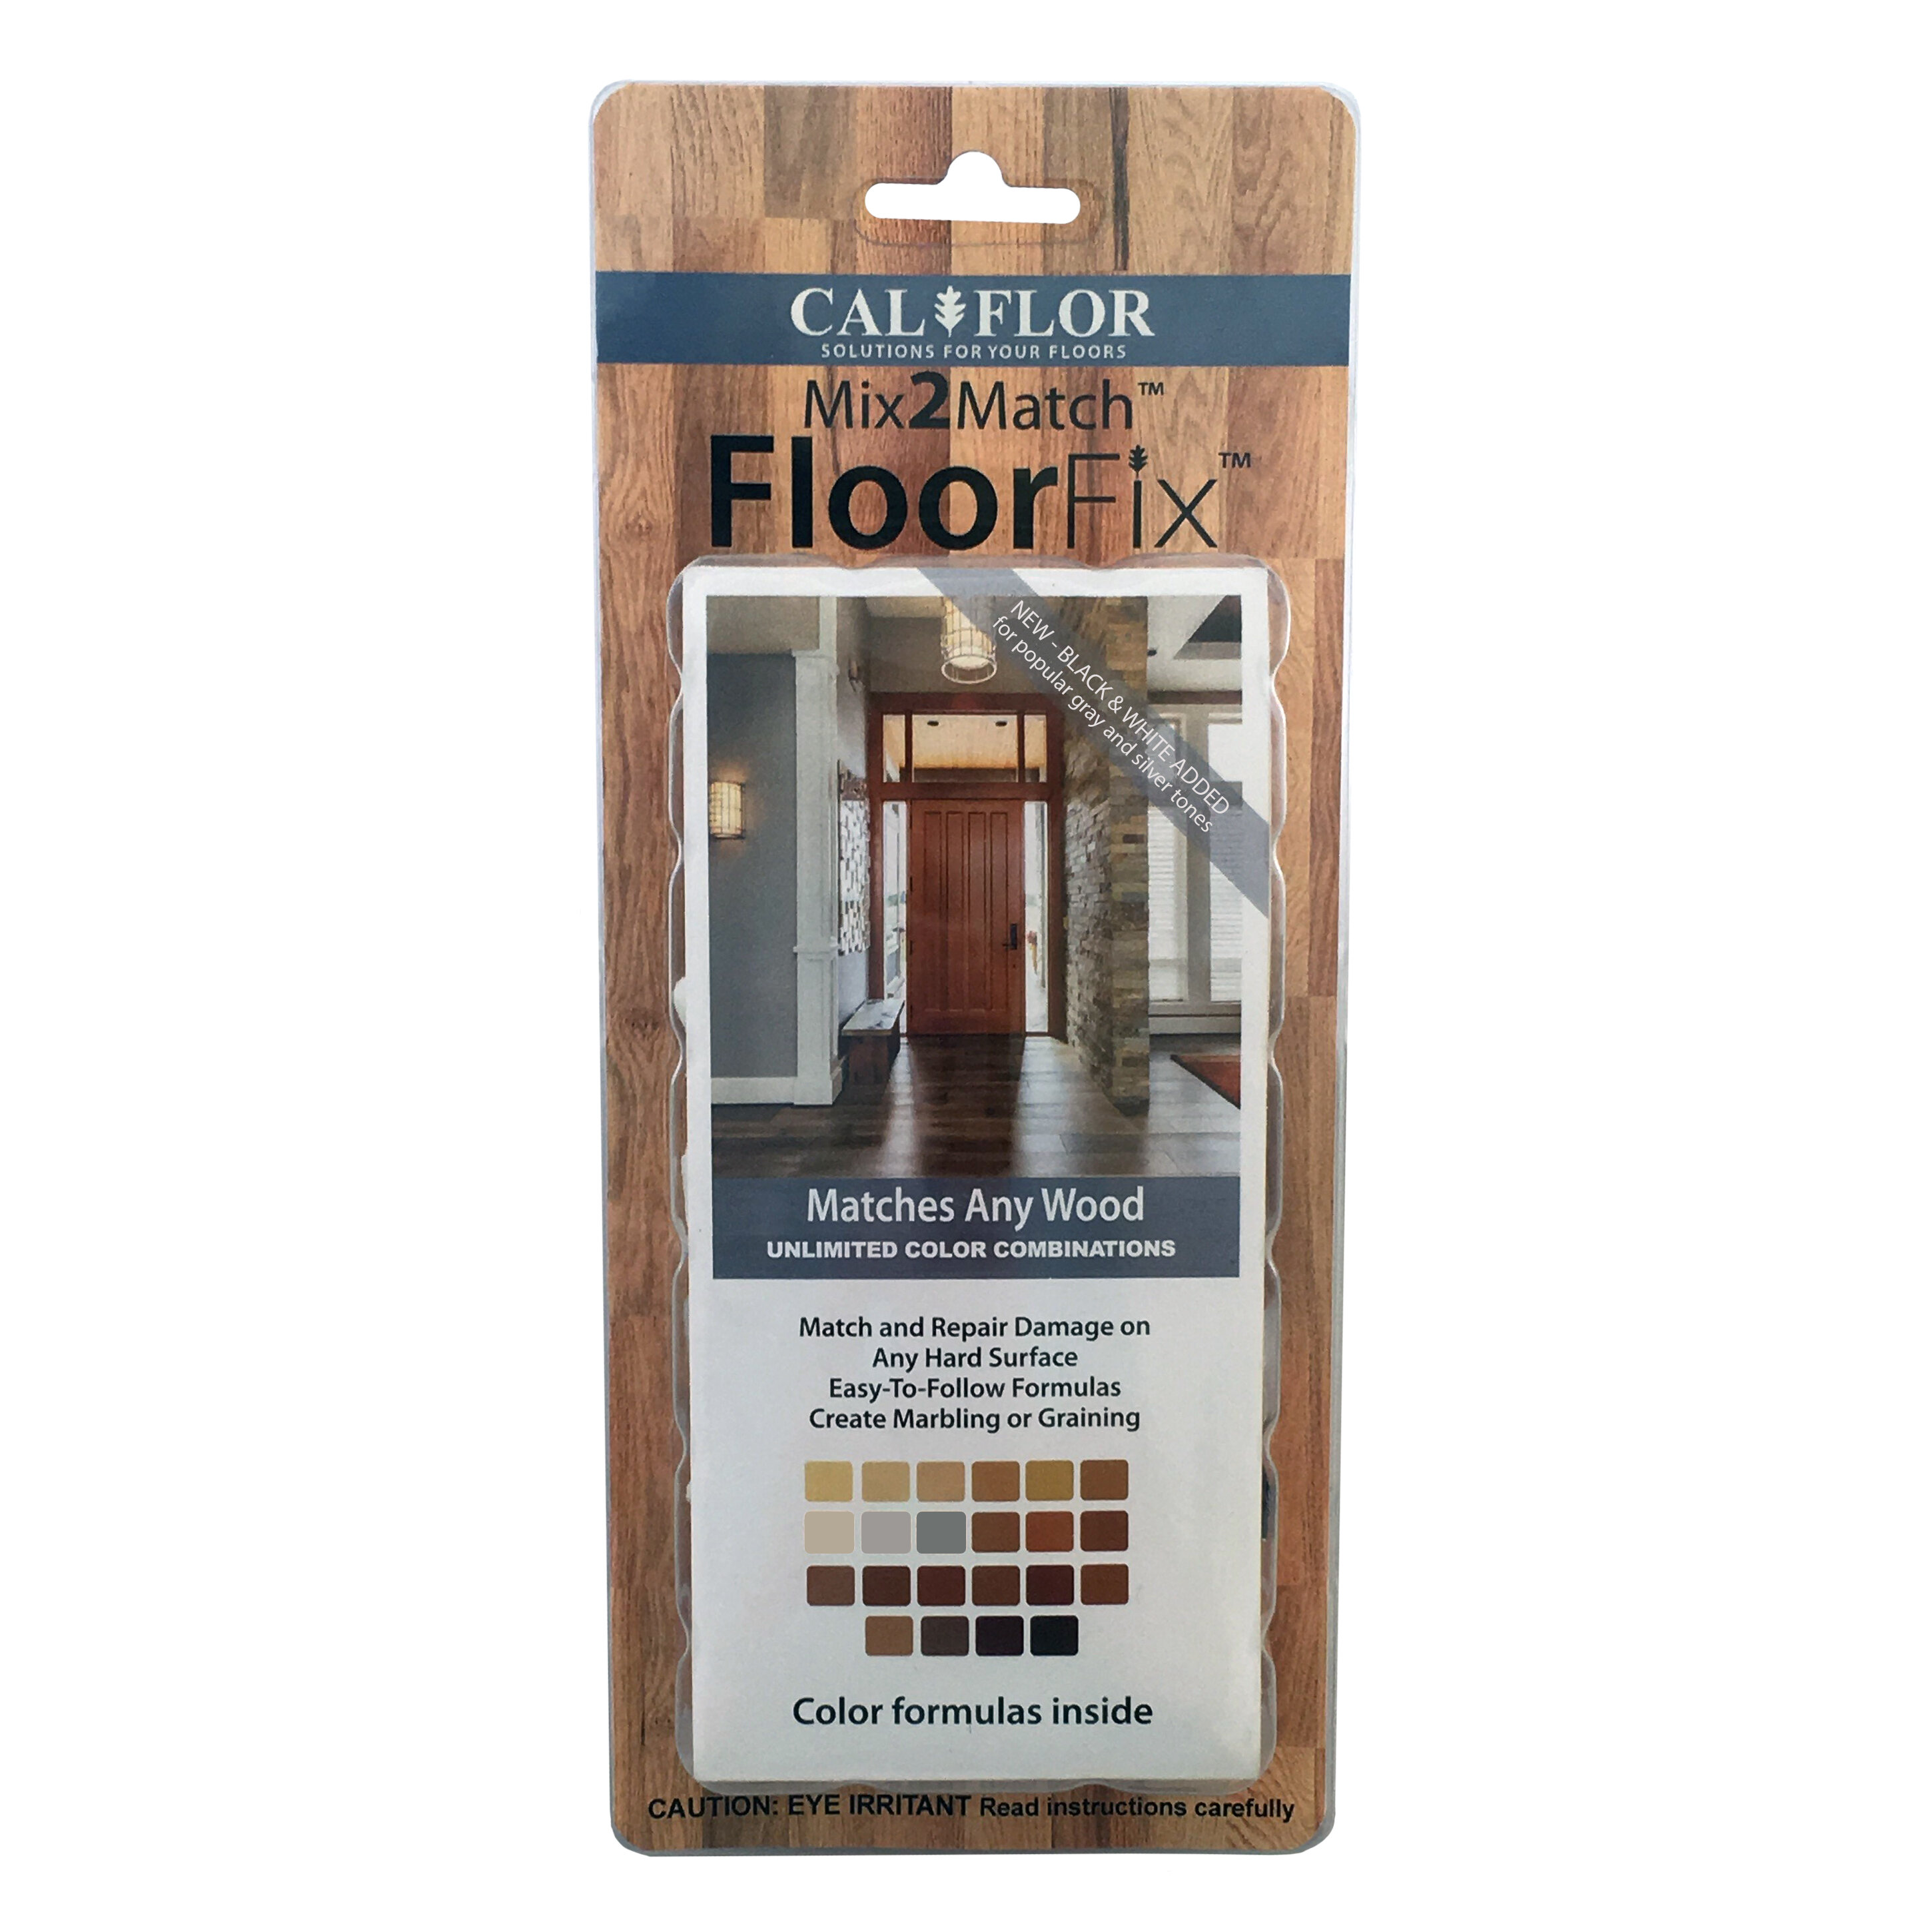
Choose the Right Color: When selecting a filler for your cork floor repair, choose a color that closely matches the existing flooring. This will help to blend the repaired area seamlessly with the rest of the floor, making the repair less noticeable.
Test the Filler: Before applying the filler to the damaged area, test it on a small, inconspicuous spot to ensure a proper color match. This will allow you to make any necessary adjustments before applying the filler to the visible area.
Don’t Overfill: It’s important not to overfill the damaged area with filler. Apply the filler in thin layers, allowing each layer to dry before adding more. This will help you achieve a smoother and more natural-looking repair.
Sand Gently: When sanding the repaired area, use a gentle touch. Sand in a circular motion, applying light pressure to avoid creating noticeable depressions or unevenness in the repaired area. Take your time to achieve a smooth finish.
Follow the Instructions: Each cork floor repair kit may have specific instructions and recommendations. Be sure to read and follow the instructions provided with the kit to ensure the best results. These instructions will guide you through the repair process and help you avoid common mistakes.
Regular Maintenance: To minimize the need for future repairs, practice regular maintenance of your cork flooring. Avoid dragging heavy furniture across the floor, use protective pads under furniture legs, and promptly clean up any spills or stains. By taking proactive measures, you can prevent further damage and maintain the beauty of your cork floors.
Maintaining and Protecting Cork Floors
Once you have repaired your cork floors using a repair kit, it is essential to implement proper maintenance and protection strategies to ensure their longevity. Here are some tips for maintaining and protecting your cork floors:
Regular Cleaning: Regularly sweep or vacuum your cork floors to remove dirt, dust, and debris. Avoid using excessive water or harsh chemicals, as they can damage the cork. Instead, use a damp mop with a mild cleaning solution specifically designed for cork floors.
Preventive Measures: Place doormats or rugs at entryways to trap dirt and prevent it from scratching the surface of your cork flooring. Use protective pads under furniture legs to prevent scratches and dents when moving or rearranging furniture.
Avoid Excessive Sunlight: Prolonged exposure to direct sunlight can cause discoloration and fading of cork floors. Use window coverings or UV-protective films to minimize the impact of sunlight on your floors.
Moisture Control: Cork is susceptible to moisture damage, so it’s important to promptly clean up any spills or leaks. Avoid excessive moisture in the air by using a dehumidifier if necessary, especially in humid climates or areas prone to moisture.
Refinishing: Over time, cork floors may show signs of wear. Refinishing the floors every few years can help restore their original luster and protect them from further damage. Consult a professional for the best refinishing methods and products suitable for cork flooring.
Regular Inspections: Conduct regular inspections of your cork floors to identify any signs of damage or wear. Addressing issues promptly will help prevent further damage and the need for extensive repairs.
Repair Cork Floor – How To Patch A Cork Floor – Cancork

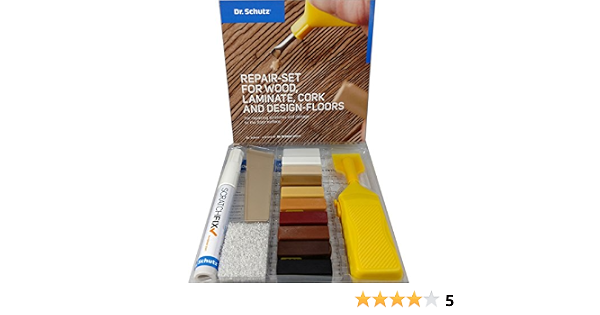
PREMIUM Repair Kit picobello-Shop
Mini Repair Kit picobello-Shop
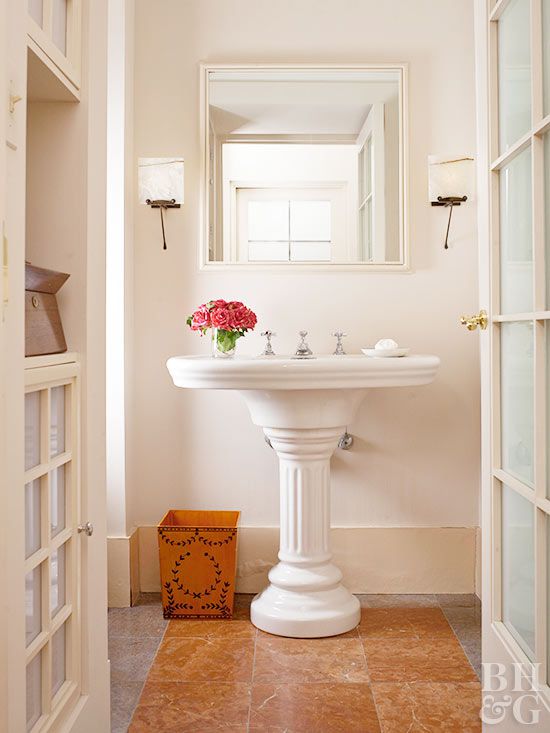
Cork Floors for Bathrooms Better Homes
Related Posts: