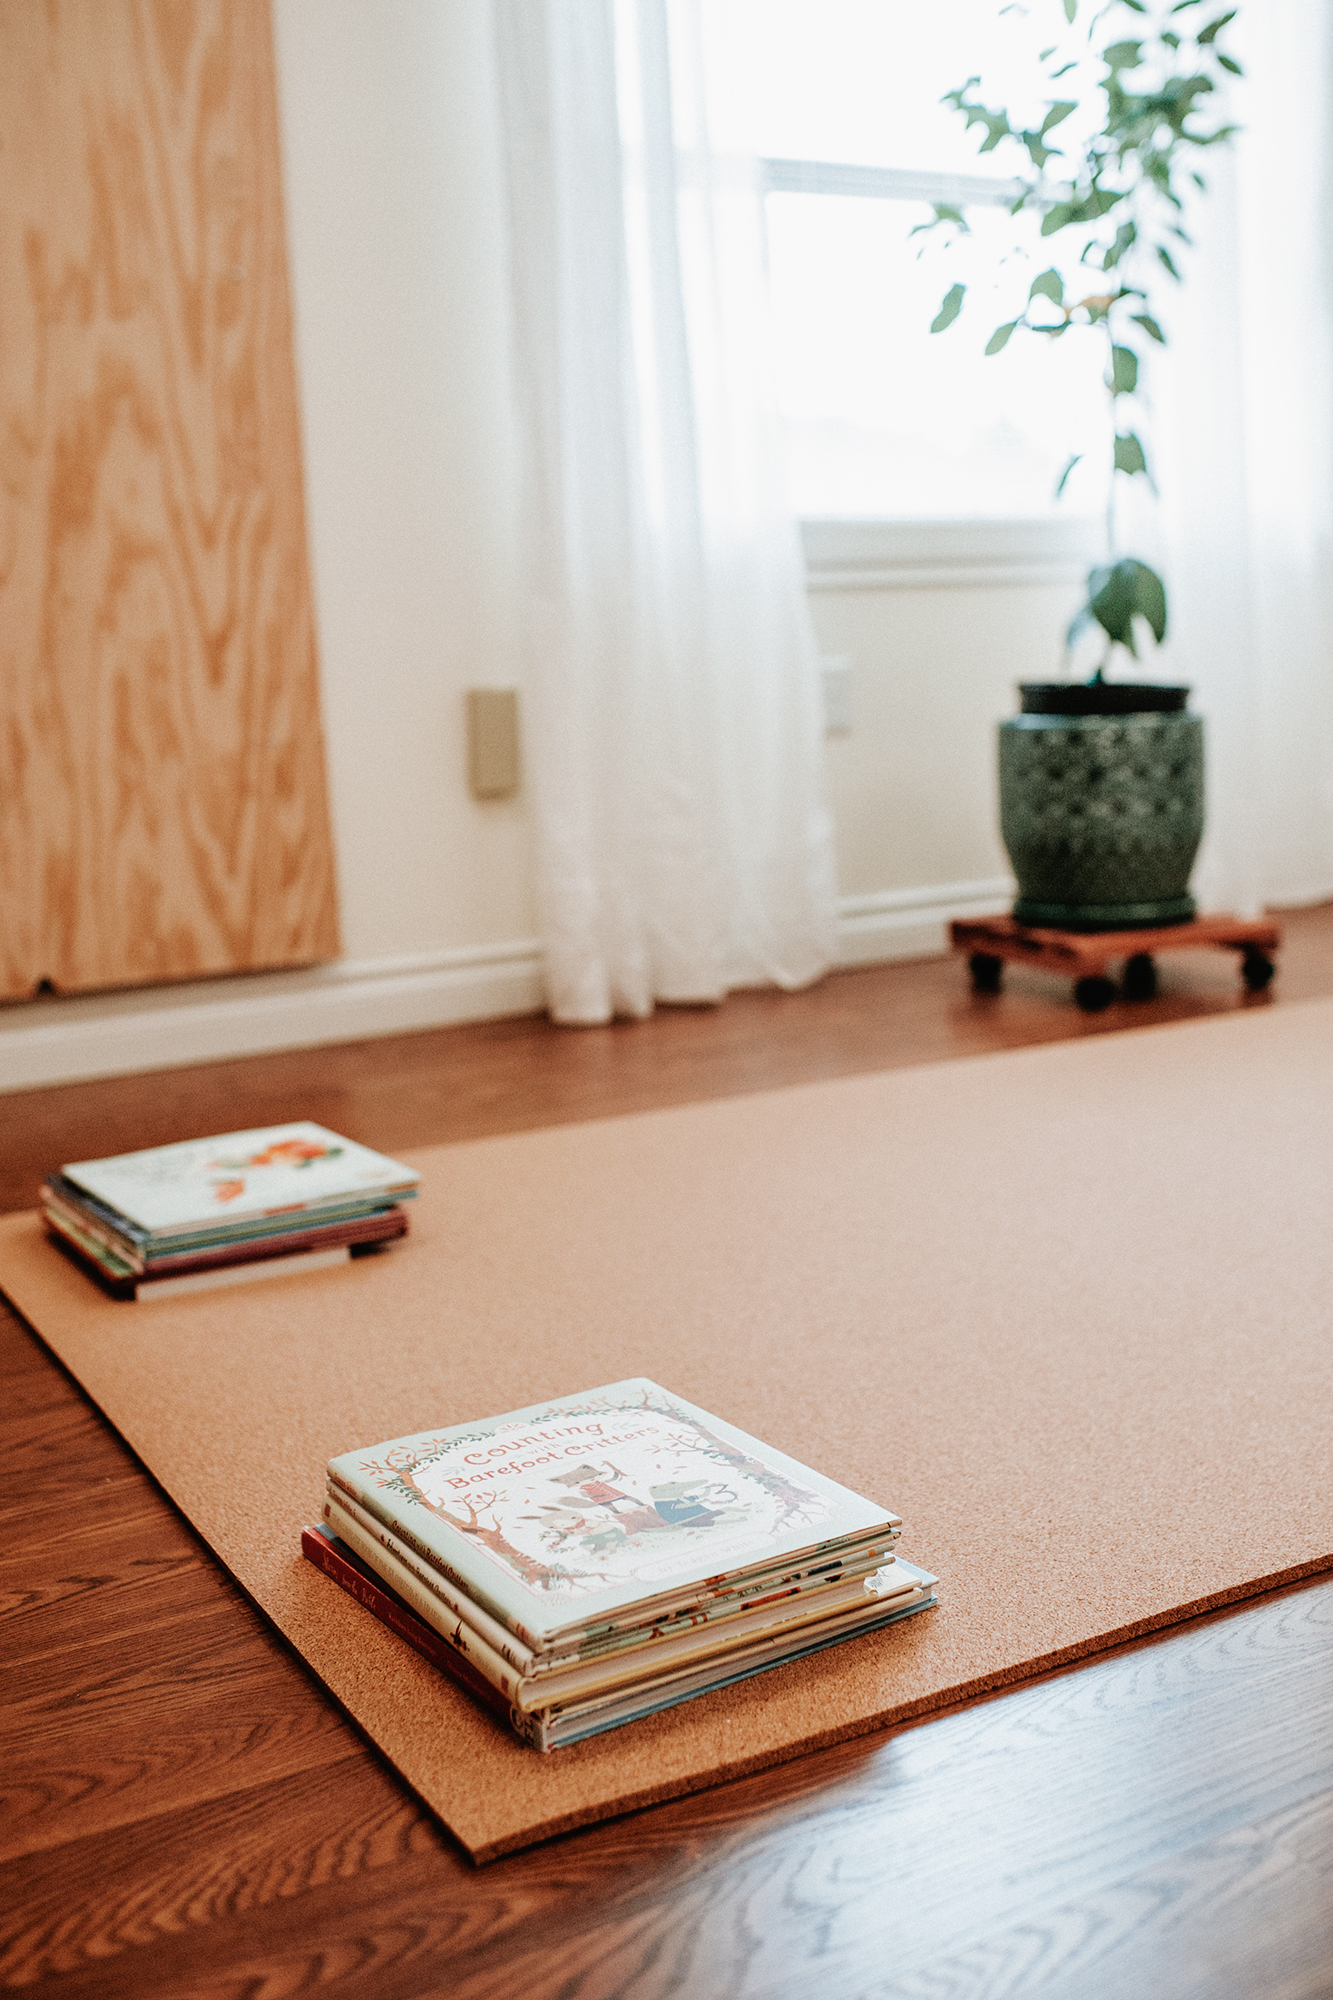
Installing cork flooring requires careful planning and attention to detail to ensure a successful and long-lasting result. Cork flooring offers numerous benefits, including durability, comfort underfoot, thermal insulation, and sound absorption, making it an attractive option for homeowners seeking eco-friendly and sustainable flooring solutions. Before beginning the installation process, it’s essential to prepare the subfloor properly and acclimate the cork tiles or planks to the environment to prevent warping or shrinking after installation.
Images about Cork Flooring Installation Guide
Cork Flooring Installation Guide

The first step in cork flooring installation is preparing the subfloor. The subfloor must be clean, level, and dry to ensure proper adhesion and stability of the cork tiles or planks. Any existing flooring materials, such as carpet, vinyl, or hardwood, should be removed, and the subfloor should be thoroughly cleaned and inspected for any signs of damage or moisture issues. If necessary, repairs should be made, and moisture barriers or underlayment may need to be installed to create a suitable surface for the cork flooring.

Once the subfloor is prepared, the next step is to acclimate the cork flooring materials to the room’s temperature and humidity levels. This typically involves storing the cork tiles or planks in the installation area for a specified period, allowing them to adjust to the environment and prevent expansion or contraction after installation. It’s essential to follow the manufacturer’s recommendations for acclimation time and conditions to ensure optimal performance of the cork flooring.

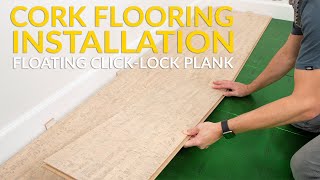
After acclimating the cork flooring materials, the installation process can begin. Cork tiles or planks can be installed using various methods, including floating, glue-down, or nail-down techniques, depending on the type of cork flooring and the preferences of the homeowner. Floating installation, which involves interlocking the cork tiles or planks without adhesive, is a popular choice for DIY enthusiasts due to its simplicity and versatility. Glue-down installation provides a more permanent and stable bond, while nail-down installation is typically reserved for cork flooring with a plywood backing.
Regardless of the installation method chosen, it’s essential to follow the manufacturer’s instructions carefully and use the appropriate tools and materials for the job. Properly installed cork flooring should provide a seamless and visually appealing surface that enhances the comfort and functionality of the space. By taking the time to prepare the subfloor, acclimate the cork flooring materials, and follow best practices for installation, homeowners can enjoy the numerous benefits of cork flooring for years to come.

How to Install Cork Tile Flooring (DIY) Family Handyman

Complete Guide To Cork Flooring Installation Deerfoot Carpet
DIY Cork Flooring – Pros, Cons u0026 Green Installation Guide for LEED
How to Install a Cork Floor
Flooring Installation Install Floors Like a PRO CALI Floor

Cali Cork Flooring Floated Click-lock Installation
Cork Glue Down Floors u2014 Jelinek Cork Group®
2024 Cork Flooring Installation Guide Cost of Cork Flooring
Should You Install Cork Flooring in Your Flip? Paces Funding

Related Posts:
- Cork Flooring Colors
- Cork Flooring Dining Room
- Light Cork Flooring
- Engineered Cork Flooring
- Cork Flooring In Kitchen
- Cork Flooring Modern
- Cork Flooring White
- Herringbone Cork Flooring
- Outdoor Cork Flooring
- Cork Flooring Bathroom
Cork Flooring Installation Guide: Everything You Need to Know
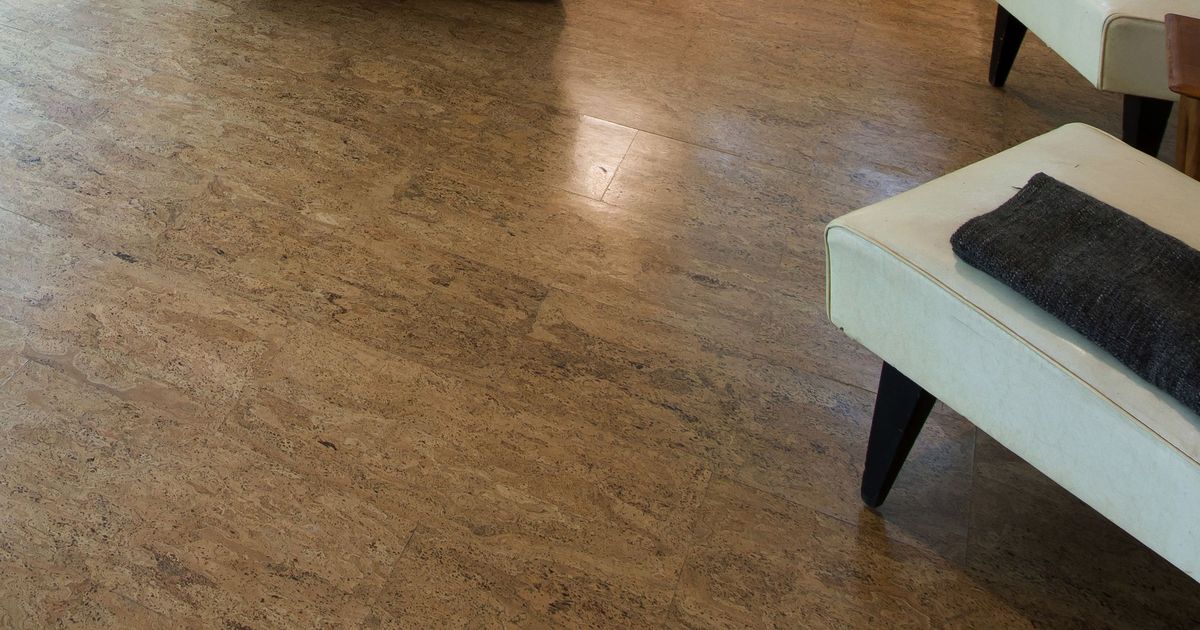
Cork flooring is a great option for many homeowners who are looking for a durable and attractive flooring material. Cork is naturally resilient and soft, making it a comfortable surface for standing or walking on. Plus, it is also available in a variety of colors, textures, and styles so you can find one that fits your home’s decor. Installing cork flooring can be a bit tricky, but with the right information and tools, you can do it yourself. Read this comprehensive guide and learn everything you need to know about cork flooring installation.
What You’ll Need
Before you start the installation process, make sure you have the right tools and materials. Here’s what you’ll need:
-Cork tiles
-Foam underlayment
-Flathead screwdriver
-Tape measure
-Utility knife
-Hammer
-Carpenter’s square
-Wood glue or construction adhesive
-Tapping block
-Handsaw
-Vacuum cleaner
-Chalk line
Preparing Your Subfloor
The first step in installing cork flooring is to properly prepare your subfloor. Check the subfloor for any unevenness or imperfections and make sure it is clean and dry before beginning the installation process. If there are any major issues with the subfloor, they should be addressed before you start installing the cork tiles. Patch any holes in the subfloor with wood putty and use a leveler to ensure that your surface is even before proceeding.
Installing Foam Underlayment
Once your subfloor is prepped and ready to go, it’s time to install the foam underlayment. This layer of foam will provide additional cushioning and noise reduction for your cork flooring. Make sure to read the instructions on the package carefully before applying the foam underlayment as different brands may have different procedures for installation. Generally, you will want to roll out the foam in 6 foot sections, overlapping each section by 2 inches as you go. Make sure to cut off any excess foam along the edges of your room with a utility knife. Once all of the foam has been installed, use a flathead screwdriver to secure it in place.
Laying Out Your Tiles
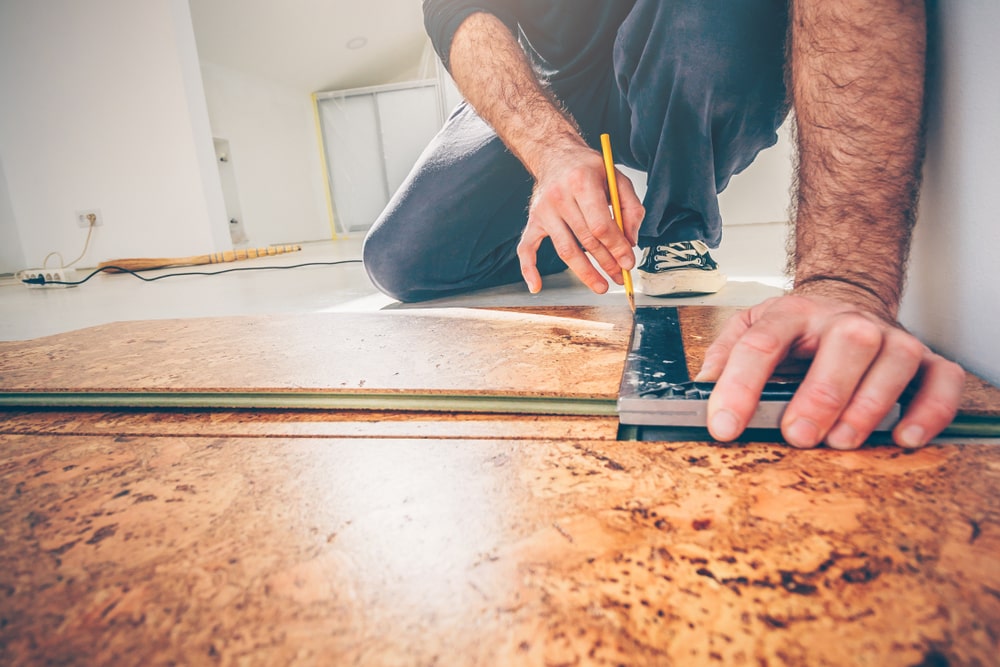
Now that your subfloor is prepped and your foam underlayment is installed, it’s time to lay out your cork tiles. Start at one corner of the room and measure out an area that is equal to one cork tile plus 1/4 inch spacing on all sides. Use a carpenter’s square to make sure each corner of your area is squared off before continuing on with the next tile. Continue this process until all of your tiles are laid out in the desired pattern. Make sure each row of tiles lines up evenly with the row before it. Once you are finished laying out all of your tiles, use a chalk line to draw lines along each row so you know where to cut them when it comes time for installation.
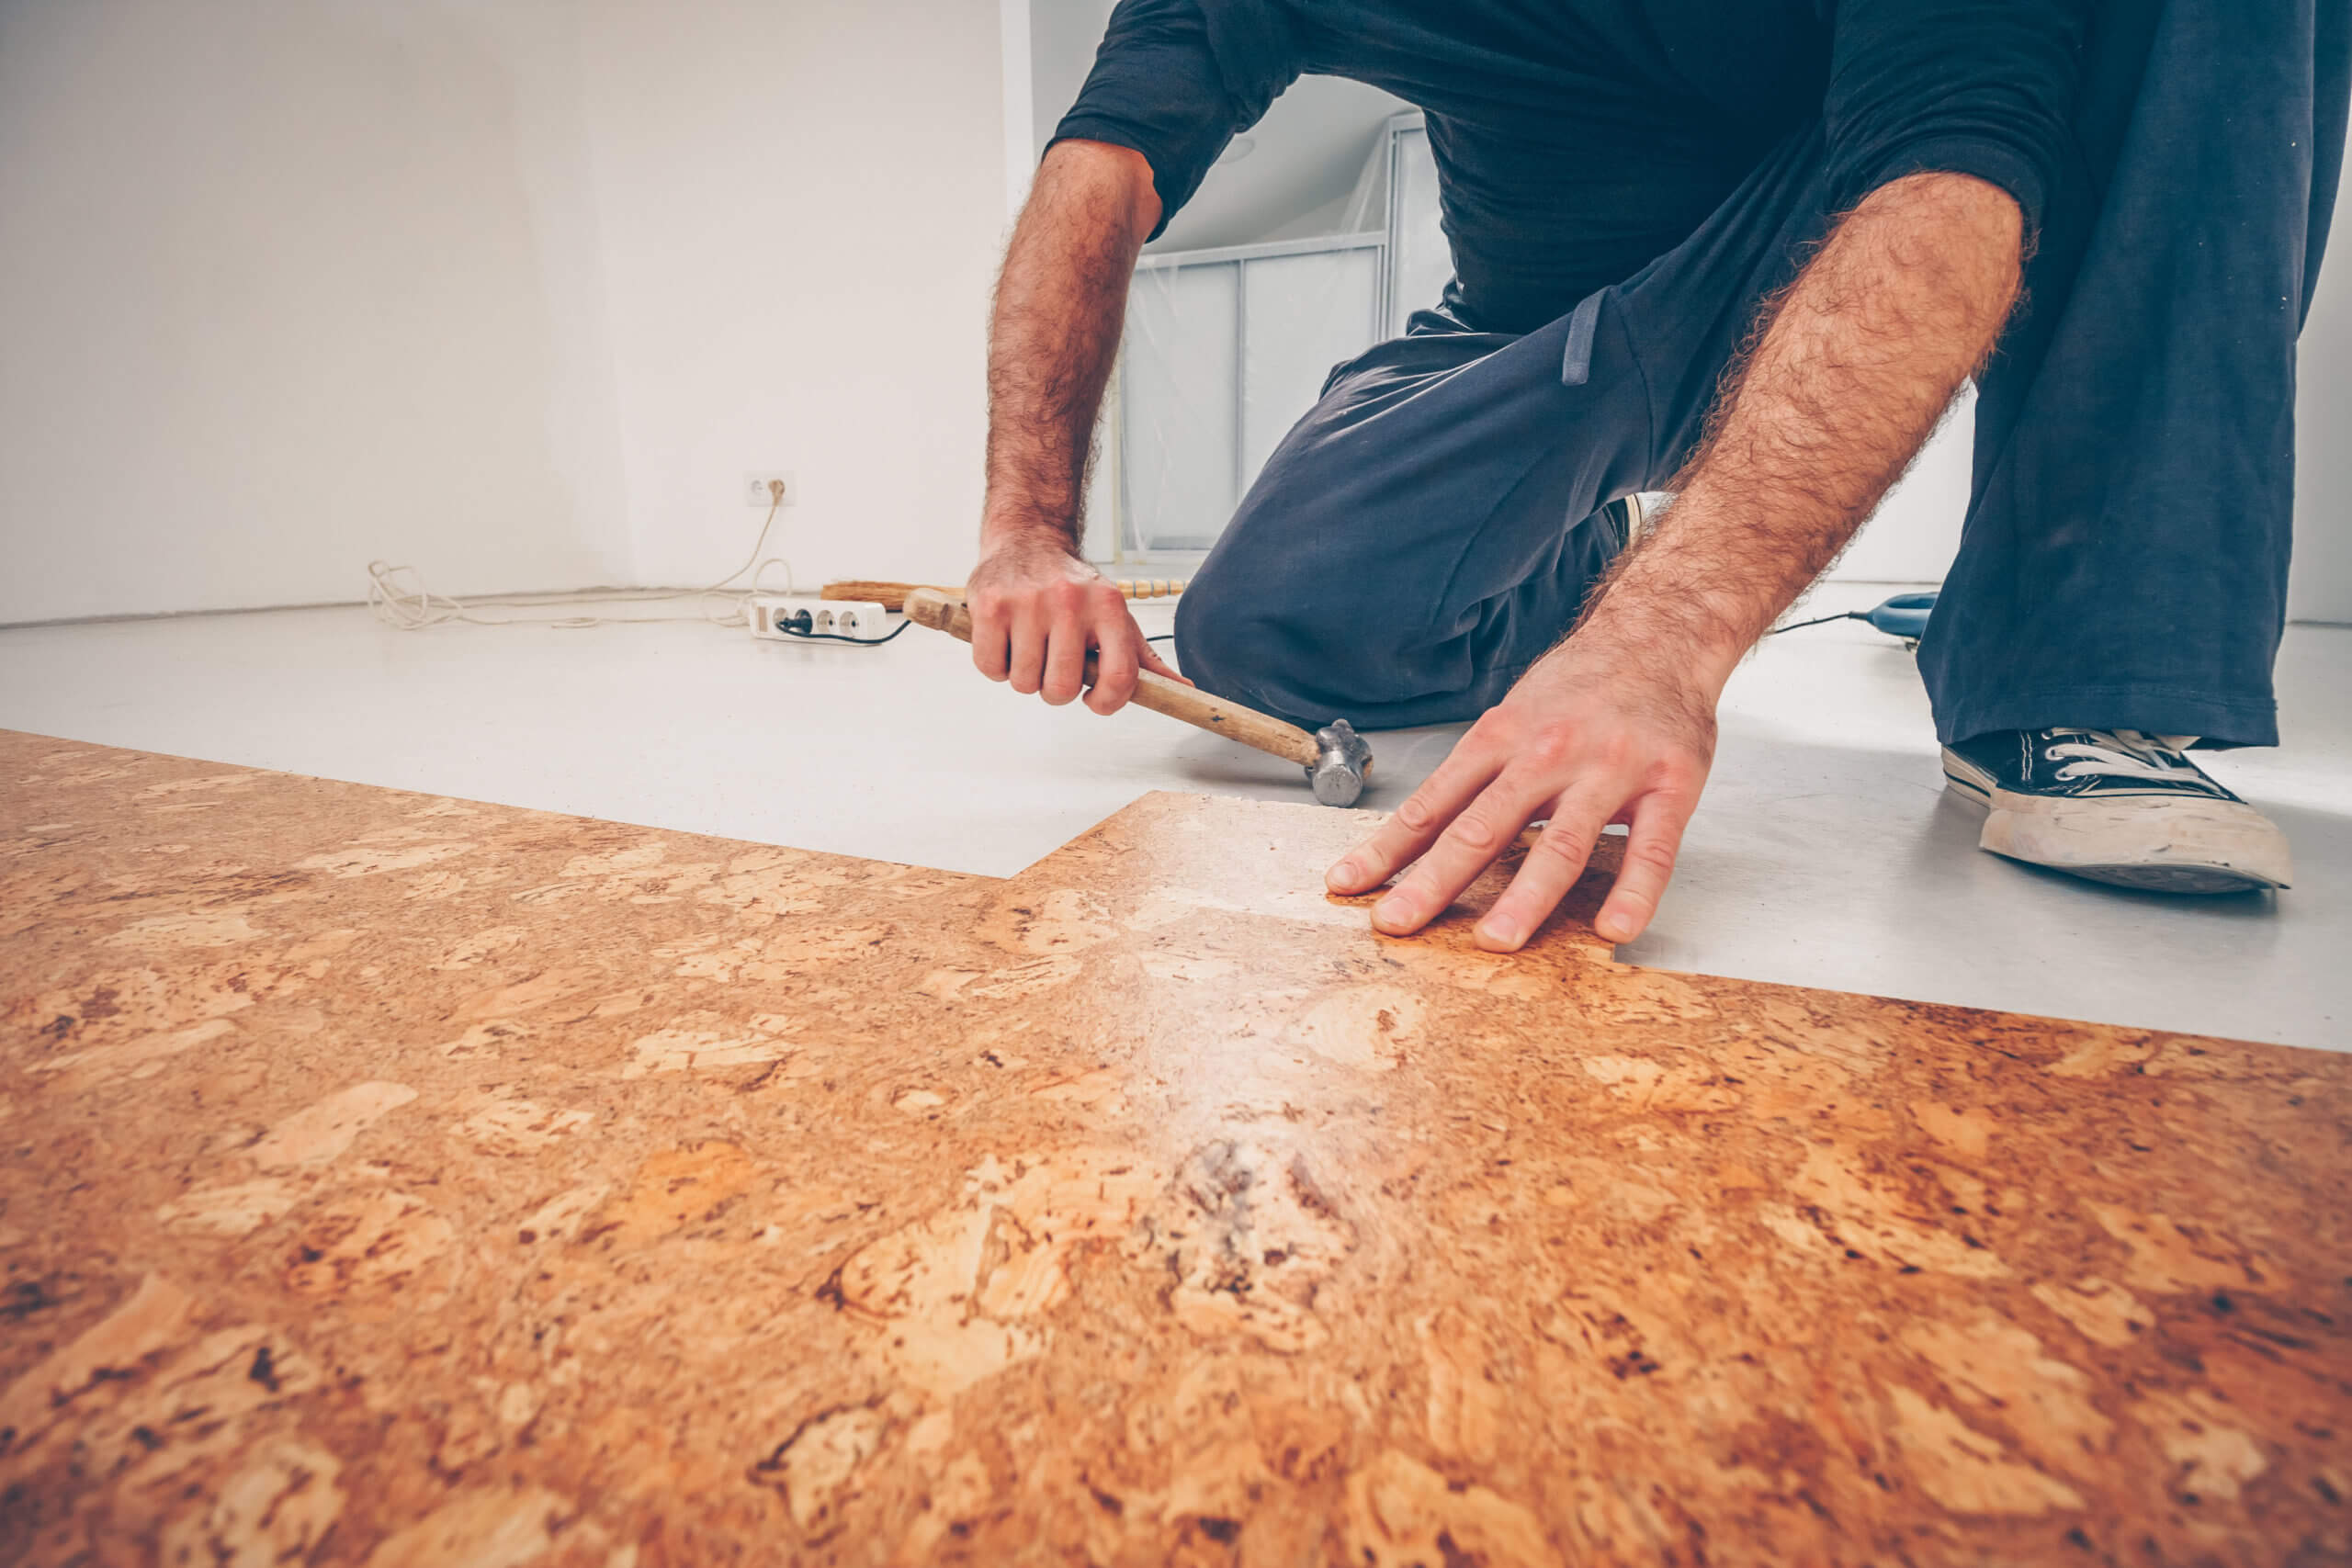
Installing Your Tiles
Now that all of your tiles are laid out properly, it’s time to start installing them! Begin at one corner of the room and apply wood glue or construction adhesive to each tile before setting it into place. Use a tapping block and hammer to secure each tile in place as you go along – make sure not to hammer too hard or you may damage the cork tiles! Once all of your tiles are installed, use a vacuum cleaner to remove any excess adhesive or dirt from the floor. Finally, let everything sit for 24 hours before walking on it or adding furniture back into the room.