Comprehensive Guide to DIY Concrete Basement Floor
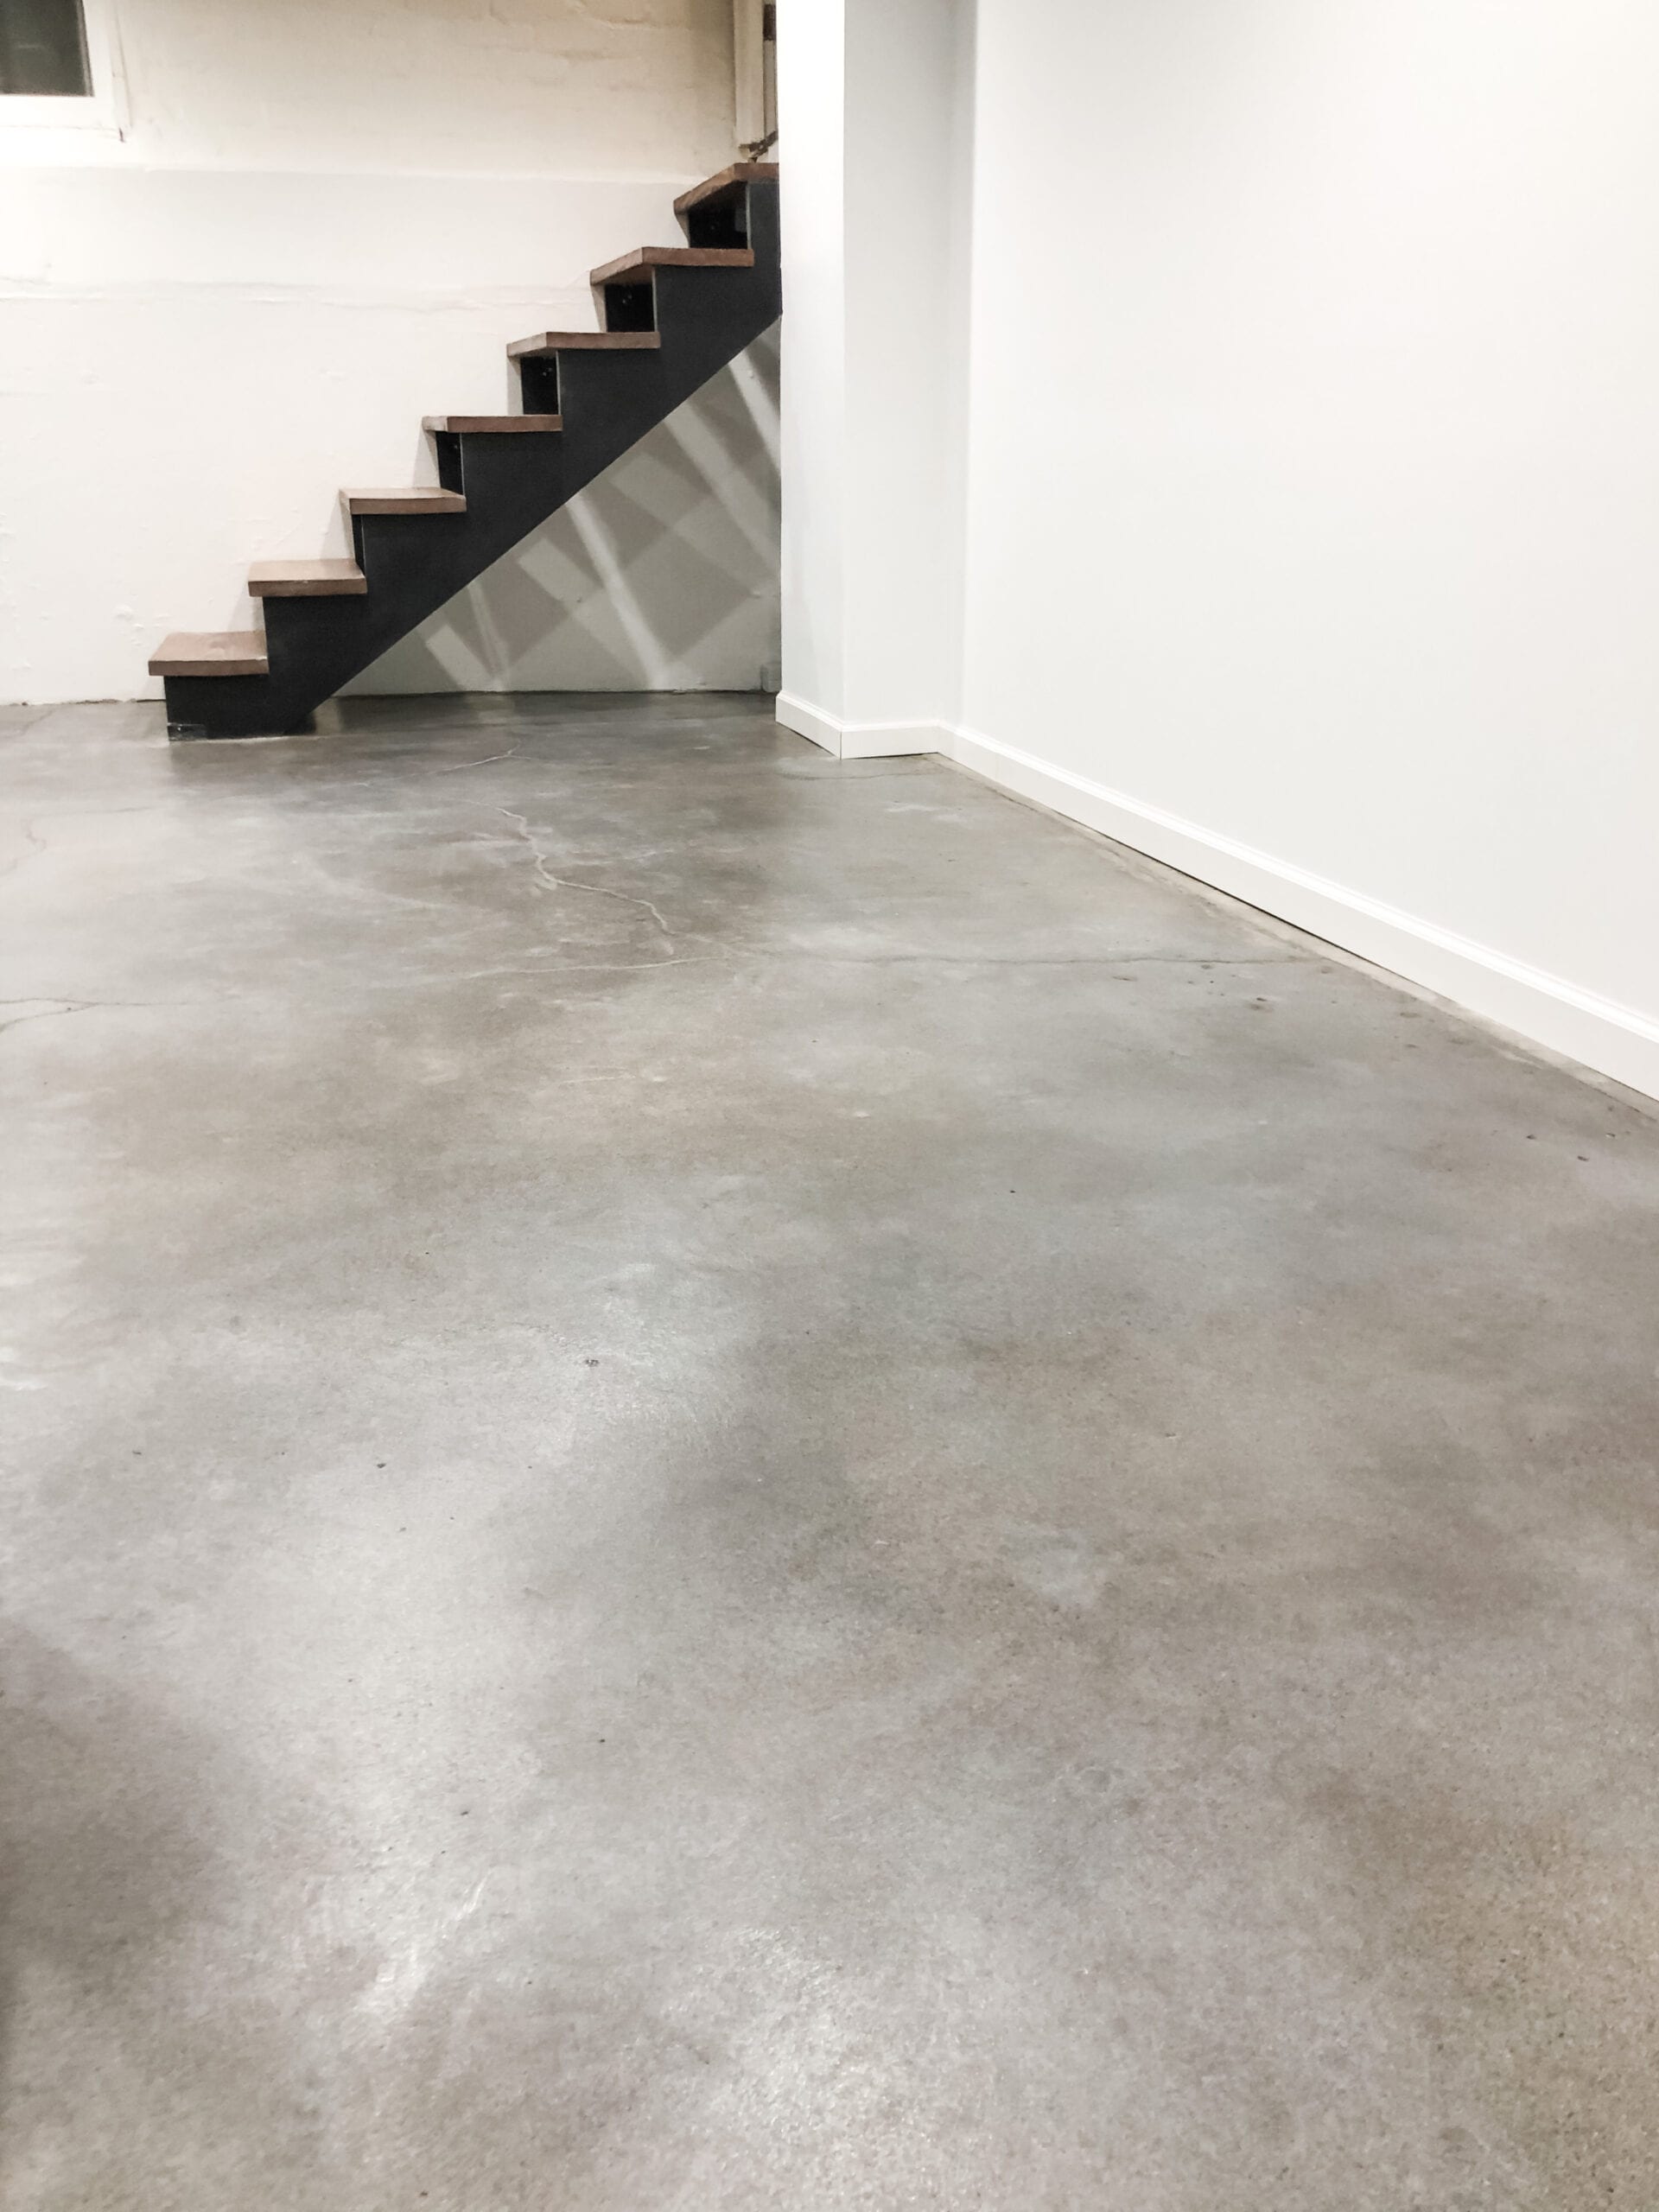
A concrete basement floor is a practical and cost-effective solution for homeowners looking to enhance their basement space. Whether you’re transforming the basement into a living area, a storage space, or a workshop, a well-installed concrete floor provides durability and a clean, polished look. Let’s see the benefits of a concrete basement floor, the preparation steps, the installation process, finishing techniques, and maintenance tips to keep your floor looking its best.
Benefits of a Concrete Basement Floor
- Durability Concrete is known for its strength and durability, making it an ideal choice for basement floors. It can withstand heavy loads, resist wear and tear, and last for many years with proper care. This durability ensures that your basement floor remains in excellent condition, even in high-traffic areas.
- Cost-Effective Concrete is a cost-effective flooring option compared to other materials like hardwood, tile, or carpet. The initial installation cost is relatively low, and its long lifespan means you won’t need frequent replacements or repairs. Additionally, a concrete floor can be finished with various coatings or treatments to achieve a polished and stylish look without the high price tag.
- Moisture Resistance Basements are prone to moisture issues, and concrete is naturally resistant to water and humidity. When properly sealed, a concrete floor can help prevent moisture from seeping into the basement, reducing the risk of mold and mildew growth. This moisture resistance makes it a practical choice for below-grade spaces.
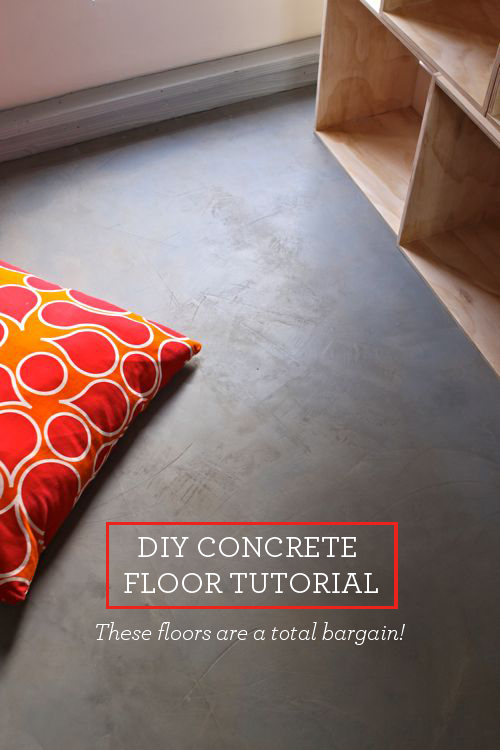
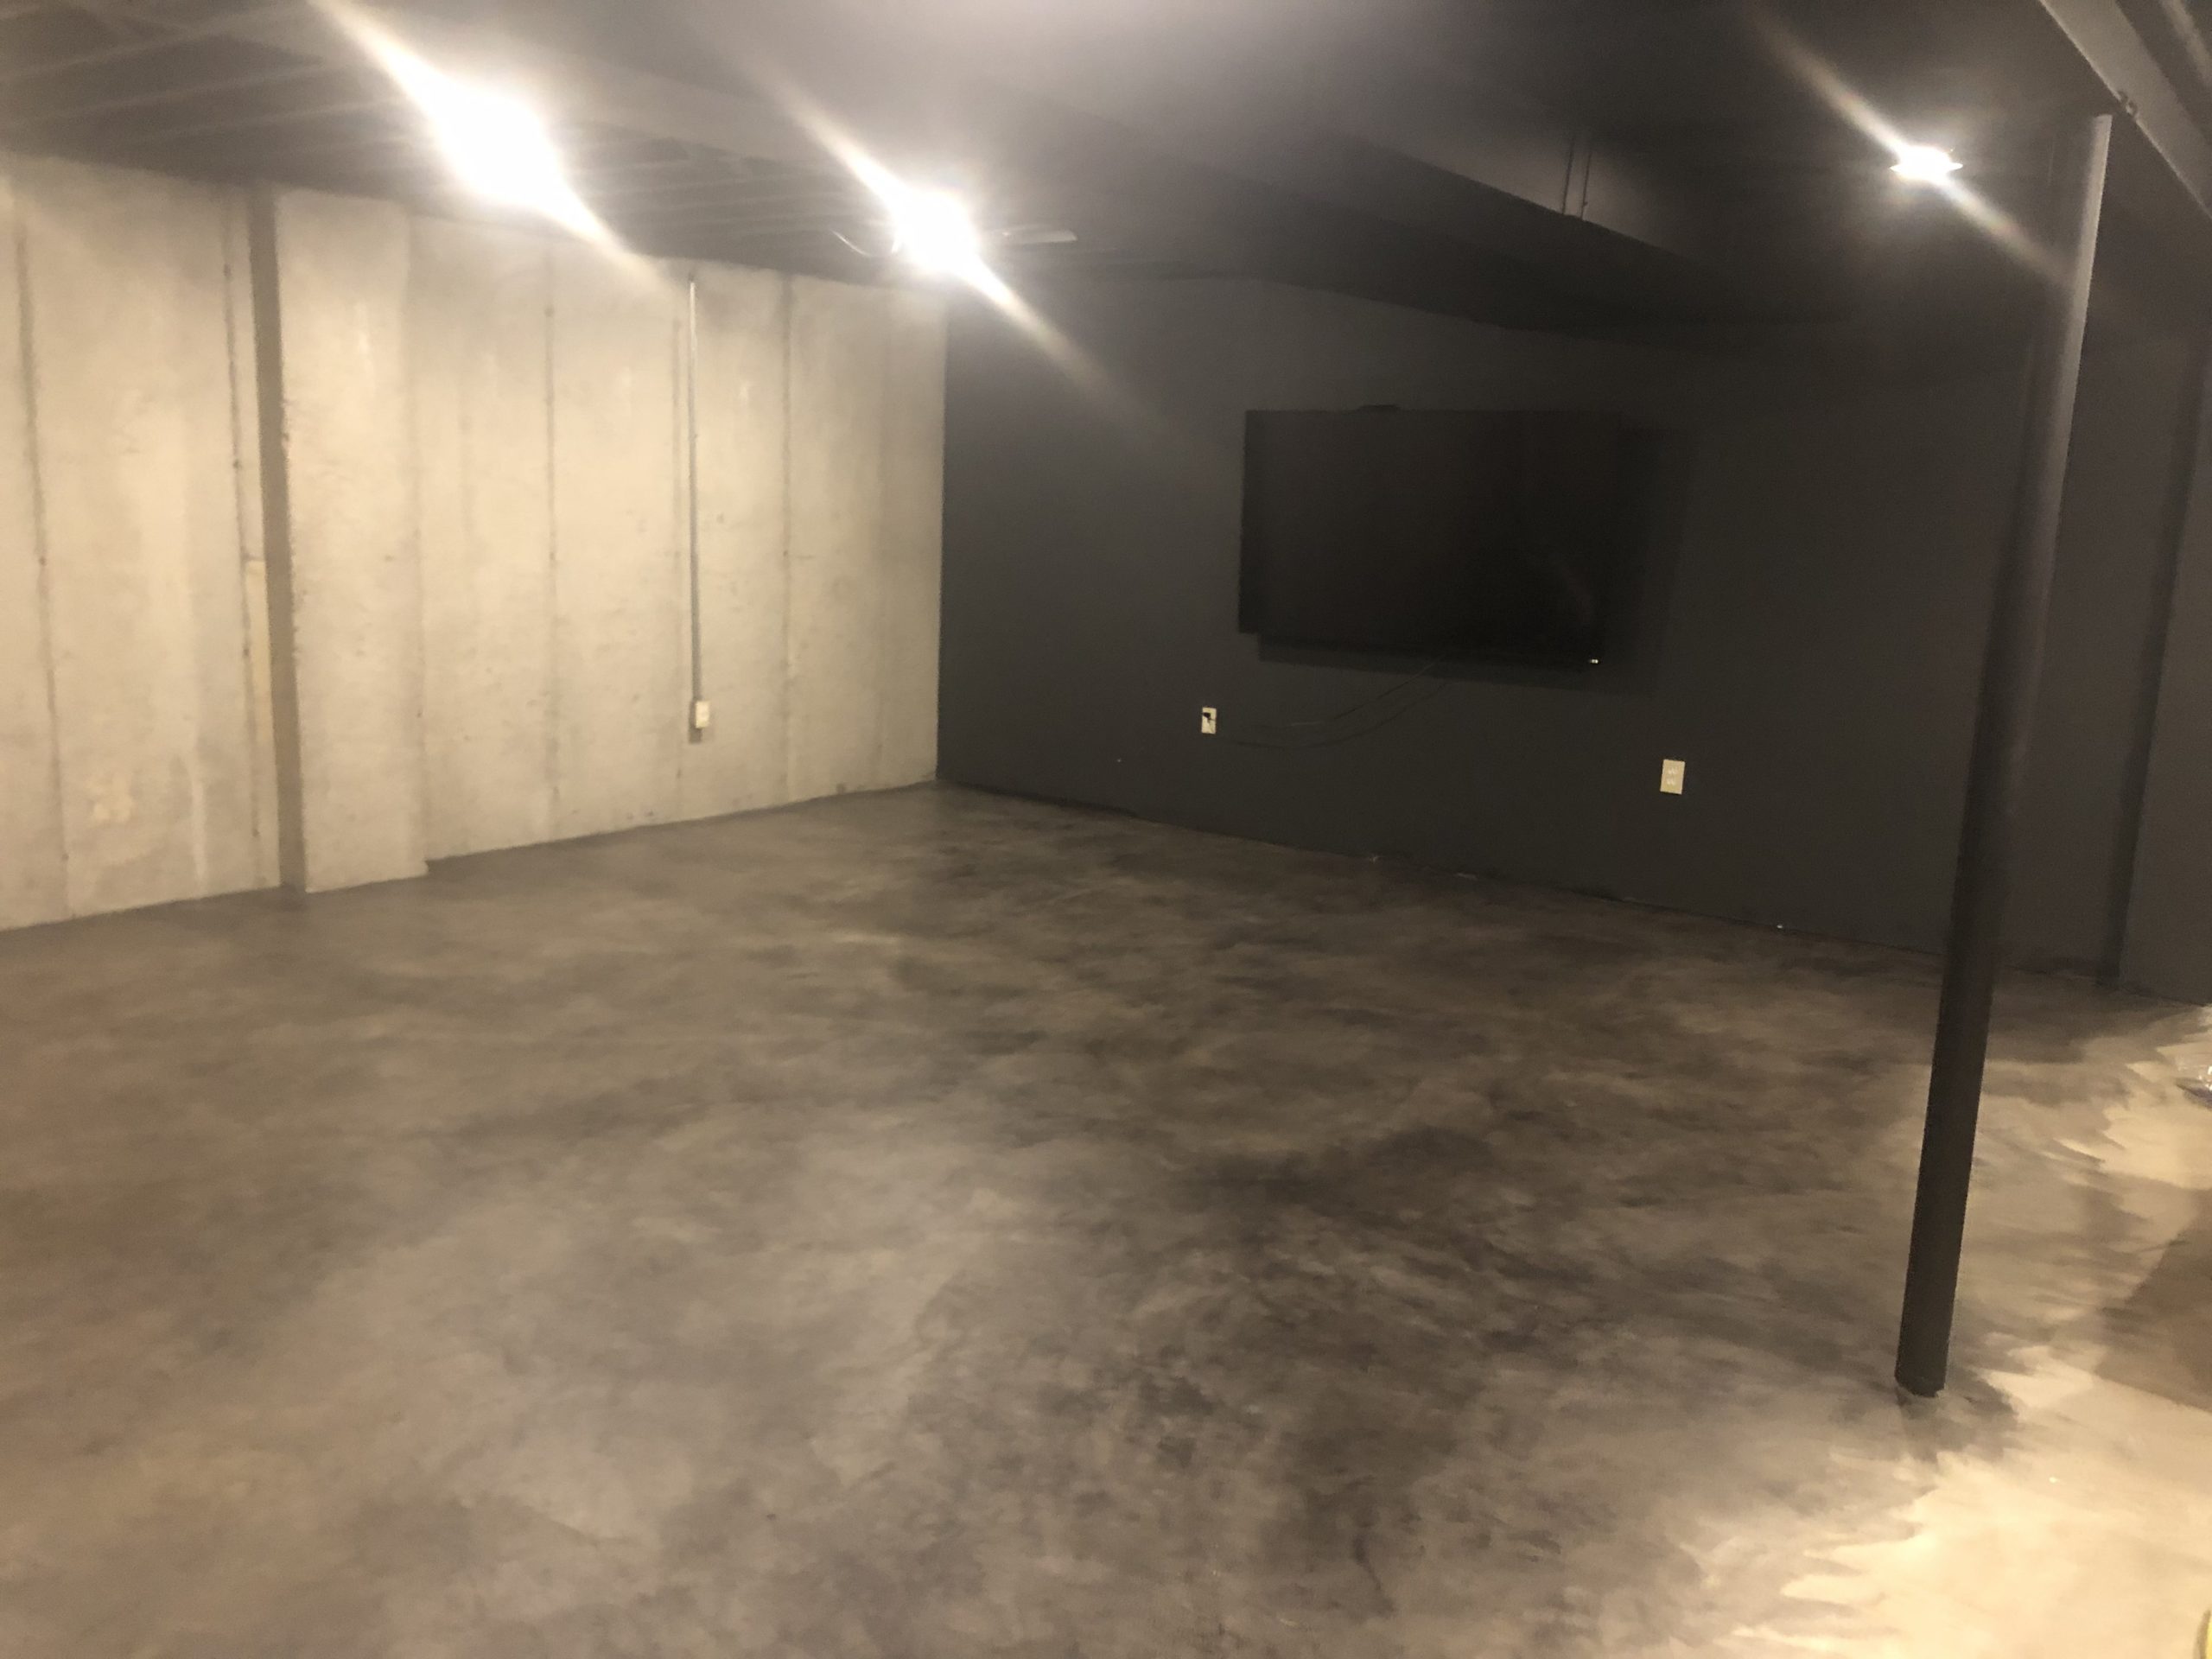
- Versatility Concrete floors can be customized with various finishes, colors, and textures to match your design preferences. Whether you prefer a polished, stained, or painted look, concrete offers endless possibilities for creativity. It can be tailored to suit modern, industrial, rustic, or traditional aesthetics.
- Low Maintenance Concrete floors are low maintenance and easy to clean. Regular sweeping and occasional mopping are typically all that’s needed to keep the floor looking its best. Unlike other flooring materials, concrete doesn’t trap dust, allergens, or pet hair, making it a healthier option for indoor environments.
Preparation Steps for a Concrete Basement Floor
Proper preparation is crucial to ensure a successful installation of a concrete basement floor. Follow these steps to prepare your space:
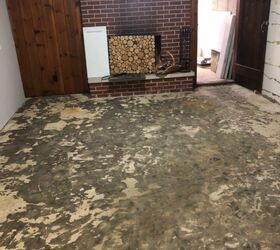
Clearing the Area Begin by clearing the basement of any furniture, debris, and existing flooring. Remove any old carpet, tile, or laminate, and dispose of it properly. A clean and clear workspace allows for easier and more efficient installation.
Assessing and Repairing the Subfloor Inspect the existing subfloor for any cracks, holes, or uneven areas. Repair any damage using a concrete patching compound and ensure the surface is level. Use a level to check for any low spots and fill them as needed. A smooth and even subfloor is essential for a successful concrete pour.
Moisture Testing Perform a moisture test to check for any underlying moisture issues. Place a plastic sheet on the floor and tape down the edges. Leave it for 24 hours and check for any condensation or moisture under the sheet. If moisture is present, address the issue before proceeding with the installation. Proper moisture control is crucial to prevent future problems.
Installing a Vapor Barrier To prevent moisture from seeping into the concrete, install a vapor barrier over the subfloor. Use a polyethylene sheet and overlap the edges by at least 6 inches. Tape the seams to ensure a continuous barrier. The vapor barrier helps protect the concrete from moisture and extends the lifespan of the floor.
Gathering Tools and Materials Gather all the necessary tools and materials for the installation process. This may include a concrete mixer, wheelbarrow, shovel, screed, trowel, float, rebar or mesh reinforcement, concrete sealer, and protective gear. Having everything on hand ensures a smooth and efficient installation process.
Installation Process for a Concrete Basement Floor
Follow these steps to install a concrete basement floor:
Mixing the Concrete Mix the concrete according to the manufacturer’s instructions. Use a concrete mixer to ensure a uniform consistency. The mix should be workable but not too wet. If using ready-mix concrete, ensure it is delivered at the right time and in the correct quantity.
Pouring the Concrete Begin pouring the concrete into the prepared area. Start at one end and work your way across the room. Use a shovel or wheelbarrow to distribute the concrete evenly. Pour the concrete to the desired thickness, usually around 4 inches, and ensure it covers the entire area.
Leveling the Surface Use a screed to level the surface of the concrete. A screed is a long, straight board that is dragged across the surface to create an even and level finish. Work methodically, moving the screed back and forth to remove any excess concrete and fill any low spots. Continue this process until the entire surface is level.
Smoothing and Finishing Once the concrete is leveled, use a bull float to smooth the surface. The bull float helps bring the fine particles to the surface, creating a smooth finish. After floating, use a trowel to further refine the surface and eliminate any imperfections. Continue troweling until the desired smoothness is achieved.
Curing the Concrete Allow the concrete to cure properly to ensure strength and durability. Keep the surface moist by spraying it with water or covering it with a plastic sheet. The curing process typically takes about 7 days, but the concrete may take up to 28 days to reach its full strength. Avoid heavy traffic on the floor during this time.

Finishing Techniques for a Concrete Basement Floor
Finishing techniques can enhance the appearance and functionality of your concrete basement floor. Here are some popular options:
Polishing Polishing the concrete creates a smooth, glossy finish that reflects light and adds a touch of elegance. This process involves using progressively finer grits of diamond polishing pads to achieve the desired level of shine. Polished concrete is not only visually appealing but also easy to clean and maintain.
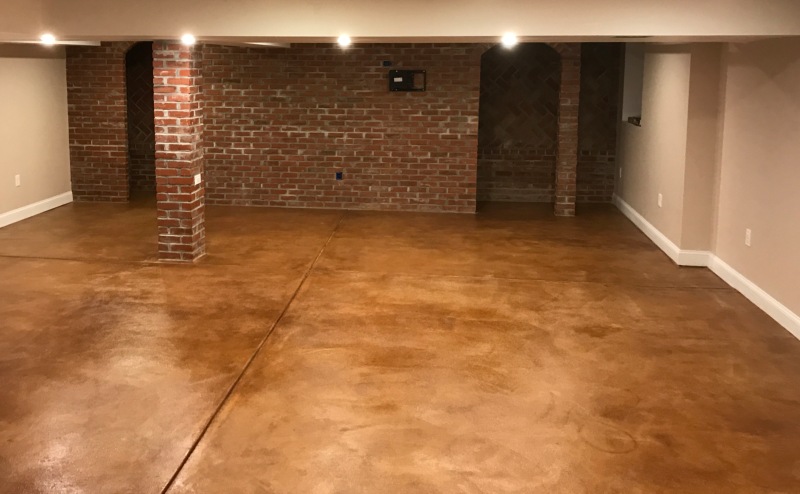
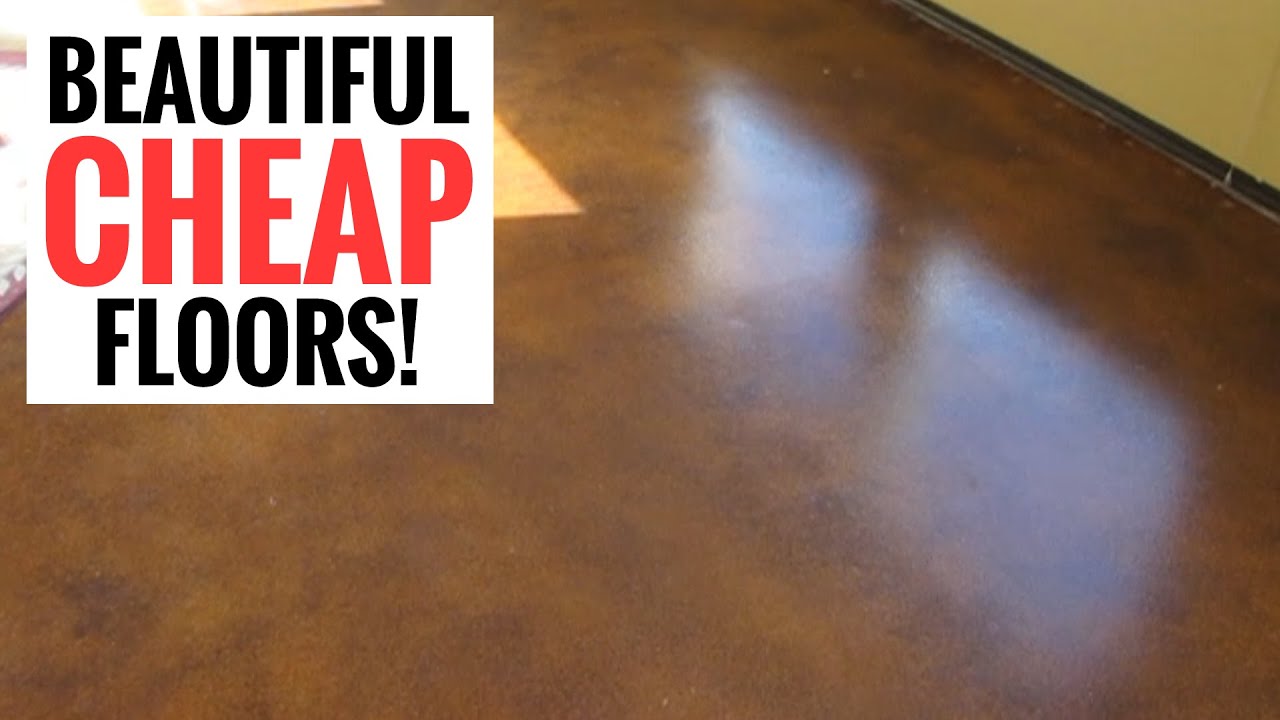
Staining Staining the concrete adds color and depth, creating a unique and customized look. Acid-based stains react with the concrete to create natural, variegated colors, while water-based stains offer a wider range of hues. Apply the stain evenly and allow it to penetrate the surface. Seal the stained concrete to protect the color and enhance its appearance.
Epoxy Coating Epoxy coating provides a durable and glossy finish that is resistant to stains, chemicals, and abrasions. This coating is ideal for basements used as workshops or garages. Apply the epoxy in multiple layers, allowing each layer to dry before applying the next. Epoxy-coated floors are easy to clean and maintain.
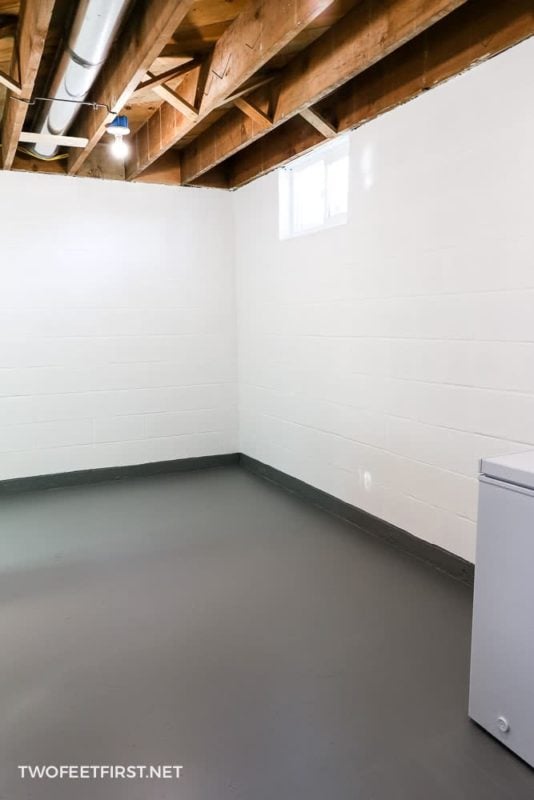
Painting Painting the concrete floor is an affordable and customizable option. Use a high-quality concrete paint or floor paint designed for durability and adhesion. Apply the paint in thin, even coats, allowing each coat to dry before applying the next. Consider adding a clear topcoat for added protection and longevity.
Textured Finishes Textured finishes, such as broom finishes, stamped patterns, or exposed aggregate, add visual interest and slip resistance to the concrete floor. These finishes can be achieved during the initial pour or after the concrete has cured. Textured finishes are ideal for basements that require additional traction or a decorative touch.
Maintenance Tips for a Concrete Basement Floor
Proper maintenance is essential to keep your concrete basement floor looking its best and ensuring its longevity. Here are some tips to help you care for your floor:
Regular Cleaning Sweep or vacuum the floor regularly to remove dust, dirt, and debris. Use a damp mop with a mild cleaner to clean the surface periodically. Avoid using harsh chemicals or abrasive cleaning tools that can damage the finish.
Spill Management Wipe up spills immediately to prevent staining or damage to the concrete. Use a clean cloth or paper towel to blot the spill and avoid rubbing, as this can spread the liquid and cause further damage. For stubborn stains, use a gentle cleaner recommended by the manufacturer.
Sealing and Resealing To protect the concrete from moisture, stains, and wear, apply a high-quality concrete sealer. Seal the floor according to the manufacturer’s instructions and reapply the sealer as recommended, usually every few years. Regular sealing helps maintain the appearance and durability of the concrete.
Preventing Damage Place mats or rugs in high-traffic areas and entryways to protect the floor from wear and tear. Use furniture pads under the legs of chairs, tables, and other furniture to prevent scratches and dents. Avoid dragging heavy objects across the floor, as this can cause damage.
Addressing Cracks and Repairs Inspect the concrete floor regularly for any signs of cracks or damage. Address any issues promptly to prevent them from worsening. Use a concrete patching compound to fill small cracks and holes. For larger repairs, consider consulting a professional to ensure the job is done correctly.
How to Make a DIY Painted Concrete Floor Hometalk
DIY Basement Flooring Ideas – Affordable DIY Flooring Options

Stain Concrete Floors on a Budget – Direct Colors DIY Home
DIY Modern Look for a Traditional Family Home – Daybreak Utah

DIY Basement Flooring Ideas – Affordable DIY Flooring Options

How To Stain Concrete Floors: Comprehensive Step-By-Step DIY Guide
How To Dye Interior Concrete Floors Direct Colors

Amazingly cheap and stunningly beautiful floors – Easy DIY Stained Concrete
Related Posts: