Benefits of DIY Concrete Floor Grinding
DIY concrete floor grinding is a practical and cost-effective way to prepare your concrete floors for finishing or to restore their appearance. Whether you’re looking to smooth out rough surfaces, remove old coatings, or prepare the floor for a new finish, grinding can offer several benefits:
- Cost Savings: Hiring a professional to grind your concrete floors can be expensive. By taking on the project yourself, you can save on labor costs and only pay for equipment rental and materials. This makes DIY concrete floor grinding a budget-friendly option for homeowners.
- Customization: When you grind your concrete floors, you have full control over the process. You can choose the level of smoothness, the type of finish, and the specific areas that need attention. This allows for a more customized result that meets your exact needs and preferences.
- Improved Surface Preparation: Grinding is an essential step in preparing concrete floors for coatings, stains, or polishing. It removes imperfections, old adhesives, and uneven surfaces, creating a clean and smooth base for any finishing treatment. Proper surface preparation ensures better adhesion and a longer-lasting finish.
- Enhanced Durability: Grinding can help to strengthen the concrete surface by removing weak or damaged layers. This can improve the overall durability of the floor, making it more resistant to wear and tear. A well-ground concrete floor can withstand heavy foot traffic and other stresses.
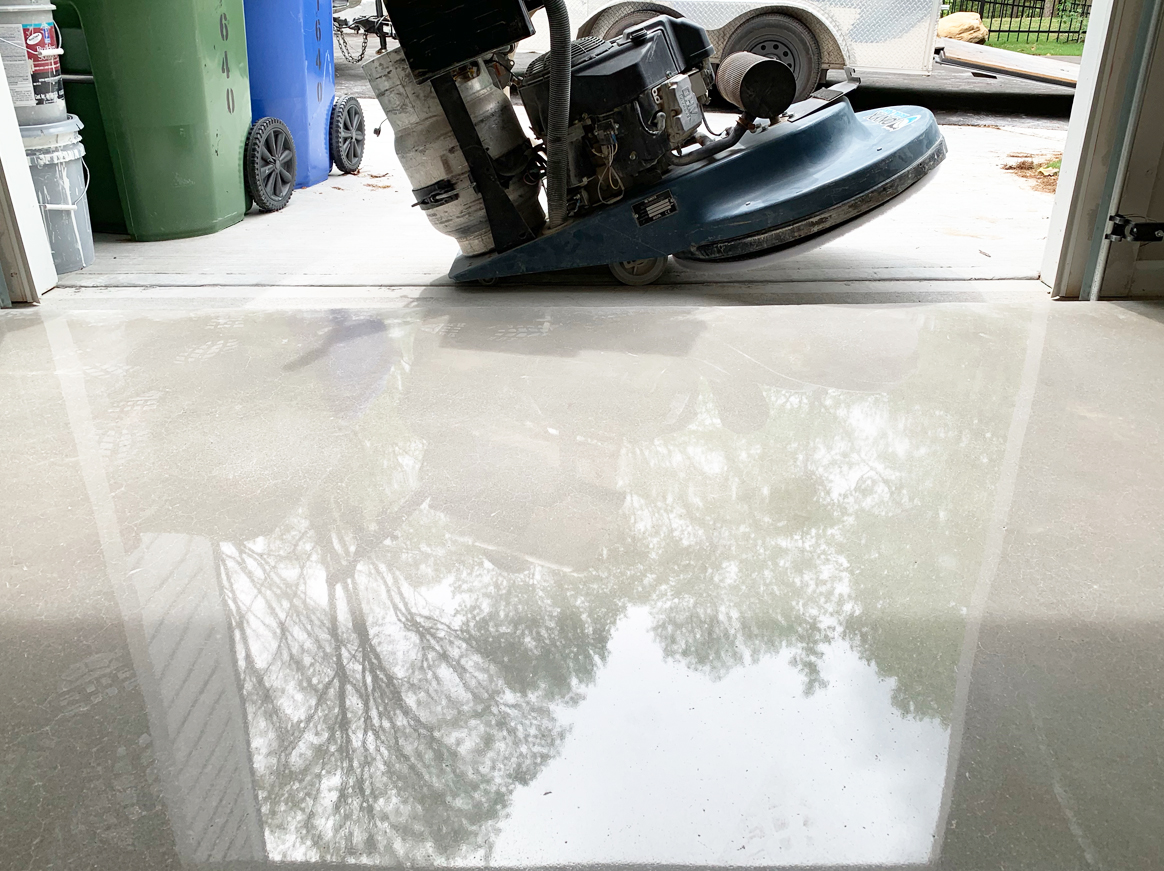
- Aesthetic Appeal: Grinding can restore the natural beauty of concrete floors by exposing the aggregate and creating a polished, modern look. Whether you plan to leave the floor bare or apply a decorative finish, grinding can enhance the visual appeal of your space.

Tools and Equipment Needed for DIY Concrete Floor Grinding
To successfully grind your concrete floors, you’ll need the right tools and equipment. Here’s a list of essential items to consider:
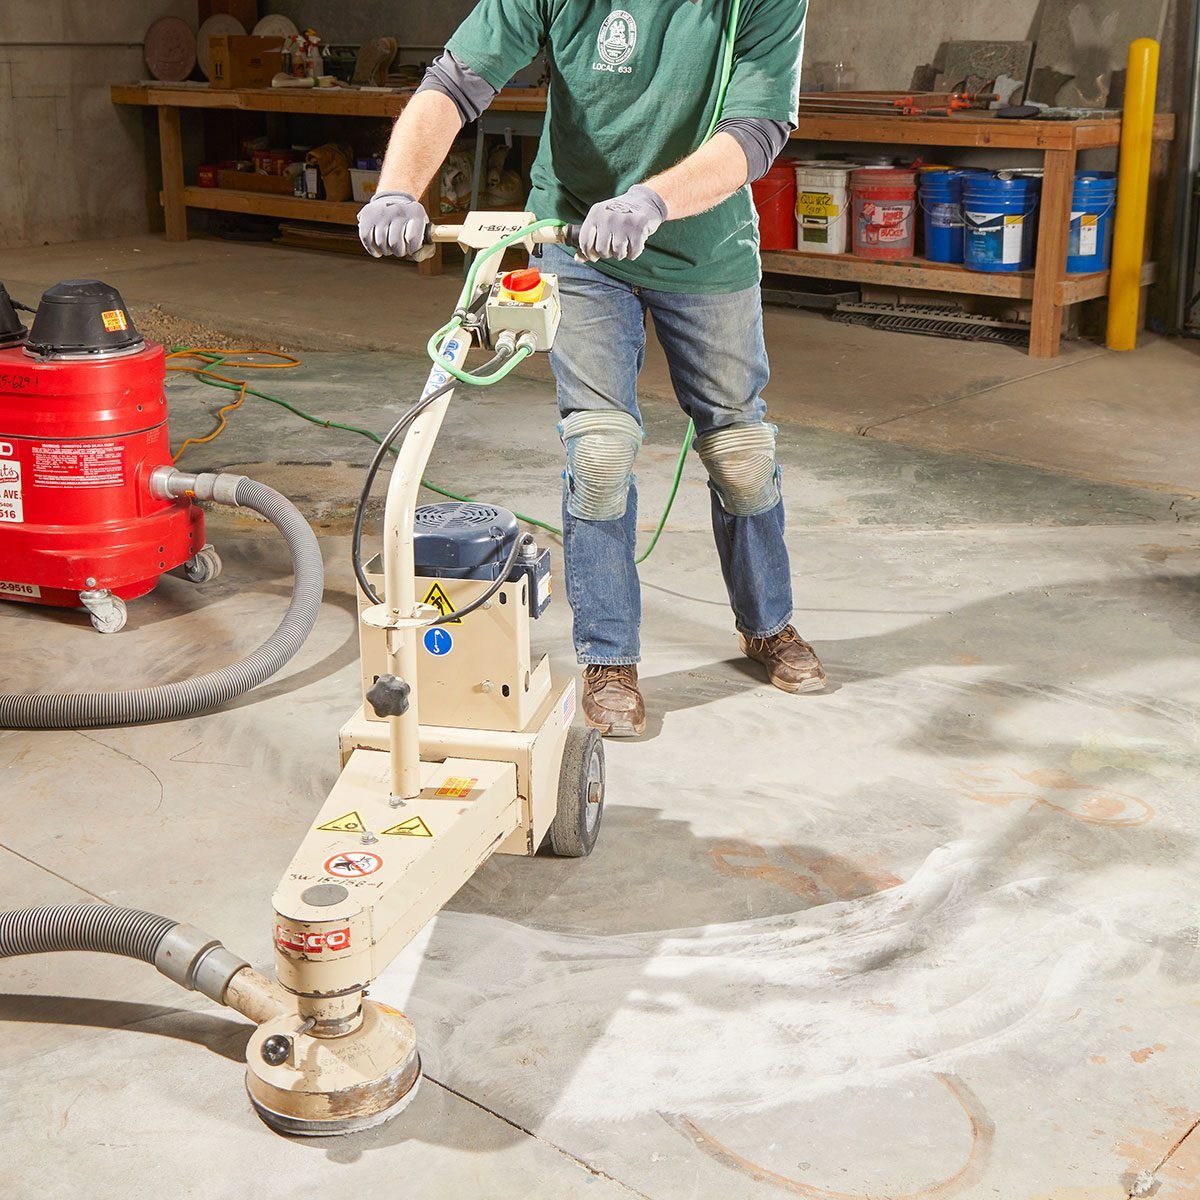
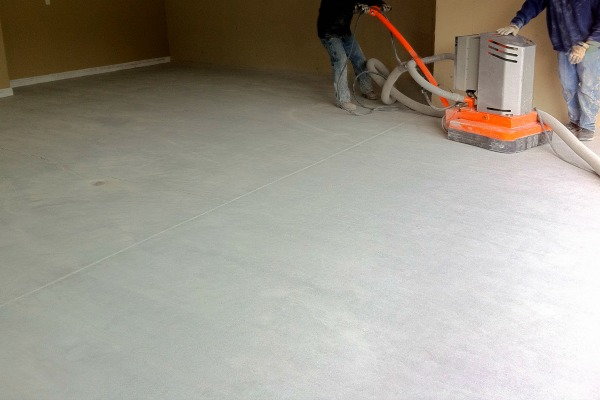
Concrete Grinder: The most important tool for the job is a concrete grinder. These machines come in various sizes and types, including handheld models for small areas and walk-behind grinders for larger spaces. Rent or purchase a grinder that suits the size and scope of your project.
Diamond Grinding Discs: Diamond grinding discs are used to grind and smooth the concrete surface. They come in different grits, with lower grits (e.g., 30-40) for heavy material removal and higher grits (e.g., 80-100) for fine finishing. Choose the appropriate grit based on your project requirements.
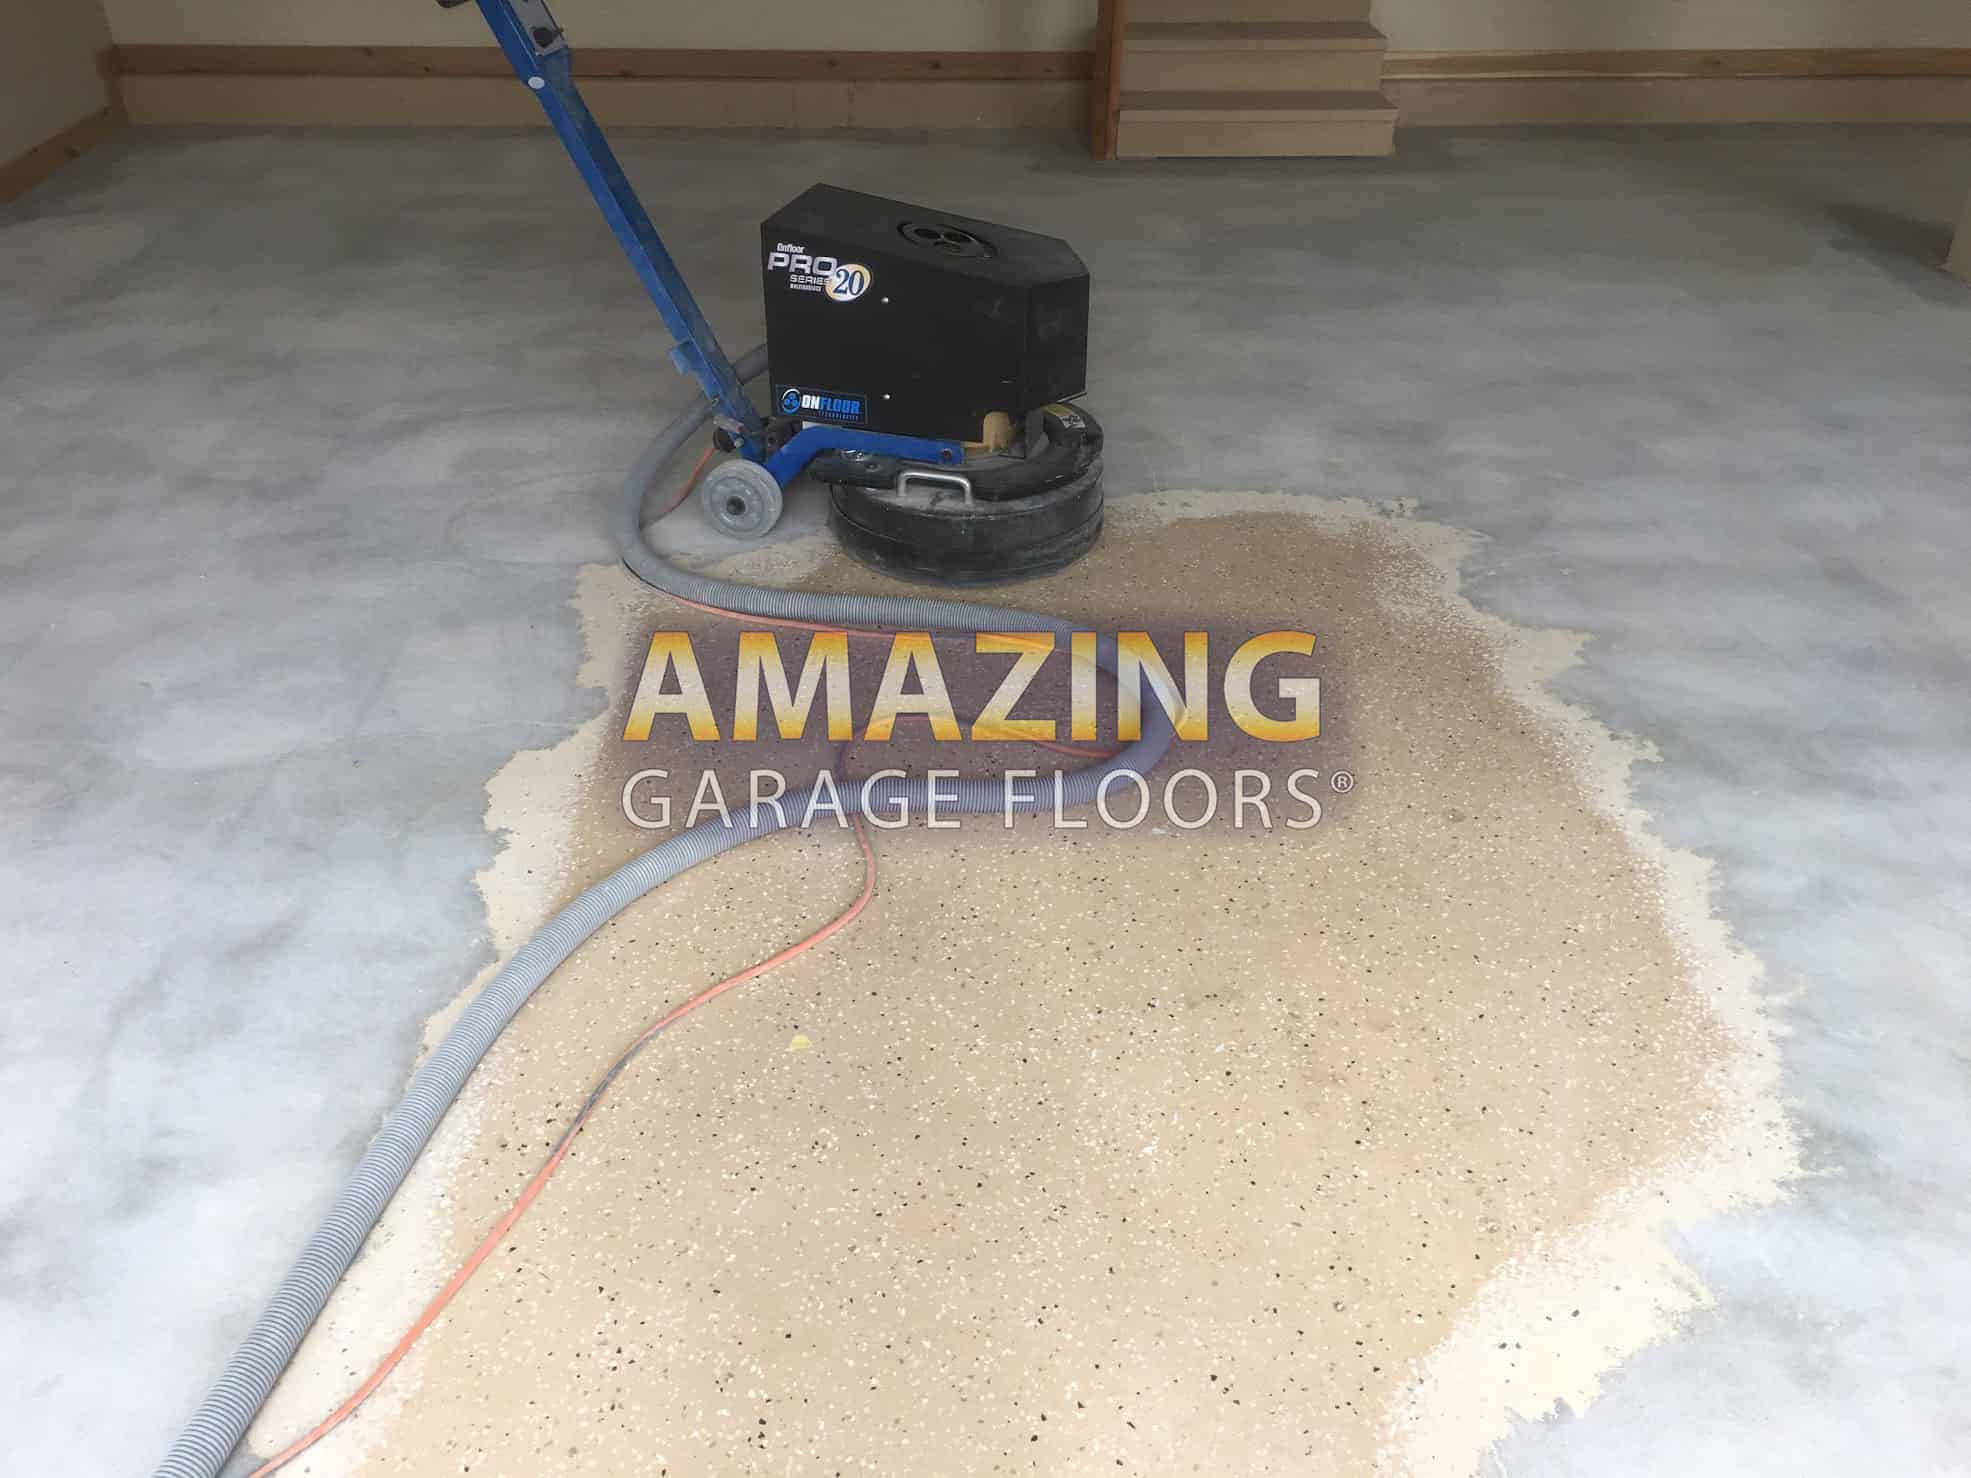
Dust Collection System: Grinding concrete generates a significant amount of dust, which can be harmful if inhaled. A dust collection system, such as a vacuum attachment for the grinder, is essential for keeping the work area clean and safe. Make sure to wear a dust mask and safety goggles for added protection.
Edge Grinder: For areas that are difficult to reach with a standard grinder, such as corners and edges, an edge grinder is necessary. This smaller, handheld tool allows you to grind and smooth these tight spaces effectively.
Safety Gear: Safety is paramount when grinding concrete. In addition to a dust mask and safety goggles, you’ll need ear protection, gloves, and sturdy footwear. Consider wearing a long-sleeved shirt and pants to protect your skin from flying debris.
Steps for DIY Concrete Floor Grinding
Grinding a concrete floor involves several steps to ensure a smooth and even finish. Here’s a step-by-step guide to help you through the process:
Prepare the Area: Before you begin grinding, clear the room of all furniture and obstacles. Cover any vents or openings to prevent dust from spreading to other areas of your home. Sweep or vacuum the floor to remove loose debris and dirt.
Inspect the Floor: Examine the concrete floor for any cracks, holes, or uneven areas. Fill in any cracks or holes with a concrete patching compound and allow it to dry completely. This will ensure a more even grinding process and a smoother final result.
Start with Coarse Grit: Begin grinding with a coarse-grit diamond disc (e.g., 30-40 grit) to remove the top layer of concrete, including any old coatings, adhesives, or imperfections. Move the grinder in a consistent, overlapping pattern to ensure even material removal. Work in small sections to maintain control and avoid missing spots.
Switch to Fine Grit: Once the coarse grinding is complete, switch to a finer-grit diamond disc (e.g., 80-100 grit) to smooth the surface. This step will remove any scratches or rough spots left by the coarse grit and prepare the floor for finishing. Again, work in small sections and maintain a consistent pattern.
Clean the Floor: After grinding, thoroughly clean the floor to remove all dust and debris. Use a vacuum with a HEPA filter to ensure that all fine particles are removed. A clean surface is essential for any subsequent finishing treatments, such as staining, sealing, or polishing.
Tips for Successful DIY Concrete Floor Grinding
To achieve the best results with your DIY concrete floor grinding project, consider the following tips:
Take Your Time: Rushing through the grinding process can lead to uneven results and missed spots. Take your time to ensure that each section of the floor is evenly ground and smooth. Patience is key to achieving a professional-looking finish.
Use Proper Technique: When operating the grinder, keep it moving in a consistent, overlapping pattern. Avoid staying in one spot for too long, as this can create uneven areas or divots in the concrete. Maintain a steady pace and apply even pressure.
Check Progress Frequently: Periodically stop and inspect your work to ensure that you’re achieving the desired level of smoothness. This will help you identify any areas that need additional grinding and prevent over-grinding in certain spots.
Manage Dust Effectively: Concrete grinding produces a lot of dust, which can be hazardous to your health and make the work area messy. Use a dust collection system and wear appropriate safety gear to minimize dust exposure. Keep the work area well-ventilated if possible.
Plan for Finishing: After grinding, decide how you want to finish the concrete floor. Whether you plan to apply a sealant, stain, or polish, make sure the surface is clean and smooth. Proper finishing will enhance the durability and appearance of your newly ground floor.
Maintenance and Care After DIY Concrete Floor Grinding
Once you’ve completed the grinding process, proper maintenance is essential to keep your concrete floors looking their best. Here are some tips for maintaining and caring for your newly ground floors:
Regular Cleaning: Sweep or vacuum the floor regularly to remove dirt and debris that can scratch the surface. Use a damp mop with a mild cleaner for routine cleaning, avoiding harsh chemicals that can damage the concrete.
Prompt Spill Cleanup: Clean up spills immediately to prevent staining. While ground concrete is more resistant to stains than untreated concrete, it’s still important to address spills quickly to maintain the floor’s appearance.
Reapply Sealant as Needed: If you’ve applied a sealant to the ground concrete, monitor its condition over time. Reapply the sealant as needed to maintain the floor’s resistance to moisture, stains, and wear. Follow the manufacturer’s recommendations for the best results.
Protect from Heavy Furniture: Place felt pads or furniture coasters under the legs of chairs, tables, and other furniture to prevent scratches and dents. For heavy furniture, consider using furniture sliders to move items without damaging the floor.
Inspect for Damage: Periodically inspect the floor for any signs of damage, such as cracks or chips. Address any issues promptly to prevent them from worsening. Regular maintenance will help keep your concrete floors in excellent condition for years to come.
DIY Concrete Floor Series – Grinding it smooth!
Diamond Grinding vs. Acid Etching Your Garage Floor
Making a Polished Concrete Floor
Grinding & Polishing Our Concrete Floor
Difference of Polished Concrete vs Grind and Seal
Related Posts:


