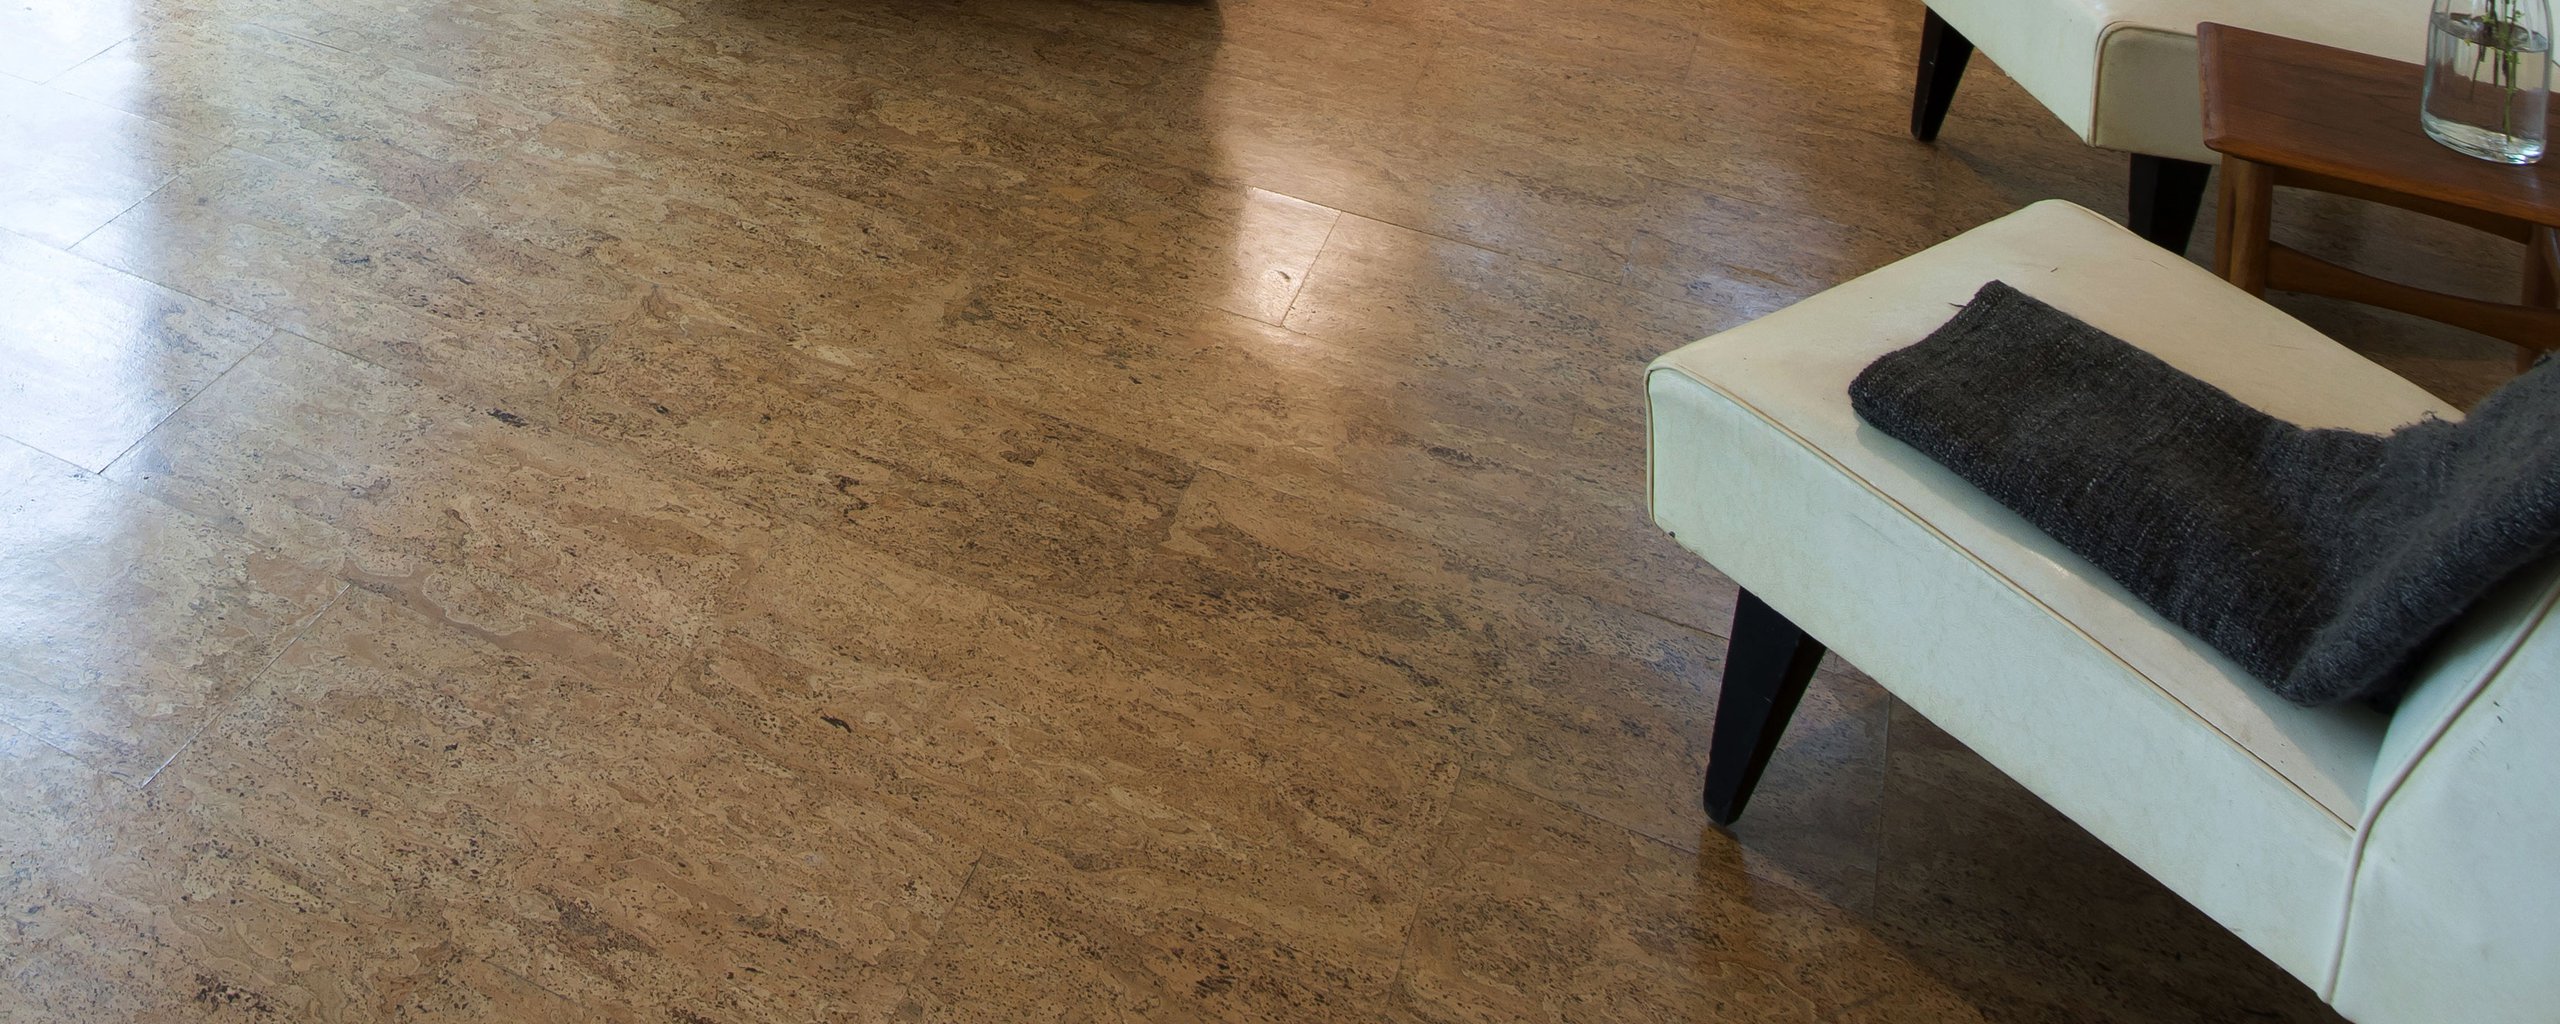
On the whole, the cellular structure of cork can be quite heavy. Cork floors are currently extremely popular, similar to most flooring choices, they both have advantages and disadvantages connected with them. Cork is a natural, eco friendly flooring selection for individuals who would like a greener home or that are dealing with allergies.
Images about Diy Cork Tile Floors
Diy Cork Tile Floors

This article is actually an evaluation of APC Cork’s cork flooring product. Given that cork is actually a natural barrier to insects, typical issue insects such as termites and ants can’t enter the flooring and infest the house. Professional system charges will add to over all price per square foot and must be calculated into the situation for total overall costs.
Cork Flooring Installation: PRO or DIY?Learning Center

This cellular structure additionally makes cork very durable also quite comfortable; in case you don’t believe us pay a visit to a showroom now and test it out. Nonetheless, we can’t forget to point out 3 more things, the beauty, the durability and the usefulness of organic cork flooring. The kitchen to aid in force on the back as well as legs.
DIY Cork Flooring – Pros, Cons u0026 Green Installation Guide for LEED
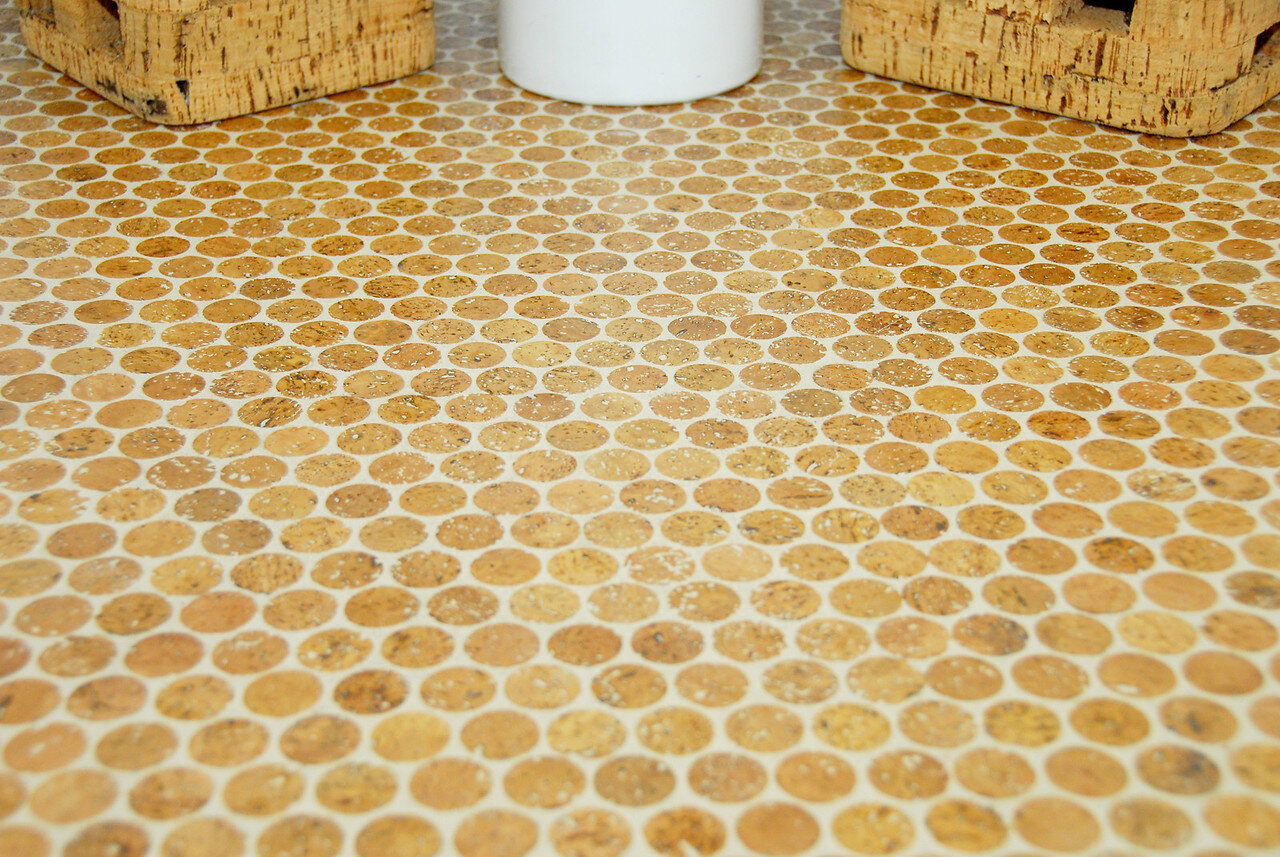
Penny Style Sustainable Floors Made of Cut Wine Corks Designs
How to Install Cork Flooring – (Tips and Guidelines For Your DIY

Cork Flooring 101: Cost, Types, u0026 Installation – This Old House
/cdn.vox-cdn.com/uploads/chorus_asset/file/23088021/0421_NB_All_About_Cork_Floors_Cork_flooring_iStock_950010876.jpg)
How To Replace Carpet With Lovely Cork Flooring Without Hiring A

Wine cork floors! -or- How being drunken hoarders helped us

Cork Floor Install – How to install a cork glue down floor.
Cork Flooring Installation – How to Do It DIY Home Improvement
How to Seal Cork Flooring – A DIY Guide BuildDirectLearning Center

Recycled Wine Corks Make Stylish Penny Tile Flooring

A Toast to the Floor – Phoenix Commotion

Cork Flooring Pros and Cons
/cork-flooring-pros-and-cons-1314688_hero_0032-9ed702033d384a5aad92329dc679a300.jpg)
Related Posts:
- Cork Flooring Colors
- Cork Flooring Dining Room
- Light Cork Flooring
- Engineered Cork Flooring
- Cork Flooring In Kitchen
- Cork Flooring Modern
- Cork Flooring White
- Herringbone Cork Flooring
- Outdoor Cork Flooring
- Cork Flooring Bathroom
Cork Tile Floors: A Comprehensive Guide to DIY Installation
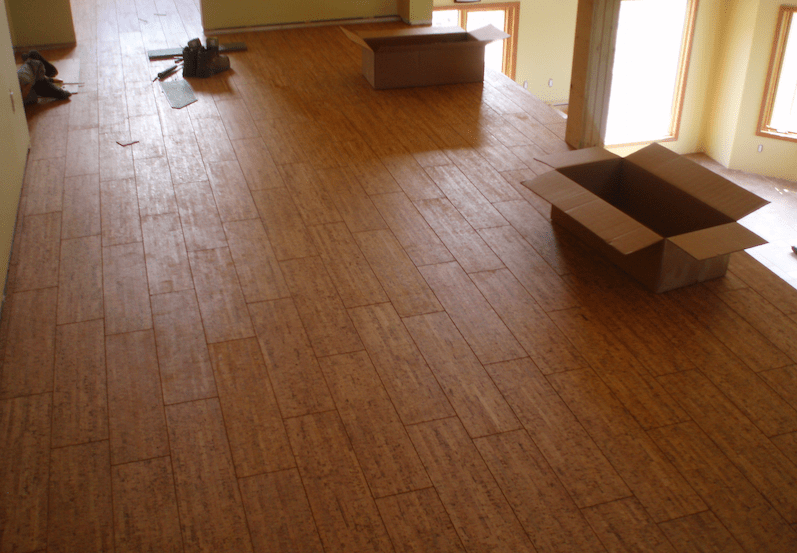
Cork flooring is becoming an increasingly popular choice among homeowners looking for a durable, eco-friendly, and stylish flooring option. As compared to other flooring materials, cork tiles are comfortable underfoot, sound-absorbent, and easy to install. This comprehensive guide will help you understand the benefits of cork tile floors and how to install them yourself.
What Are the Benefits of Cork Tile Floors?
Cork tile floors offer many benefits that make them an attractive choice for homeowners. First and foremost, cork is a renewable resource; it’s made from the bark of cork oak trees, which can be harvested every few years without damaging or depleting the trees. This makes cork a sustainable and eco-friendly flooring option.
In addition to being an environmentally friendly choice, cork tiles are also comfortable and quiet underfoot. The structure of cork is naturally spongy, so it’s softer to walk on than most other types of flooring. This sponginess also helps absorb sound, making it a great choice for homes with active families or those who live in noisy neighborhoods.
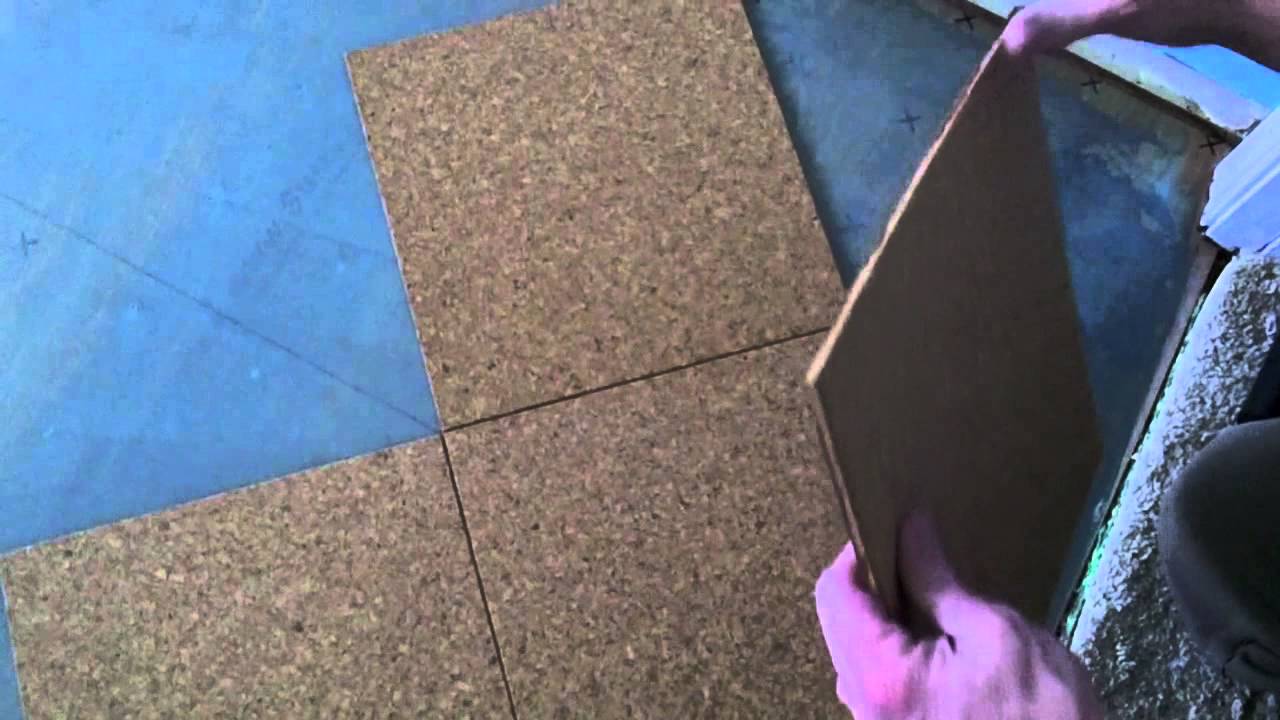
Cork tiles are also relatively easy to install compared to other flooring materials. They come in pre-cut shapes that can be easily snapped into place with minimal tools and effort. Cork tiles are also water resistant, so they make a great choice for kitchens or bathrooms where spills may occur.
Finally, cork tiles come in a range of colors and patterns, so you can find the perfect look for any room in your home. Whether you prefer a modern look or something more traditional, there’s sure to be a cork tile that fits your style.
How to Install Cork Tile Floors
Installing cork tile floors is not as difficult as it may seem. With the right tools and materials, even novice DIYers can complete the job in a few hours or less. Here’s what you’ll need:
– Measuring tape
– Pencil
– Chalk line
– Utility knife
– Hammer
– Tapping block
– Sponge
– Cork tiles
– Adhesive
– Finishing nails (optional)
The first step is to measure the room where you plan to install the cork tiles and mark the area with a pencil and chalk line. Once the area has been marked off, you can begin laying the tiles. Start by applying adhesive to the back of each tile and pressing it into place. Use a hammer and tapping block to ensure that each tile is firmly secured to the floor. Continue laying tiles until you reach the end of the room. Make sure that each tile is securely adhered before moving on to the next one. If needed, you can use finishing nails around the edges of the tiles to ensure they stay in place after installation.
Once all of the tiles have been installed, wipe down any excess adhesive with a damp sponge and leave it to dry overnight before walking on it or replacing furniture in the room. After 24 hours have passed, your new cork tile floors are ready for use!
FAQs About Installing Cork Tile Floors
Q: How much does it cost to install cork tile floors?
A: The cost of installing cork tile floors depends on several factors, including how large your room is and how much adhesive and other supplies you need to purchase for installation. On average, however, most people spend between $2-$4 per square foot for materials and labor when installing cork tile floors.
Q: How long does it take to install cork tile floors?
A: The time required to install cork tile floors varies depending on the size of your room and your experience level with DIY projects. Most people find that they can complete installation in one day if they follow all of the steps properly. For larger rooms or more complex designs, however, it may take two days or more to complete the project.