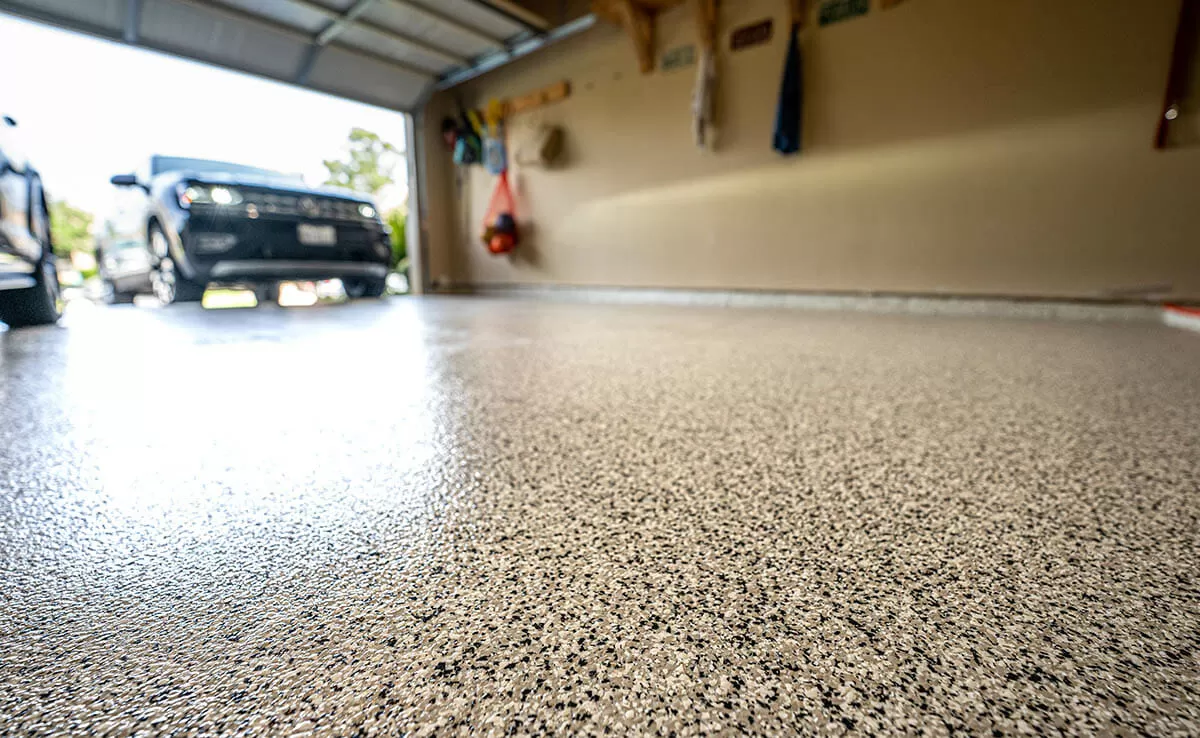
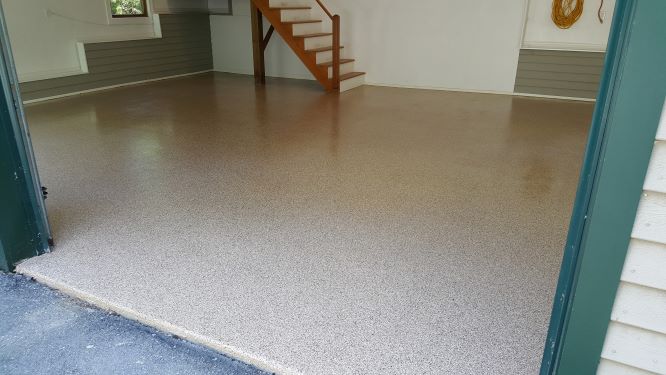
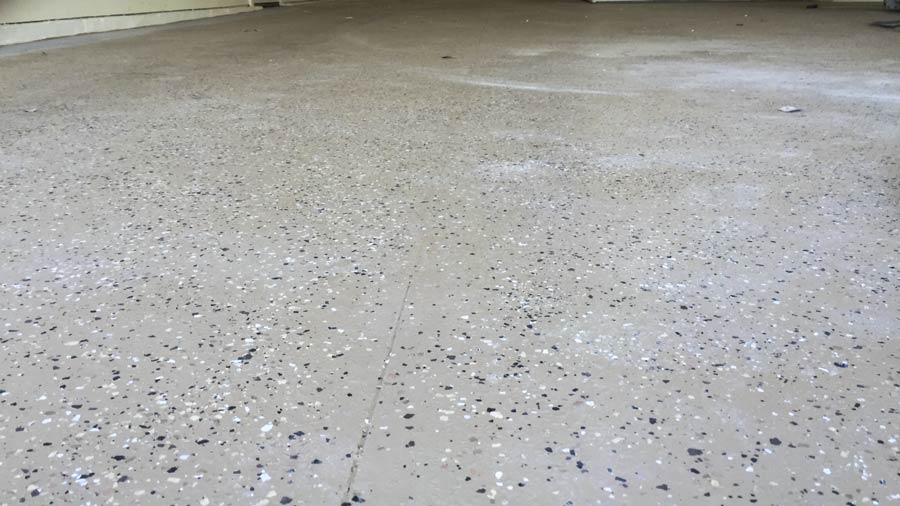
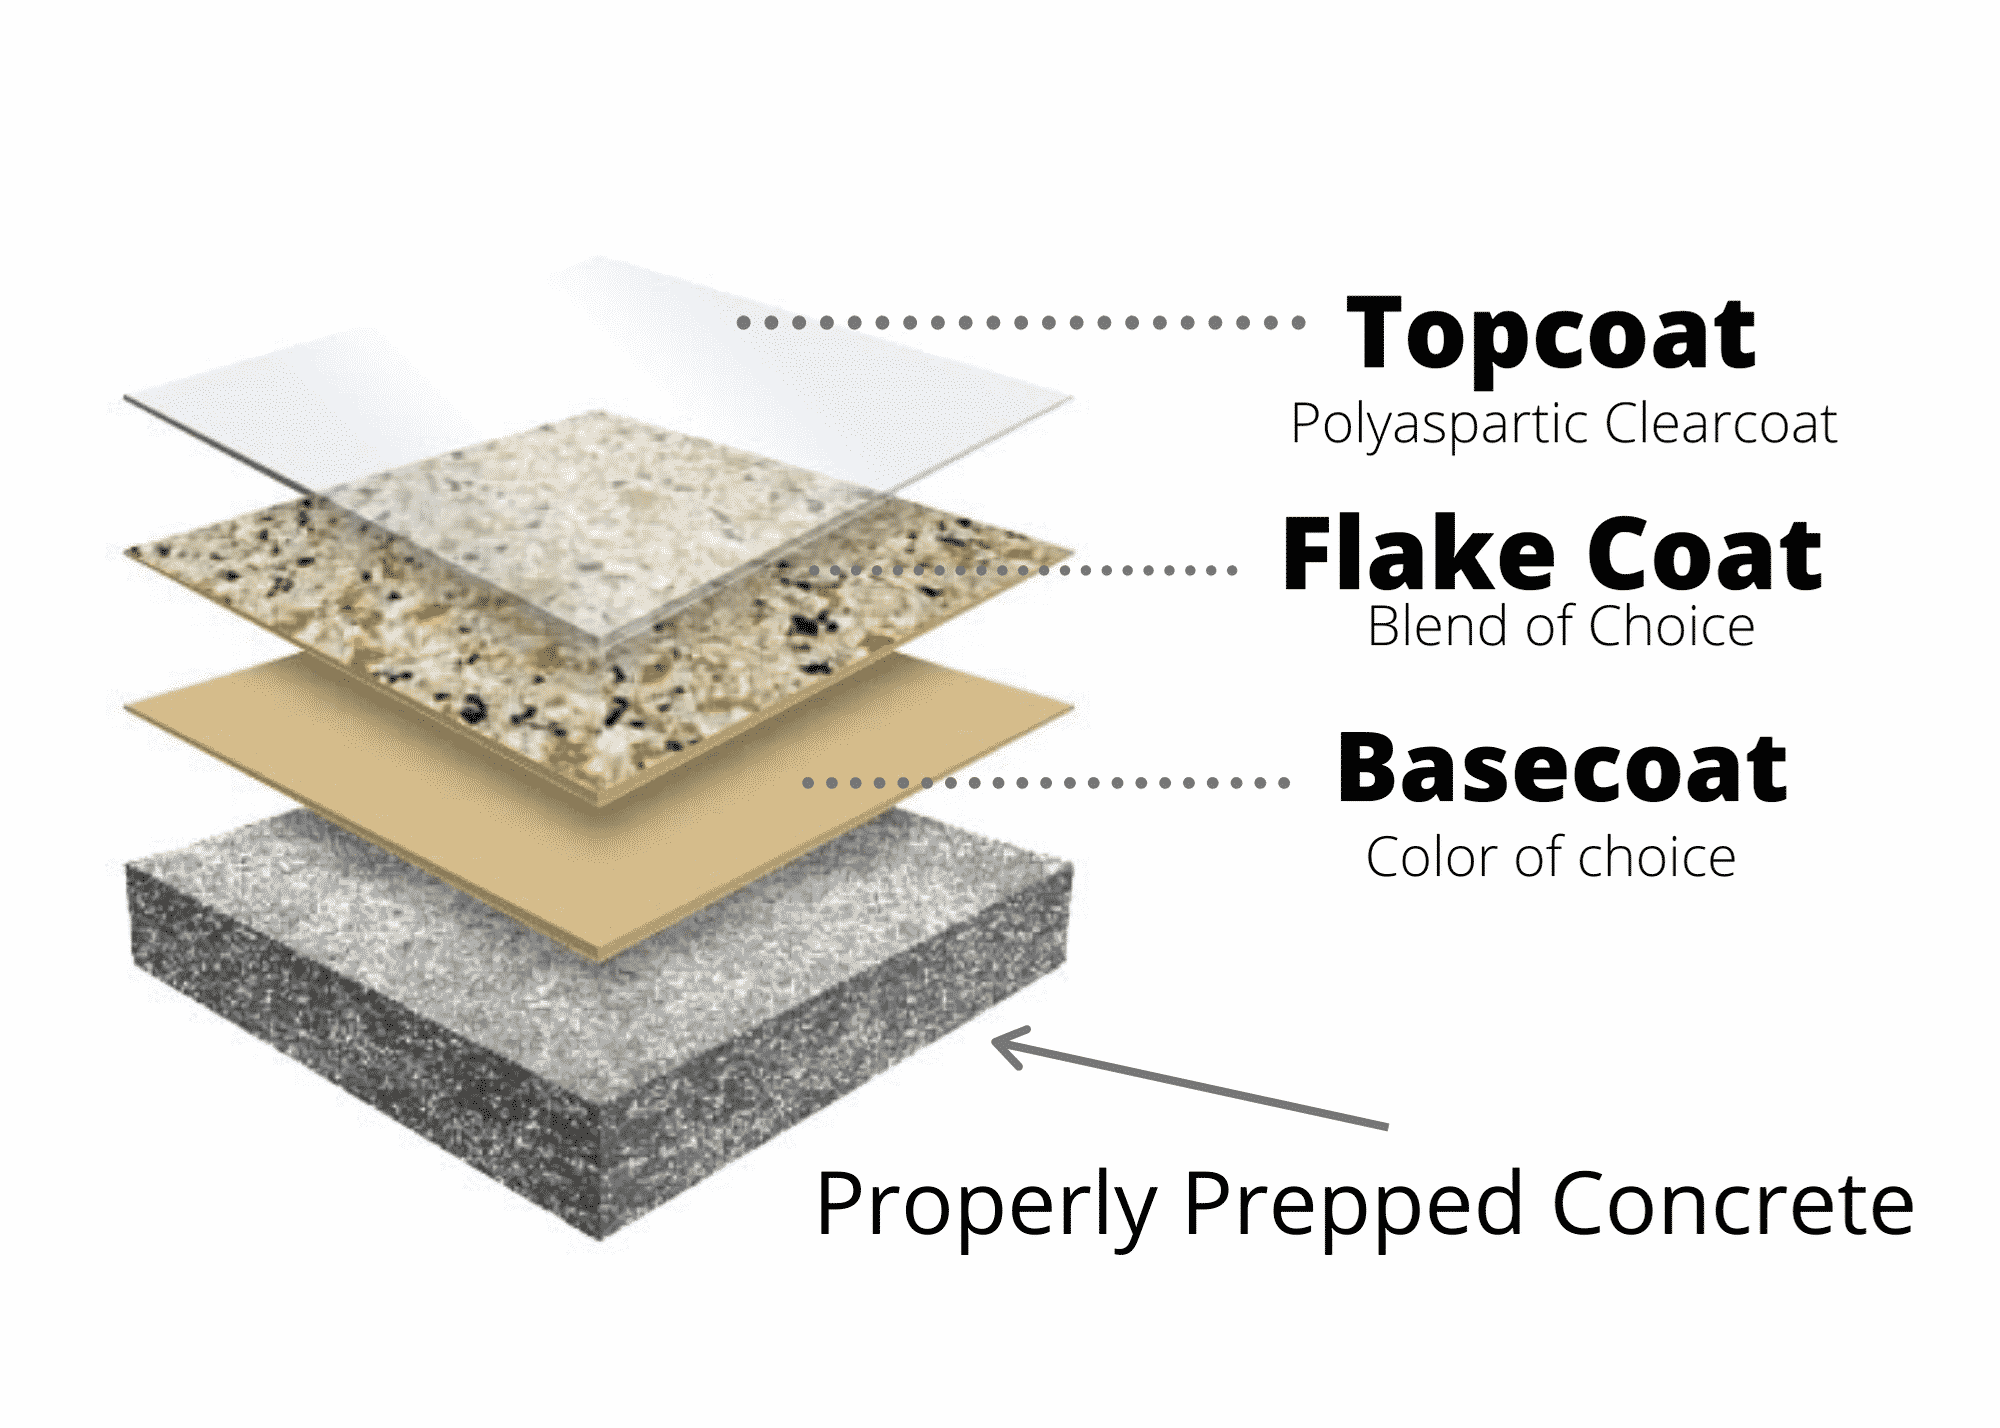
Epoxy adheres well to surfaces made from concrete, wood, tiles, metal, and more. Epoxy provides floors a lustrous, glassy look which can make the entire area vibrantly stand out in terms of high end aesthetic look and appeal. It must contain an epoxy resin, a specific or amber viscous liquid. The floors of yours will often be in good shape. Anti-slip flecks are actually made of acrylic and offer a decorative touch to an epoxy flooring.
Images about Diy Epoxy Flake Flooring
Diy Epoxy Flake Flooring
Some epoxy floors coatings consist of pigments that expand quickly when subjected to strong heat. One of the most widespread flooring alternatives for this market is epoxy flooring. Epoxy formulations have been an essential component of the construction industry for five decades. You will need to put in a new coat over the failed one. Resin & hardeners provide strength to the compound.
Epoxy Flake Flooring

Epoxy flooring isn’t low-cost and the cost of a floor depends on the size of the surface area to be covered, naturally. Epoxy is resilient adequate to resist many stains and still keep an attractive floor. In addition to choosing a floor color, customers also have an opportunity to enhance their floor’s uniqueness with anti slip flecks. Epoxy flooring is frequently used in an industrial environment.
How To Apply Decorative Colored Flakes Evenly? – ArmorPoxy Floor
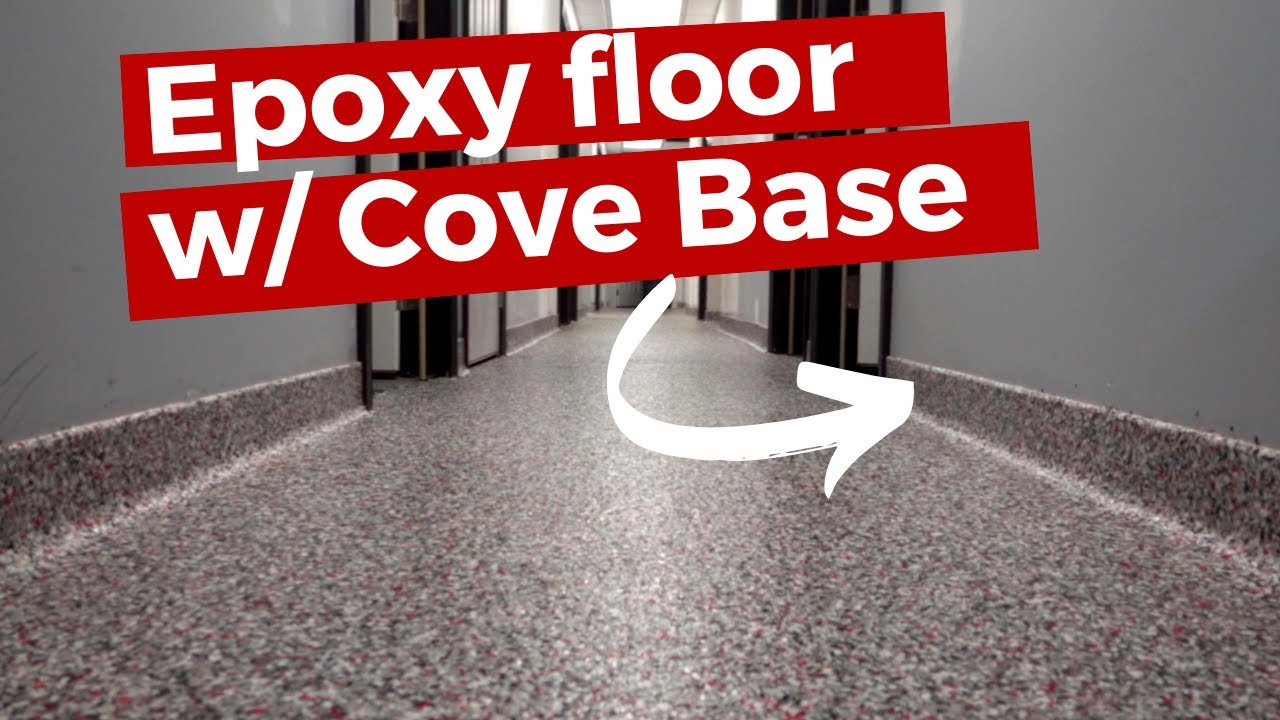
A DIY Epoxy and Nohr-S Hybrid Garage Floor Coating System All
How to Apply Colored Epoxy Flake Floor System – Garage and Commercial Floors

Full Broadcast Epoxy Flake Flooring By Integrity Floor Coatings of

5 Step Pro Guide To Apply Colored Epoxy Flake Floor System
HOW TO Make a Mica Flake Floor

Garage epoxy flake floor looks awesome! Garage epoxy, Epoxy

DIY Epoxy Garage Floor Tutorial (New u0026 Improved Step by Step)
DIY Epoxy Garage Floor Coating Repair – Casper, WY
Premium Epoxy Garage Flooring- Armor Tough Coatings- Metro Detroit, MI
Installing a Paint Chip Epoxy Floor : An epoxy coating thatu0027s not just for garage floors
Professional Epoxy Garage Floors vs DIY Epoxy Kits u2014 Craftsman

Related Posts:
- Epoxy Flooring Advantages Disadvantages
- Metallic Epoxy Bathroom Floor
- Sherwin Williams Epoxy Floor
- High Gloss Epoxy Flooring
- Epoxy Flooring Interior Design
- Metallic Epoxy Floor Coating
- Epoxy Floor Coating
- Epoxy Kitchen Floor
- Epoxy Basement Floor
- Epoxy Resin Garage Floor
Introduction to Diy Epoxy Flake Flooring
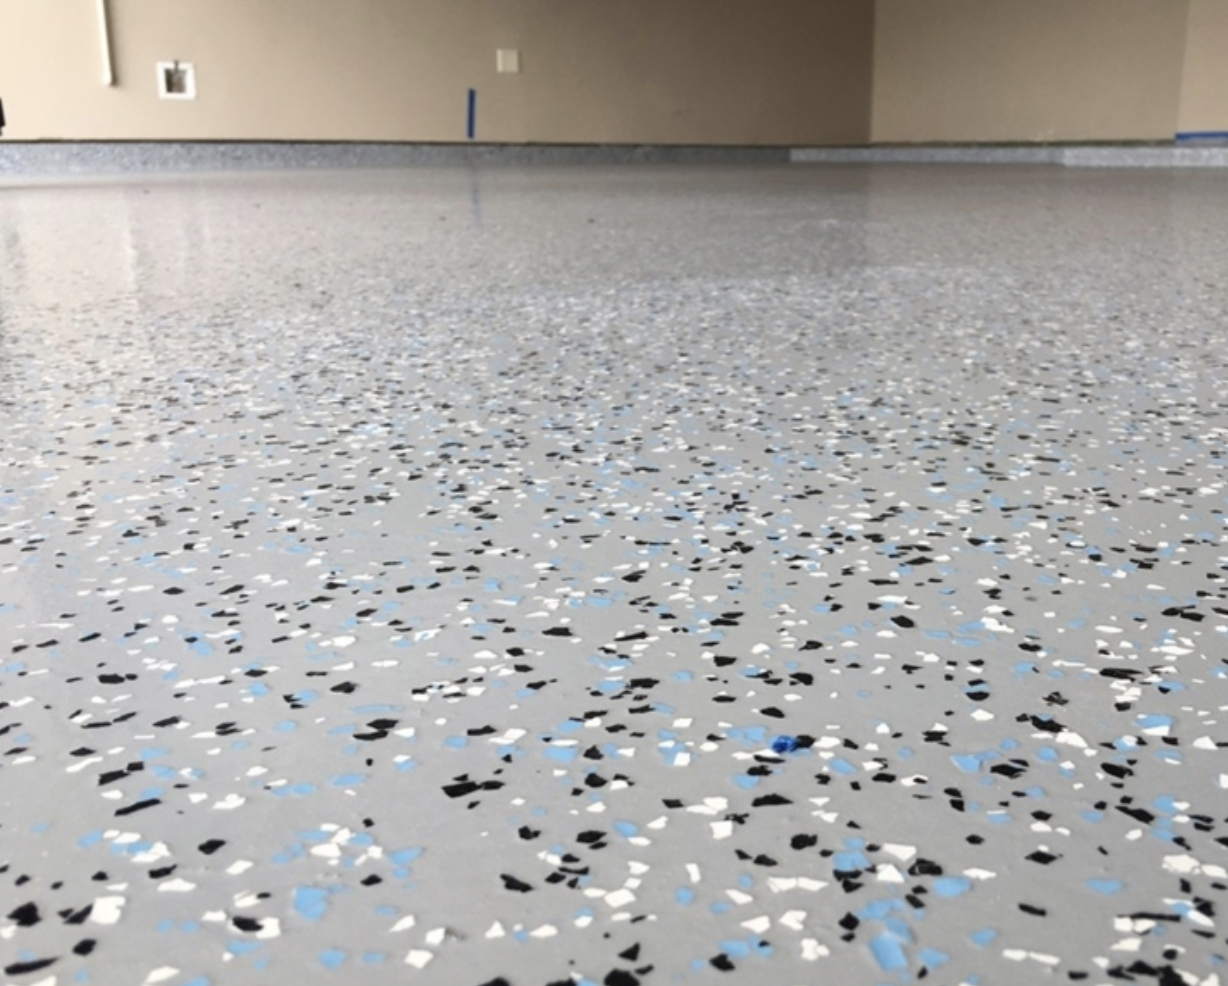
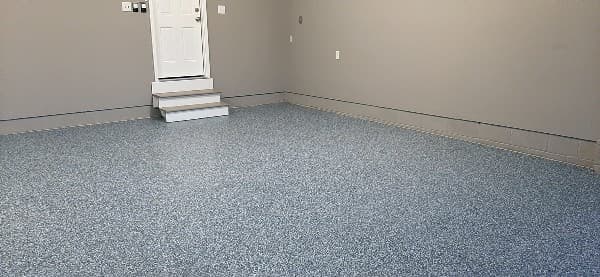
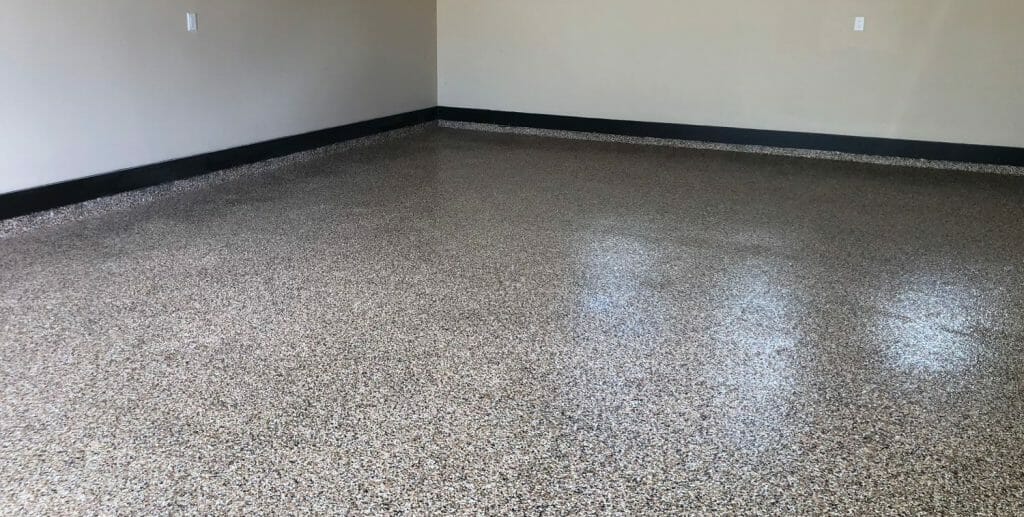
Epoxy flake flooring is a DIY project that can provide a high-end finish to any concrete floor. It’s perfect for basements, garages, patios, workshops, and more. It provides a unique look with vibrant colors and textured flakes that come in many sizes and shapes. The epoxy resin creates a strong bond with the concrete to ensure durability and longevity. Not to mention, epoxy flake flooring is easy to clean, slip-resistant, and low maintenance. With epoxy flake flooring, you can truly transform the look of your concrete floors with minimal effort.
Benefits of Diy Epoxy Flake Flooring
Epoxy flake flooring offers many benefits for those looking to spruce up their concrete floors. The most important benefit is the unique and vibrant look the epoxy provides. The flakes come in a variety of sizes and shapes, allowing you to customize your flooring design to your own personal preference. Additionally, epoxy flake flooring is highly durable and long-lasting. The epoxy resin bonds strongly with the concrete, creating a lasting seal that will withstand heavy foot traffic and daily wear and tear. Furthermore, epoxy flake flooring is easy to clean and maintain. Any dirt or spills can be easily wiped away with a damp cloth or mop.
Materials Needed for Diy Epoxy Flake Flooring
Before beginning the installation of your epoxy flake flooring, you’ll need to gather the following materials:
• Epoxy Resin
• Epoxy Hardener
• Flakes
• Mixer
• Roller/Paintbrush
• Mixing Cup/Bucket
• Masking Tape
• Vacuum Cleaner
• Respirator Mask
• Safety Goggles
• Utility Knife
• Disposable Gloves
Once you have all the necessary materials, you’re ready to begin the installation process!
How To Install Epoxy Flake Flooring?
Installing epoxy flake flooring is relatively straightforward and can be completed in just a few simple steps:
1. Prepare the Area – Before beginning the installation process, it’s important to prepare the area by cleaning and prepping the concrete surface. This includes sweeping or vacuuming any debris from the floor and taping off any walls or other surfaces that may be affected by the installation process. Additionally, make sure to wear proper safety gear including gloves, goggles, and a respirator mask while prepping the area.
2. Mix the Epoxy – Once the area is prepared, it’s time to mix the epoxy resin and hardener according to the manufacturer’s instructions. Make sure to use a mixing cup or bucket to ensure thorough mixing of all ingredients. Once fully mixed, pour the epoxy onto your prepped concrete surface using a roller or paintbrush for even coverage.
3. Apply Flakes – After pouring the epoxy onto your floor surface, begin sprinkling flakes onto the wet epoxy. Make sure to spread out flakes evenly throughout the entire area for an even finish. Additionally, you can use different colors of flakes for a more vibrant look.
4. Let Dry – Once all flakes are applied to your floor surface, cover with plastic sheets to help reduce evaporation while drying. Allow your epoxy flake flooring to dry completely according to manufacturer’s instructions before walking on it or applying additional coats of epoxy if desired.
5. Enjoy – And that’s it! Your new epoxy flake flooring is ready for use! Enjoy your new look with minimal effort!
FAQs About Diy Epoxy Flake Flooring
Q: Is epoxy flake flooring difficult to install?
A: No, installing epoxy flake flooring is relatively straightforward and easy-to-follow once you have all the necessary materials ready. Just follow these simple steps: prepare the area by cleaning and prepping; mix the ep