Understanding Flakes and Epoxy Flooring
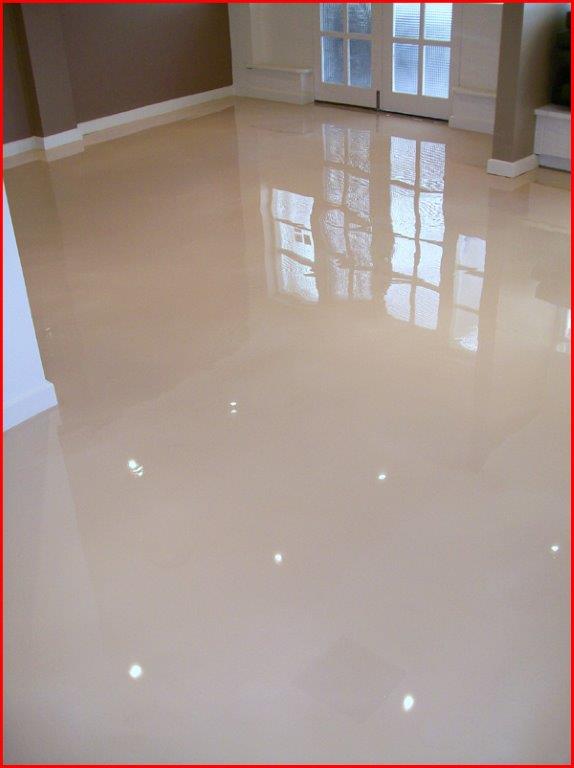
Flakes, also known as chips or flecks, are decorative elements used in epoxy flooring to add texture, color, and visual interest. Epoxy flooring, a popular choice for residential, commercial, and industrial spaces, is a durable and versatile flooring solution known for its seamless and glossy finish. Understanding how flakes work with epoxy flooring can help you create a customized and visually appealing floor that suits your space and style.
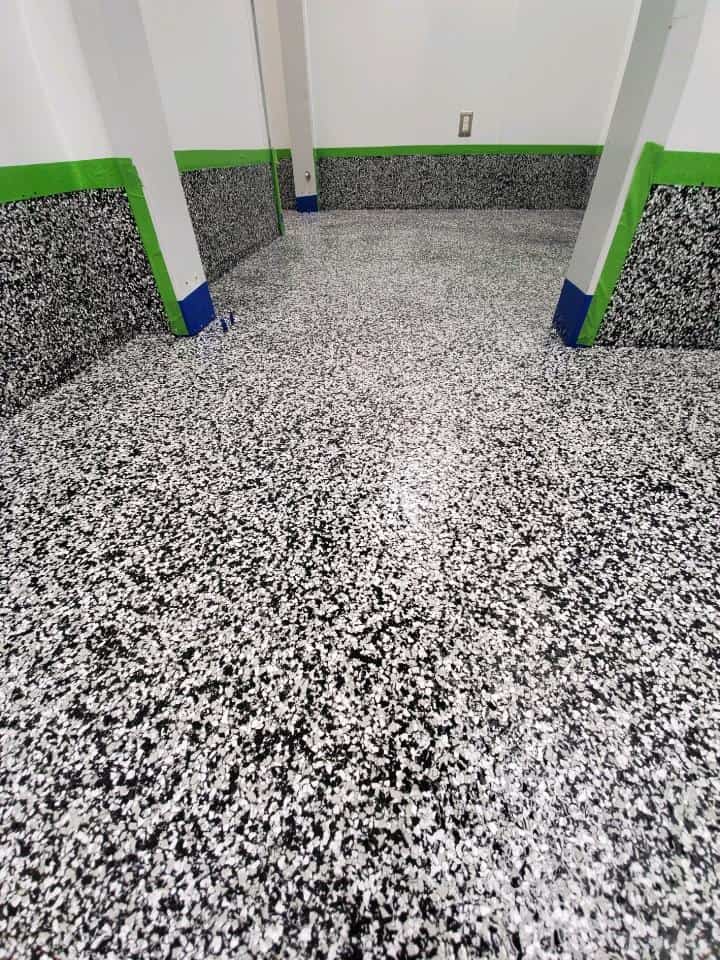
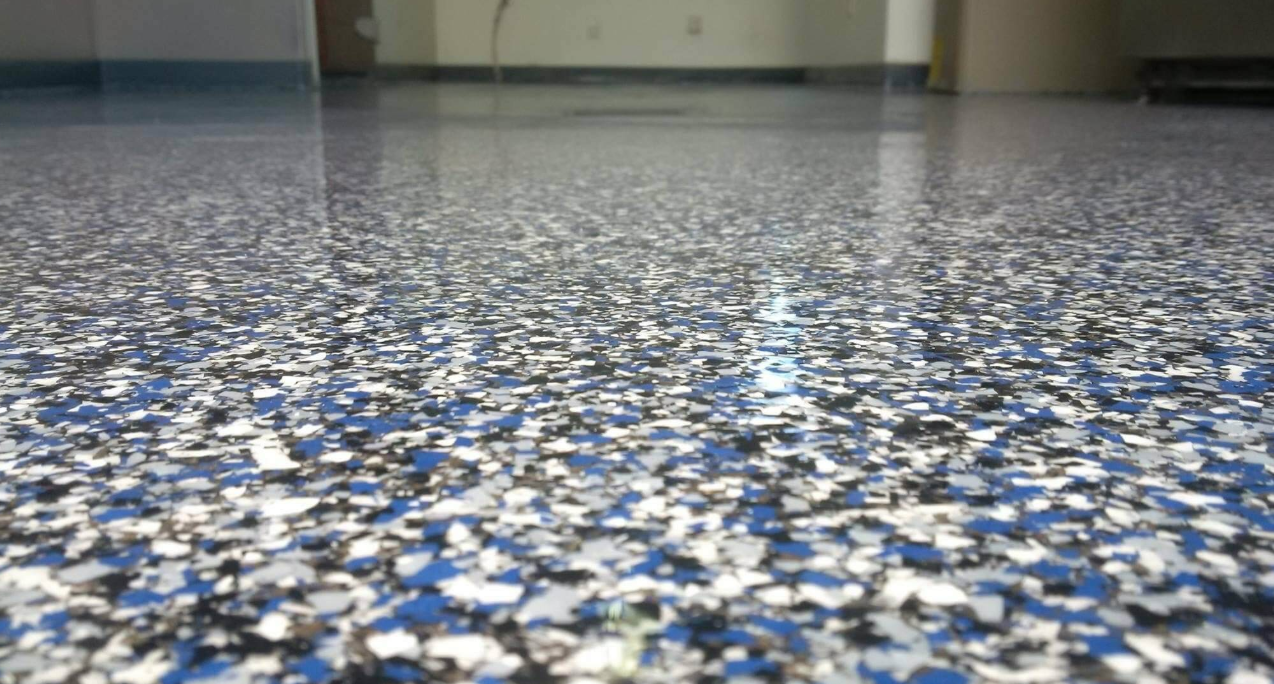
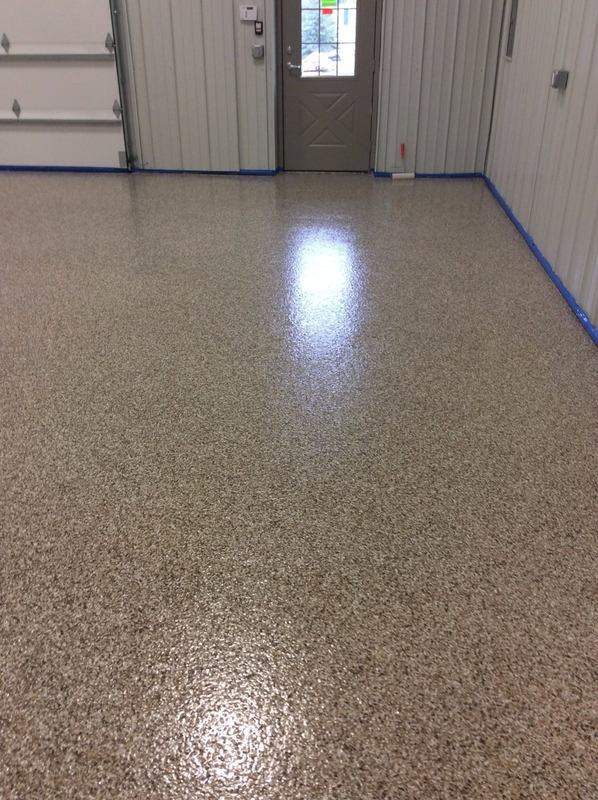
- What are Flakes? Flakes are small, irregularly shaped chips typically made from vinyl or acrylic resin. They come in a variety of colors, sizes, and shapes, allowing for endless design possibilities. Common colors include solid colors, blends, and even metallic or pearlescent finishes. Flakes are often used in combination with epoxy flooring to create decorative patterns, simulate natural materials like stone or granite, or add visual interest to an otherwise plain floor.
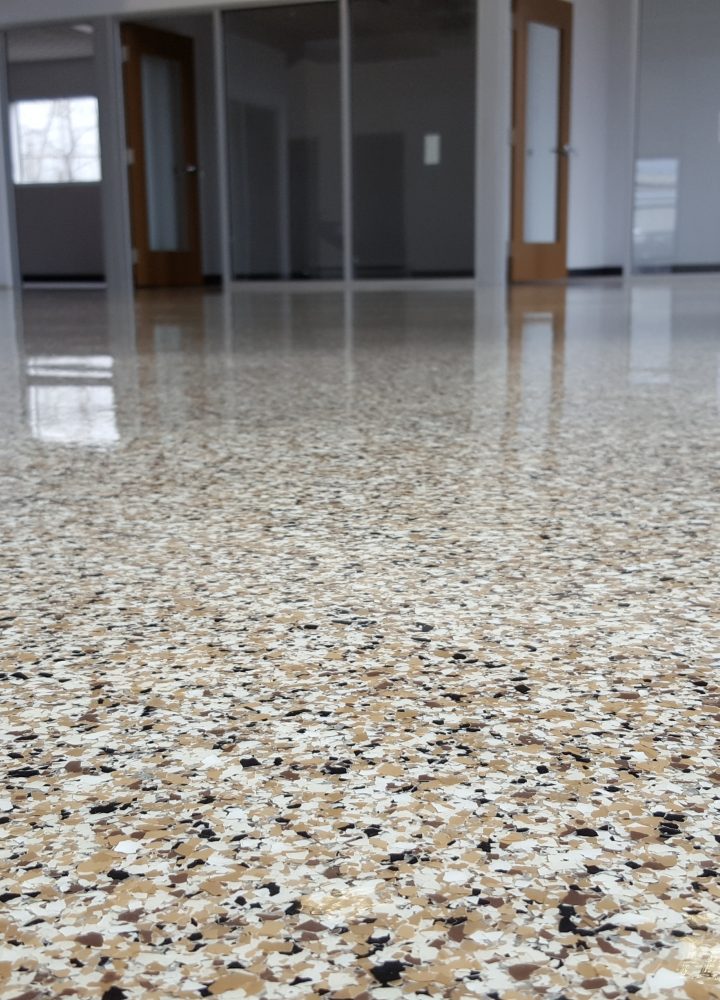
- How Do Flakes Work with Epoxy Flooring? Epoxy flooring consists of a base layer of epoxy resin, followed by a layer of flakes, and topped with a clear epoxy or polyurethane topcoat. The flakes are broadcast or scattered onto the wet epoxy base layer, allowing them to partially or fully embed into the surface. Once the epoxy cures, the excess flakes are removed, and the floor is sealed with a clear topcoat to protect the flakes and create a smooth, glossy finish.
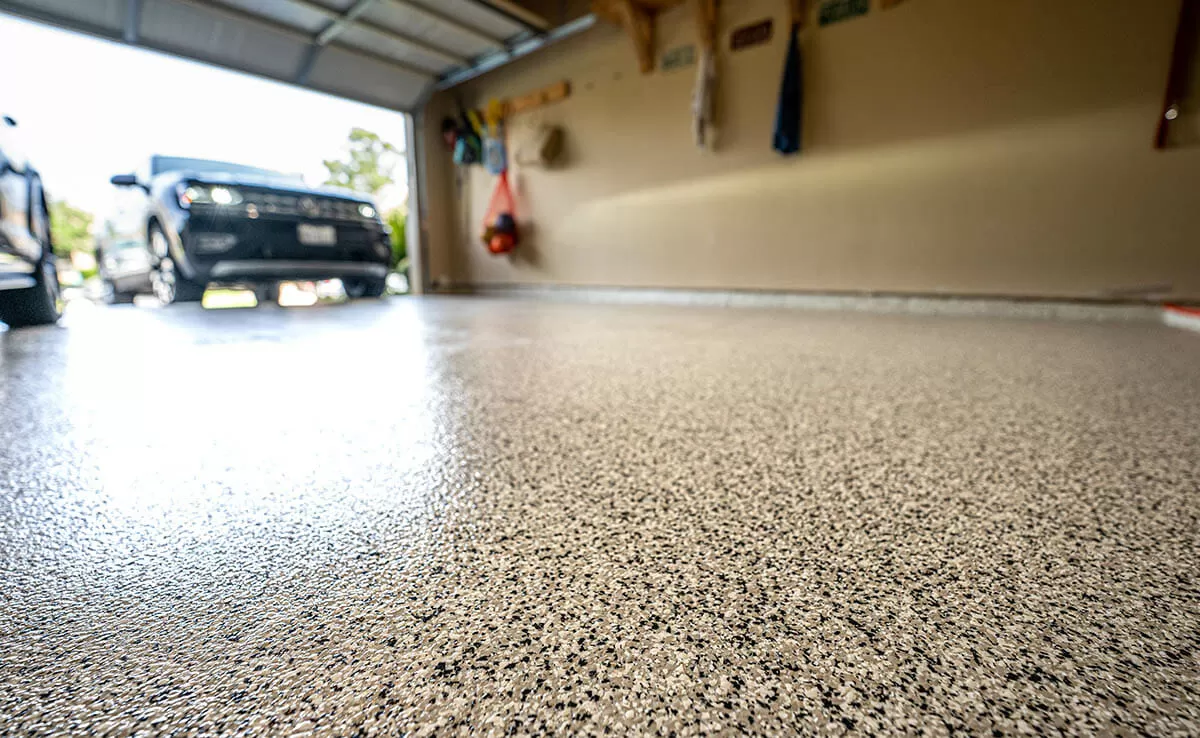
- Benefits of Flaked Epoxy Flooring: Flaked epoxy flooring offers several benefits, including enhanced durability, slip resistance, and customization options. The flakes add texture to the surface, improving traction and reducing the risk of slips and falls, making it ideal for high-traffic areas like garages, commercial kitchens, and workshops. Additionally, flaked epoxy floors are resistant to stains, chemicals, and abrasion, making them easy to clean and maintain.
- Design Versatility: One of the key advantages of flaked epoxy flooring is its design versatility. With a wide range of colors, sizes, and blends available, you can create custom patterns, borders, logos, or even replicate the look of natural materials like granite or terrazzo. Whether you prefer a subtle, monochromatic look or a bold, eye-catching design, flaked epoxy flooring offers endless possibilities to express your style and personality.
- Applications of Flaked Epoxy Flooring: Flaked epoxy flooring is suitable for a variety of residential, commercial, and industrial applications. It’s commonly used in garages, basements, kitchens, retail spaces, showrooms, locker rooms, and more. Its durability, slip resistance, and aesthetic appeal make it a popular choice for both functional and decorative flooring solutions.
- Considerations Before Installation: Before installing flaked epoxy flooring, consider factors such as surface preparation, moisture levels, temperature, and proper installation techniques. Proper surface preparation is crucial to ensure adhesion and durability. It typically involves cleaning, degreasing, repairing cracks and imperfections, and etching or grinding the surface to create a rough texture for better adhesion.
Preparation Steps Before Applying Flakes
Before applying flakes to epoxy flooring, proper preparation is crucial to ensure adhesion, durability, and a professional finish. Proper surface preparation, moisture testing, and selecting the right materials and tools are essential steps to achieve the desired results. Let’s discuss the preparation steps you need to take before applying flakes to epoxy flooring to ensure a successful and long-lasting installation.
Surface Preparation: Proper surface preparation is the key to a successful flaked epoxy flooring installation. Start by cleaning the surface thoroughly to remove dirt, oil, grease, and other contaminants using a degreaser or a suitable cleaner. Repair any cracks, chips, or imperfections in the concrete substrate using epoxy patching compound or concrete repair products. Once repairs are complete, etch or grind the surface to create a rough texture for better adhesion.
Moisture Testing: Moisture can cause adhesion issues and compromise the durability of epoxy flooring. Before applying flakes, conduct a moisture test to determine the moisture content of the concrete substrate. Excessive moisture levels can lead to delamination and failure of the epoxy coating. Use a moisture meter or perform a plastic sheet test to assess moisture vapor transmission from the concrete.
Surface Profile: Achieving the right surface profile is essential for proper adhesion of the epoxy coating and flakes. The surface should be roughened to improve the mechanical bond and ensure proper adhesion. Depending on the condition of the substrate and the type of epoxy system used, you may need to etch the surface with acid or mechanically grind it to create the desired profile.
Priming the Surface: After surface preparation is complete, apply a primer to the concrete substrate to promote adhesion and enhance the performance of the epoxy coating. The primer helps seal the surface, reduces porosity, and improves bonding between the substrate and the epoxy coating. Choose a primer specifically designed for use with epoxy flooring systems and follow the manufacturer’s instructions for application and drying times.
Selecting the Right Materials and Tools: When applying flakes to epoxy flooring, it’s essential to use high-quality materials and tools to achieve professional results. Choose epoxy resin, flakes, and topcoats from reputable manufacturers known for their quality and reliability. Use the recommended tools and equipment, including rollers, brushes, spike shoes, and squeegees, for proper application and smooth finish.
Protective Measures: Before applying flakes, take protective measures to protect adjacent surfaces and prevent contamination of the surrounding area. Use masking tape and plastic sheeting to cover walls, cabinets, and other surfaces that are not being coated. Remove any excess flakes from the surface before applying the topcoat to ensure a smooth and even finish.
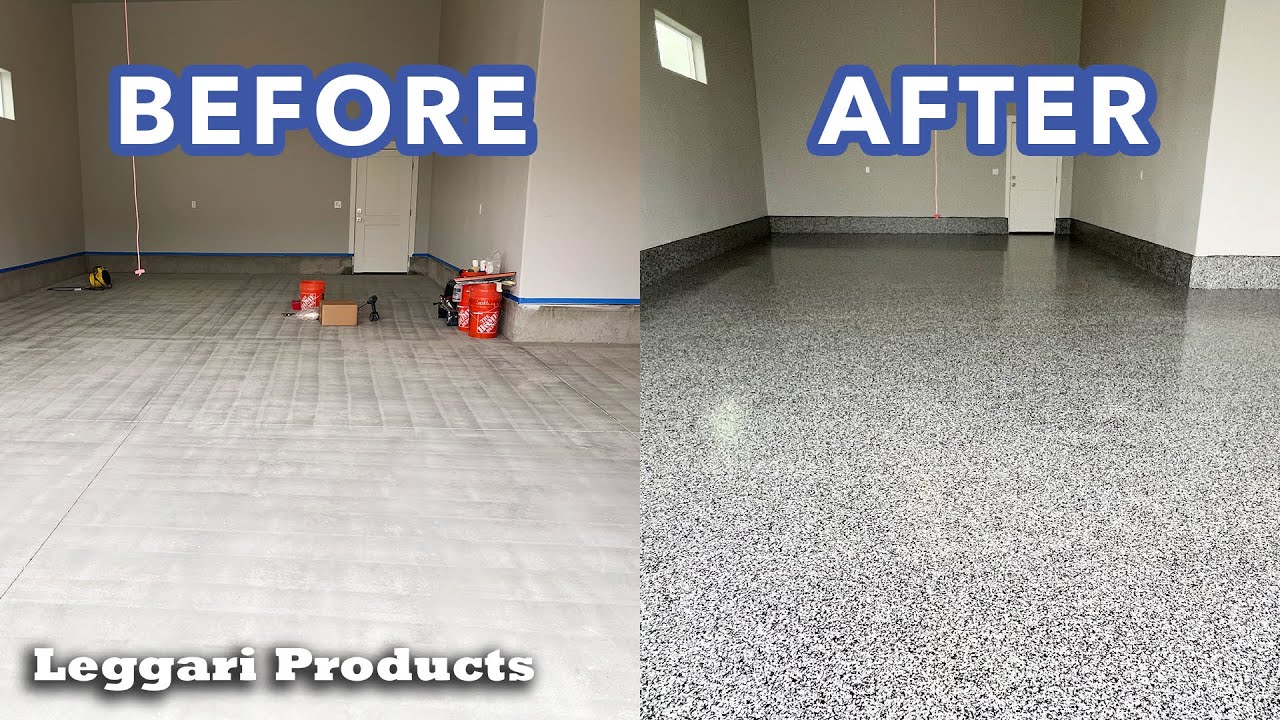
Applying Flakes to Epoxy Flooring: Step-by-Step Guide
Applying flakes to epoxy flooring is a multi-step process that requires careful preparation, precise application techniques, and attention to detail. When done correctly, it can result in a beautiful and durable floor with a unique decorative finish. In this step-by-step guide, we’ll walk you through the process of applying flakes to epoxy flooring to help you achieve professional results.
Prepare the Epoxy Base Coat: Start by preparing the epoxy base coat according to the manufacturer’s instructions. Mix the epoxy resin and hardener thoroughly in the correct proportions, ensuring proper blending to achieve a uniform consistency. Use a mixing paddle attached to a drill for efficient mixing. Once mixed, allow the epoxy to rest for the specified induction time before applying it to the prepared surface.
Apply the Epoxy Base Coat: Using a roller or squeegee, apply the epoxy base coat to the prepared surface in small sections, working systematically to ensure even coverage. Work quickly but carefully to avoid overlapping or uneven application. Use a notched squeegee or roller to spread the epoxy evenly and achieve the desired thickness. Avoid trapping air bubbles in the epoxy by rolling out any bubbles with a spiked roller.
Broadcast the Flakes: While the epoxy base coat is still wet, broadcast the flakes evenly over the surface using a flake broadcast machine or by hand. Start at one corner of the room and work your way across the floor in a consistent pattern to ensure even distribution of the flakes. Sprinkle the flakes generously to achieve the desired density and coverage, making sure to overlap slightly to avoid gaps.
Allow the Epoxy to Cure: Once the flakes are applied, allow the epoxy base coat to cure according to the manufacturer’s instructions. This typically involves allowing the epoxy to dry for a specified period, usually overnight or for 12-24 hours, depending on temperature and humidity conditions. Avoid walking on or disturbing the surface during the curing process to prevent damage to the flakes.
Remove Excess Flakes: After the epoxy base coat has cured, use a scraper or broom to remove any excess flakes that did not adhere to the surface. Sweep or vacuum the floor thoroughly to remove loose flakes and debris, ensuring a clean and smooth surface for the next steps.
Apply the Topcoat: Once the excess flakes are removed, apply a clear epoxy or polyurethane topcoat over the flaked epoxy base coat to seal and protect the surface. Use a roller or brush to apply the topcoat evenly, working in small sections to ensure complete coverage. Follow the manufacturer’s instructions for application and drying times, and avoid walking on the surface until the topcoat has cured fully.

Tips for Achieving a Professional Finish
Achieving a professional finish when applying flakes to epoxy flooring requires careful planning, attention to detail, and proper execution of each step in the process. From surface preparation to application techniques, following these tips can help you achieve the desired results and create a beautiful and durable flaked epoxy floor.
Proper Surface Preparation: Ensure the concrete substrate is clean, dry, and free of contaminants before applying flakes to epoxy flooring. Proper surface preparation, including cleaning, repairing cracks, and etching or grinding the surface, is crucial for proper adhesion and a professional finish.
Use High-Quality Materials: Invest in high-quality epoxy resin, flakes, and topcoats from reputable manufacturers known for their quality and reliability. Using inferior or low-quality materials can result in poor adhesion, uneven coverage, and premature failure of the epoxy coating.
Choose the Right Flake Size and Color: Select flakes in the appropriate size and color to achieve the desired aesthetic effect for your flaked epoxy flooring. Consider factors such as the size of the space, lighting conditions, and existing decor when choosing flake size and color.
Apply Flakes Evenly and Generously: Broadcast the flakes evenly and generously over the wet epoxy base coat to achieve uniform coverage and density. Use a consistent pattern and overlap slightly to avoid gaps or bare spots. Sprinkle the flakes generously to create a dense and visually appealing finish.
Work Quickly but Carefully: Work quickly but carefully when applying flakes to epoxy flooring to ensure even distribution and coverage. Avoid rushing or applying too many flakes in one area, as this can result in uneven coverage or clumping. Take breaks as needed to maintain focus and attention to detail.
Remove Excess Flakes: After applying the flakes, remove any excess flakes that did not adhere to the surface using a scraper or broom. Sweep or vacuum the floor thoroughly to remove loose flakes and debris, ensuring a clean and smooth surface for the topcoat.
Apply the Topcoat Smoothly and Evenly: Apply the clear epoxy or polyurethane topcoat smoothly and evenly over the flaked epoxy base coat to seal and protect the surface. Use a roller or brush to apply the topcoat in thin, even layers, working in small sections to ensure complete coverage.
Allow Sufficient Drying and Curing Time: Allow the epoxy base coat, flakes, and topcoat to dry and cure fully according to the manufacturer’s instructions before allowing foot traffic or placing heavy objects on the surface. Rushing the drying and curing process can result in premature failure of the epoxy coating.
Practice Proper Safety Precautions: When working with epoxy resin and coatings, be sure to follow proper safety precautions, including wearing protective clothing, gloves, and goggles, and ensuring adequate ventilation in the workspace. Avoid skin contact and inhalation of fumes, and follow the manufacturer’s safety guidelines for handling and disposal of materials.
Maintenance and Care of Flaked Epoxy Floors
Flaked epoxy floors are known for their durability, slip resistance, and aesthetic appeal, but proper maintenance and care are essential to preserve their beauty and functionality over time. With regular cleaning, maintenance, and occasional touch-ups, you can keep your flaked epoxy floor looking great for years to come. Below are some maintenance tips and care guidelines to help you protect and maintain your flaked epoxy floor.
Regular Cleaning: Regular cleaning is essential to remove dirt, dust, and debris that can scratch the surface of your flaked epoxy floor. Sweep or vacuum the floor regularly to remove loose dirt and debris, and mop with a mild detergent or cleaner diluted in water to remove stubborn stains and spills. Avoid using harsh chemical cleaners or abrasive tools that can damage the epoxy coating.
Avoid Standing Water: Moisture can damage the epoxy coating and cause it to peel or delaminate over time. Avoid leaving standing water on the surface of your flaked epoxy floor by promptly wiping up spills and using mats or rugs in areas prone to moisture, such as entryways and kitchen areas. Use a dry mop or towel to soak up spills immediately to prevent them from seeping into the epoxy coating.
Protective Measures: Take protective measures to prevent damage to your flaked epoxy floor, such as placing furniture pads or felt protectors under heavy furniture to prevent scratching and dents. Use mats or rugs in high-traffic areas to reduce wear and tear and protect the surface from dirt and debris. Avoid dragging heavy objects or sharp items across the floor, as this can scratch or gouge the epoxy coating.
Avoid Harsh Chemicals: Harsh chemicals can damage the epoxy coating and compromise its durability and appearance. Avoid using acidic or abrasive cleaners, solvents, or degreasers on your flaked epoxy floor, as these can strip away the protective topcoat and damage the underlying epoxy resin. Use a mild detergent or cleaner diluted in water for regular cleaning, and spot clean spills and stains promptly to prevent damage.
Periodic Maintenance: Periodic maintenance is essential to keep your flaked epoxy floor looking great and performing well over time. Depending on the level of traffic and wear, you may need to periodically touch up or recoat the epoxy surface to restore its appearance and protect it from damage. Follow the manufacturer’s recommendations for maintenance and touch-up procedures, and consider hiring a professional for larger repair or recoating projects.
Avoid High Heels and Sharp Objects: High heels, sharp objects, and heavy impacts can damage the epoxy coating and cause scratches, gouges, or dents in your flaked epoxy floor. Encourage guests and family members to remove high heels or sharp objects before walking on the floor, and use furniture pads or felt protectors under heavy furniture to prevent damage.
Regular Inspections: Regularly inspect your flaked epoxy floor for signs of damage, wear, or deterioration, such as scratches, dents, stains, or areas of peeling or delamination. Address any issues promptly to prevent further damage and extend the life of your flaked epoxy floor.
Reapply Topcoat as Needed: Over time, the topcoat of your flaked epoxy floor may wear down or become damaged, compromising its appearance and protection. Consider reapplying the topcoat periodically to restore its gloss and durability and protect the underlying epoxy coating from damage. Follow the manufacturer’s recommendations for topcoat application and drying times.
Garage Makeover Using Epoxy u0026 Flakes Done By A Contractor Time-lapse
Classic Finish Garage Floor Epoxy With Full Flake Artisan Garage

Are Epoxy Flake Floors Smooth? – Glossy Floors – Call (888) 99-SHINE

Epoxy Flake Floors Miami Specialty Garage Floors
Bright Blue Flake Epoxy

Epoxy Floor Coating
Vinyl Flake Epoxy Flooring
Garage floor coating, epoxy flake coating, patios, concrete

Solid Flake Epoxy

Related Posts: