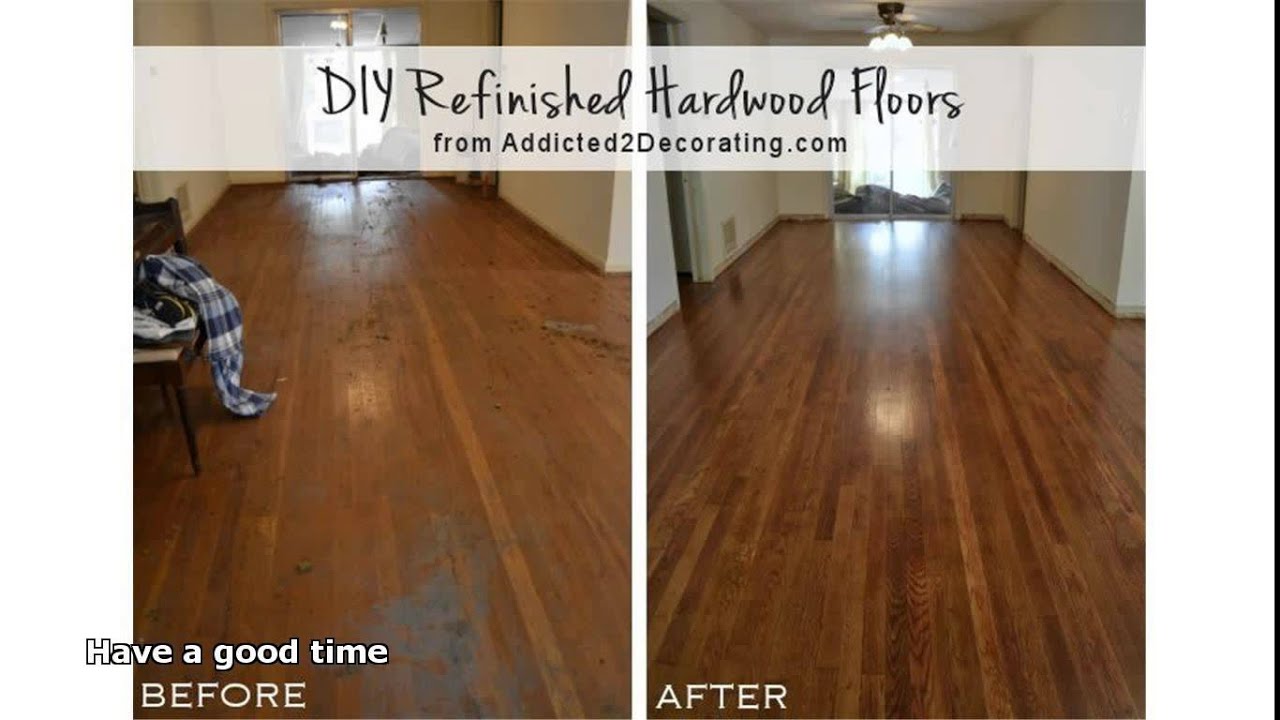
Exploring Alternative Methods for Refinishing Hardwood Floors
Refinishing hardwood floors is a great way to breathe new life into your home’s interior. Traditionally, sanding has been the go-to method to prep the floors for a fresh finish. However, there are alternative methods that can achieve stunning results without the need for extensive sanding. We will explore these alternative methods, their benefits, and how they can help you transform your hardwood floors.
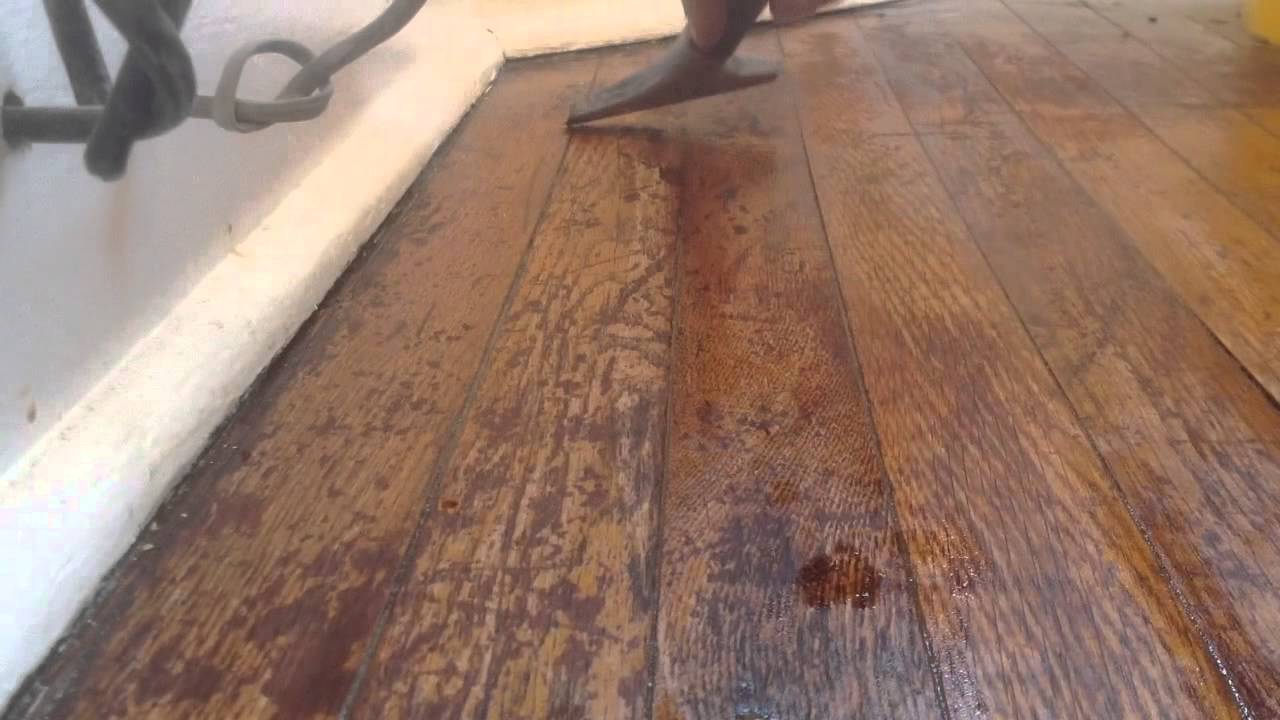
- Chemical Stripping and Recoating for a Fresh Look: If you want to refresh the look of your hardwood floors without the labor-intensive sanding process, chemical stripping and recoating is a fantastic alternative. This method involves using a chemical stripper to remove the existing finish, followed by applying a new coat of finish. It is a relatively quick and straightforward process that can yield impressive results.
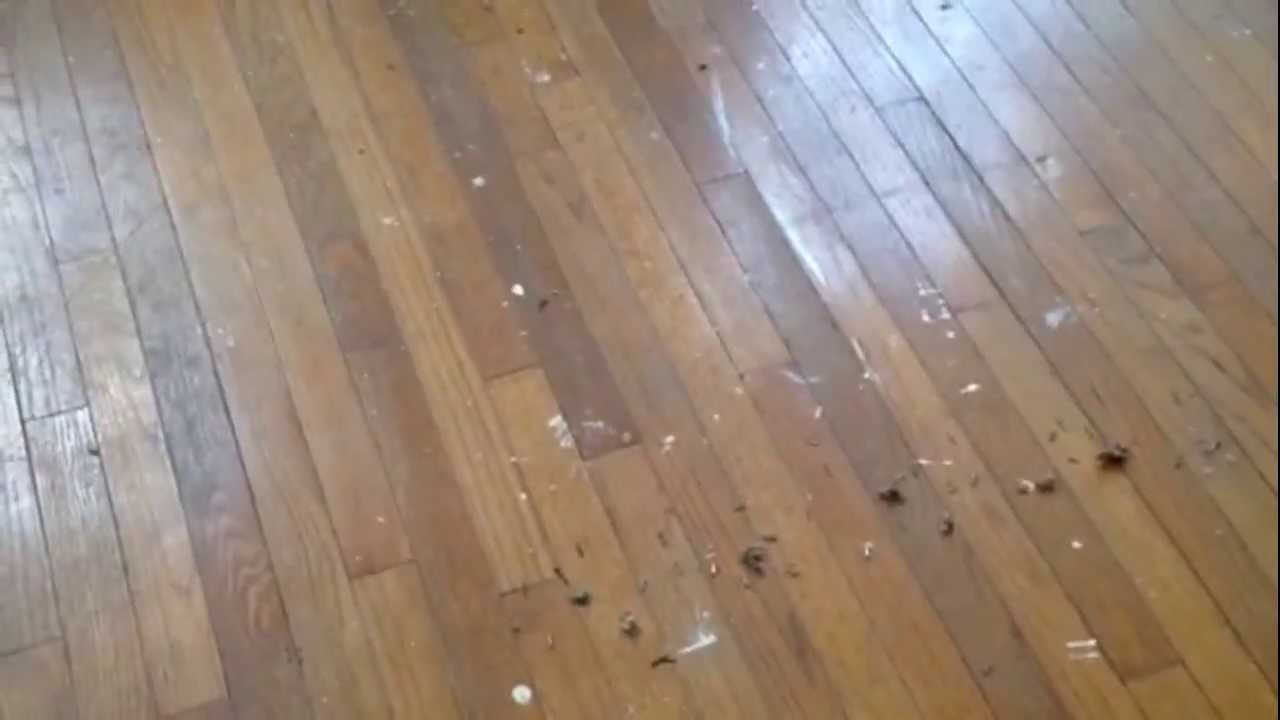
- Buffing and Polishing for a Revitalized Shine: Another alternative method for refinishing hardwood floors without sanding is buffing and polishing. This technique involves using a rotary buffer machine equipped with a special pad to remove surface imperfections and restore the shine of the wood. Buffing and polishing can help remove minor scratches, scuffs, and dullness, leaving your floors looking revitalized and lustrous.
- Staining and Sealing for a Customized Finish: If you’re looking to change the color of your hardwood floors or enhance their natural beauty, staining and sealing is an excellent option. This method involves applying a stain of your choice to the wood, followed by sealing it with a protective topcoat. Staining and sealing can transform the appearance of your floors, giving them a fresh, customized finish.

The Benefits of DIY Refinishing: Why Skip the Sanding Process?
Refinishing hardwood floors is a significant undertaking that requires careful consideration. While sanding has long been the traditional method for prepping the floors, there are compelling reasons to consider skipping this step and opting for alternative DIY refinishing methods. Below are the benefits of DIY refinishing without sanding and why it might be the right choice for you.
Time and Effort Savings: Sanding hardwood floors is a labor-intensive and time-consuming process. It involves renting heavy machinery, securing the area, and spending hours sanding every inch of the floor. By skipping the sanding process, you can significantly reduce the time and effort required to refinish your floors. Alternative methods such as chemical stripping, buffing, and staining are generally quicker and easier to execute.
Minimizing Dust and Mess: Sanding hardwood floors produces a substantial amount of dust, which can infiltrate your home and settle on furniture, walls, and other surfaces. This dust can be difficult to clean and may even pose health risks for individuals with respiratory conditions. Choosing alternative methods that do not involve sanding can help minimize dust and mess, making the refinishing process more convenient and hassle-free.
Preserving Wood Thickness: Repeated sanding can gradually reduce the thickness of hardwood floors over time. By opting for alternative DIY refinishing methods that don’t require sanding, you can preserve the original thickness of your floors. This is particularly important for older or thinner hardwood floors that may not withstand multiple sanding sessions.
Suitable for Light Refinishing Needs: Not all hardwood floors require extensive sanding to achieve the desired results. If your floors have minor surface imperfections, dullness, or scratches, alternative DIY refinishing methods can effectively address these issues without the need for sanding. This makes them a practical choice for light refinishing needs, saving you time, effort, and costs.
Chemical Stripping and Recoating for a Fresh Look
Chemical stripping and recoating is an alternative method for refinishing hardwood floors that can provide a fresh look without the need for sanding. This method involves using a chemical stripper to remove the existing finish from the floors, followed by applying a new coat of finish. Let’s discuss the process of chemical stripping and recoating, highlighting its benefits and steps to achieve a stunning result.
Benefits of Chemical Stripping: Chemical stripping offers several advantages over traditional sanding. Firstly, it is a less labor-intensive process that can save you time and effort. Additionally, it allows you to maintain the thickness of your hardwood floors, making it a suitable option for older or thinner floors. Chemical stripping also provides an opportunity to change the color or type of finish on your floors, giving you more customization options.
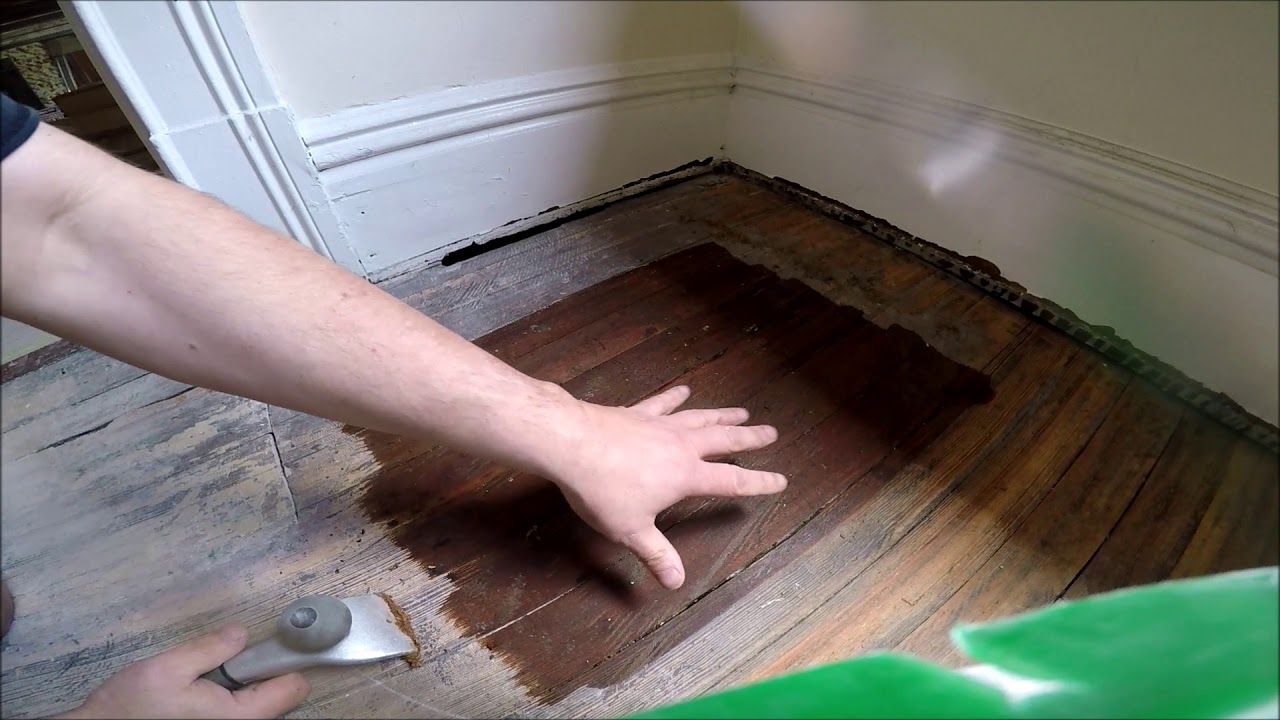
Steps for Chemical Stripping and Recoating: To begin the process, ensure that the area is well-ventilated and clear of any furniture or obstacles. Start by applying a chemical stripper to a small section of the floor using a paintbrush or roller, following the manufacturer’s instructions. Allow the stripper to sit on the surface for the recommended duration, usually around 15-20 minutes. Next, use a floor scraper or putty knife to gently remove the softened finish, being careful not to damage the wood. Repeat this process until the entire floor is stripped.
Once the floor is stripped, thoroughly clean it with a wood cleaner to remove any residue from the chemical stripper. After cleaning, allow the floor to dry completely. Once dry, apply a new coat of finish using a brush or roller, following the product instructions. Allow the finish to dry according to the manufacturer’s recommendations before moving furniture back onto the floor.
Maintenance and Care: To maintain the fresh look achieved through chemical stripping and recoating, it is important to follow proper maintenance and care practices. Regularly sweep or vacuum the floor to remove dirt and debris, and use a damp mop with a mild wood floor cleaner for periodic cleaning. Avoid using harsh chemicals or abrasive cleaners that can damage the finish. Additionally, consider placing area rugs or mats in high-traffic areas to protect the floor from excessive wear.
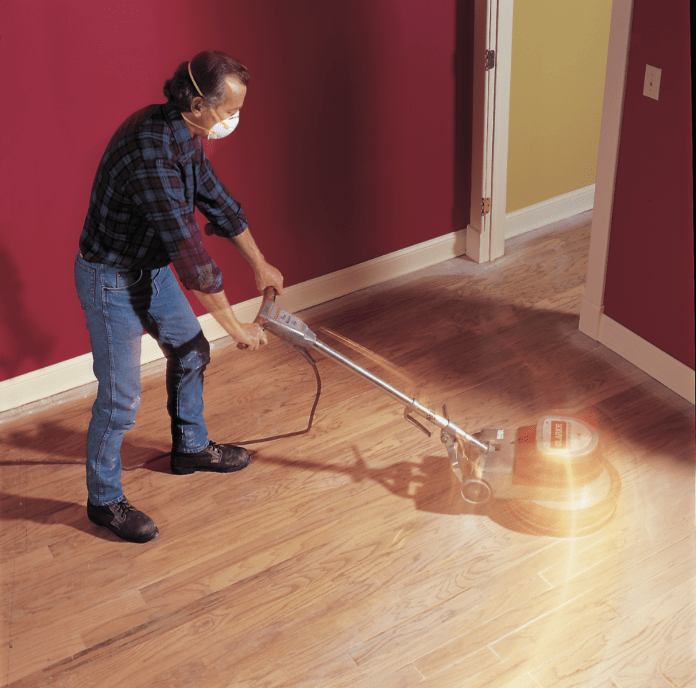
Buffing and Polishing for a Revitalized Shine
Buffing and polishing is a popular alternative method for refinishing hardwood floors without the need for sanding. This technique involves using a rotary buffer machine equipped with a special pad to remove surface imperfections and restore the shine of the wood. Below are the process of buffing and polishing, highlighting its benefits and steps to achieve a revitalized shine.
Benefits of Buffing and Polishing: Buffing and polishing can bring several benefits to your hardwood floors. Firstly, it is a relatively quick and easy process compared to sanding, saving you time and effort. It can effectively remove minor scratches, scuffs, and dullness, rejuvenating the appearance of your floors. Buffing and polishing also help to even out the sheen of the wood, creating a consistent and lustrous shine.
Steps for Buffing and Polishing: Before starting the process, ensure that the floor is clean and free of any debris. Begin by attaching a buffing pad to a rotary buffer machine. Apply a small amount of wood floor cleaner or buffing solution to the pad, following the product instructions. Start in a corner of the room and work your way across the floor, moving the buffer in a smooth, circular motion. Apply gentle pressure and avoid staying in one spot for too long to prevent uneven results.
Repeat the buffing process across the entire floor, paying extra attention to areas with scratches or dullness. Once the buffing is complete, use a clean, dry cloth to remove any residue or excess cleaner from the floor. If desired, you can apply a hardwood floor polish or wax to further enhance the shine and protect the wood.
Maintenance and Care: To maintain the revitalized shine achieved through buffing and polishing, it is important to follow proper maintenance and care practices. Regularly sweep or vacuum the floor to remove dirt and debris, and use a damp mop with a mild wood floor cleaner for periodic cleaning. Avoid using excessive water or harsh chemicals that can damage the wood or finish. Additionally, consider using protective pads on furniture legs to prevent scratches and regularly rotate area rugs or mats to minimize uneven wear.
Staining and Sealing for a Customized Finish
Staining and sealing is a popular alternative method for refinishing hardwood floors without the need for sanding. This technique allows you to change the color of your floors or enhance their natural beauty while providing a protective seal. Let’s explore the process of staining and sealing, highlighting its benefits and steps to achieve a customized finish.
Benefits of Staining and Sealing: Staining and sealing offer several benefits for refinishing hardwood floors. Firstly, it allows you to customize the appearance of your floors by choosing a stain color that aligns with your aesthetic preferences. It can also help to enhance the natural grain and character of the wood. Additionally, the sealing process provides a protective layer that helps prevent damage from spills, scratches, and everyday wear and tear.
Steps for Staining and Sealing: To begin the staining and sealing process, ensure that the floor is clean, dry, and free of any debris. Start by applying a wood conditioner to the floor using a brush or cloth. This step helps to ensure an even absorption of the stain and enhances the final result. Once the wood conditioner has dried, apply the stain of your choice using a brush or cloth, following the manufacturer’s instructions. Apply the stain in small sections, working with the grain of the wood.
After applying the stain, allow it to penetrate the wood for the recommended duration specified by the manufacturer. Once the desired color is achieved, remove any excess stain using a clean cloth. Next, apply a protective sealant, such as polyurethane or varnish, using a brush or roller. Apply multiple thin coats, allowing each coat to dry fully before applying the next. This will ensure a durable and long-lasting finish.
Maintenance and Care: To maintain the customized finish achieved through staining and sealing, it is important to follow proper maintenance and care practices. Regularly sweep or vacuum the floor to remove dirt and debris, and use a damp mop with a mild wood floor cleaner for periodic cleaning. Avoid using excessive water or harsh chemicals that can damage the wood or finish. Additionally, place protective pads on furniture legs to prevent scratches, and promptly clean up any spills to avoid staining the wood.
Additional Tips: To achieve the best results with staining and sealing, consider a few additional tips. Before applying the stain, it is recommended to test it on a small, inconspicuous area of the floor to ensure it creates the desired color. Additionally, be mindful of the drying time between coats of sealant to ensure proper curing and a smooth finish. Lastly, consider using a satin or matte finish sealant if you prefer a more natural look, or a gloss finish for a more polished appearance.
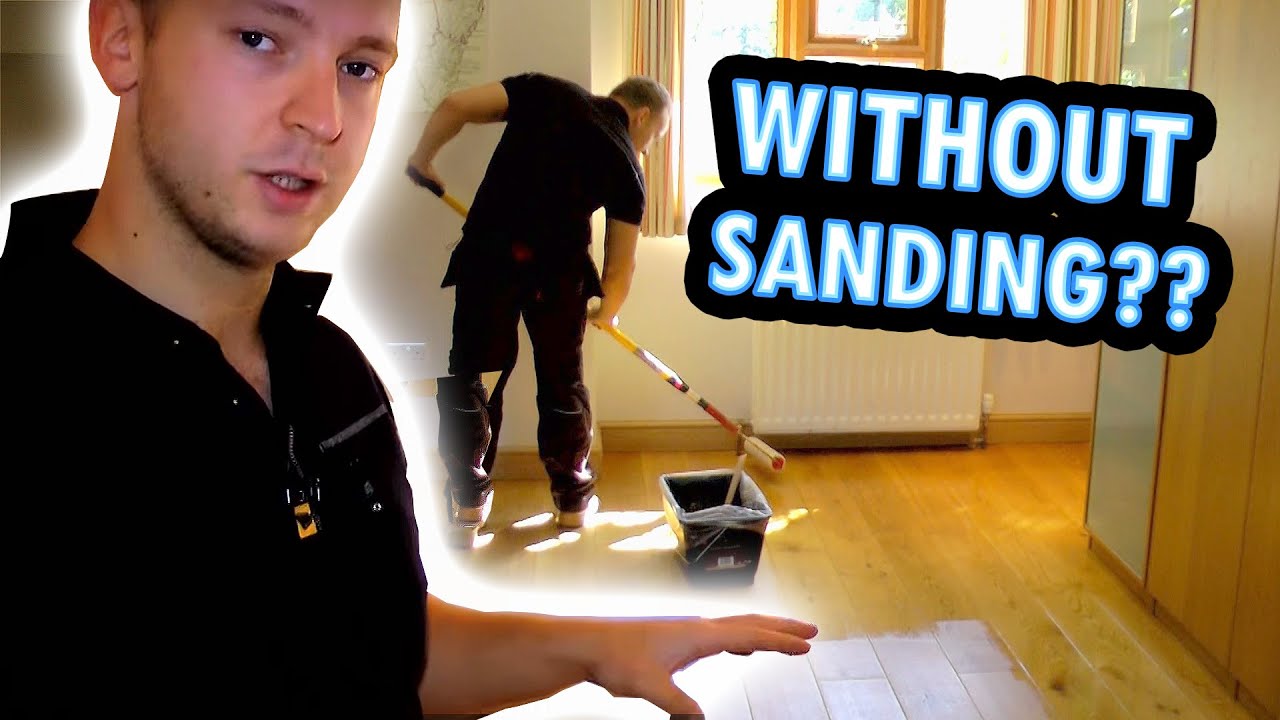
How to Refinish Wood Floors without Sanding Refinish wood floors

How to Refinish a Wood Floor Without Sanding (under 1 hour)
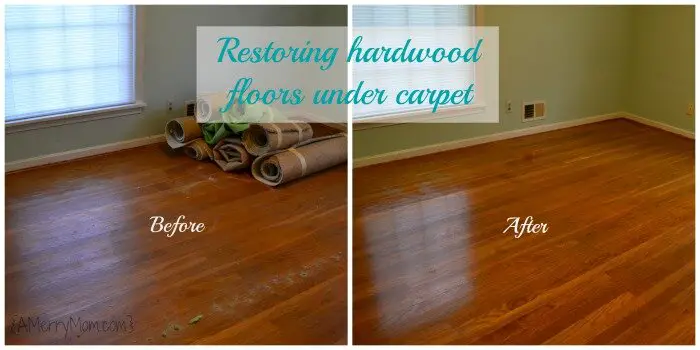
Restoring hardwood floors under carpet – without refinishing the
How to Refinish Wood Floors without Sanding Refinish wood floors

Refinishing Hardwood Floors: How to Refinish Hardwood Floors (DIY
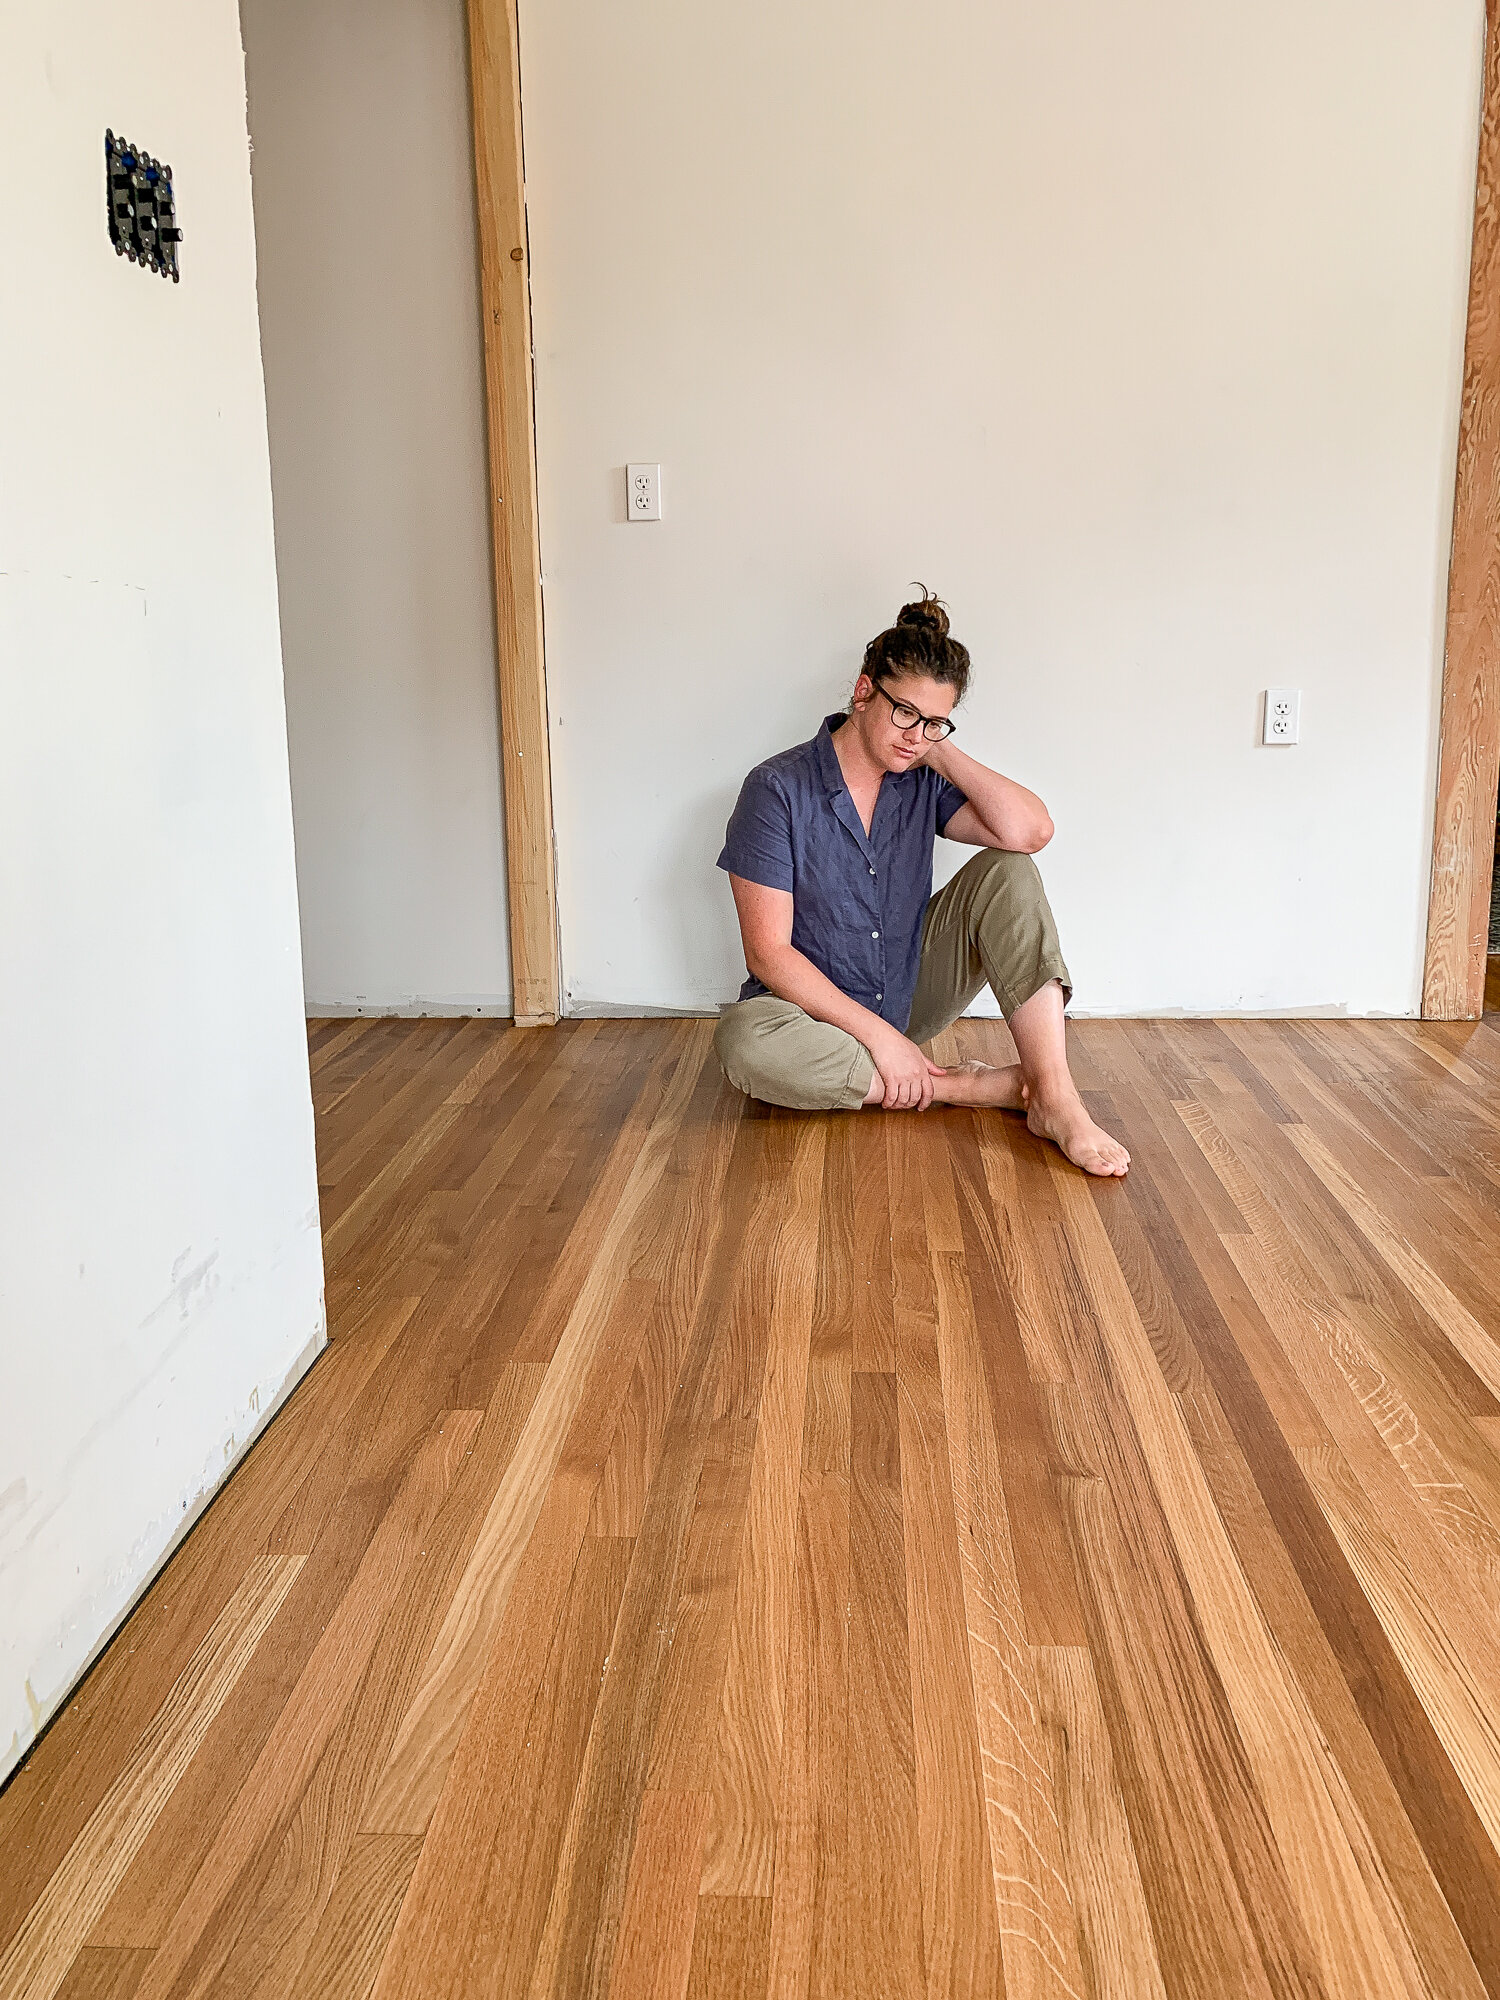
We Hit A Snag And Had to Refinish Our Floors Twice – DIY Fail
Related Posts: