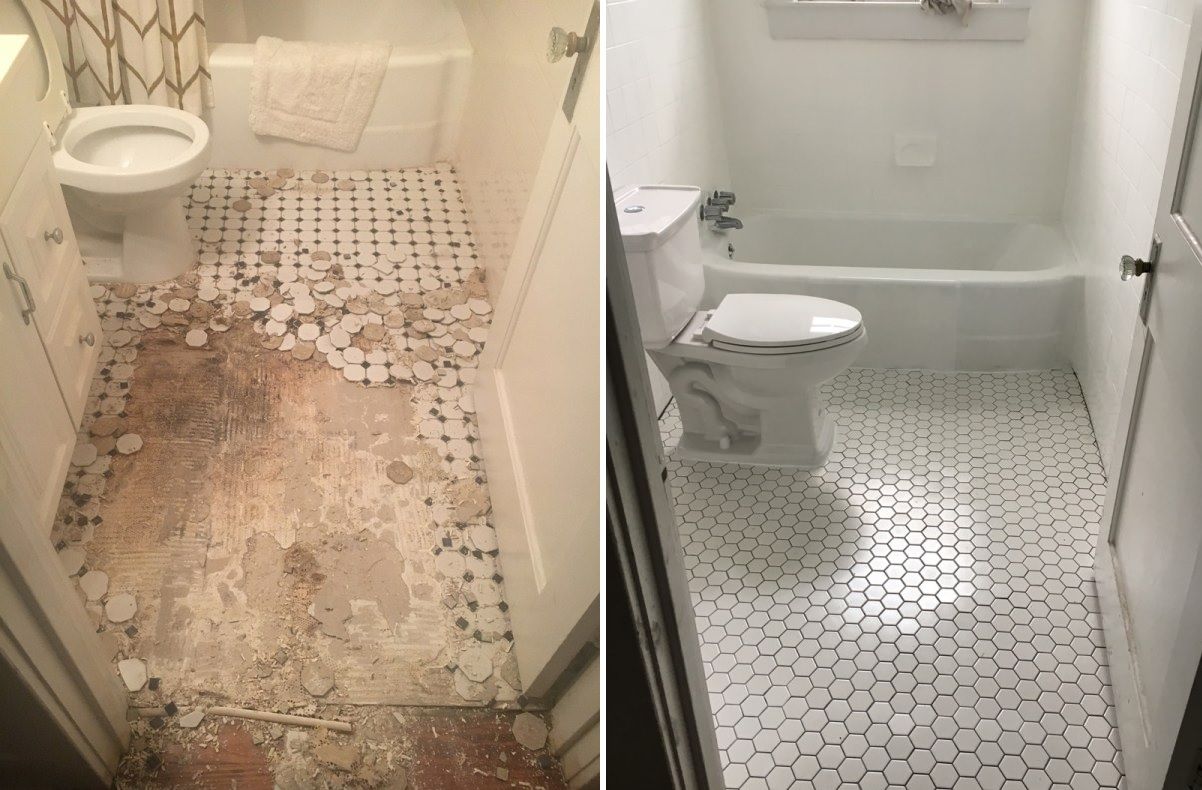
Retiling a bathroom floor may seem like a daunting project, but with the right tools, materials, and guidance, it’s a rewarding DIY task that can significantly transform your space. Whether you’re dealing with outdated, chipped tiles or simply want to refresh the look of your bathroom, taking on this project yourself can save you a considerable amount of money while allowing you to customize the design to your liking. Before you begin, the key is proper planning. You’ll need to carefully measure your bathroom floor to determine how many tiles you’ll need, factoring in extra tiles for mistakes or future repairs. Choosing the right type of tile is also crucial; ceramic, porcelain, and natural stone tiles are popular choices, with porcelain being especially suited for bathrooms due to its water-resistant properties. Additionally, make sure you have the right tools on hand, such as a tile cutter, trowels, spacers, grout, and a notched trowel for spreading adhesive.
Images about DIY Retile Bathroom Floor
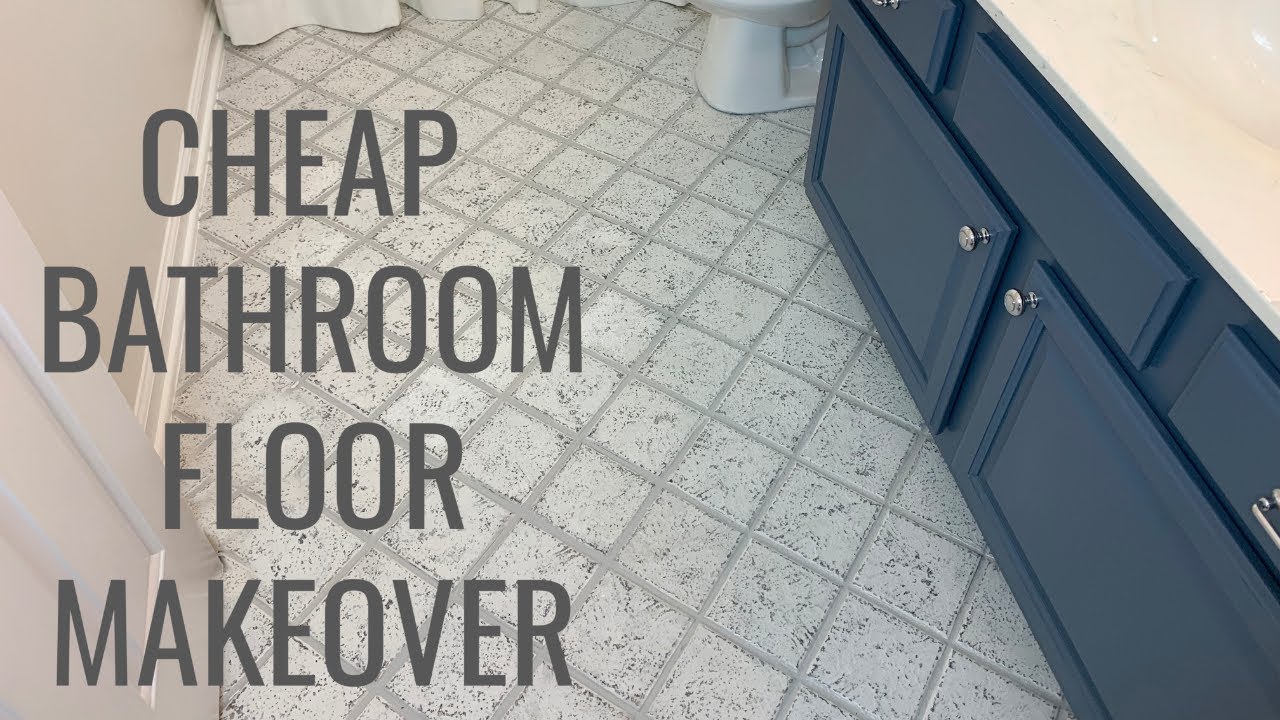
DIY Retile Bathroom Floor

Preparing the Bathroom Floor for Retiling
Once you’ve gathered all your materials, the next crucial step is preparing your bathroom floor. This preparation is essential for ensuring that your new tile floor will last for years to come. Begin by removing any old flooring or tiles, which can be done using a chisel and hammer or a tile scraper for larger surfaces. Be careful when prying up the old tiles to avoid damaging the subfloor. If the subfloor is in poor condition, you may need to replace or reinforce it before laying new tiles. After removing the old tiles, thoroughly clean the surface to remove any leftover debris, adhesive, or grout. If the subfloor is concrete, ensure it’s level and free from cracks. For wooden subfloors, installing a cement backer board is highly recommended, as it provides a sturdy, moisture-resistant surface for the tiles. This additional step prevents future issues such as warping or water damage, which can occur in a wet environment like a bathroom.

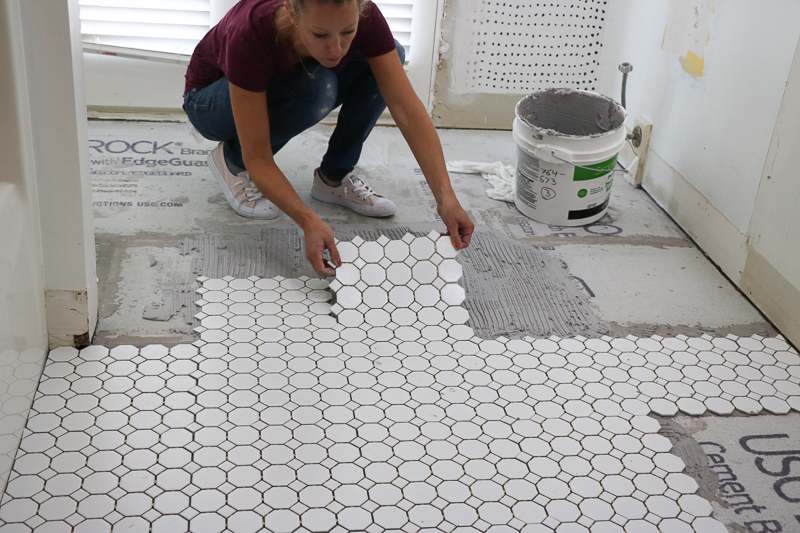
Laying the New Tiles: Precision and Patience
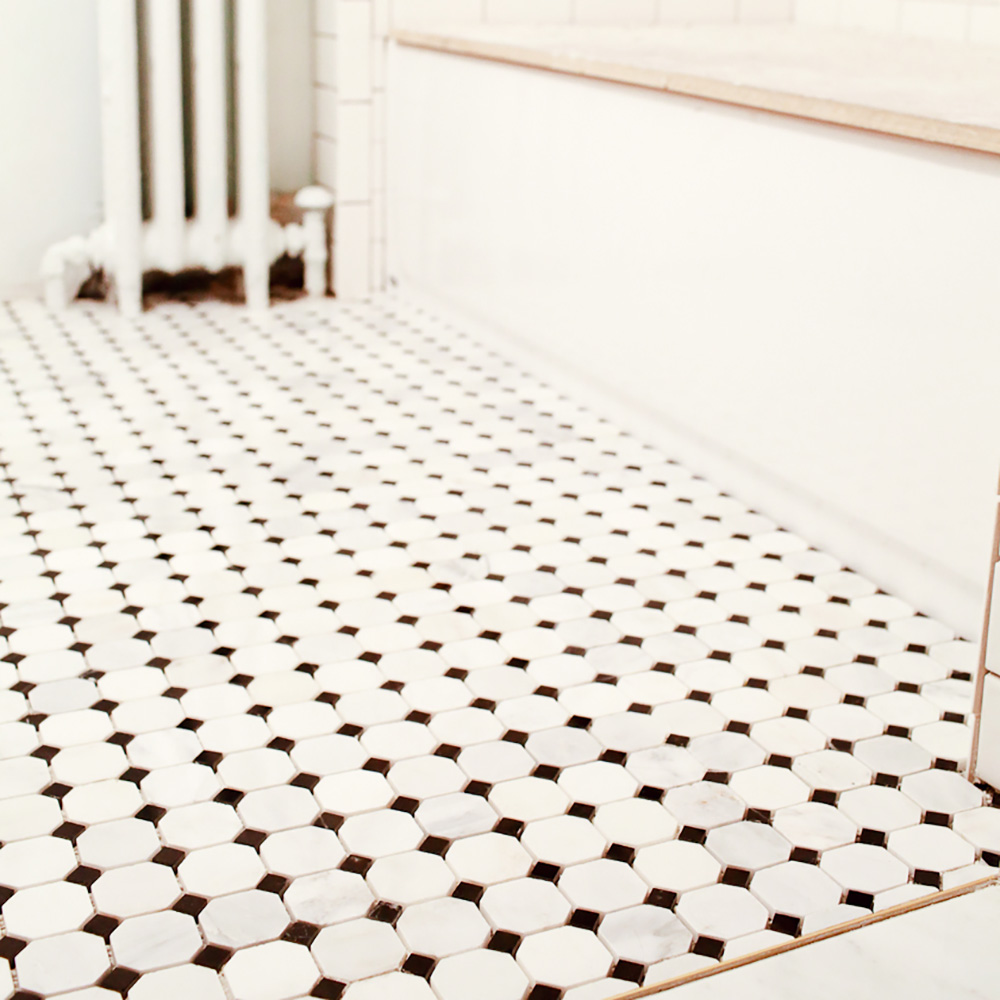
With the floor prepped and ready, the next step is laying your new tiles. Start by dry-fitting the tiles—lay them out without adhesive to see how they will fit, ensuring you have your design and alignment correct. It’s crucial to start from the center of the room and work your way outwards to maintain symmetry, especially if your bathroom has irregular shapes or features, like built-in vanities or oddly shaped corners. Once you’re satisfied with the layout, mix your tile adhesive or mortar according to the manufacturer’s instructions. Using a notched trowel, spread a layer of adhesive on a small section of the floor, and begin pressing the tiles into place, applying firm pressure to ensure good contact with the adhesive. Place tile spacers between each tile to maintain consistent grout lines. For areas where whole tiles don’t fit, use a tile cutter or wet saw to trim tiles to size. This process requires patience and precision, but the result will be well worth the effort.

Grouting and Sealing the New Tile Floor
After you’ve laid the tiles and allowed the adhesive to set (typically 24 to 48 hours), it’s time to move on to grouting. Grout fills the gaps between the tiles and creates a uniform, polished appearance. Begin by mixing the grout according to the package instructions, aiming for a peanut butter-like consistency. Use a rubber grout float to apply the grout diagonally across the tiles, pressing it firmly into the spaces between them. Be sure to work in small sections and wipe away excess grout with a damp sponge before it dries on the tile surface. Once the grout has been applied and has dried slightly, go back over the tiles with a clean, damp sponge to remove any haze left behind. Finally, after the grout has fully cured (which usually takes 48 to 72 hours), seal the grout lines with a grout sealer to protect against moisture and staining. This step is particularly important in bathrooms, where constant exposure to water can cause unsealed grout to deteriorate over time. With the grout sealed, your DIY bathroom retiling project is complete, leaving you with a fresh, new floor that’s both functional and stylish.
DIY Painted Bathroom Floor

How To Update Your Bathroom Floor Tiles – 6 DIY ideas
How To Update Your Bathroom Floor Tiles

Hallway Bathroom Update: DIY Flooring Upgrade

How to Retile a Bathroom for a Bright New Look
How To DIY a Custom Tile Floor Architectural Digest
How to Tile Floors & Walls
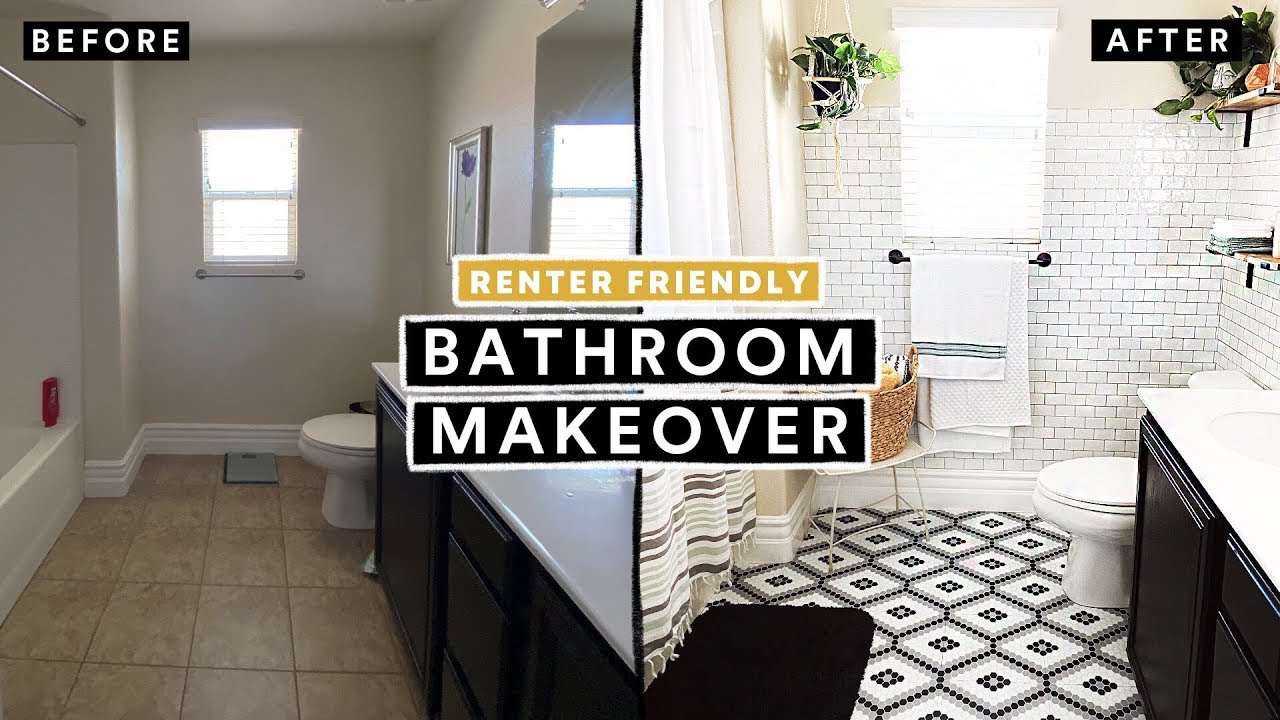
BATHROOM MAKEOVER UNDER $300 (Renter Friendly) + DIY Tile Floor u0026 Brick Wall!
Related Posts:
- Reglazing Bathroom Floor Tiles
- Colorful Bathroom Floor Tile
- Vinyl Flooring For Bathrooms
- Bathroom Flooring Ideas
- Bathroom Floor Patterns
- Bathroom Tile Floors
- Modern Vinyl Bathroom Flooring
- Mosaic Bathroom Floor Tiles
- Wood Bathroom Floor
- 1930s Bathroom Floor Tile
DIY Retile Bathroom Floor: A Comprehensive Guide to DIY Retiling
If you’re looking for a way to upgrade your bathroom, retiling the floor can be a great way to do it. DIY retiling the floor of a bathroom can be quite an undertaking, but with the right knowledge, it’s possible. This guide will walk you through the steps you need to take to retile your bathroom floor successfully.
Preparation and Planning
Before you start retiling your bathroom floor, it’s important to plan and prepare for the job. First, you’ll need to figure out exactly what type of tile you want to use for your bathroom floor. Consider factors such as color, size, texture, and price range before making a final decision. Once you’ve chosen the tile you want, you’ll need to measure the area of the floor that needs to be retiled and buy enough tile to cover the entire surface.
Next, you’ll need to remove any existing tiles from the floor. Depending on how they were installed, this might require chipping away at them or using a demolition hammer. Be sure to wear safety gear when removing tiles, such as goggles and gloves. Once all of the old tiles have been removed, it’s time to prepare the subfloor for retiling. This involves cleaning and smoothing out the area, as well as applying a layer of mortar or adhesive.
Laying The Tiles
Once the subfloor has been prepped, it’s time to begin laying out your new tiles. You may want to lay out all of the tiles first to get an idea of how they will look before actually sticking them down. When laying out the tiles, remember that you don’t have to stick with a straight line – there are plenty of ways to create interesting patterns with your tiles that can add character and style to your bathroom floor.
After you’ve laid out all of your tiles, it’s time to start sticking them down. If your subfloor has been prepped correctly, this should be relatively easy – just press each tile firmly into its place and make sure that it is securely adhered. Once all of your tiles have been stuck down, it’s important to let them set for at least 24 hours before you begin grouting them in place.
Grouting Your Tiles
Once your tiles have had sufficient time to set, it’s time to start grouting them in place. Start by mixing up the grout according to package instructions – usually just adding water and stirring until it reaches an even consistency. Then use a trowel or putty knife to spread the grout into the joints between each tile. Make sure that each joint is filled with grout – otherwise your new tile floor won’t be as secure or durable as it could be.
Once all of your joints have been filled with grout, use a damp sponge or cloth to wipe away any excess grout from the surface of your tiles. This will help ensure that your new tile floor looks as tidy as possible when it’s finished. Once all of the grout has been wiped away, let it dry overnight before applying a sealant or wax over the top of it.
Finishing Touches
Once your tile floor has been finished and dried completely, it’s time for the finishing touches. If desired, you can apply a sealant over the top of your newly tiled floor to protect it from spills and stains. You can also add decorative features such as trim pieces around the edges of your tile floor if desired – these can help give your newly tiled floor a unique look and feel.
What type of tile should I use?
The type of tile you choose will depend on several factors such as color, size, texture, and price range. Consider these factors carefully before making any decisions so that you end up with exactly what you’re looking for in terms of style and functionality.