Essential Tools and Materials for DIY Stained Concrete Floors
Embarking on a DIY stained concrete floor project can be an exciting endeavor, but it’s crucial to have the right tools and materials to ensure successful results. Here’s a list of essential items you’ll need to get started:
- Concrete Stain: Choose a high-quality concrete stain in the color of your choice. Stains come in a variety of shades, from subtle earth tones to vibrant hues, allowing you to customize the look of your floors to suit your style.
- Concrete Cleaner: Before staining, it’s essential to thoroughly clean the concrete surface to remove dirt, grease, and other contaminants. Use a concrete cleaner specifically formulated for stain preparation to ensure optimal results.
- Concrete Sealer: After staining, it’s crucial to protect your floors with a durable concrete sealer. Sealers help enhance the color and sheen of the stain while providing long-lasting protection against stains, spills, and UV damage.
- Paint Roller and Tray: A high-quality paint roller and tray are essential for applying stain evenly to the concrete surface. Choose a roller with a nap appropriate for the texture of your concrete, such as a 3/8-inch nap for smooth surfaces or a 1/2-inch nap for textured surfaces.
- Paintbrushes: In addition to a paint roller, you’ll also need paintbrushes for cutting in around the edges and corners of the room. Choose brushes with synthetic bristles for smooth, even application of stain.
- Protective Gear: Staining concrete can be messy, so it’s essential to protect yourself with proper safety gear. Wear safety goggles, gloves, and a mask to prevent contact with stains and fumes.
- Drop Cloths or Plastic Sheeting: To protect surrounding surfaces from accidental spills and splatters lay down drop cloths or plastic sheeting before starting the staining process.
- Sanding Equipment: If your concrete surface has imperfections or rough areas, you may need to sand it down before staining. Rent or purchase a concrete grinder or sander to smooth out any rough spots and ensure a uniform finish.

Steps for Prepping Your Home for DIY Stained Concrete Floors
Proper preparation is key to the success of any DIY stained concrete floor project. Here are the essential steps for prepping your home before staining:
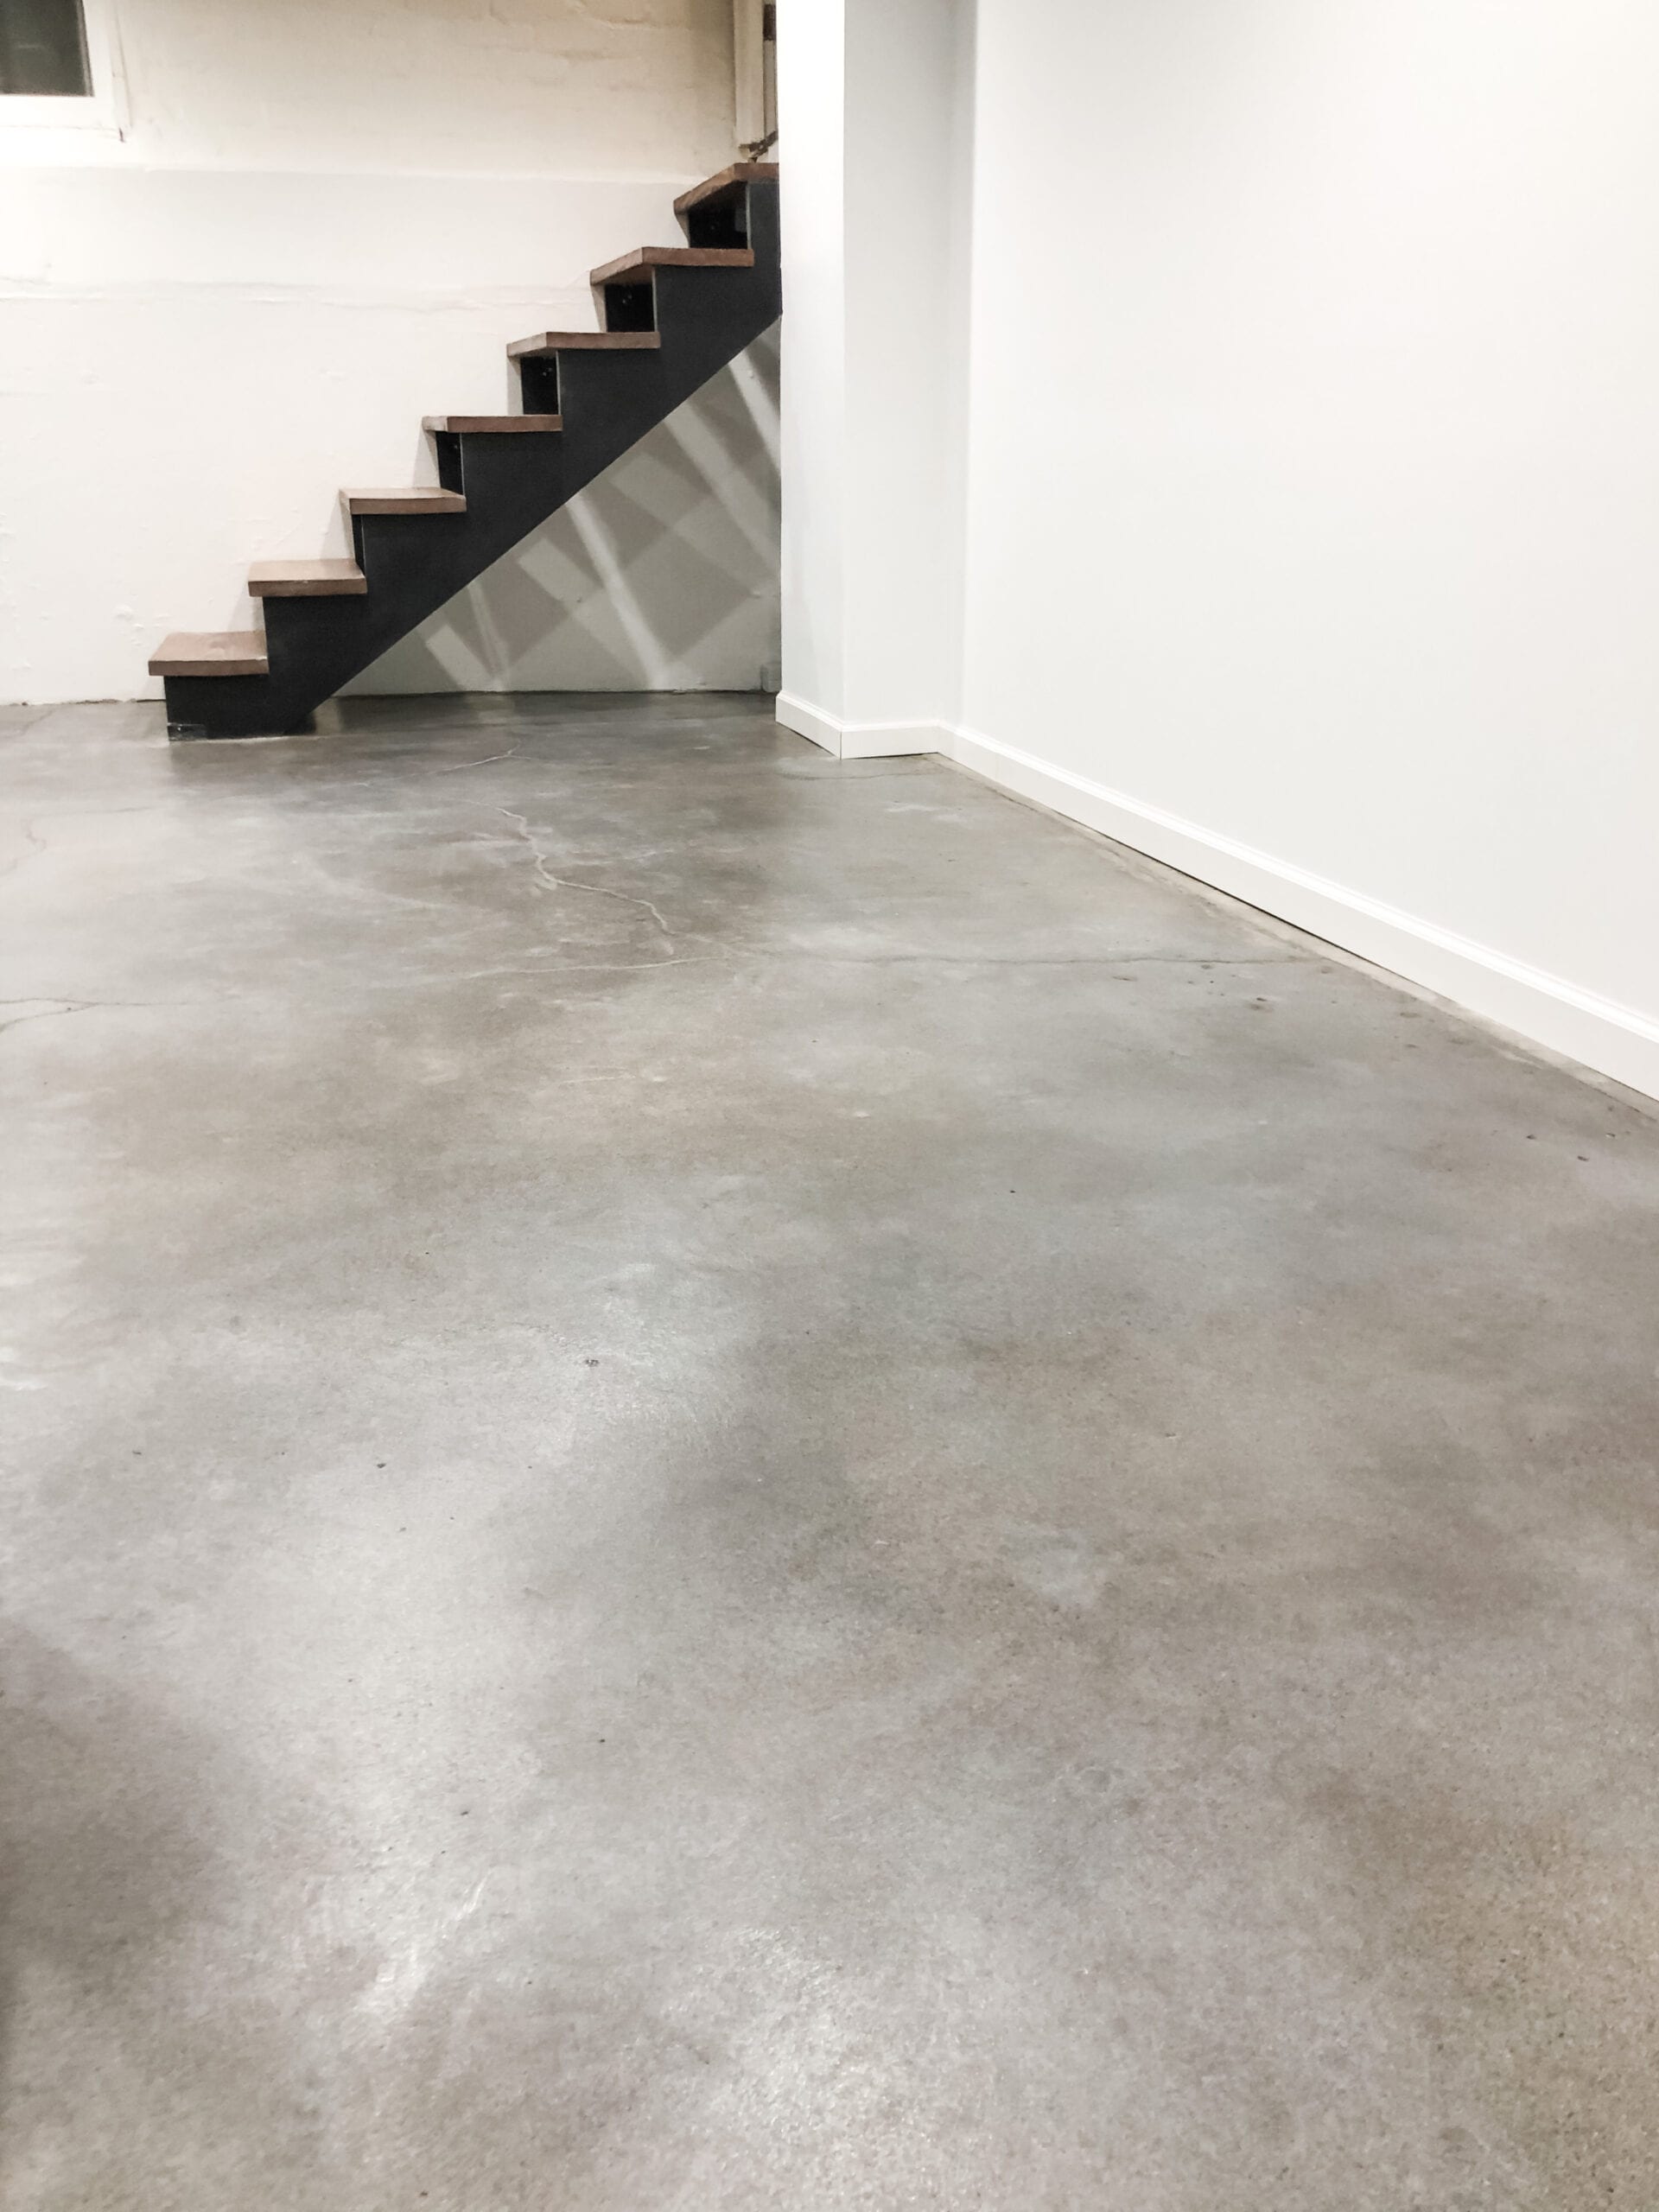
Clean the Surface: Begin by thoroughly cleaning the concrete surface to remove dirt, grease, oil, and other contaminants. Use a concrete cleaner and degreaser, along with a scrub brush or pressure washer, to ensure the surface is clean and free of debris.
Repair Any Damage: Inspect the concrete surface for any cracks, holes, or other damage. Fill in any cracks or holes with a concrete patching compound, and allow it to dry completely before proceeding.
Remove Existing Flooring: If your concrete surface is currently covered with carpet, tile, or other flooring materials, you’ll need to remove them before staining. Use a floor scraper, pry bar, or adhesive remover to lift and remove the existing flooring.
Test for Moisture: Before staining, it’s essential to test the concrete surface for moisture to prevent issues with adhesion and staining. Tape a plastic sheet to the concrete surface and leave it in place for 24 hours. If condensation forms on the underside of the plastic sheet, the concrete surface may be too moist for staining.
Mask Off Surrounding Areas: To protect walls, baseboards, and other surfaces from accidental spills and splatters, use painter’s tape to mask off the perimeter of the room. Cover any furniture or fixtures that cannot be removed with drop cloths or plastic sheeting.
Ventilate the Space: Staining concrete can produce fumes and odors, so it’s essential to ensure adequate ventilation in the space. Open windows and doors, and use fans to circulate air during the staining process.
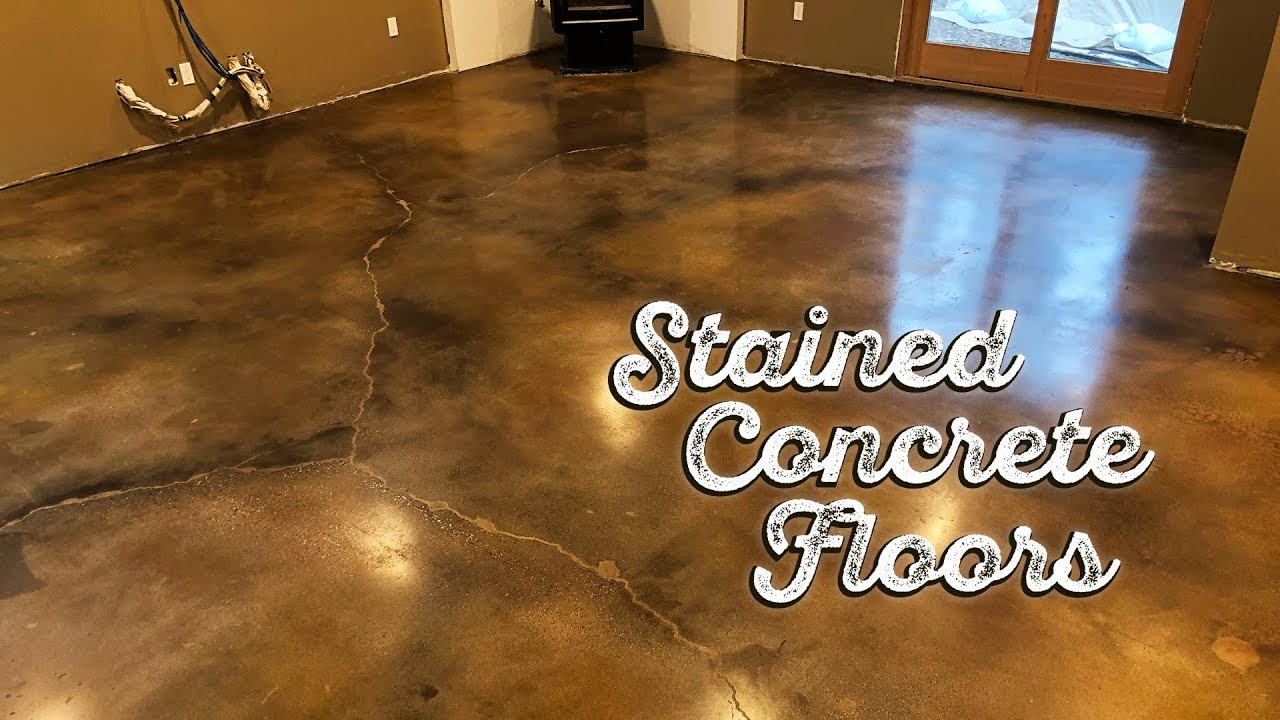
Techniques and Tips for Achieving Beautiful Results on DIY Stained Concrete Floors
Once you’ve prepped your space, it’s time to apply the stain to your concrete floors. Here are some techniques and tips to help you achieve beautiful results:
Test the Stain: Before applying the stain to the entire surface, it’s essential to test it in a small, inconspicuous area to ensure you’re happy with the color and appearance. Adjust the number of coats and application techniques as needed to achieve the desired results.
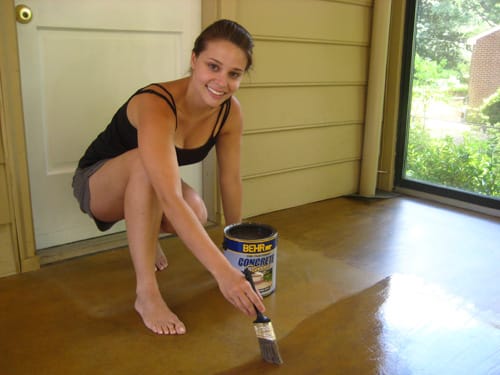
Apply the Stain Evenly: Use a paint roller or pump sprayer to apply the stain evenly to the concrete surface. Work in small sections, overlapping each pass slightly to ensure uniform coverage. Avoid puddling or uneven application, as this can result in streaks and uneven color.
Blend Colors: If you’re using multiple colors of stain or want to create a variegated effect, consider blending the colors on the surface. Apply the base color first, then use a brush or sponge to dab on additional colors, blending them for a seamless transition.
Work in Layers: For deeper, more intense color, consider applying multiple coats of stain to the concrete surface. Allow each coat to dry completely before applying the next, and test the color intensity as you go to achieve the desired shade.
Experiment with Techniques: Staining concrete offers endless possibilities for creativity and expression. Experiment with different application techniques, such as ragging, sponging, or stippling, to create unique patterns and textures on the surface.
Allow for Drying Time: After applying the stain, allow it to dry completely according to the manufacturer’s instructions before proceeding to the next steps. This typically takes 24 to 48 hours, depending on the temperature and humidity levels in the space.

Sealing and Protecting Your DIY Stained Concrete Floors
After applying the stain, it’s essential to seal and protect your DIY stained concrete floors to ensure their longevity and durability. Here’s how to finish your floors with a protective sealant:
Choose the Right Sealer: Select a high-quality concrete sealer that is specifically formulated for use on stained concrete floors. Choose between water-based or solvent-based sealers, depending on your preferences and the desired level of sheen.
Prepare the Surface: Before sealing, ensure the stained concrete surface is clean, dry, and free of debris. Sweep or vacuum the surface to remove any dust or dirt, and wipe it down with a damp cloth to remove any remaining residue.
Apply the Sealer: Use a paint roller or pump sprayer to apply the sealer evenly to the concrete surface. Work in small sections, overlapping each pass slightly to ensure uniform coverage. Avoid puddling or uneven application, as this can result in streaks and uneven sheen.
Allow for Drying Time: After applying the sealer, allow it to dry completely according to the manufacturer’s instructions before walking on or placing furniture on the surface. This typically takes 24 to 48 hours, depending on the temperature and humidity levels in the space.
Apply Multiple Coats: For added protection and durability, consider applying multiple coats of sealer to your stained concrete floors. Allow each coat to dry completely before applying the next, and test the sheen and level of protection as you go to achieve the desired results.
Maintain Regularly: To keep your stained concrete floors looking great for years to come, it’s essential to maintain them regularly. Sweep or vacuum the surface regularly to remove dirt and debris, and clean up spills promptly to prevent staining or damage to the sealer.
Maintenance and Care Tips
Maintaining your DIY stained concrete floors is essential to preserving their beauty and longevity. Here are some tips for keeping your floors looking great for years to come:
Regular Cleaning: Sweep or vacuum the surface regularly to remove dirt, dust, and debris that can scratch or dull the finish of your stained concrete floors. Use a mild detergent or pH-neutral cleaner and water to mop the surface periodically, and avoid harsh chemicals or abrasive scrubbers that can damage the sealer.
Prompt Spill Cleanup: Clean up spills and stains promptly to prevent them from setting onto the surface of your stained concrete floors. Use a clean cloth or mop to blot up spills immediately, and avoid rubbing or scrubbing, as this can spread the stain and damage the sealer.
Avoid Heavy Furniture: Place furniture pads or coasters under heavy furniture legs to distribute weight evenly and prevent indentations or scratches on your stained concrete floors. Avoid dragging or sliding heavy furniture across the surface, as this can scratch or damage the sealer.
Protect High-Traffic Areas: Use rugs or mats in high-traffic areas like entryways, hallways, and kitchen work areas to protect your stained concrete floors from excessive wear and tear. Choose rugs with non-slip backing to prevent them from shifting or sliding on the surface.
Reapply Sealer as Needed: Over time, the sealer on your stained concrete floors may wear down or become damaged, especially in high-traffic areas. Keep an eye on the condition of the sealer, and reapply it as needed to maintain optimal protection and shine.
Prevent Sun Damage: Direct sunlight can cause fading and discoloration on stained concrete floors over time. Install blinds or curtains on windows to block out direct sunlight during the day, or use UV-resistant window film to reduce UV exposure and protect your floors from sun damage.

Stain Concrete Floors on a Budget – Direct Colors DIY Home

How to Acid Stain a Concrete Floor – Plank and Pillow

DIY Concrete Stained Flooring – A Thrifty Mom – Recipes, Crafts

Stain Concrete Floors on a Budget – Direct Colors DIY Home
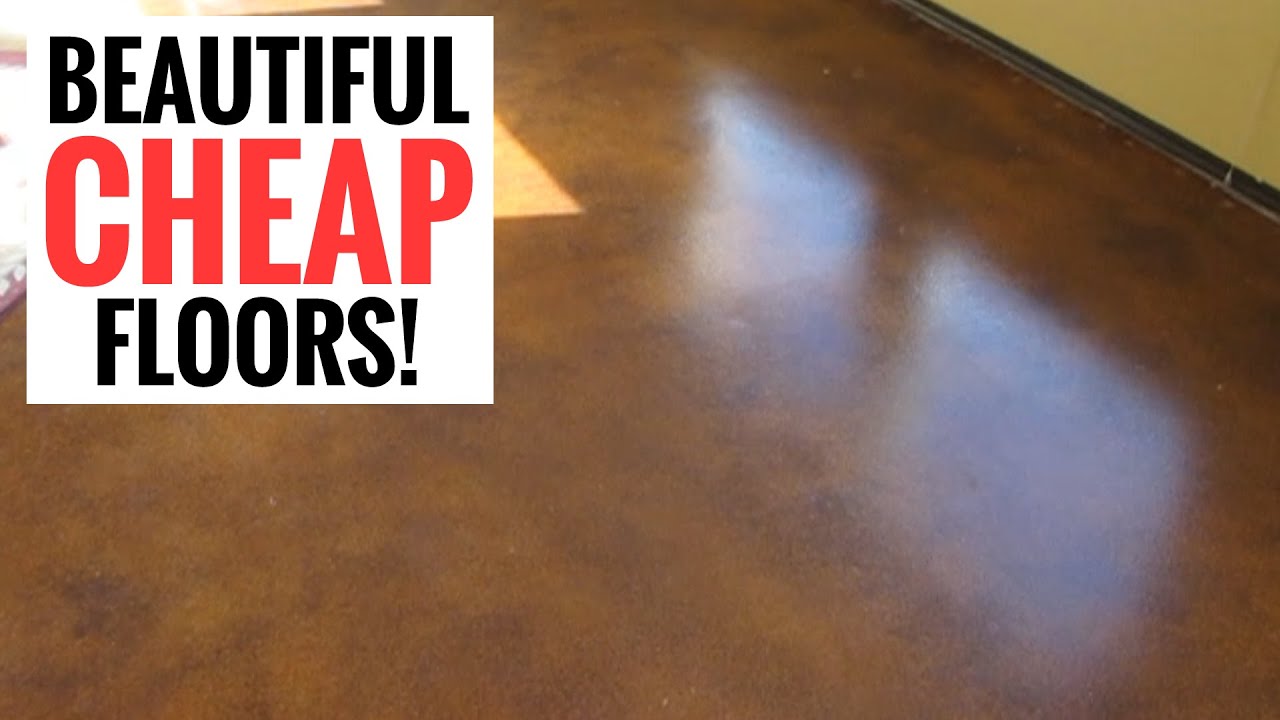
Amazingly cheap and stunningly beautiful floors – Easy DIY Stained Concrete
The Beginner’s Guide to DIY Stained Concrete

Concrete Floors ideas concrete floors, painted concrete

Styles of Stained Concrete Floors – Craftsman Concrete Floors

My Mudroom Floors $80 Makeover: How to Paint Your Ugly Concrete

DIY PAPER BAG FLOORS THAT LOOK LIKE STAINED CONCRETE
 Related Posts: