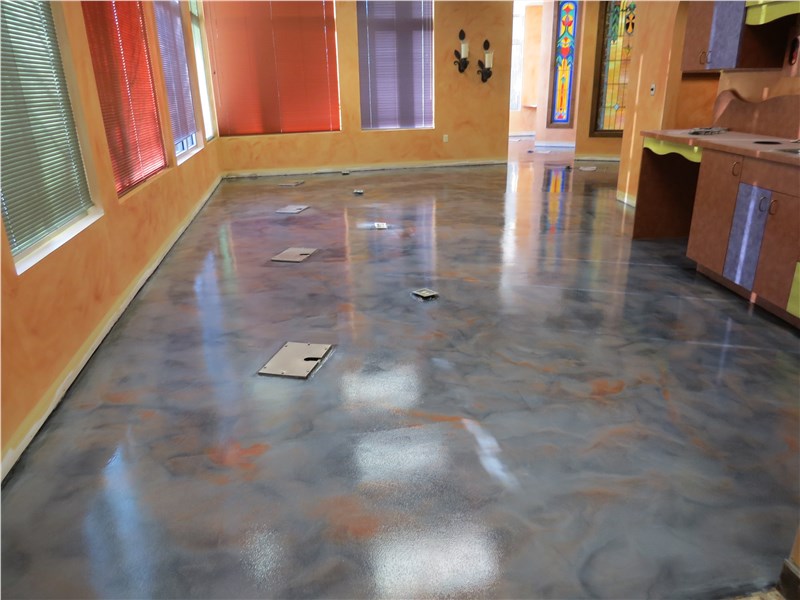
Benefits of Epoxy Basement Flooring
Epoxy basement flooring offers a range of benefits that make it an excellent choice for homeowners looking to upgrade their basement space. Here are some key advantages to consider.
- Durability and Longevity Epoxy flooring is highly durable and can withstand heavy traffic, impacts, and abrasions. This makes it an ideal choice for basements that are used for storage, workshops, or as a recreational space. The tough, resilient surface ensures a long lifespan, reducing the need for frequent repairs or replacements.
- Water and Moisture Resistance Basements are prone to dampness and flooding, but epoxy flooring provides a waterproof barrier that protects against moisture. This helps prevent mold and mildew growth, which can be a common problem in basement environments. The moisture-resistant properties also make cleaning spills and leaks much easier.
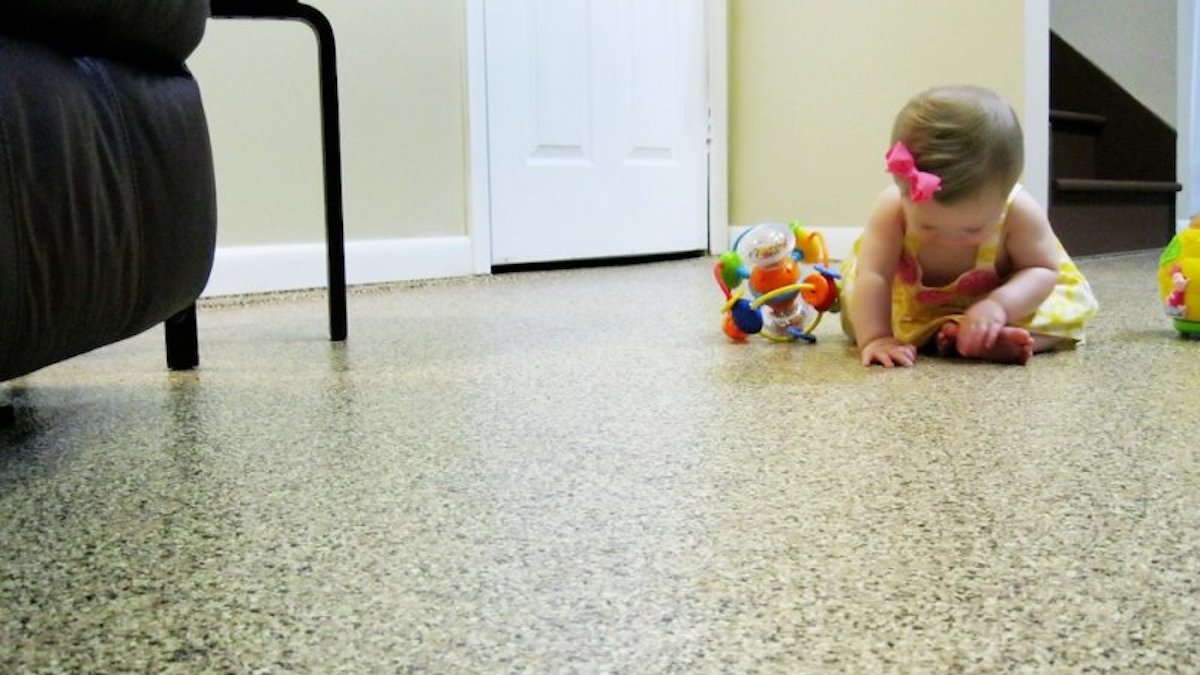
- Easy Maintenance One of the major benefits of epoxy flooring is its low maintenance requirements. The smooth, seamless surface is easy to clean with just a mop and mild detergent. Unlike other flooring options that may require special treatments or frequent polishing, epoxy floors remain looking new with minimal effort.
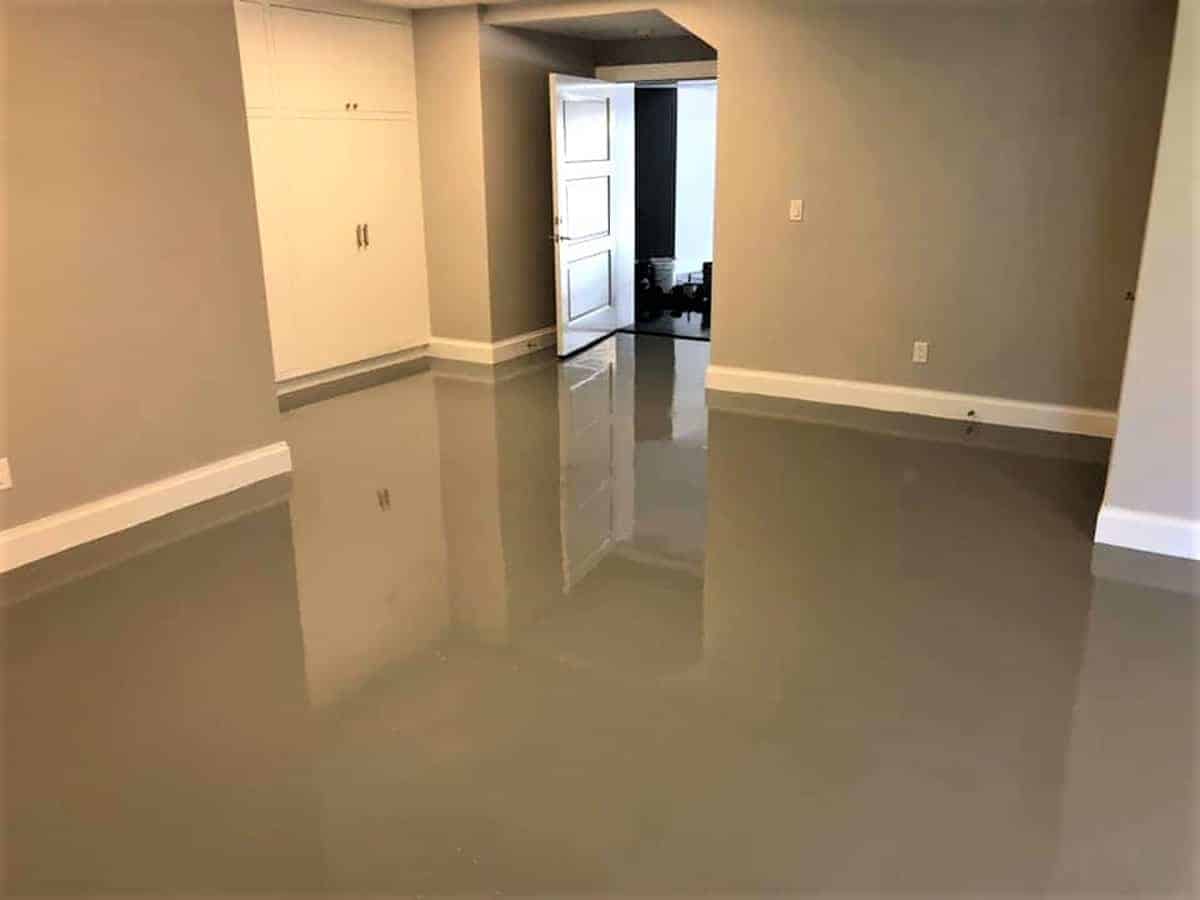
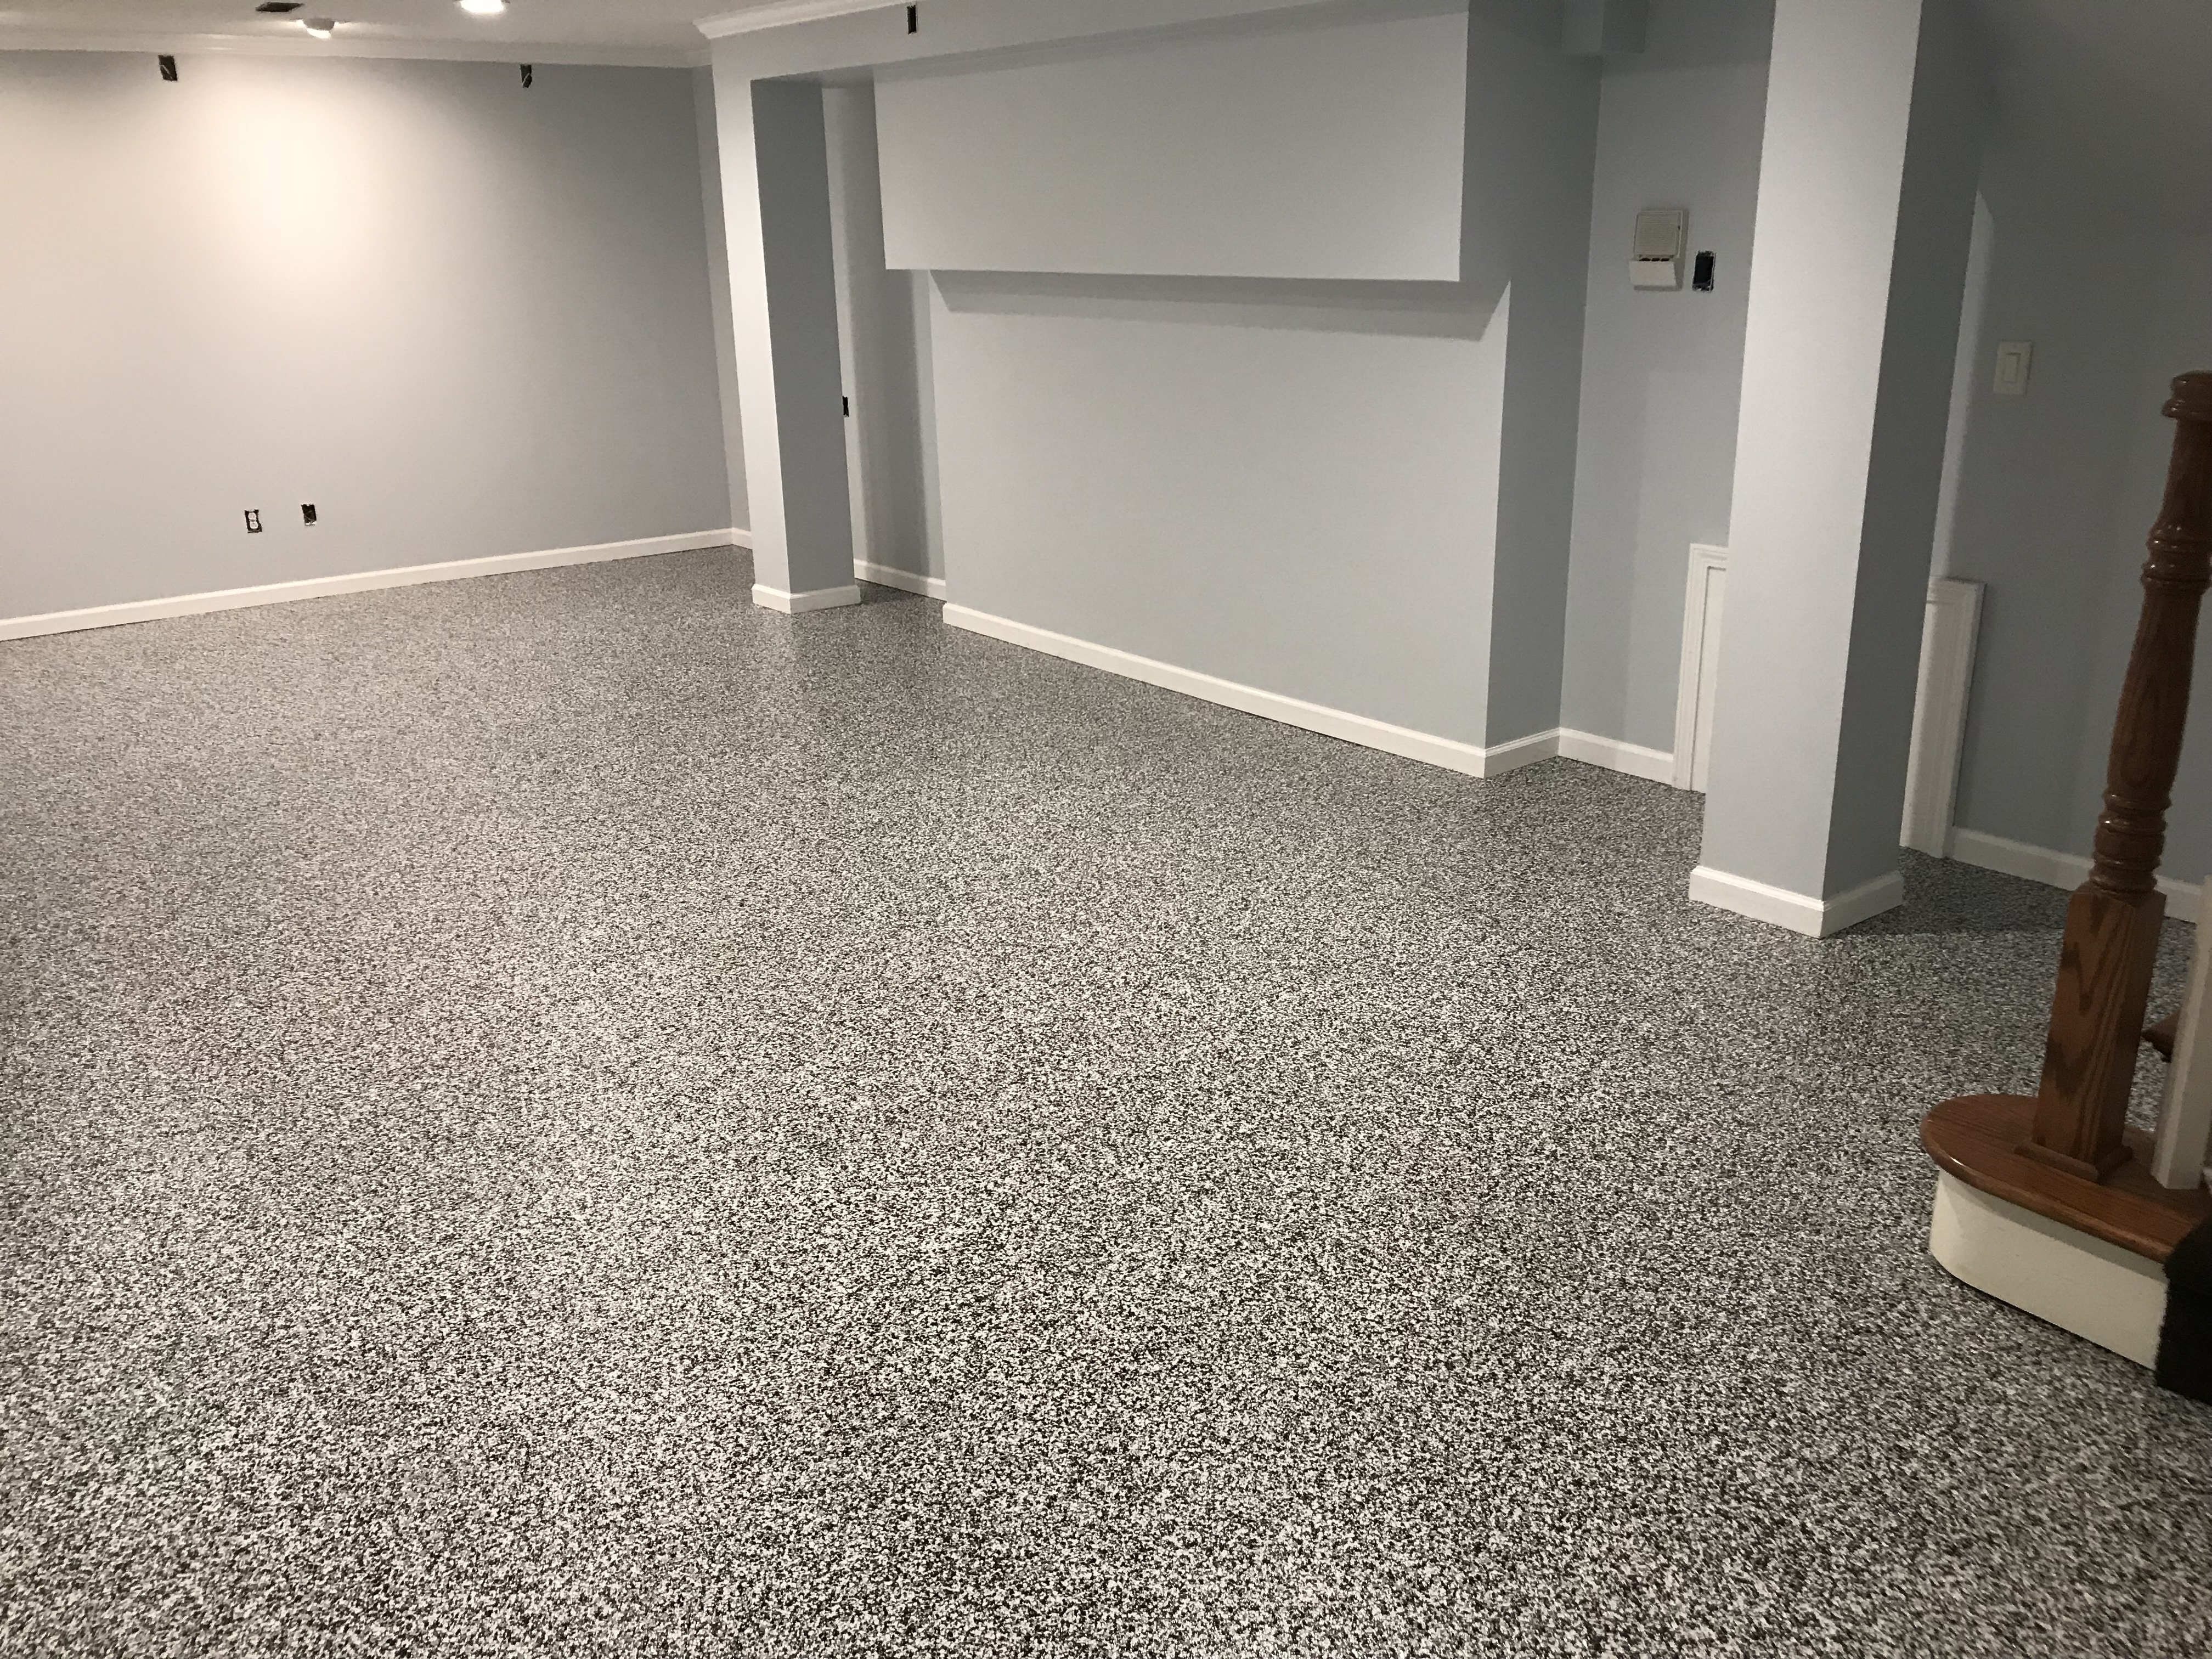
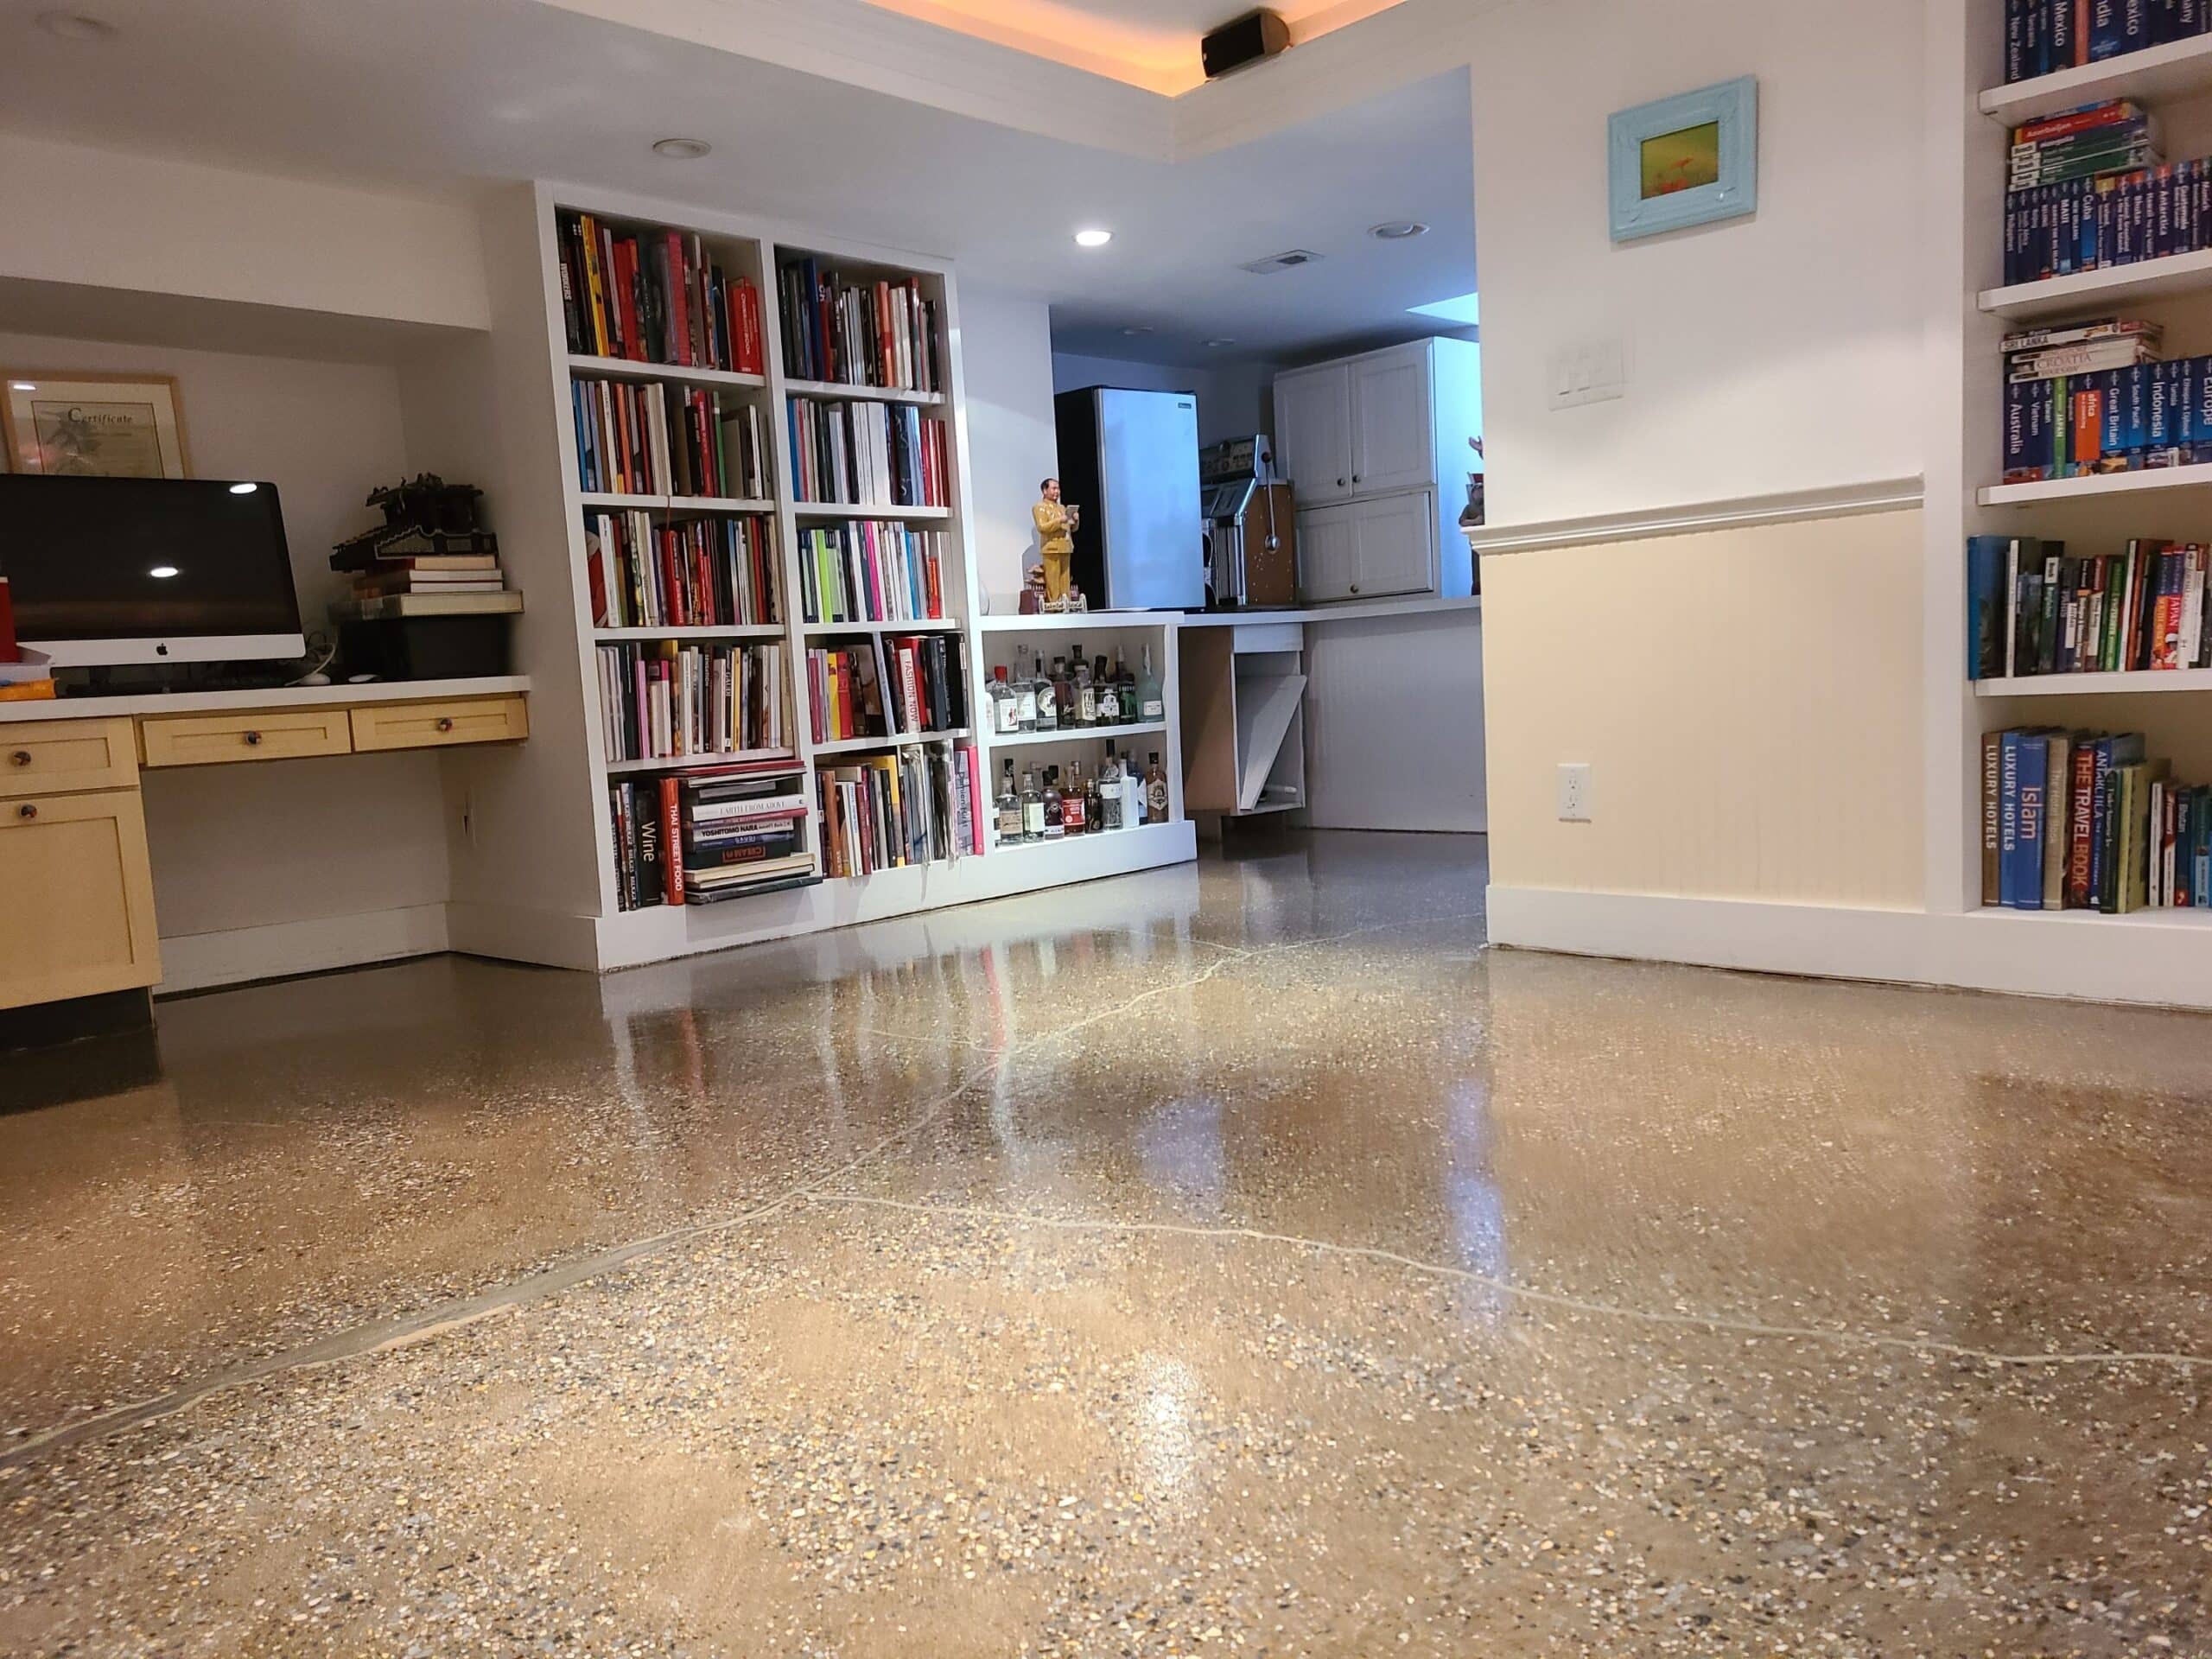
- Enhanced Aesthetic Appeal Epoxy flooring comes in a variety of colors and finishes, including metallic, flake, and solid color options. This allows homeowners to customize the look of their basement to match their personal style and home decor. The glossy finish also adds a touch of sophistication and brightness to the space.
- Cost-Effectiveness Despite its high-quality appearance and durability, epoxy flooring is a cost-effective option for basement floors. The initial investment is relatively low compared to other flooring materials, and the longevity and minimal maintenance reduce long-term costs. This makes epoxy an economical choice for homeowners on a budget.
- Chemical Resistance Epoxy flooring is resistant to a wide range of chemicals, making it an ideal choice for basements used as workshops or storage areas for household chemicals. This resistance ensures that accidental spills won’t damage the floor, providing a safe and durable surface for various activities.

Essential Tools and Materials for Epoxy Flooring
Before starting your epoxy flooring project, it’s important to gather all the necessary tools and materials. Here’s a comprehensive list to ensure you have everything you need for a successful application.
Epoxy Flooring Kit The epoxy flooring kit typically includes epoxy resin and hardener, which are mixed to form the epoxy coating. Some kits also come with decorative flakes or color additives. Ensure you choose a high-quality kit suitable for basement flooring.
Floor Grinder or Sander Preparing the basement floor involves grinding or sanding the surface to create a rough texture for better adhesion. A floor grinder or sander is essential for this step. You can rent these tools if you don’t have them on hand.
Concrete Cleaner and Degreaser Cleaning the floor thoroughly is crucial for the epoxy to adhere properly. Use a concrete cleaner and degreaser to remove any dirt, oil, and stains from the floor. This ensures a clean and smooth surface for the epoxy application.
Vacuum and Broom After cleaning and grinding the floor, you’ll need to remove all dust and debris. A vacuum and broom are essential for this task. Make sure the floor is completely free of particles before proceeding with the epoxy application.
Mixing Tools You’ll need tools to mix the epoxy resin and hardener. A drill with a mixing attachment works well for this purpose. Ensure you follow the manufacturer’s instructions for mixing ratios and procedures to achieve the best results.
Application Tools For applying the epoxy, you’ll need a variety of tools, including:
-
- Rollers and Roller Covers: Use high-quality, lint-free rollers for applying the epoxy evenly.
- Brushes: Brushes are useful for cutting in edges and corners where rollers can’t reach.
- Squeegees: Squeegees help spread the epoxy evenly across the floor.
- Spiked Shoes: These allow you to walk on the wet epoxy without leaving footprints.
Step-by-Step Guide to Preparing Your Basement Floor
Proper preparation is key to a successful epoxy flooring project. Follow these steps to ensure your basement floor is ready for the epoxy application.
Clear the Area Start by removing all items from the basement floor. This includes furniture, storage boxes, and any other objects. The floor should be completely clear to allow for thorough cleaning and preparation.
Inspect the Floor Check the floor for any cracks, holes, or other imperfections. Repair any damage using a concrete patching compound. Allow the repairs to dry completely before proceeding to the next step. A smooth, even surface is crucial for a flawless epoxy finish.
Clean the Floor Use a concrete cleaner and degreaser to thoroughly clean the floor. Follow the manufacturer’s instructions for mixing and applying the cleaner. Scrub the floor with a stiff brush to remove any dirt, oil, or stains. Rinse the floor with clean water and allow it to dry completely.
Etch the Surface If your floor is smooth, you’ll need to etch it to create a rough texture for better adhesion. Use an etching solution specifically designed for concrete floors. Apply the solution according to the instructions, then rinse thoroughly and let the floor dry completely.
Sand or Grind the Floor Use a floor grinder or sander to roughen the surface. This step is crucial for ensuring the epoxy adheres properly. Work in sections, and make sure the entire floor has a uniform texture. Vacuum up all dust and debris created during this process.
Final Cleaning After sanding or grinding, give the floor a final cleaning. Vacuum thoroughly to remove all dust, then use a broom to ensure no particles are left behind. The floor must be completely clean and dry before applying the epoxy.
Applying Epoxy Coating: A Detailed Process
Applying an epoxy coating to your basement floor requires careful attention to detail and following specific steps. Here’s a detailed process to help you achieve a professional-looking finish.
Mix the Epoxy Follow the manufacturer’s instructions to mix the epoxy resin and hardener. Use a drill with a mixing attachment to ensure the components are thoroughly combined. It’s crucial to mix the epoxy properly to achieve the desired consistency and performance.
Cut In the Edges Start by cutting in the edges of the floor with a brush. Apply the epoxy around the perimeter of the room, along the walls, and in any tight corners where the roller can’t reach. This ensures complete coverage and a uniform finish.
Apply the First Coat Pour a portion of the mixed epoxy onto the floor and spread it using a squeegee. Then, use a roller to distribute the epoxy evenly across the floor. Work in small sections to ensure even coverage. Be mindful of the working time, as epoxy can start to set quickly.
Add Decorative Flakes (Optional) If you’re using decorative flakes, sprinkle them onto the wet epoxy immediately after applying the first coat. Distribute the flakes evenly across the floor for a uniform look. This step is optional but adds a decorative touch to your floor.
Allow to Cure Let the first coat of epoxy cure according to the manufacturer’s instructions. This usually takes around 24 hours but can vary depending on the product and environmental conditions. Ensure the floor is protected from dust and debris during this curing period.
Apply the Second Coat Once the first coat has cured, apply the second coat of epoxy. This coat enhances the durability and appearance of the floor. Follow the same process as the first coat, using a squeegee and roller for even application. Allow the second coat to cure completely before using the floor.
Post-Application Care and Maintenance Tips
After successfully applying the epoxy coating, proper care, and maintenance are essential to keep your basement floor looking its best. Here are some tips to help you maintain your new epoxy floor.
Avoid Heavy Traffic Initially Allow the epoxy floor to cure completely before subjecting it to heavy traffic. This usually takes at least 72 hours. Avoid placing heavy objects or moving furniture during this initial curing period to prevent damage.
Regular Cleaning Sweep or vacuum the floor regularly to remove dust and debris. Use a soft-bristle broom or a vacuum with a hard floor setting to avoid scratching the surface. Regular cleaning helps maintain the floor’s appearance and prevents dirt buildup.
Mop with Mild Detergent For deeper cleaning, mop the floor with a mixture of mild detergent and warm water. Avoid using harsh chemicals or abrasive cleaners, as they can damage the epoxy coating. Rinse the floor thoroughly with clean water to remove any soap residue.
Protect Against Scratches Place mats or rugs at entry points to reduce the amount of dirt and moisture tracked onto the floor. Use furniture pads under heavy furniture and equipment to prevent scratches and indentations. Avoid dragging heavy objects across the floor.
Address Spills Promptly Wipe up spills immediately to prevent staining and damage. Although epoxy flooring is resistant to many substances, prolonged exposure can still cause issues. Use a cloth or paper towel to blot spills and clean the area with a mild detergent solution.
Periodic Inspection and Touch-Ups Regularly inspect the floor for any signs of wear or damage. Touch up any small chips or scratches with a compatible epoxy repair kit. For larger areas of damage, consider applying an additional coat of epoxy to maintain the floor’s integrity and appearance.
Should I Epoxy My Basement Floor? – ArmorPoxy Floor Coatings
Epoxy Floor Coatings Transylvania Concrete Coatings
Is an Epoxy Basement Floor Good for the Home?
Why Epoxy Flooring Is A Top Pick For Basement Floors Dynasty Epoxy
Strong Concrete Foundations with Epoxy Floors Nashville TN
Epoxy Coatings for Your Basement, Too!
Smooth Epoxy Floor in Basement – Mile High Coatings
Reasons Why You Should Epoxy Your Basement Floor – Epoxy Central
Epoxy basement floor ideas basement flooring, epoxy floor
Related Posts:
