As I stand in my newly revamped room, the beauty of my laminate flooring is undeniable. Yet, one crucial step remains—the finishing touch that adds finesse and functionality. Enter beading, the unsung hero of laminate flooring installation. I’ll walk you through the art of fitting beading on laminate flooring in this guide. From understanding its purpose to mastering precise cuts and angles, you’ll soon discover how this small detail makes a difference.
Understanding Beading
While perfecting my laminate flooring, I stumbled upon the world of beading—a trim that does much more than adorn edges. Beading isn’t just about aesthetics; it plays a pivotal role in laminate flooring’s longevity. It’s the solution to the expansion gap dilemma, sealing off those vulnerable spaces where moisture, dirt, and potential damage could creep in. So, think of beading as both a guardian and an artist, enhancing the allure of your flooring while ensuring its durability.
Tools and Materials
Now, let’s gear up for this transformative process. To fit beading on laminate flooring, gather your tools like a measuring tape, a trusty miter saw, adhesive, and the beading strips themselves. It’s like assembling a team for a masterpiece. Having the right tools simplifies the task and guarantees a professional finish that you can take pride in.
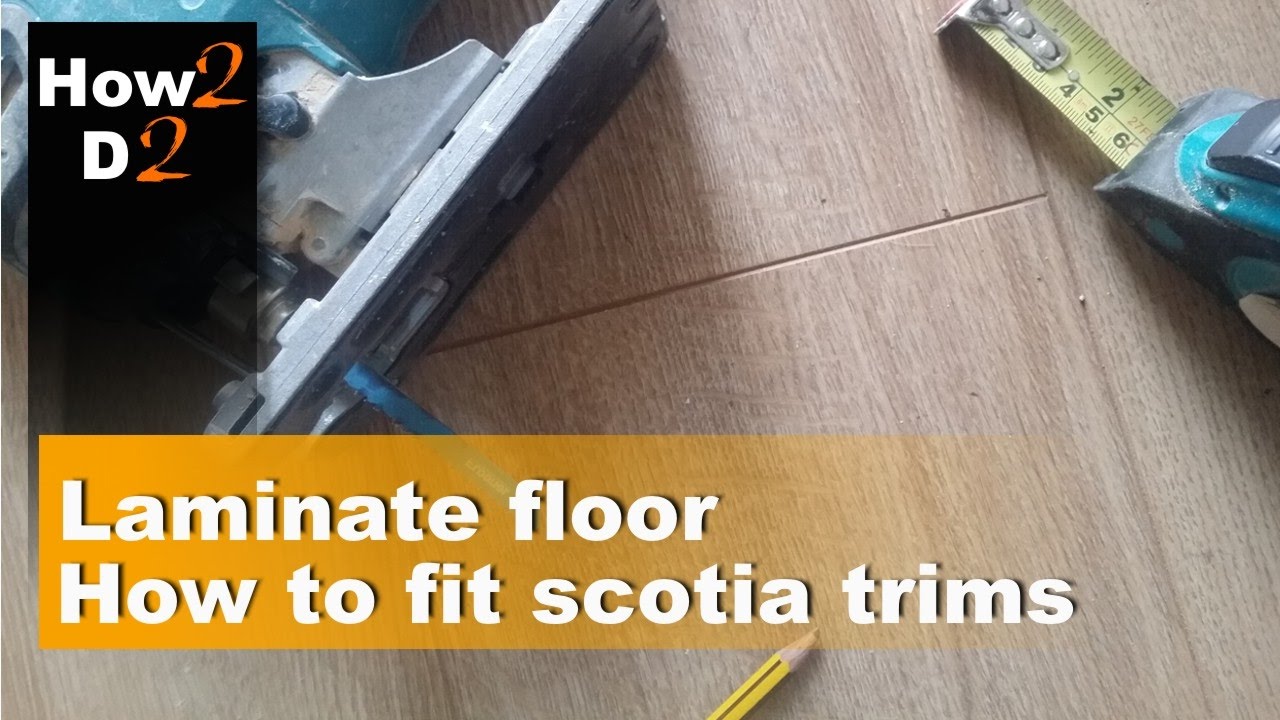
Measuring and Cutting Beading Strips
With tools at the ready, the first step is measurement. Measure the length required for each beading strip, making sure to account for corners and angles. The miter saw becomes your artistic instrument, crafting precise 45-degree cuts for those seamless corners. And if your room boasts non-standard shapes, fear not—introduce the coping saw technique to master the art of intricate cuts.
Preparing the Laminate Flooring
To ensure the beading embraces your laminate flooring seamlessly, preparation is key. Make sure your laminate flooring is spotless and dry before proceeding. The surface should be level, acting as the canvas for your beading masterpiece. Check that your laminate flooring is snugly in place with the right expansion gap—a foundation that ensures the beading fits like a glove.
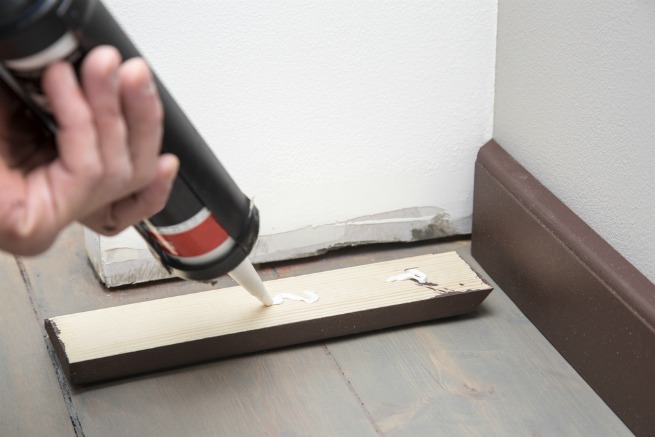
Applying Adhesive
Now, let’s secure this exquisite trim. Select an adhesive that matches your flooring material and beading. With a steady hand, apply the adhesive to the back of each beading strip. Precision is your ally here; an even application guarantees that your beading remains steadfast for years to come. Remember, the adhesive isn’t just about attachment—it’s about longevity.
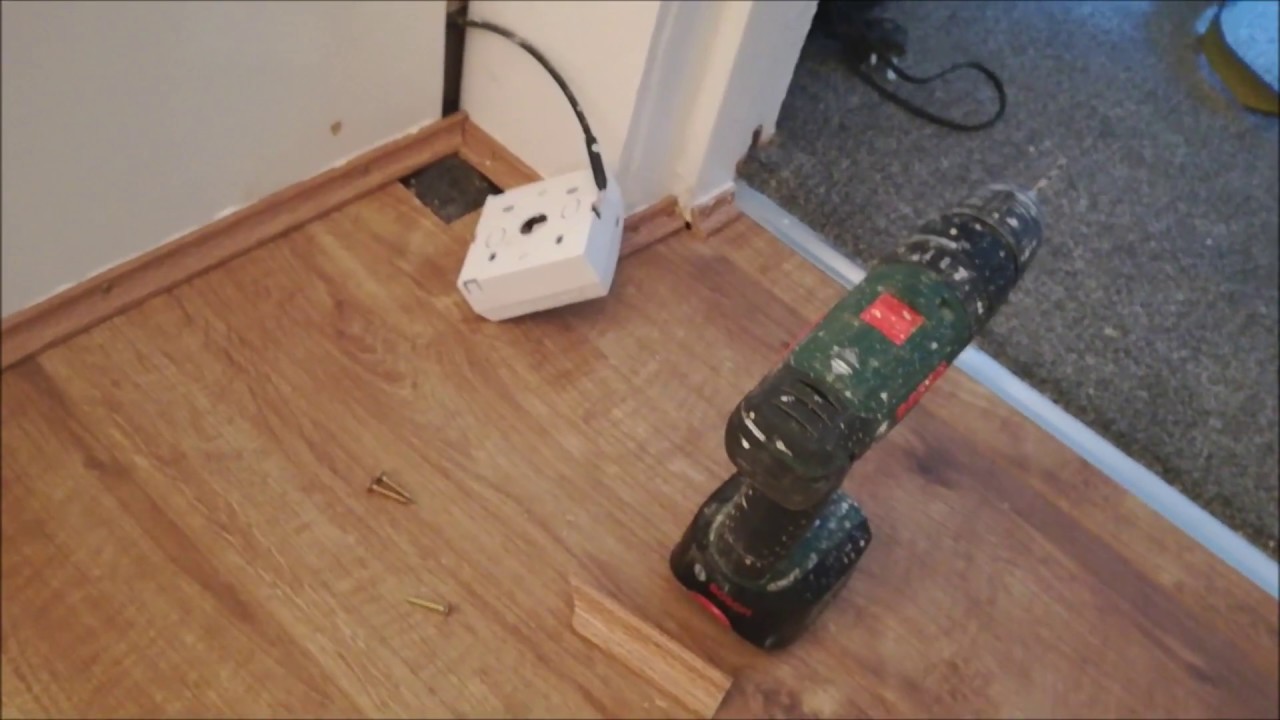
Fitting and Attaching Beading
With adhesive in place, it’s time to bring your vision to life. Gently position the beading strips along the edges of your laminate flooring. Align them meticulously and press them firmly against the wall. The result? A flawless transition between flooring and wall. Secure the beading with finishing nails or adhesive, ensuring each strip stands strong.
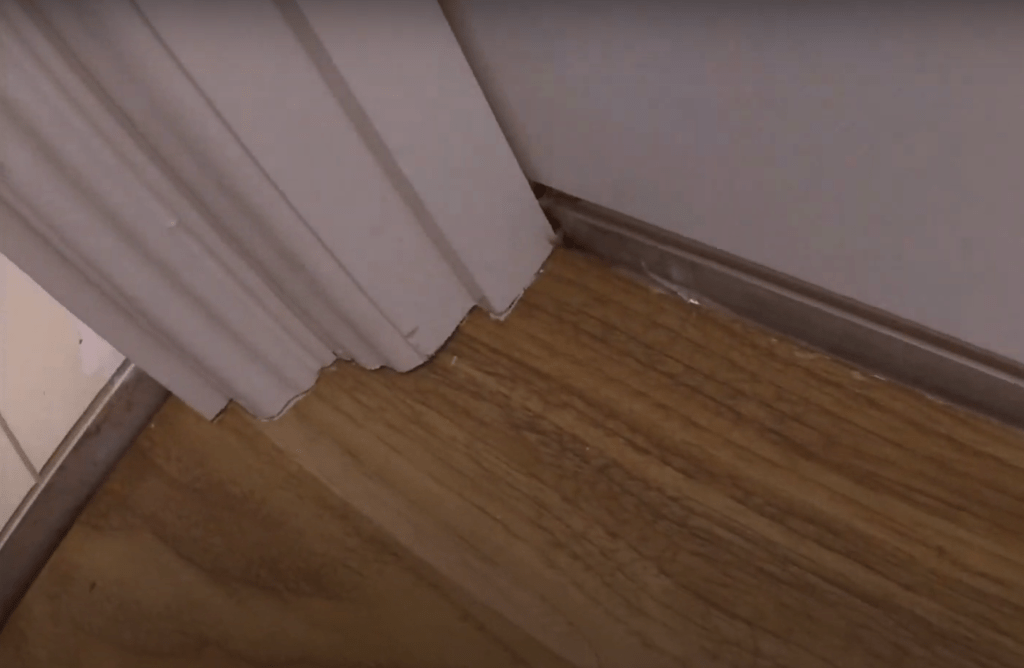
Dealing with Corners and Angles
Corners and angles are where the real magic happens. Mitering corners creates a clean, polished appearance that’s a treat for the eyes. The coping saw comes to the rescue when faced with internal and external corners. It’s a dance of precision, resulting in beading that nestles perfectly against every twist and turns of your room’s architecture.
Finishing Touches
As the beading takes place, it’s time for a discerning eye. Inspect every inch for gaps, unevenness, and alignment. A little attention now ensures a pristine finish later. Don’t forget the clean-up; remove any excess adhesive to reveal your beading’s true splendor. Give the adhesive ample time to set before fully enjoying your newly transformed space.
As I stand back and admire my laminate flooring with its seamlessly fitted beading, I realize that every meticulous step has led to this triumph. Beading isn’t just a detail; the crescendo elevates your laminate flooring from ordinary to extraordinary. With the steps mastered, you can confidently embrace a space where aesthetics and functionality coalesce into a harmonious whole.
Additional Tips and Troubleshooting:
Before you embark on your beading journey, here are a few nuggets of wisdom to consider:
- Remember to account for the 45-degree angle when mitering corners to ensure a perfect fit.
- If coping with angles feels daunting, take your time and practice on scrap pieces before tackling the real thing.
- If you encounter challenges, don’t hesitate to seek guidance from professionals who can offer expert solutions tailored to your situation.
With your beading secured, your laminate flooring transcends into a realm of elegance and precision. Each step in this guide has been a brushstroke, adding to the masterpiece that is your perfectly fitted beading—a small detail that transforms your space into a work of art.
How to Fit Scotia Beading DIY Tutorial Blog Floorsave

5 Laminate flooring edging alternatives and when to use them
How to fit scotia trims in laminate flooring Edging corners laminate floor
Beading not fitted properly? u2014 MoneySavingExpert Forum

Laminate Flooring – Beading vs. Skirting Boards Wezaggle

Wood u0026 Laminate Floor Bouncing or Separating Our experts Explain

Floor Edging – Skirting Boards or Beading for Laminate Floors?
Related Posts:
- 12mm White Oak Laminate Flooring
- Walnut Laminate Flooring
- Bamboo Laminate Flooring
- Laminate Flooring Trim
- High Gloss Laminate Flooring
- Dark Oak Laminate Flooring
- Dark Wood Laminate Flooring
- Laminate Flooring Color Ideas
- Victorian Laminate Flooring
- Wood Laminate Flooring Bathroom