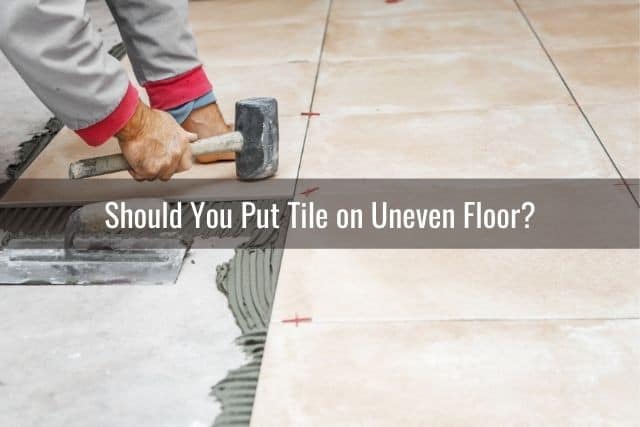
Identifying the Cause
An uneven tile floor can be both unsightly and potentially hazardous. Understanding the underlying causes of an uneven tile floor is crucial in order to effectively fix the problem. Let’s explore some common causes of uneven tile floors and how to identify them.
- Poor Subfloor Preparation: One of the main causes of an uneven tile floor is improper subfloor preparation. If the subfloor is not level, it can cause the tiles to become uneven over time. This can occur due to an uneven concrete surface, insufficient leveling compounds, or even an inadequate subfloor structure. To identify this cause, carefully inspect the subfloor for any visible irregularities or dips.
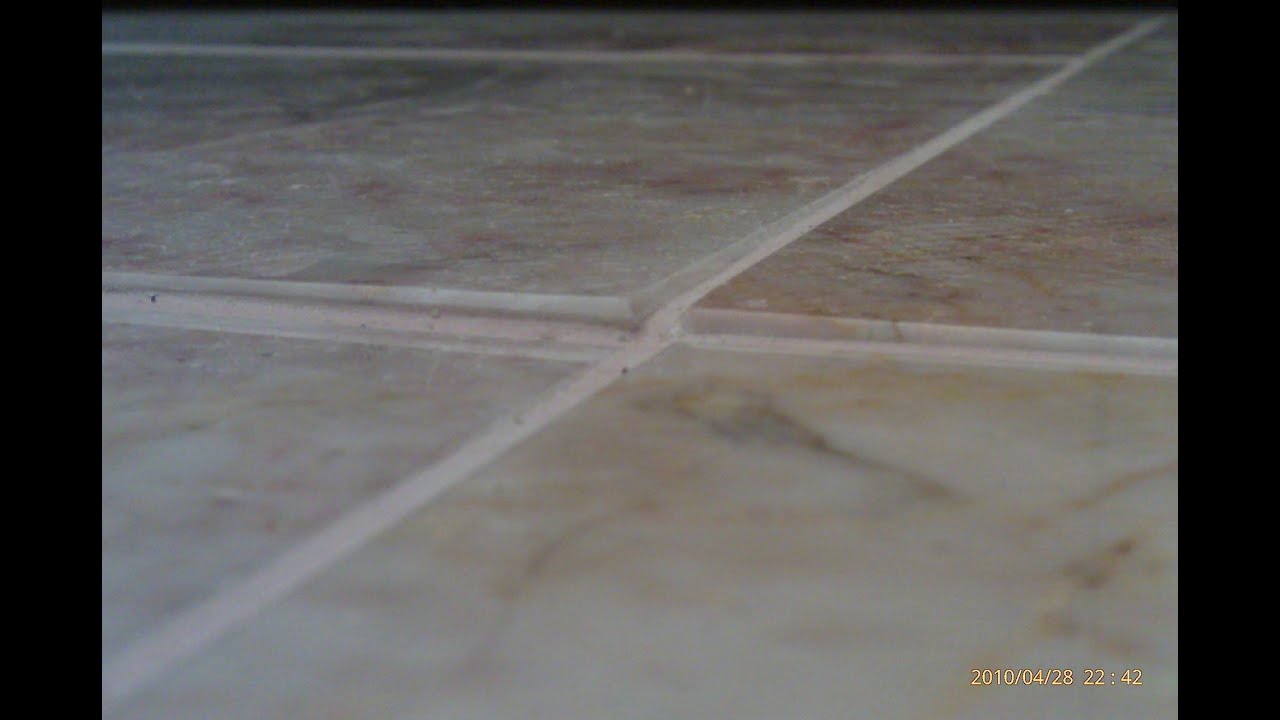
- Improper Tile Installation: Another cause of an uneven tile floor can be faulty installation techniques. If the tiles are not properly laid, leveled, or spaced, it can result in an uneven surface. Inspect the tiles for any signs of inconsistent spacing, uneven grout lines, or tiles that are not flush with each other. These issues can indicate improper installation.
- Structural Issues: Sometimes, an uneven tile floor can be a result of underlying structural issues. This can occur if the building has settled or if there are problems with the foundation. Look for other signs of structural issues such as cracks in the walls, doors that don’t close properly, or sloping floors. If you suspect a structural problem, it’s best to consult a professional to assess and address the issue.
- Moisture or Water Damage: Moisture or water damage can also lead to an uneven tile floor. Excess moisture can cause the subfloor to swell, leading to uneven tiles. Look for signs of moisture damage such as discolored tiles, water stains, or a damp smell. It’s important to address any moisture issues and repair them before fixing the uneven tiles.
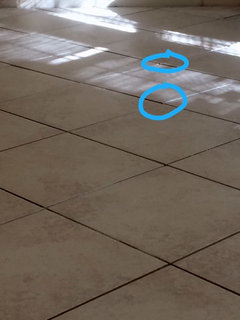
- Wear and Tear: Over time, regular wear and tear can cause tiles to become uneven. This can happen due to heavy foot traffic, furniture movement, or even subpar tile quality. Inspect the tiles for any signs of cracking, chipping, or loose tiles. If the tiles are damaged or worn out, they can contribute to an uneven surface.
Preparing the Surface
Before installing new tiles or correcting an uneven tile floor, it’s essential to properly prepare the surface. Adequate preparation ensures a smooth and stable foundation for tile installation, minimizing the chances of future unevenness. Let’s explore the steps involved in preparing the surface for a flawless tile installation.
- Clean the Subfloor: Start by thoroughly cleaning the subfloor to remove any debris, dust, or adhesive residue. Sweep or vacuum the area, and use a damp mop to eliminate any stubborn dirt or stains. Ensure that the subfloor is completely dry before proceeding to the next step.
- Level the Subfloor: If the subfloor has any noticeable dips or high spots, it’s crucial to level it before installing new tiles. Use a self-leveling compound to fill in any low areas and a floor grinder to smooth out any high spots. Follow the manufacturer’s instructions when applying the self-leveling compound, and allow it to fully cure before proceeding.
- Check for Stability: Ensure that the subfloor is stable and does not have any loose or damaged sections. Walk across the surface and listen for any creaking or shifting sounds. If you notice any instability, reinforce the subfloor by adding additional screws or nails. Consult a professional if you suspect significant structural issues.
- Waterproofing: In areas prone to moisture, such as bathrooms or kitchens, it’s essential to apply a waterproofing membrane to prevent water damage and future tile movement. Follow the manufacturer’s instructions to properly apply the waterproofing membrane, ensuring complete coverage.
- Use a Tile Backer Board: Consider using a tile backer board, such as a cement board or fiber cement board, to provide added stability and prevent tile movement. Cut the backer board to fit the area and secure it to the subfloor using appropriate screws or nails. Leave a small gap between the boards to allow for expansion.
- Allow for Proper Drying Time: After completing the necessary surface preparation steps, allow the subfloor and any applied compounds or membranes to dry thoroughly. Follow the recommended drying times provided by the manufacturer before proceeding with tile installation. Rushing this step can compromise the integrity of the installation.

Correcting Uneven Tiles
Once you have identified the cause of the uneven tiles and prepared the surface, it’s time to focus on correcting the individual tiles. This step is essential for creating a seamless and level tile floor. Let’s explore some techniques for leveling individual tiles to achieve a smooth surface.
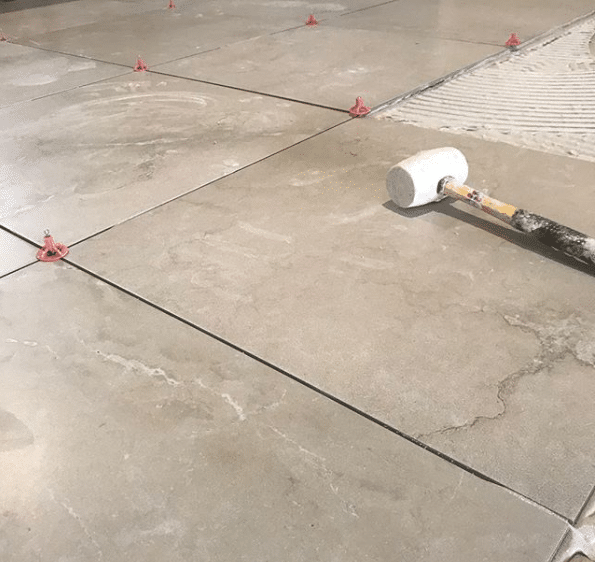
Using a Tile Leveling System: A tile leveling system is a set of clips and wedges that helps ensure each tile is level with its neighboring tiles. Start by placing the clips under the edges of the adjacent tiles, and then insert the wedge into the clip. Use a rubber mallet or tile leveling pliers to tighten the wedge, which will level the tile. Repeat this process for each tile until the entire area is leveled.
Applying Floor Leveling Compound: If there are small gaps or inconsistencies between tiles, you can use a floor leveling compound to fill them in and create a smooth surface. Mix the compound according to the manufacturer’s instructions and apply it to the uneven areas using a trowel. Smooth the compound evenly, ensuring it is level with the surrounding tiles. Allow it to dry completely before proceeding.
Grinding or Shaving the Tiles: For tiles that are significantly uneven or protruding, you can use a grinder or tile saw to shave them down. This technique works best for natural stone or ceramic tiles. Carefully mark the areas that need to be leveled and use the appropriate tool to remove the excess material. Be cautious not to damage surrounding tiles or create new uneven areas.
Replacing Individual Tiles: In some cases, it may be necessary to replace individual tiles if they are severely damaged or contribute to the unevenness. Use a grout saw or a small chisel to remove the damaged tile and clean the area. Apply a thin layer of adhesive to the back of the new tile and press it firmly into place. Use spacers to ensure consistent spacing with the neighboring tiles. Allow the adhesive to dry before grouting.
Double-checking the Level: Once you have completed the leveling process, it’s crucial to double-check the level of the tiles. Use a level or straightedge to ensure that the surface is even and that the tiles are flush with each other. Make any necessary adjustments before proceeding to the next step.

Replacing Damaged Tiles
In some cases, unevenness in a tile floor can be caused by damaged tiles. These tiles may be cracked, chipped, or simply not level with the surrounding tiles. To address this issue, it is necessary to remove and replace the damaged tiles. Let’s explore some tips on how to effectively remove and replace tiles to fix the unevenness.
Gather the Necessary Tools: Before starting the tile replacement process, gather the necessary tools, including a grout saw or chisel, a hammer, a pry bar, adhesive, a trowel, and replacement tiles. Ensure that the replacement tiles match the existing tiles in terms of size, color, and texture.
Remove the Damaged Tile: Start by using a grout saw or chisel to carefully remove the grout surrounding the damaged tile. Be cautious not to damage neighboring tiles. Once the grout is removed, use a hammer and chisel or a pry bar to gently lift and remove the damaged tile. Clean the area and ensure it is free from any debris or adhesive remnants.
Prepare the Surface: Inspect the exposed area and remove any adhesive or debris. Ensure that the surface is clean and level before proceeding. If needed, apply a thin layer of adhesive to the subfloor using a trowel, ensuring even coverage.
Install the Replacement Tile: Apply adhesive to the back of the replacement tile using a trowel, ensuring that the adhesive is evenly spread. Press the replacement tile firmly into place, ensuring it is level with the surrounding tiles. Use spacers to maintain consistent spacing with the neighboring tiles. Wipe away any excess adhesive immediately.
Allow for Drying Time: Allow the adhesive to dry according to the manufacturer’s instructions before proceeding. This is usually around 24 to 48 hours. Avoid walking on or placing heavy objects on the newly replaced tile during this time to prevent movement or damage.
Grout the Area: Once the adhesive has dried, mix the grout according to the manufacturer’s instructions. Apply the grout using a grout float, ensuring that all the spaces between the tiles are filled. Wipe away any excess grout using a damp sponge. Allow the grout to dry completely before using the tiled area.
Finishing Touches
After correcting the uneven tiles and replacing any damaged ones, it’s time to apply the finishing touches to complete the repair and enhance the durability of the tile floor. Applying grout and sealant not only improves the overall appearance but also helps protect the tiles from moisture and stains. Let’s explore the steps involved in applying grout and sealant to achieve a polished and long-lasting tile floor.
Gather the Necessary Materials: Before starting the grouting process, gather the necessary materials, including grout, a grout float, a grout sponge, a bucket of water, and a sealant suitable for your tile type. Ensure that you have the correct color of grout that matches your tiles.
Prepare the Grout: Follow the manufacturer’s instructions to properly mix the grout. Use a clean bucket and add the grout powder gradually, while stirring continuously. Aim for a smooth and consistent consistency that is easy to work with. Let the grout sit for a few minutes before proceeding.
Apply the Grout: Using a grout float, scoop a generous amount of grout onto the float. Hold the float at a 45-degree angle and spread the grout over the tiles, pressing it into the gaps. Work in small sections at a time to ensure the grout does not dry before you can finish the process. Use the float at different angles to ensure full coverage and to remove excess grout.
Clean the Excess Grout: Once you have applied the grout, wait for about 10-15 minutes to allow it to slightly set. Then, using a slightly damp grout sponge, gently wipe away the excess grout from the surface of the tiles. Rinse the sponge frequently in the bucket of water to avoid smearing the grout. Be careful not to remove too much grout from the gaps.
Let the Grout Cure: Allow the grout to cure according to the manufacturer’s instructions, typically for 24-48 hours. During this time, avoid walking on the tiled area or getting it wet to ensure the grout sets properly.
Apply Sealant: Once the grout has fully cured, it’s time to apply a sealant to protect the tiles and grout. Choose a sealant that is appropriate for your specific tile type, such as a penetrating or surface sealant. Follow the instructions on the sealant product carefully, ensuring even coverage over the entire tiled area. Allow the sealant to dry completely before using the floor.

Acceptable to get uneven floor tiles in a remodel job?
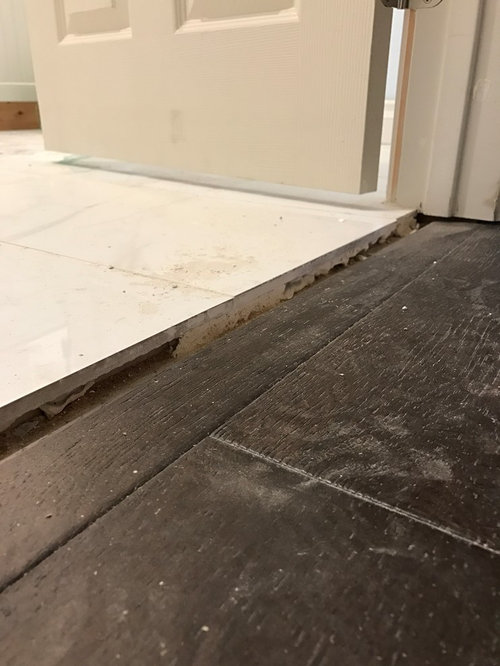
Need ideas on how best to cover uneven transition from wood to tile
Recommended way to fix section of uneven tiles

Tile and Stone Lippage: What is acceptable

Can You Lay Tile on Uneven Floor?
When your tiled area is not quite right.floor tiling defects?

What to do with an uneven shower floor? Hometalk
How Professionals Deal with Uneven Tiles (lippage) Boston Stone
Tile Lippage or Uneven Tile When Your Tile Doesn’t Match Up

Related Posts: