Marble gives a stunning appearance to the flooring. With this step you are able to continually do away with all varieties of lippage or any sort of unevenness in the floors. I am going to highlight the key ones making sure that if you're placing marble floor tiles you have a chance to anticipate the errors before they happen. They are shinny and also colorful and certainly add the the necessary elegance to the home of yours.
Images about How To Lay Marble Floor Tile
How To Lay Marble Floor Tile
/5-56a2fc793df78cf7727b6a26.jpg)
An additional way to make certain that your marble floor is held in condition that is good is by hiring an experienced floor cleaner every then and now. These tiles could be cut into several shapes as well as sizes to get a perfect finish. You need to certainly keep your marble floors neat and take the pleasure of this eye catching look provided by them. Perhaps water might cause stain on marble if it gets stagnated for several time.
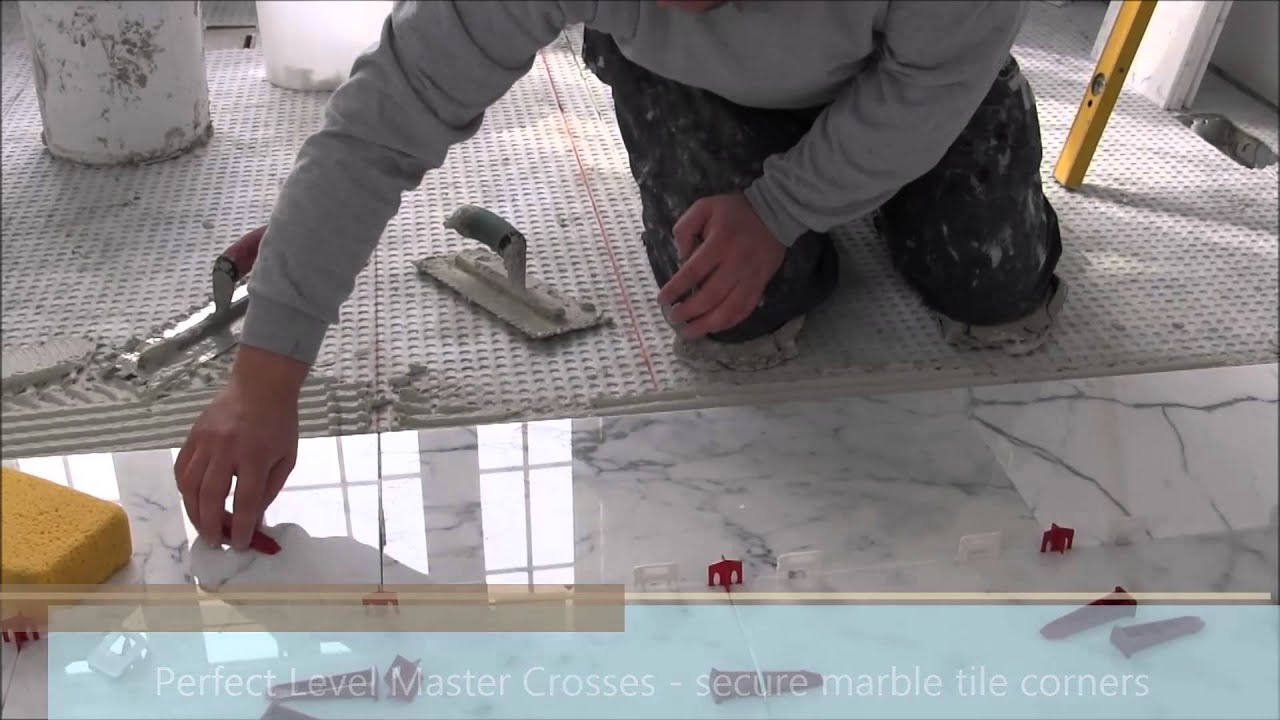
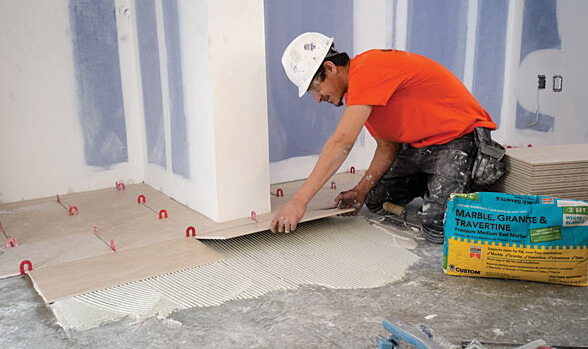
12″x24″ (30×60) marble tile installation using Perfect Level Master™ T-Lock™
The unique and distinctive marble flooring designs have fascinated individuals since years. But, you need to know how to properly use and store it to avoid additional destroys. They are not only reckoned for their beauty in fact strong, unyielding outside as well as durability are several of the factors. They can certainly make any room far more gorgeous and attractive.
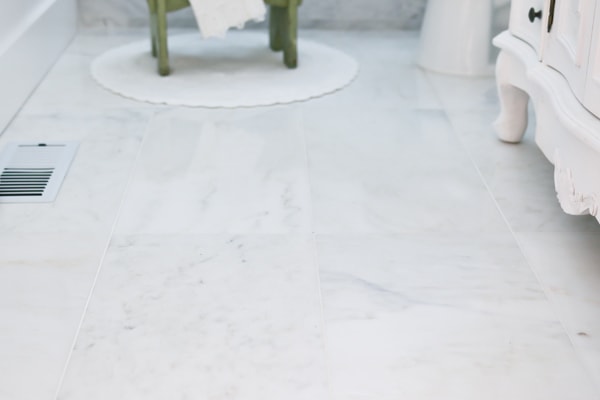
Installing, Sealing and Protecting Marble Tile Flooring
:max_bytes(150000):strip_icc():saturation(0.2):brightness(10):contrast(5)/184592313-56a1bc405f9b58b7d0c220f2.jpg)
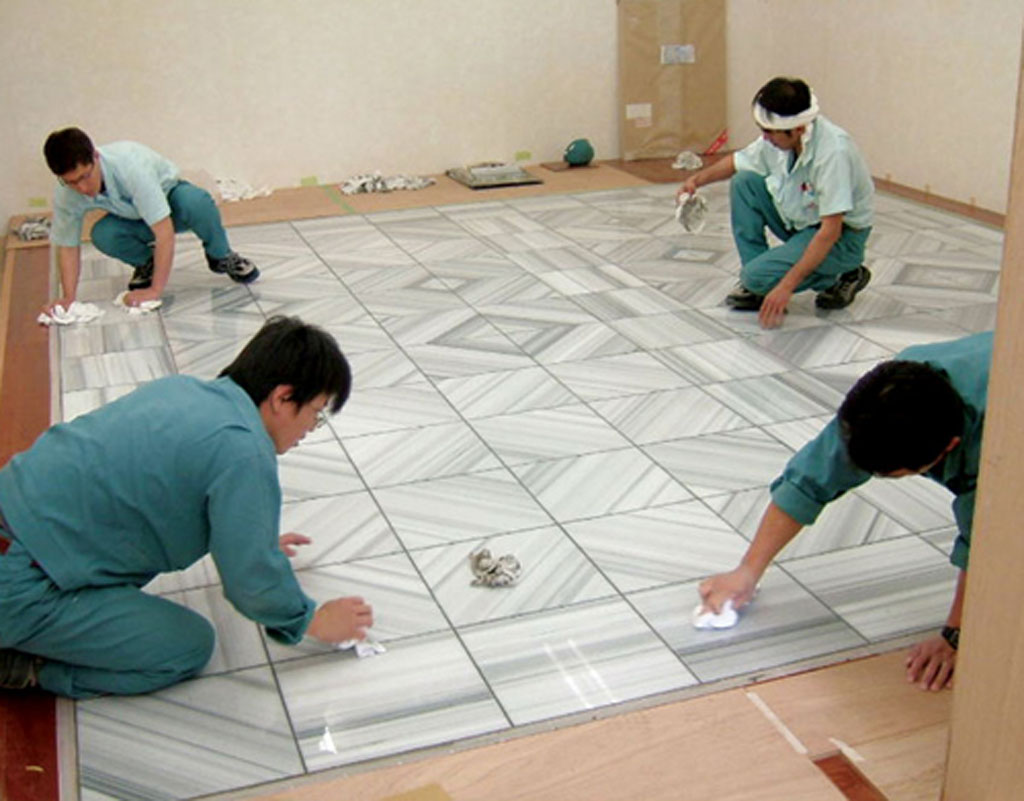
How to Install Marble Floor Tiles
/grand-foyer--staircase--chandelier--marble-floor-showcase-home-interior-design-157593982-5c456bbd46e0fb0001aac789-6388125b42b14a0f9bad74f1753fd9c5.jpg)
How to Install Marble Tile Floor?

Tips u0026 Articles – Natural Stone Online

How to Install Marble Tile – Tidbits
How to Install Marble Tile Floor?

How to install marble floor: the detailed instructions
How to Install Marble Floor Tile (with Pictures) – wikiHow

should marble looking tile veins lean in the same direction?
Marble Flooring: What to Know About Buying, Installing, and

How to Install Granite or Marble Floor Tiles – Fulei Stone
Pin on Master bath

Related Posts:
- Marble Flooring Border
- Home Marble Floor Design
- Beige Marble Flooring
- Black White Marble Floor
- White Carrara Marble Floor
- Marble Floor Design Ideas
- How To Clean White Marble Floors
- Marble Floor Entrance
- Yellow Marble Floor Tiles
- Luxury Marble Flooring Design
How To Lay Marble Floor Tile: A Comprehensive Guide
Marble floor tiles are a luxurious and stylish way to enhance any room or outdoor space. The beautiful, natural stone is both elegant and durable, making it a popular choice for homeowners. Not only that, but laying marble floor tile can be a relatively simple DIY project if you have the right tools and materials. Here is a comprehensive guide to help you lay marble floor tile like a pro.
Tools and Materials Needed
Before you start your tile-laying project, make sure you have all the necessary tools and materials. You will need:
– Marble tiles
– A chalk line
– Trowels
– Spacers
– Grout
– Tape measure
– A wet saw
– A rubber grout float
– A clean cloth
– Grout sealer
– Mortar
– Safety glasses
– Protective gloves
– Dust mask
Preparing the Subfloor for Installation
The first step in any tile installation is to prepare the subfloor for tile. The subfloor should be clean, dry, level, and free of debris. If the surface is uneven, you may need to use a self-leveling compound to level it out. Once the subfloor is ready, use a chalk line to draw lines across the floor as a reference for your tile layout. This will help ensure that your tiles are laid correctly and uniformly.
Mixing Your Mortar
Once your subfloor is ready, it’s time to mix your mortar. Mortar is the adhesive that holds your tiles in place and provides a waterproof seal. When mixing your mortar, follow the instructions on the package carefully and make sure to use the appropriate amount of water. Mix the mortar until it has a thick, creamy consistency that can easily spread on your tiles.
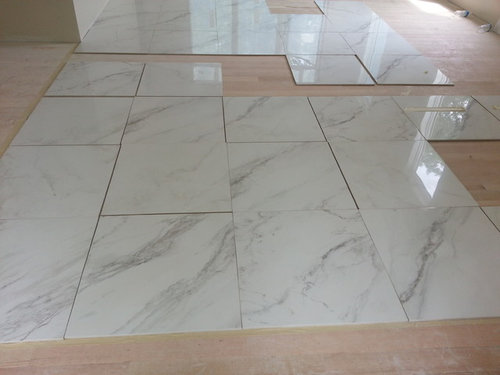
Laying Out Your Tiles
Before laying out your tiles, use spacers to keep them evenly spaced apart and ensure they fit together properly. Start by laying out your tiles in rows along one wall and work your way outward from there. Be sure to check and adjust any uneven tiles as you go along so that they are level with each other. Once all of the tiles have been laid out, you can begin cutting any pieces that need to be trimmed or fit around obstacles such as pipes or other fixtures.
Cutting Your Tiles with a Wet Saw
If you need to cut any of your marble tiles, use a wet saw. This will help prevent chipping or cracking of the tiles as you cut them. Make sure to wear safety glasses and protective gloves when using the wet saw and be sure to follow all safety instructions provided with the saw.
Applying Mortar and Setting Your Tiles
Once you’ve laid out all of your tiles, it’s time to apply mortar and set them into place. Start by spreading a thin layer of mortar onto your subfloor using a trowel. Be sure to use an even layer and cover the entire area where you plan to lay your tiles. Once the mortar layer has been applied, begin setting your tiles into place one at a time, pressing them firmly into the mortar as you go along. Use spacers between each tile as you lay them down to ensure they are evenly spaced apart.
Grouting Your Tiles
Once all of your tiles have been set in place, it’s time to grout them together. Start by spreading grout over the surface of the tiles using a rubber grout float in an even layer. Work quickly so that the grout doesn’t dry before it’s been spread across all of the tiles. Once finished, use a clean cloth to wipe away any excess grout from the surface of the