Choosing the Right Paint and Supplies
When it comes to painting your garage floor, the first step is choosing the right paint and supplies. This can make all the difference in the durability and appearance of your finished project. I’ve learned that investing in quality materials pays off in the long run, and I’m here to guide you through the process.
- Types of Paint: The two main types of paint for garage floors are latex and epoxy. Latex paint is easier to apply and dries quickly, but it doesn’t last as long. Epoxy paint, on the other hand, is more durable and resistant to stains and chemicals, making it ideal for high-traffic areas like garages. I recommend going with a two-part epoxy for the best results.
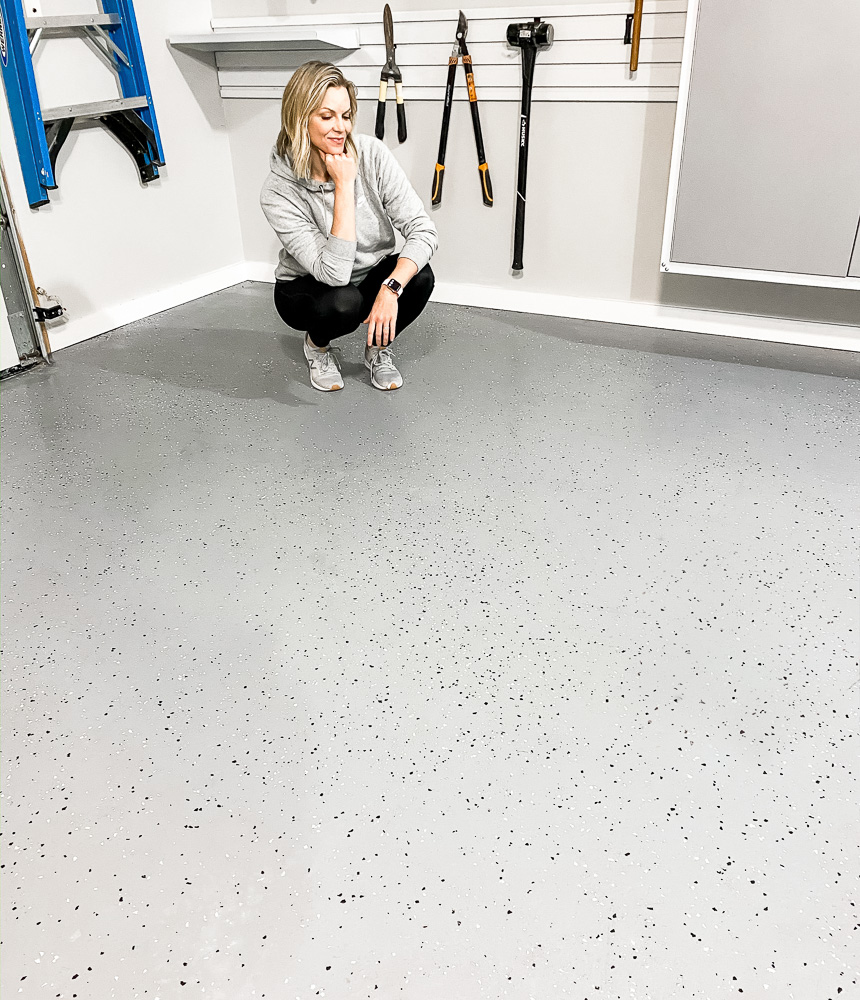
- Choosing Colors and Finishes: Your color choice depends on personal preference and the look you want to achieve. Light colors can make a small space feel larger, while darker colors can hide dirt and stains better. Consider a matte or satin finish for a more subtle look, or a glossy finish if you want a bit of shine.
- Necessary Supplies: Besides paint, you’ll need a few other supplies. Grab a good-quality paint roller with an extension handle to make the job easier on your back. Don’t forget the roller covers—choose ones specifically designed for rough surfaces. You’ll also need a paint tray, brushes for cutting in around edges, painter’s tape, and a drop cloth to protect areas you don’t want painted.
- Safety Gear: Painting a garage floor involves chemicals that can be harmful if inhaled or if they come into contact with your skin. Always wear protective gear, including gloves, goggles, and a respirator mask. Ensure your garage is well-ventilated by opening windows and doors while you work.
- Preparation Products: Before you start painting, you’ll need a concrete cleaner or degreaser to remove any oil stains and dirt from the floor. An etching solution is also necessary to roughen up the concrete surface so the paint adheres better. If there are cracks or holes, you’ll need a concrete patching compound to repair them.
- Mixing Tools: For epoxy paint, proper mixing is crucial. You’ll need a sturdy mixing stick or a drill with a mixing attachment to ensure the resin and hardener are thoroughly combined. Follow the manufacturer’s instructions carefully to achieve the right consistency.
Preparing the Garage Floor
Preparation is key when painting a garage floor. Properly preparing the concrete surface ensures that the paint adheres well and lasts for years. Here’s how I tackled the preparation process.
Clearing the Space: The first step is to empty your garage. Move out cars, tools, and any other items. Sweep the floor thoroughly to remove loose dirt and debris. This gives you a clean slate to work with and makes the next steps easier.
Deep Cleaning: Concrete floors in garages can accumulate oil stains, dirt, and other grime over time. Use a concrete cleaner or degreaser to tackle these stubborn spots. I found that a stiff-bristle brush and some elbow grease worked wonders. Rinse the floor thoroughly with a hose and let it dry completely.
Etching the Concrete: Etching is crucial for creating a rough surface that paint can grip onto. Use an etching solution, following the manufacturer’s instructions. Typically, this involves applying the solution with a brush or sprayer, letting it sit for a specified time, and then rinsing it off. Be sure to wear protective gear, as etching solutions can be harsh.
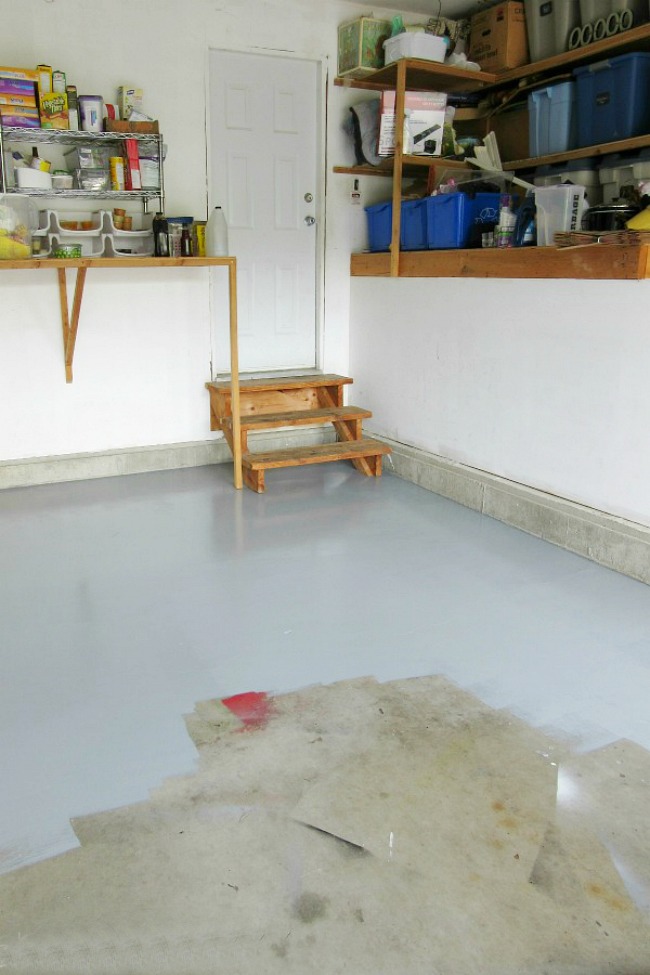
Checking for Moisture: Before proceeding, ensure that your garage floor is dry. Any residual moisture can prevent the paint from adhering properly. Tape a piece of plastic sheeting to the floor and leave it for 24 hours. If you see condensation under the plastic, the floor needs more time to dry. Consider using a dehumidifier to speed up the process if necessary.
Sanding Rough Areas: If your garage floor has any rough patches or old paint, sanding them down is essential for a smooth finish. Use a concrete grinder or sandpaper to even out these areas. Vacuum up any dust created by sanding to keep the surface clean.
Final Clean-Up: Once all the prep work is done, give the floor one last sweep and vacuum to ensure there’s no remaining dust or debris. Wipe down the surface with a damp cloth and let it dry. At this stage, your garage floor should be spotless and ready for priming.

Repairing Cracks and Imperfections
After preparing the garage floor, it’s time to address any cracks or imperfections. Repairing these areas ensures a smooth, even surface for painting. Here’s how I handled the repair process.
Assessing Damage: Start by thoroughly inspecting your garage floor for cracks, holes, and other imperfections. Note the size and location of each issue. Small hairline cracks can usually be filled easily, but larger cracks and holes may require more extensive repair.
Cleaning Cracks and Holes: Before applying any repair material, clean the cracks and holes thoroughly. Use a wire brush to remove loose debris and dirt. For deeper cracks, a vacuum can help suck out any remaining dust and particles. Ensuring the areas are clean helps the repair material adhere better.
Choosing the Right Repair Product: There are various products available for repairing concrete floors, including concrete patching compounds, crack fillers, and epoxy putty. For small cracks, a liquid crack filler works well. For larger cracks and holes, a more robust concrete patching compound or epoxy putty is necessary.
Applying the Repair Material: Follow the manufacturer’s instructions for applying the repair product. For liquid crack fillers, simply pour the filler into the crack and smooth it out with a putty knife. For patching compounds, mix the product according to the instructions and apply it with a trowel, pressing it firmly into the cracks and smoothing it out. Allow the repair material to dry completely before proceeding.
Sanding and Smoothing: Once the repair material has dried, sand the repaired areas to ensure they are level with the rest of the floor. Use a concrete grinder or coarse sandpaper for this step. After sanding, vacuum up the dust and wipe the surface with a damp cloth to remove any remaining particles.
Final Inspection: After repairs are complete, do a final inspection of the floor. Ensure all cracks and holes are filled and the surface is smooth. Any remaining imperfections will show through the paint, so it’s important to address them now. If necessary, apply additional filler or patching compound and repeat the sanding process.
Priming the Concrete Surface
With the garage floor repaired and prepped, the next step is priming. Priming the concrete surface ensures that the paint adheres properly and provides a consistent base for the topcoat. Here’s how I approached this crucial step.
Choosing the Right Primer: Not all primers are created equal. For concrete floors, you’ll need a primer specifically designed for masonry surfaces. Epoxy primers are an excellent choice because they bond well with concrete and provide a durable base for the topcoat. Make sure to read the labels and choose a primer that’s compatible with your chosen paint.
Mixing the Primer: Before applying the primer, mix it thoroughly. Some primers may require stirring, while others need shaking. Follow the manufacturer’s instructions to ensure the primer is well-mixed and ready for application. If you’re using a two-part epoxy primer, mix the components as directed.
Applying the Primer: Pour the primer into a paint tray and use a roller with an extension handle to apply it to the floor. Start in a corner and work your way out, using long, even strokes. Be sure to apply the primer in thin, even coats to avoid puddling. Use a brush to cut in around edges and tight spaces where the roller can’t reach.
Letting the Primer Dry: After applying the primer, let it dry completely. Drying times can vary depending on the product and environmental conditions, so check the manufacturer’s instructions. Typically, it takes a few hours, but it’s best to let it dry overnight to ensure it’s fully cured.
Checking for Coverage: Once the primer is dry, inspect the floor for any missed spots or thin areas. If necessary, apply a second coat of primer to ensure even coverage. A well-primed floor provides a solid foundation for the topcoat and helps prevent peeling and chipping.
Cleaning Up: After priming, clean your tools promptly. Epoxy primers can harden quickly, so wash your roller, brushes, and paint tray with soap and water (or the recommended solvent) as soon as you’re done. Properly cleaned tools will be ready for use when it’s time to apply the topcoat.
Applying the Base Coat
With the primer dry and ready, it’s time to apply the base coat. This step brings your vision to life and provides the primary color for your garage floor. Here’s how I tackled the application of the base coat.
Choosing the Right Paint: For the base coat, I recommend using an epoxy paint designed for concrete floors. Epoxy paint is durable, resistant to chemicals and stains, and provides a glossy finish that looks professional. Make sure to choose a color that complements your garage and suits your taste.
Mixing the Paint: If you’re using a two-part epoxy paint, mix the resin and hardener according to the manufacturer’s instructions. This usually involves combining the two components in a specific ratio and stirring thoroughly. Proper mixing is crucial for the paint to cure correctly and achieve the desired durability.
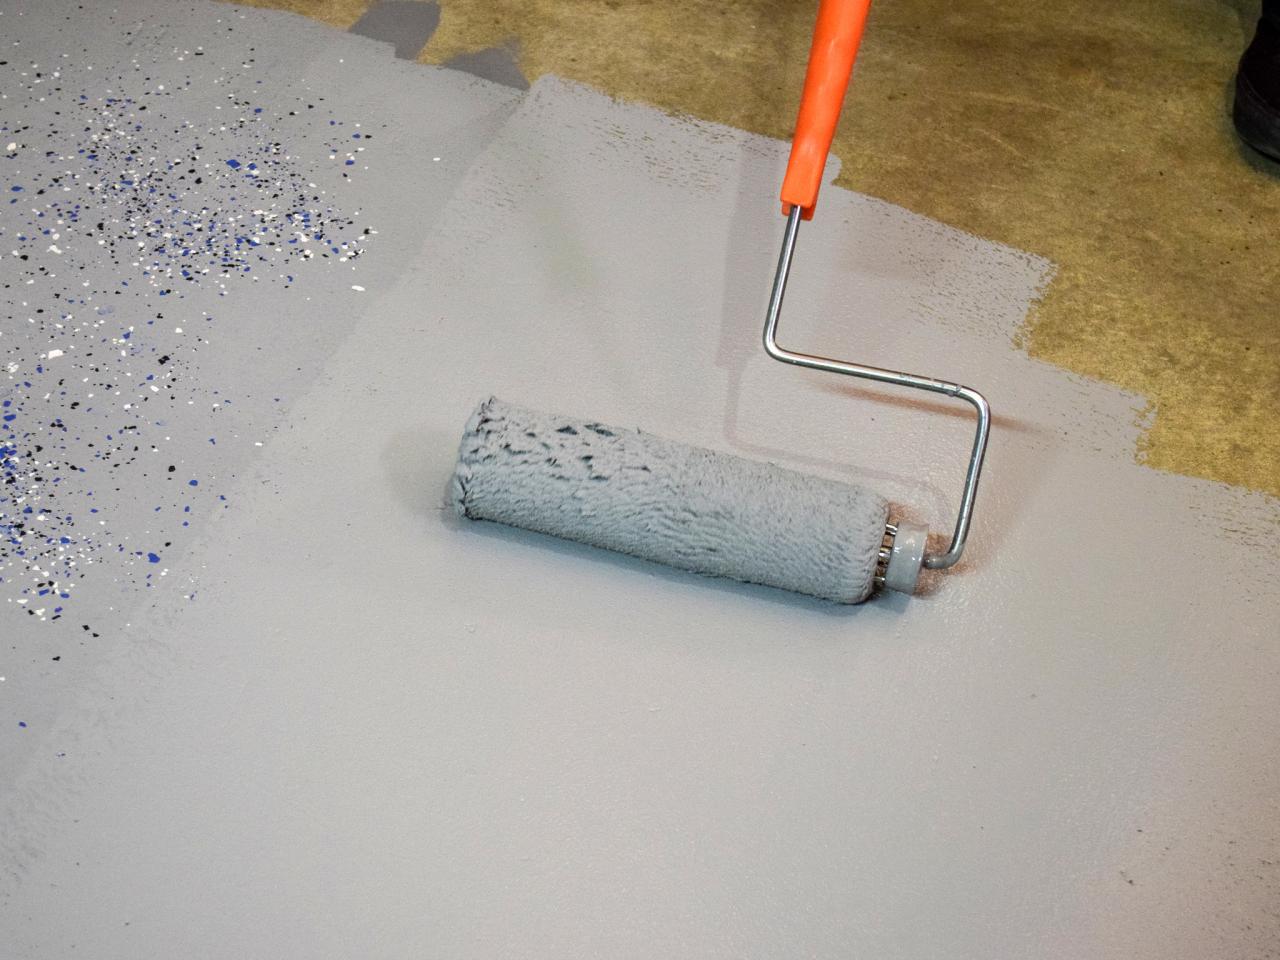
Applying the Base Coat: Pour the mixed paint into a paint tray and use a roller with an extension handle to apply it to the floor. Start in a corner and work your way out, using long, even strokes. Apply the paint in thin, even coats to avoid puddling and ensure smooth coverage. Use a brush to cut in around edges and tight spaces where the roller can’t reach.
Letting the Paint Dry: After applying the first coat, let the paint dry completely. Drying times can vary depending on the product and environmental conditions, so check the manufacturer’s instructions. Typically, it takes a few hours, but it’s best to let it dry overnight to ensure it’s fully cured.
Applying a Second Coat: For the best coverage and durability, apply a second coat of paint. Follow the same process as the first coat, making sure to apply the paint evenly and avoid puddling. The second coat will provide a richer color and a more durable finish.
Final Inspection: Once the second coat is dry, inspect the floor for any missed spots or thin areas. Touch up any areas as needed to ensure even coverage. A well-applied base coat provides a solid foundation for the topcoat and helps prevent peeling and chipping.

Adding a Topcoat for Durability
With the base coat applied, the next step is to add a topcoat. This step enhances the durability of the painted floor and adds a layer of protection. Here’s how I approached the application of the topcoat.
Choosing the Right Topcoat: For the topcoat, I recommend using a clear epoxy or polyurethane sealer. These products provide a durable, glossy finish that protects the base coat from wear and tear. Make sure to choose a topcoat that’s compatible with the paint you used for the base coat.
Mixing the Topcoat: If you’re using a two-part epoxy or polyurethane sealer, mix the components according to the manufacturer’s instructions. Proper mixing is crucial for the topcoat to cure correctly and achieve the desired durability. Follow the instructions carefully to ensure the components are well-mixed.
Applying the Topcoat: Pour the mixed topcoat into a paint tray and use a roller with an extension handle to apply it to the floor. Start in a corner and work your way out, using long, even strokes. Apply the topcoat in thin, even coats to avoid puddling and ensure smooth coverage. Use a brush to cut in around edges and tight spaces where the roller can’t reach.
Letting the Topcoat Dry: After applying the topcoat, let it dry completely. Drying times can vary depending on the product and environmental conditions, so check the manufacturer’s instructions. Typically, it takes a few hours, but it’s best to let it dry overnight to ensure it’s fully cured.
Applying a Second Coat: For the best protection, apply a second coat of topcoat. Follow the same process as the first coat, making sure to apply the topcoat evenly and avoid puddling. The second coat will provide an extra layer of protection and enhance the durability of the painted floor.
Final Inspection: Once the second coat is dry, inspect the floor for any missed spots or thin areas. Touch up any areas as needed to ensure even coverage. A well-applied topcoat provides a durable, glossy finish that protects the base coat and enhances the appearance of your garage floor.
Maintenance Tips for a Long-Lasting Finish
After all the hard work of painting your garage floor, it’s important to maintain it properly to ensure it lasts for years. Here are some tips I’ve found helpful for keeping the painted floor in top condition.
Regular Cleaning: Regular cleaning is essential for maintaining the appearance and durability of the painted floor. Sweep the floor regularly to remove dirt and debris. For deeper cleaning, use a mild detergent and water. Avoid harsh chemicals that can damage the paint. A soft-bristle brush or mop works well for scrubbing the floor without scratching it.
Protecting the Surface: Place mats or rugs at entry points to trap dirt and prevent it from being tracked onto the painted floor. Use protective pads under heavy objects to prevent scratches and dents. If you work on your car in the garage, use a drip tray or mat to catch any oil or chemicals that might spill.
Prompt Spill Cleanup: Spills happen, but it’s important to clean them up promptly to prevent staining and damage. Use a cloth or paper towel to blot up spills, and then clean the area with a mild detergent and water. For tougher stains, a mixture of baking soda and water can help lift the stain without damaging the paint.
Regular Inspections: Periodically inspect the floor for any signs of wear and tear, such as chipping, peeling, or cracks. Address any issues promptly to prevent further damage. Small touch-ups can be done with leftover paint to keep the floor looking fresh and well-maintained.
Avoid Heavy Impact: Avoid dropping heavy objects on the painted floor, as this can cause chips and dents. If you need to move heavy items, use a dolly or lift them carefully to prevent damage. Be mindful of dragging sharp objects across the floor, as this can scratch the paint.
Reapply Topcoat: Over time, the topcoat may wear down, especially in high-traffic areas. To maintain the durability and appearance of the painted floor, consider reapplying a topcoat every few years. This adds a fresh layer of protection and keeps the floor looking glossy and new.

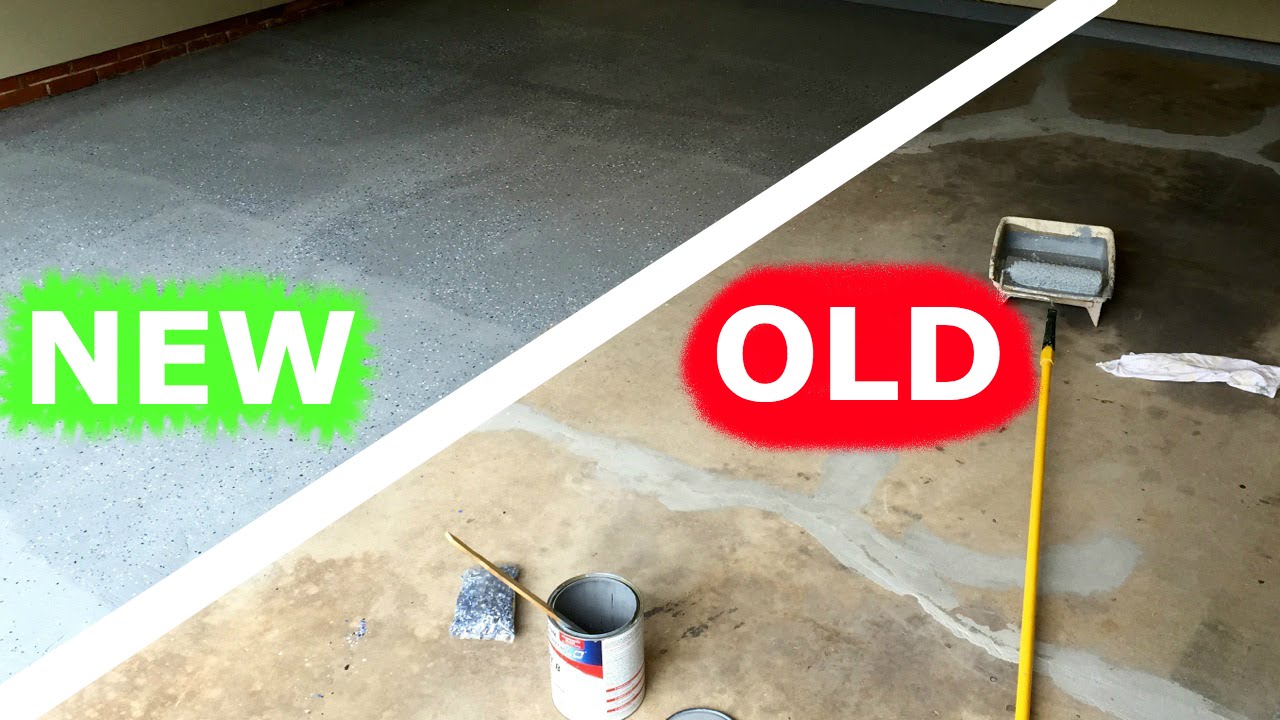
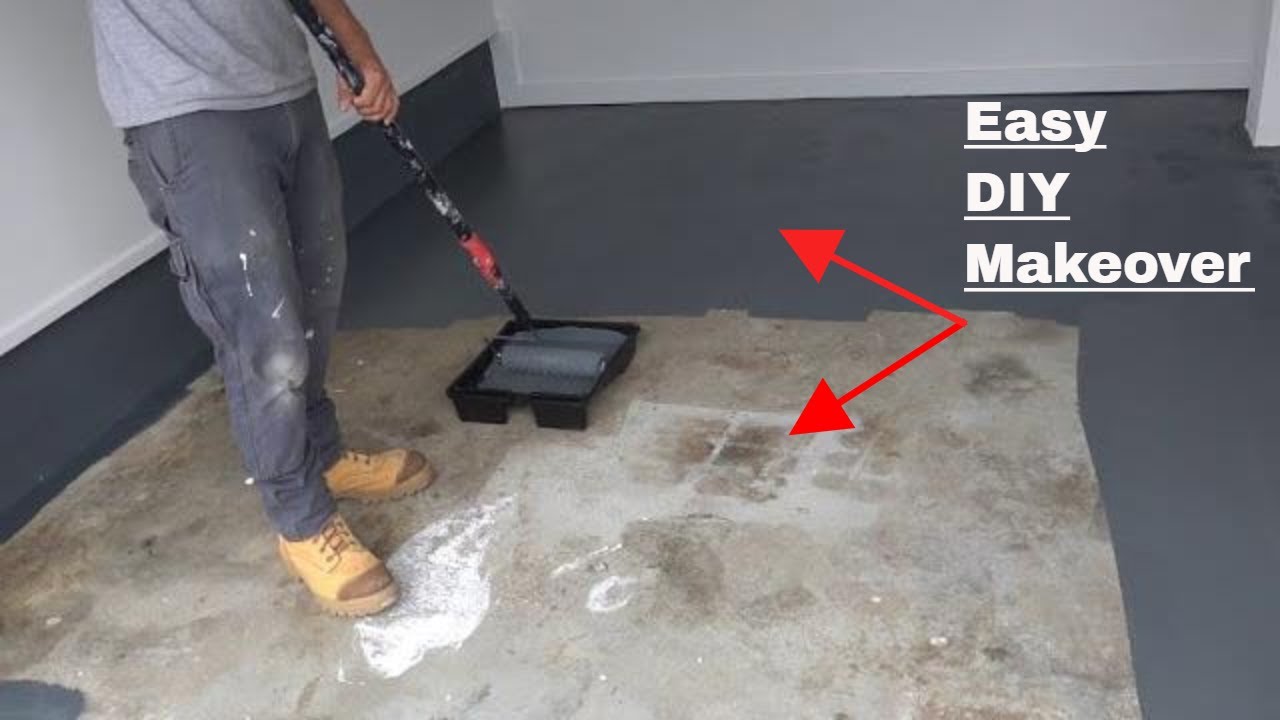
How to paint concrete floors – DIY makeover
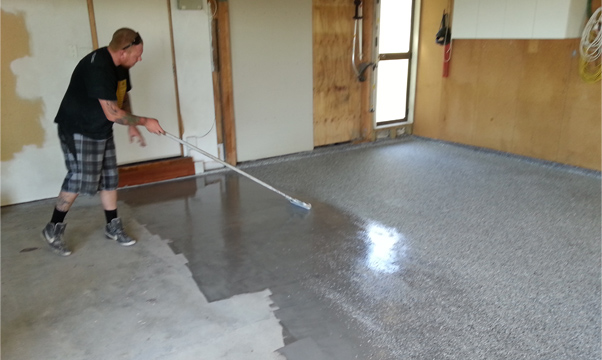
How to Paint Garage Floors With 1-Part Epoxy Paint Garage floor

Why should I paint my concrete garage floor – Hongewin Tiles
Related Posts: