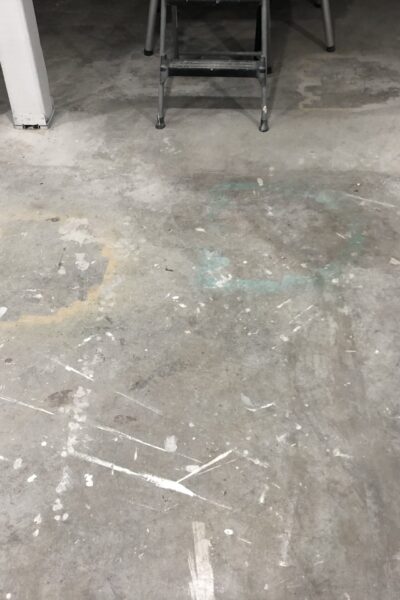
As an experienced professional in concrete floor staining, I am excited to share a straightforward and practical guide on how to prep a concrete floor for staining. Proper preparation is key to achieving a beautiful and long-lasting stained concrete floor. By following these steps, you can ensure that your concrete surface is ready to embrace the transformative power of stain.
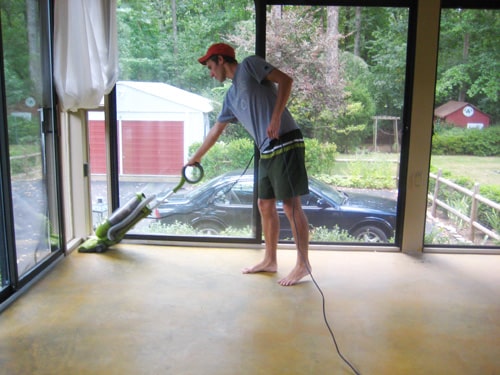
First and foremost, it is essential to thoroughly clean the concrete floor before beginning the staining process. Remove loose debris, dirt, or dust by sweeping or using a vacuum cleaner. You may need a degreaser or a specialized concrete cleaner for stubborn stains or oil spots to ensure a clean and pristine surface. Next, it’s important to assess the condition of the concrete floor and address any existing damage. Fill any cracks or holes using a high-quality concrete patching compound. This step is crucial to create a smooth and even surface for the stain to adhere to. Allow the patching compound to fully cure before proceeding to the next step.
After repairing any damage, it’s time to address any existing sealers or coatings on the concrete floor. Stain requires a porous surface to penetrate and bond with the concrete properly. If there are any sealers or coatings present, they need to be removed. This can be done by using a chemical stripper or by mechanically grinding the surface. Follow the manufacturer’s instructions and take the necessary safety precautions when using chemical strippers.
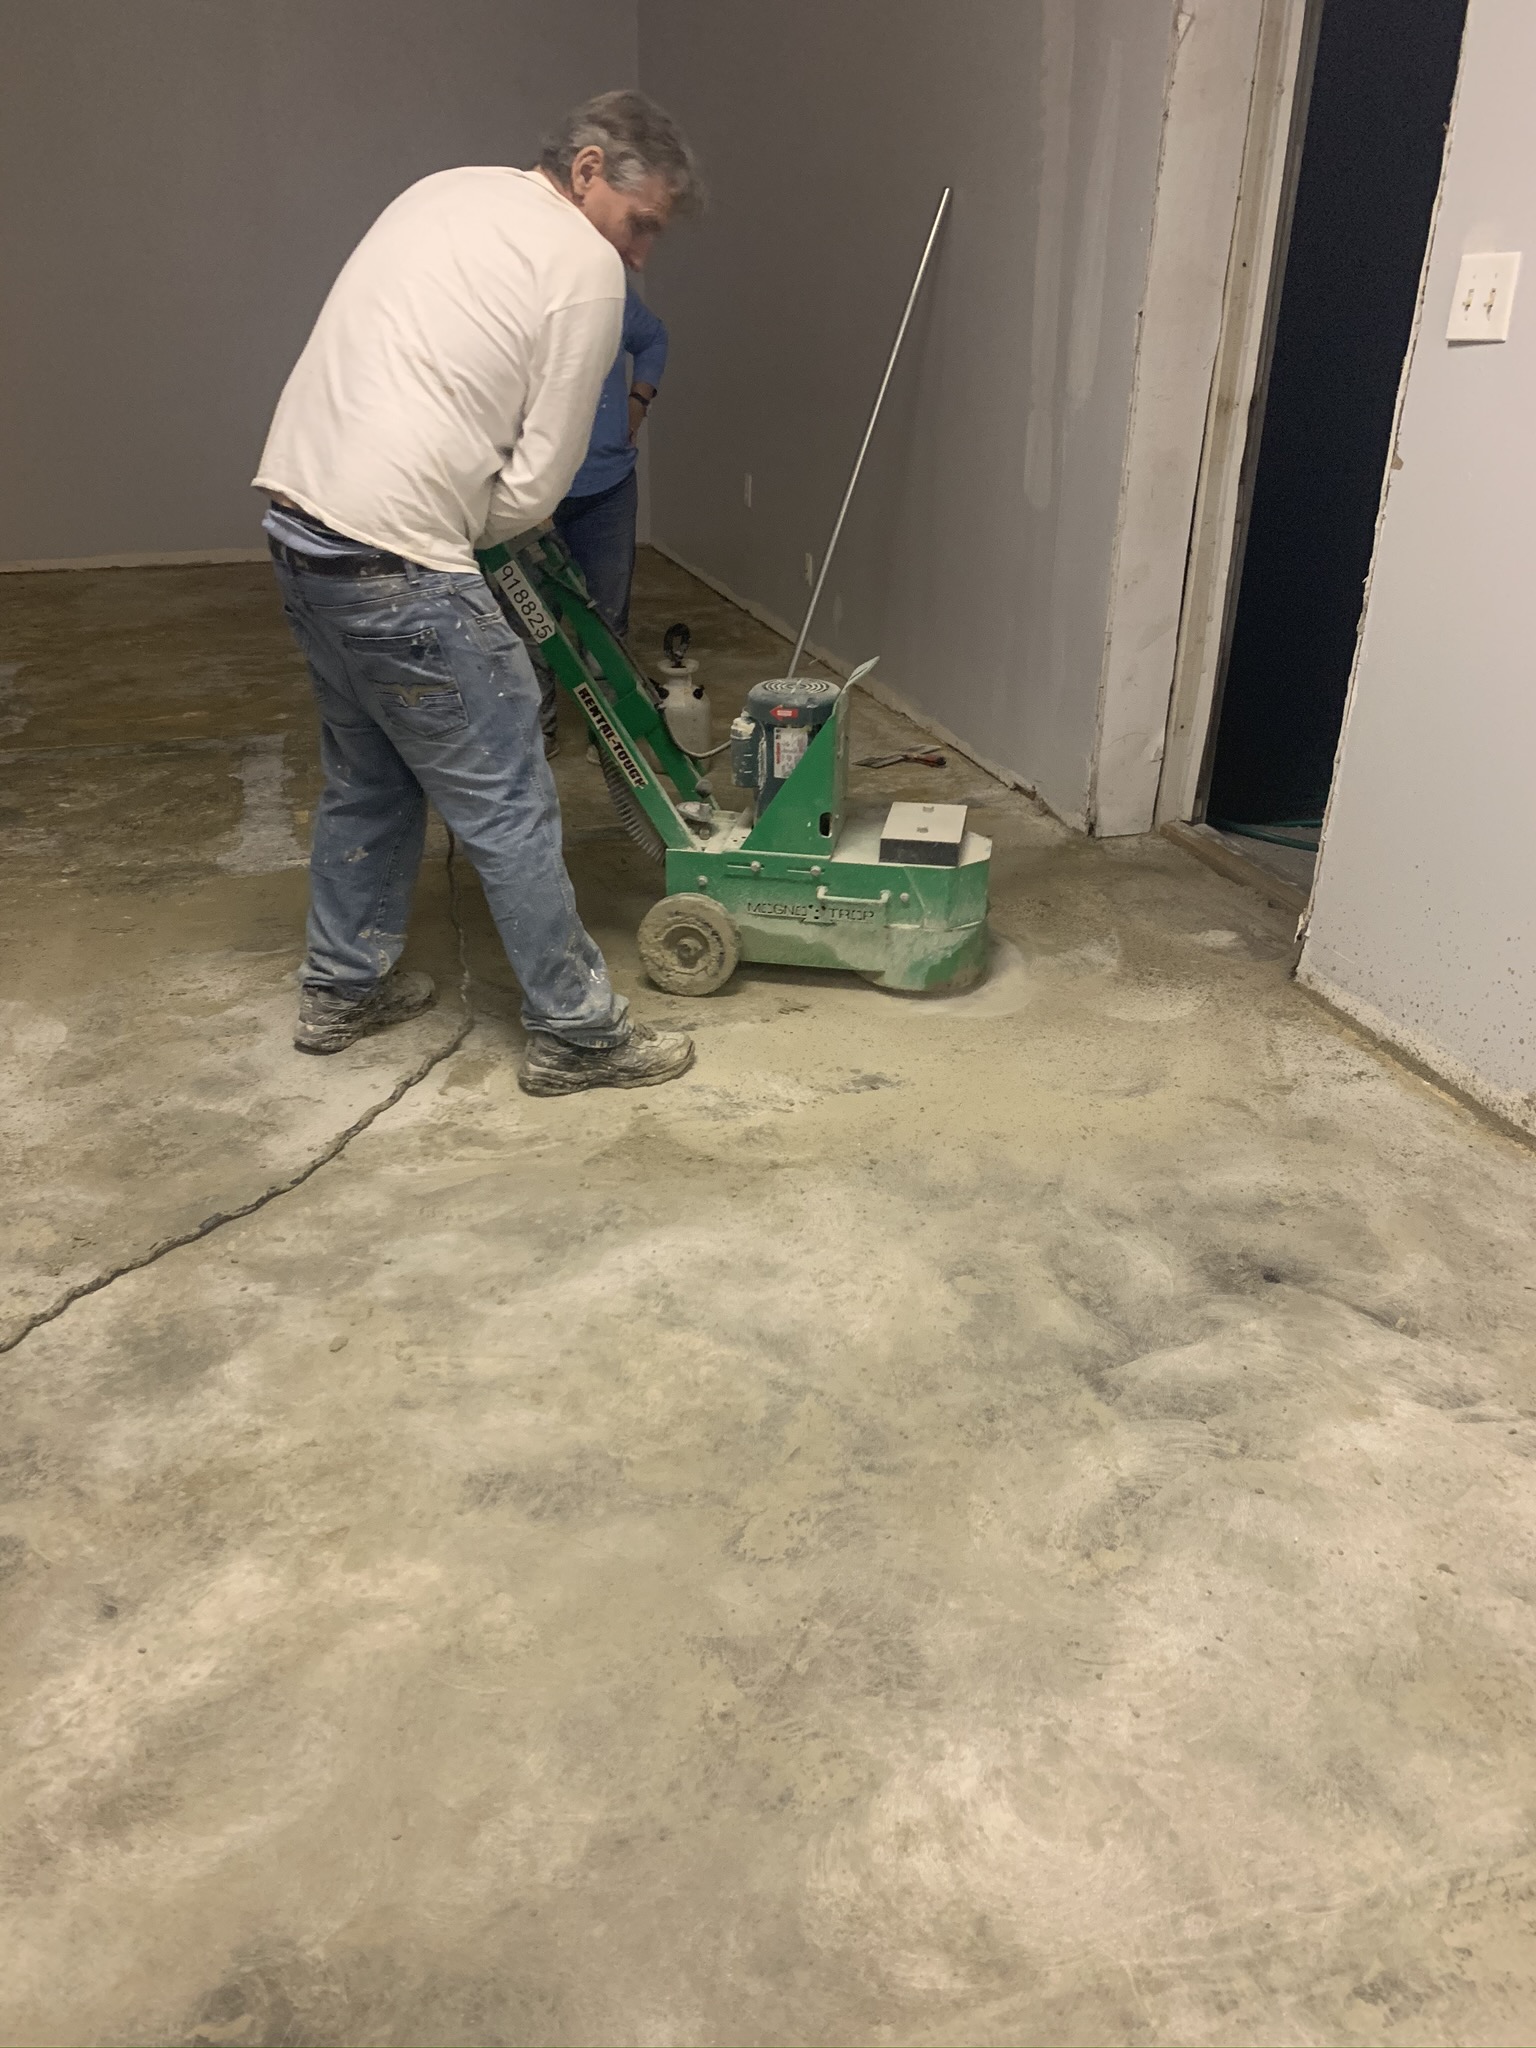
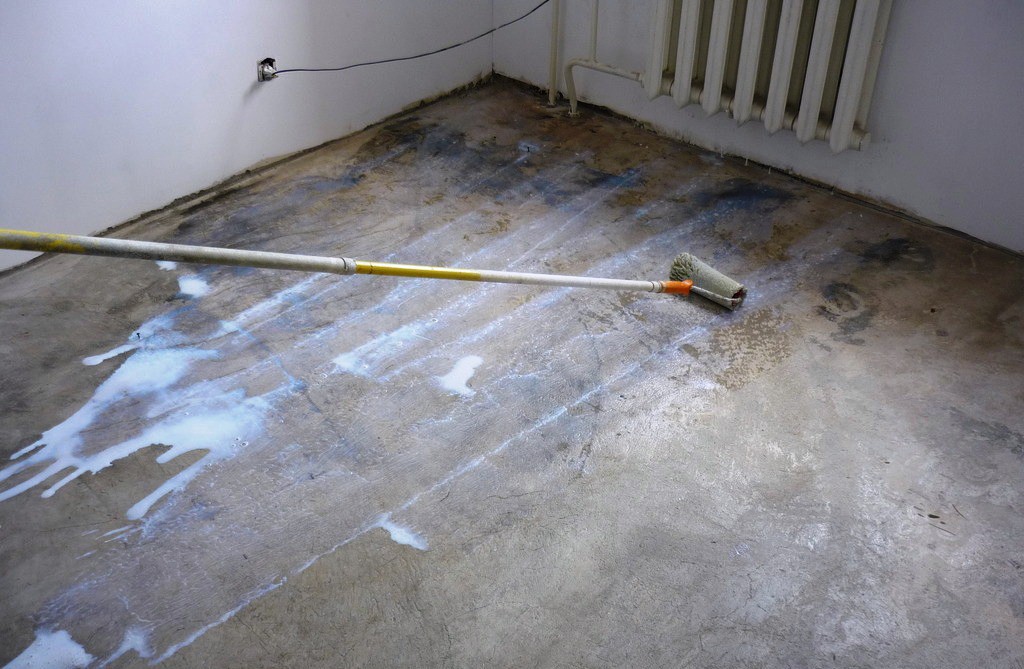
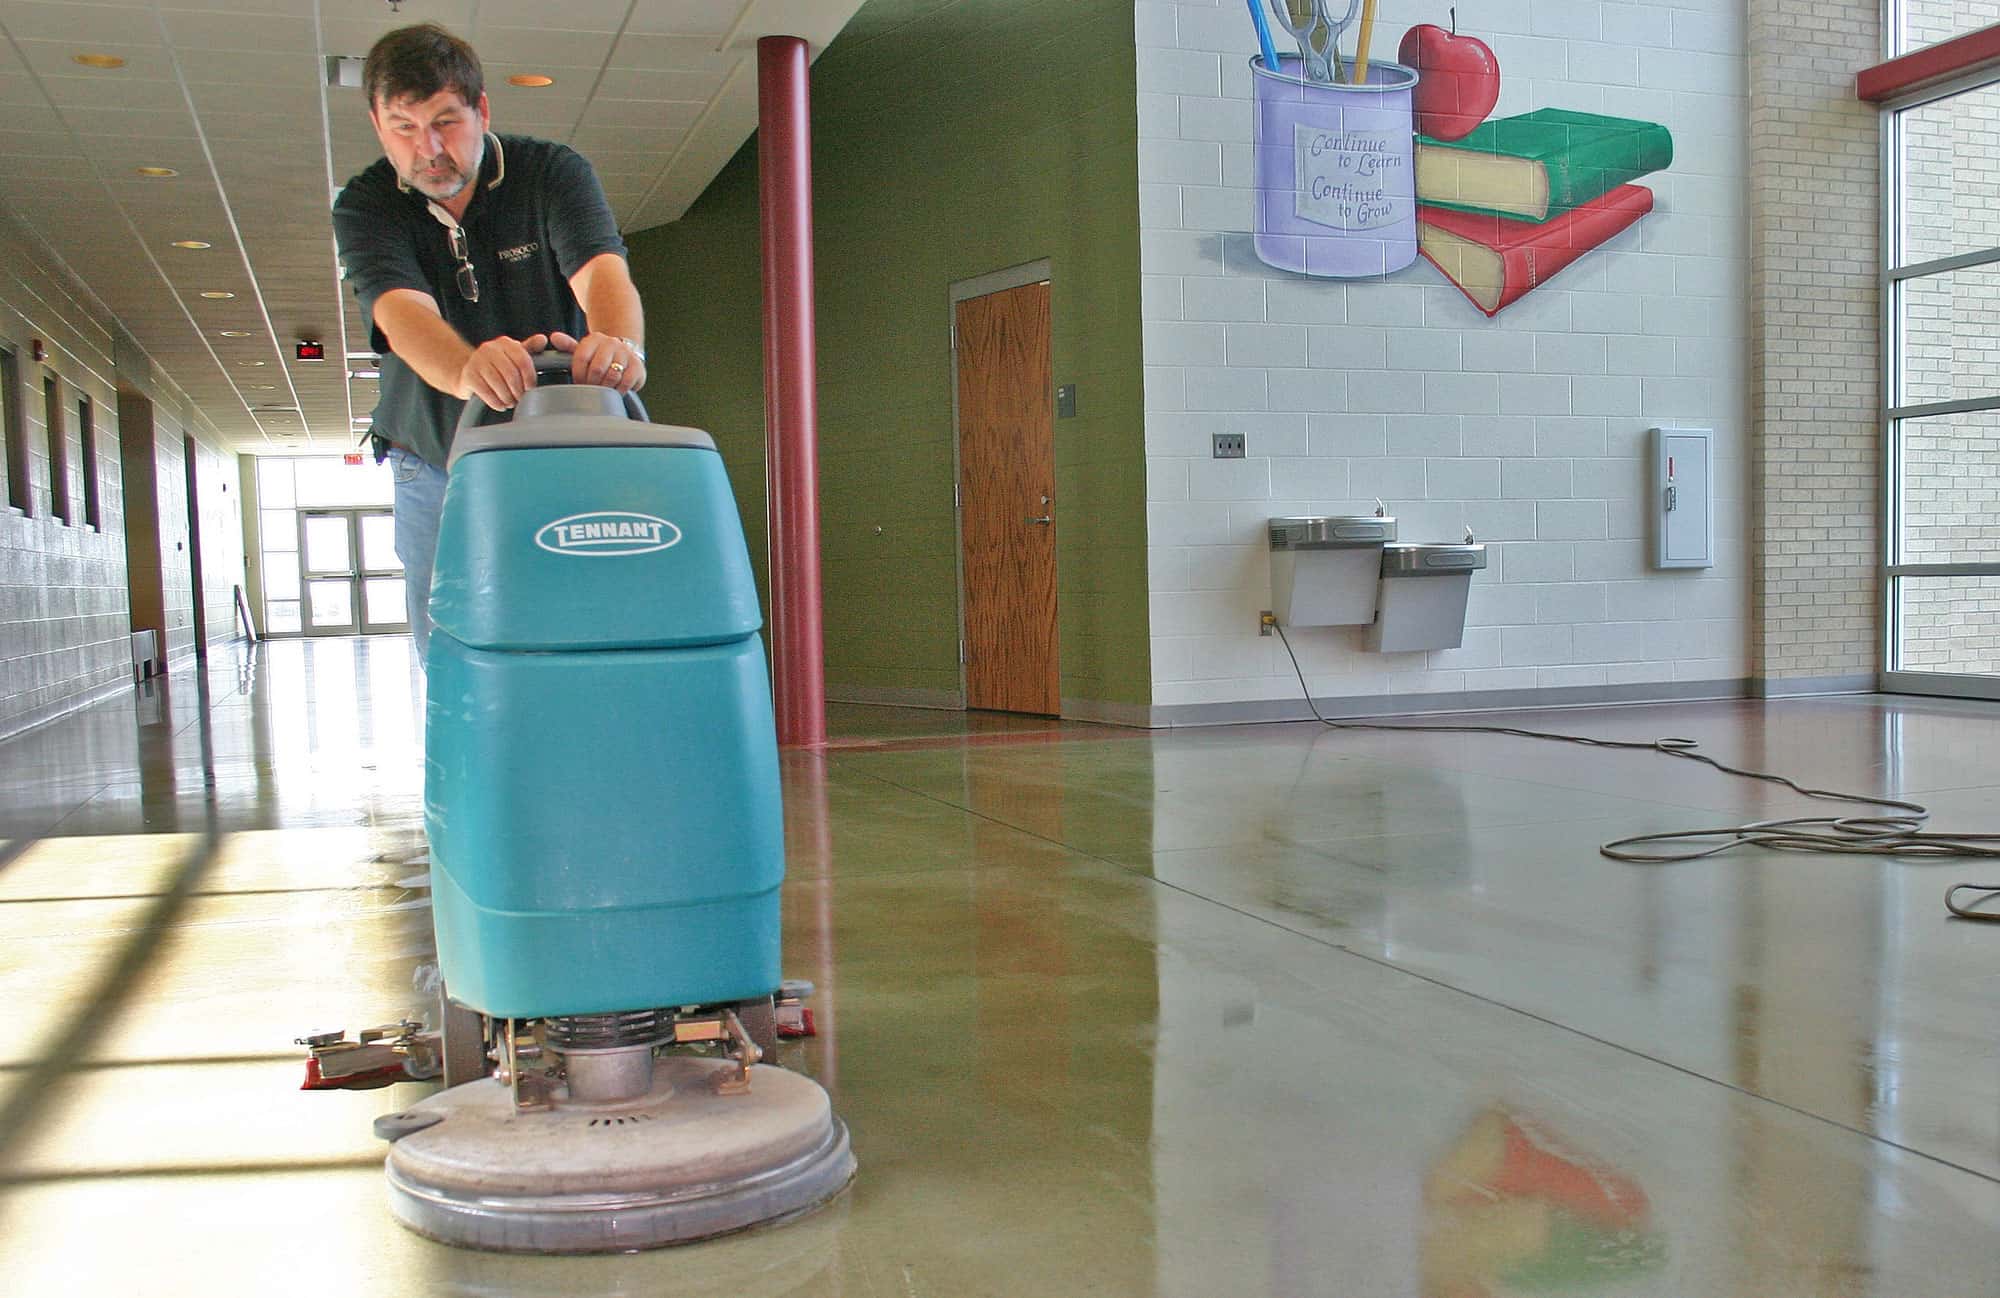
Once the surface is clean, repaired, and free from any sealers or coatings, it’s time to prepare the concrete for staining. This involves profiling the surface to enhance its ability to accept the stain. Profiling can be achieved by mechanically grinding the surface with a diamond grinder or using an acid etching solution. Acid etching should be done with caution, following proper safety guidelines, as it involves working with potentially hazardous chemicals.
Finally, ensuring the concrete floor is completely dry before applying the stain is crucial. Moisture can interfere with the stain’s ability to penetrate the concrete, leading to uneven results or adhesion issues. Perform a moisture test using a moisture meter or a plastic sheet test to confirm that the concrete is sufficiently dry.

Can I stain a concrete floor that has existing carpet or tile adhesive?
Staining a concrete floor with existing carpet or tile adhesive can be challenging. The adhesive residue needs to be completely removed before proceeding with the staining process. This typically involves using a scraper, solvent, or mechanical grinding to ensure a clean and adhesive-free surface. It’s recommended to consult with a professional if you’re unsure about the best method for removing the adhesive.
Do I need to use a sealer after staining a concrete floor?
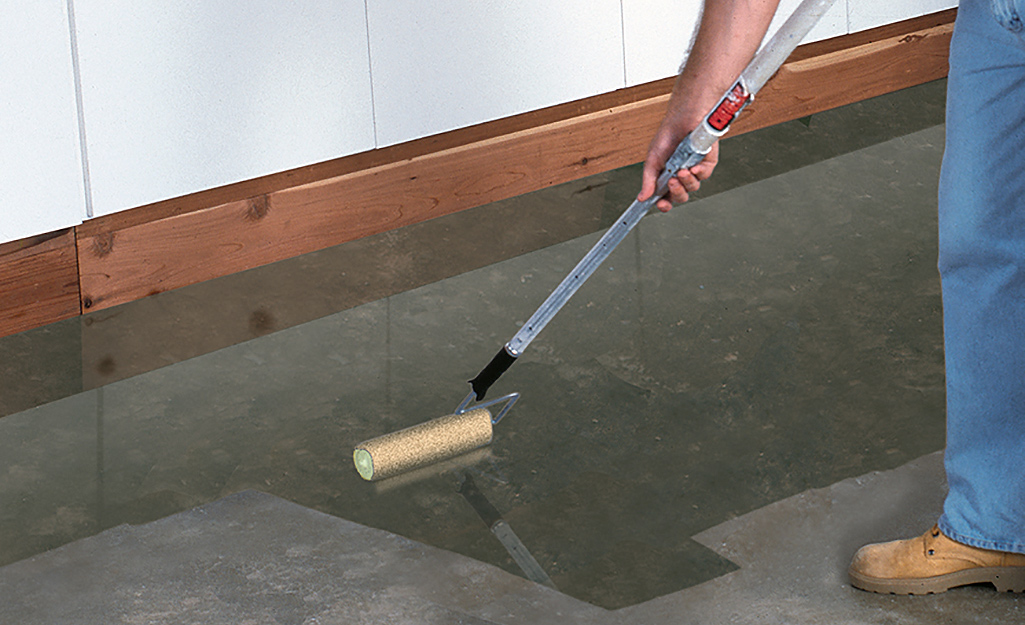
Using a sealer after staining a concrete floor is highly recommended. A sealer enhances the color, protects the stain, and provides added durability to the concrete surface. There are different types of sealers available, such as acrylic, epoxy, or polyurethane. Consult with your stain manufacturer or a professional to determine the most suitable sealer for your specific project.
How long does the concrete floor need to cure before staining?
The curing time for a concrete floor depends on various factors, such as the type of concrete used, weather conditions, and thickness of the slab. Generally, concrete needs to cure for at least 28 days before staining. However, it’s important to consult with the concrete supplier or follow industry guidelines to determine the exact curing time for your specific concrete mix.
Can I stain a concrete floor that has been previously stained?
Yes, it is possible to restain a concrete floor that has been previously stained. However, the existing stain needs to be completely removed before applying a new stain. This can be achieved by using a chemical stripper or by mechanically grinding the surface. It’s important to note that the final color and appearance may be influenced by the previous staining and the condition of the concrete.
How long does the staining process take?
The staining process duration depends on various factors, including the size of the area, the complexity of the design, and the drying time of the stain and sealer used. Generally, staining a concrete floor can take several days, allowing time for cleaning, repairs, profiling, staining, and sealing. It’s important to follow the manufacturer’s instructions and allow sufficient drying and curing time between each step for the best results.
Prepping a concrete floor for staining is crucial to ensure a successful and visually appealing outcome. By thoroughly cleaning, repairing, profiling, and properly drying the concrete, you create a solid foundation for the stain to bond with the surface. Following these steps and addressing common concerns will help you achieve a stunning stained concrete floor that enhances the beauty and durability of any space.
Concrete Surface Preparation: How-to Guide Direct Colors
Prepping for Concrete Staining: Dos and Donu0027ts – Concrete Decor
Staining A Concrete Floor Is Easy, Just Follow Our Step By Step
How to Prep Concrete Floors for Staining Concrete Floor Supply
How to Prep Concrete for Stain – Surface Preparation Tips
How to prepare concrete for stain with your own hands
Staining A Concrete Floor Is Easy, Just Follow Our Step By Step
How to Prepare Your Concrete Floors for Acid Staining
How to prepare a concrete floor for color stain – www.SealGreen.com – 800-
How to Stain Concrete
How to stain interior concrete floors in 5 steps – Prosoco
Concrete Surface Preparation: How-to Guide Direct Colors
Preparing Your Floor For An Acid Stain Bach Custom Coatings
Related Posts:
- Acid Wash Concrete Floor Colors
- Concrete Floor Thickness For A Garage
- Concrete Floor For Bathroom
- Interior Concrete Floor Ideas
- Kitchen Stained Concrete Floors
- Concrete Floor Tile Thickness
- How To Stain Concrete Floors DIY
- DIY Concrete Floor Grinding
- Concrete Floor Damage
- Faux Stained Concrete Floors
