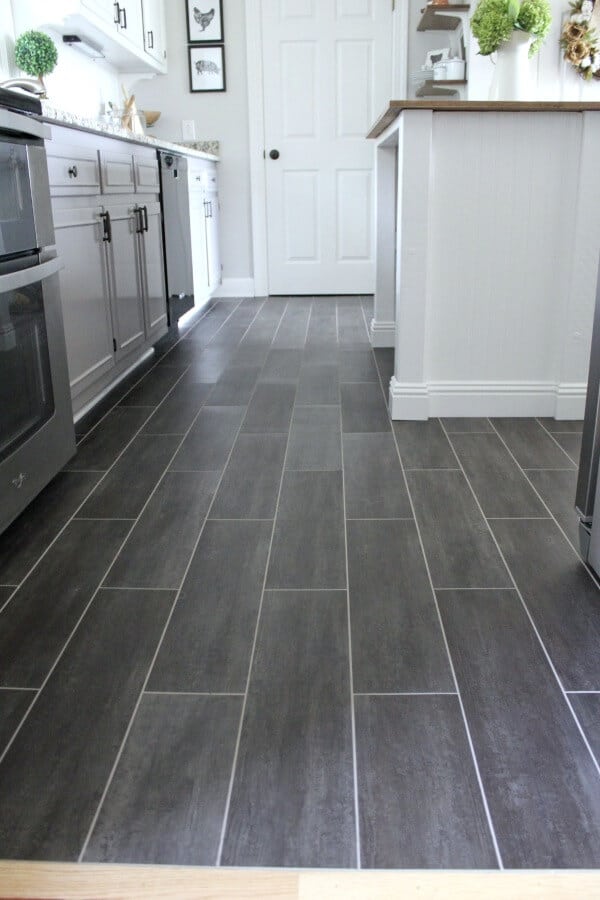
This kind of flooring is an ideal choice for kitchen, particularly for those who love to walk bare footed. Case in point, floors with neutral or light hues give an impression of space & light, whilst more dynamic colors may perhaps work in a compact cooking area, however not in a larger one. When selecting resources for kitchen flooring, you must consider materials that are both durable and beautiful.
Images about How To Redo Kitchen Floor
How To Redo Kitchen Floor

These clay tiles are available in a decision of a matte or glossy finish, and tend to be offered in different colors. There are various grades of anti-skid ideal for commercial use in addition to a a wide choice of colors. Most home owners discover linoleum easy to hold in an excellent shape since only a bit of amount of energy is necessary to soak it spic as well as span.
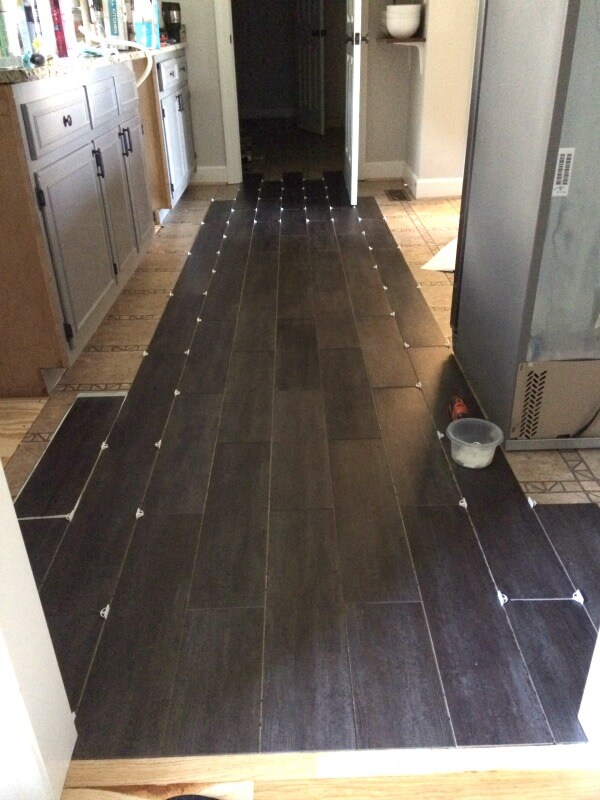
DIY Flooring: How We Changed our Kitchen in 3 days for Less than
Bamboo kitchen Flooring enables you to bring the attractiveness of the exterior into the kitchen of yours. It’s durable, it’s long-lasting, and It is extremely affordable. Fire wood floors is obviously a prospective fire hazard since it’s made out of wood and wood burns so ensure that what ever wood floors you purchase has been treated to simply help retard a fire within the event that you’re unfortunate enough to have it take place.
Best Kitchen Flooring Options Of June u2013 Forbes Advisor

The Six Best Floors for your Kitchen Renovation. Airy Kitchens

The Six Best Floors for your Kitchen Renovation. Airy Kitchens
DIY Flooring: How We Changed our Kitchen in 3 days for Less than
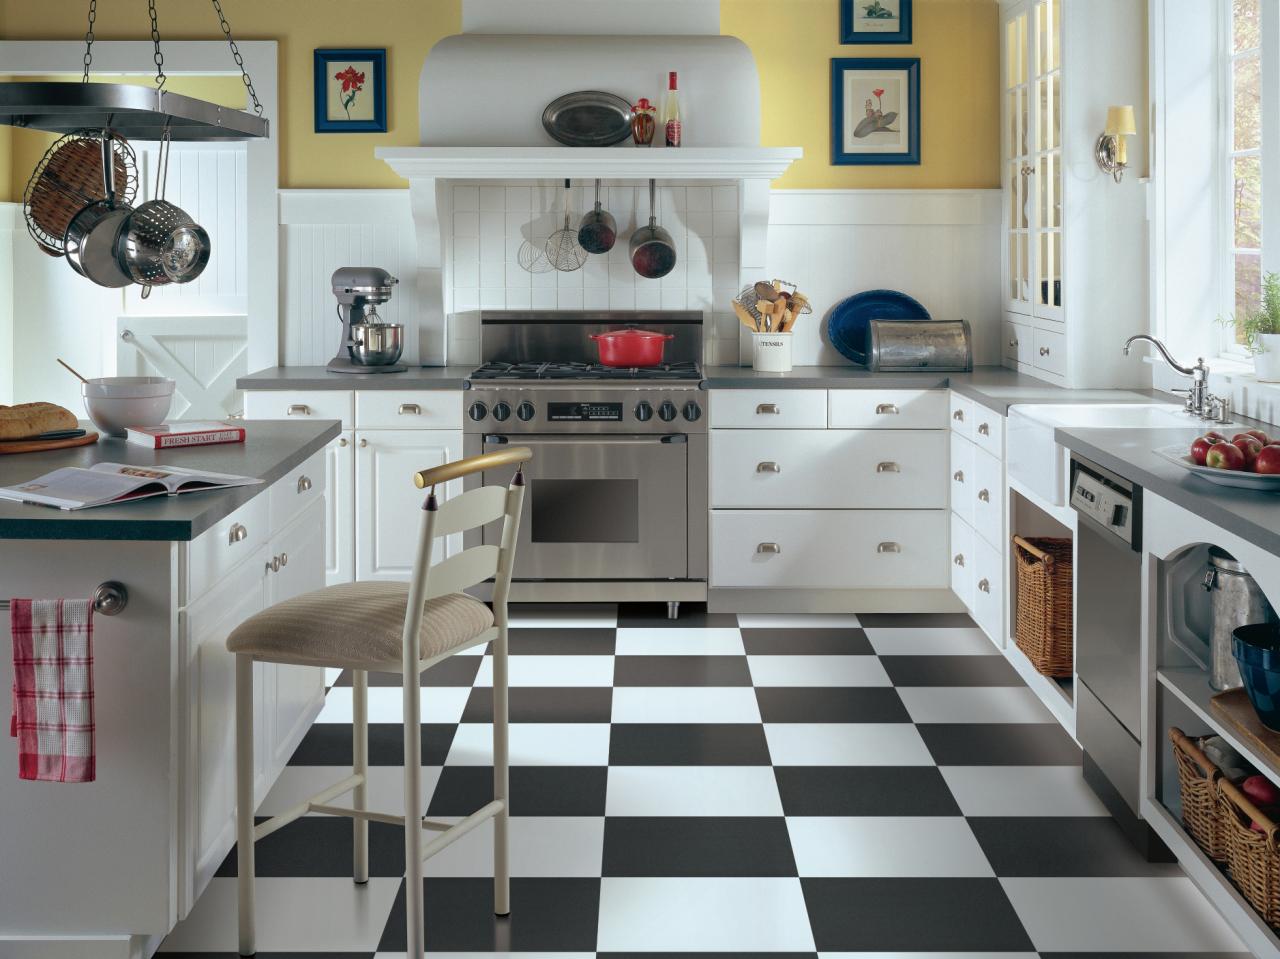
Vinyl Flooring in the Kitchen
This Is What a $100 Kitchen Makeover Looks Like Kitchen diy

Related Posts:
- Commercial Kitchen Floor
- Polished Concrete Floor Kitchen
- Cream Kitchen Floor Tiles Ideas
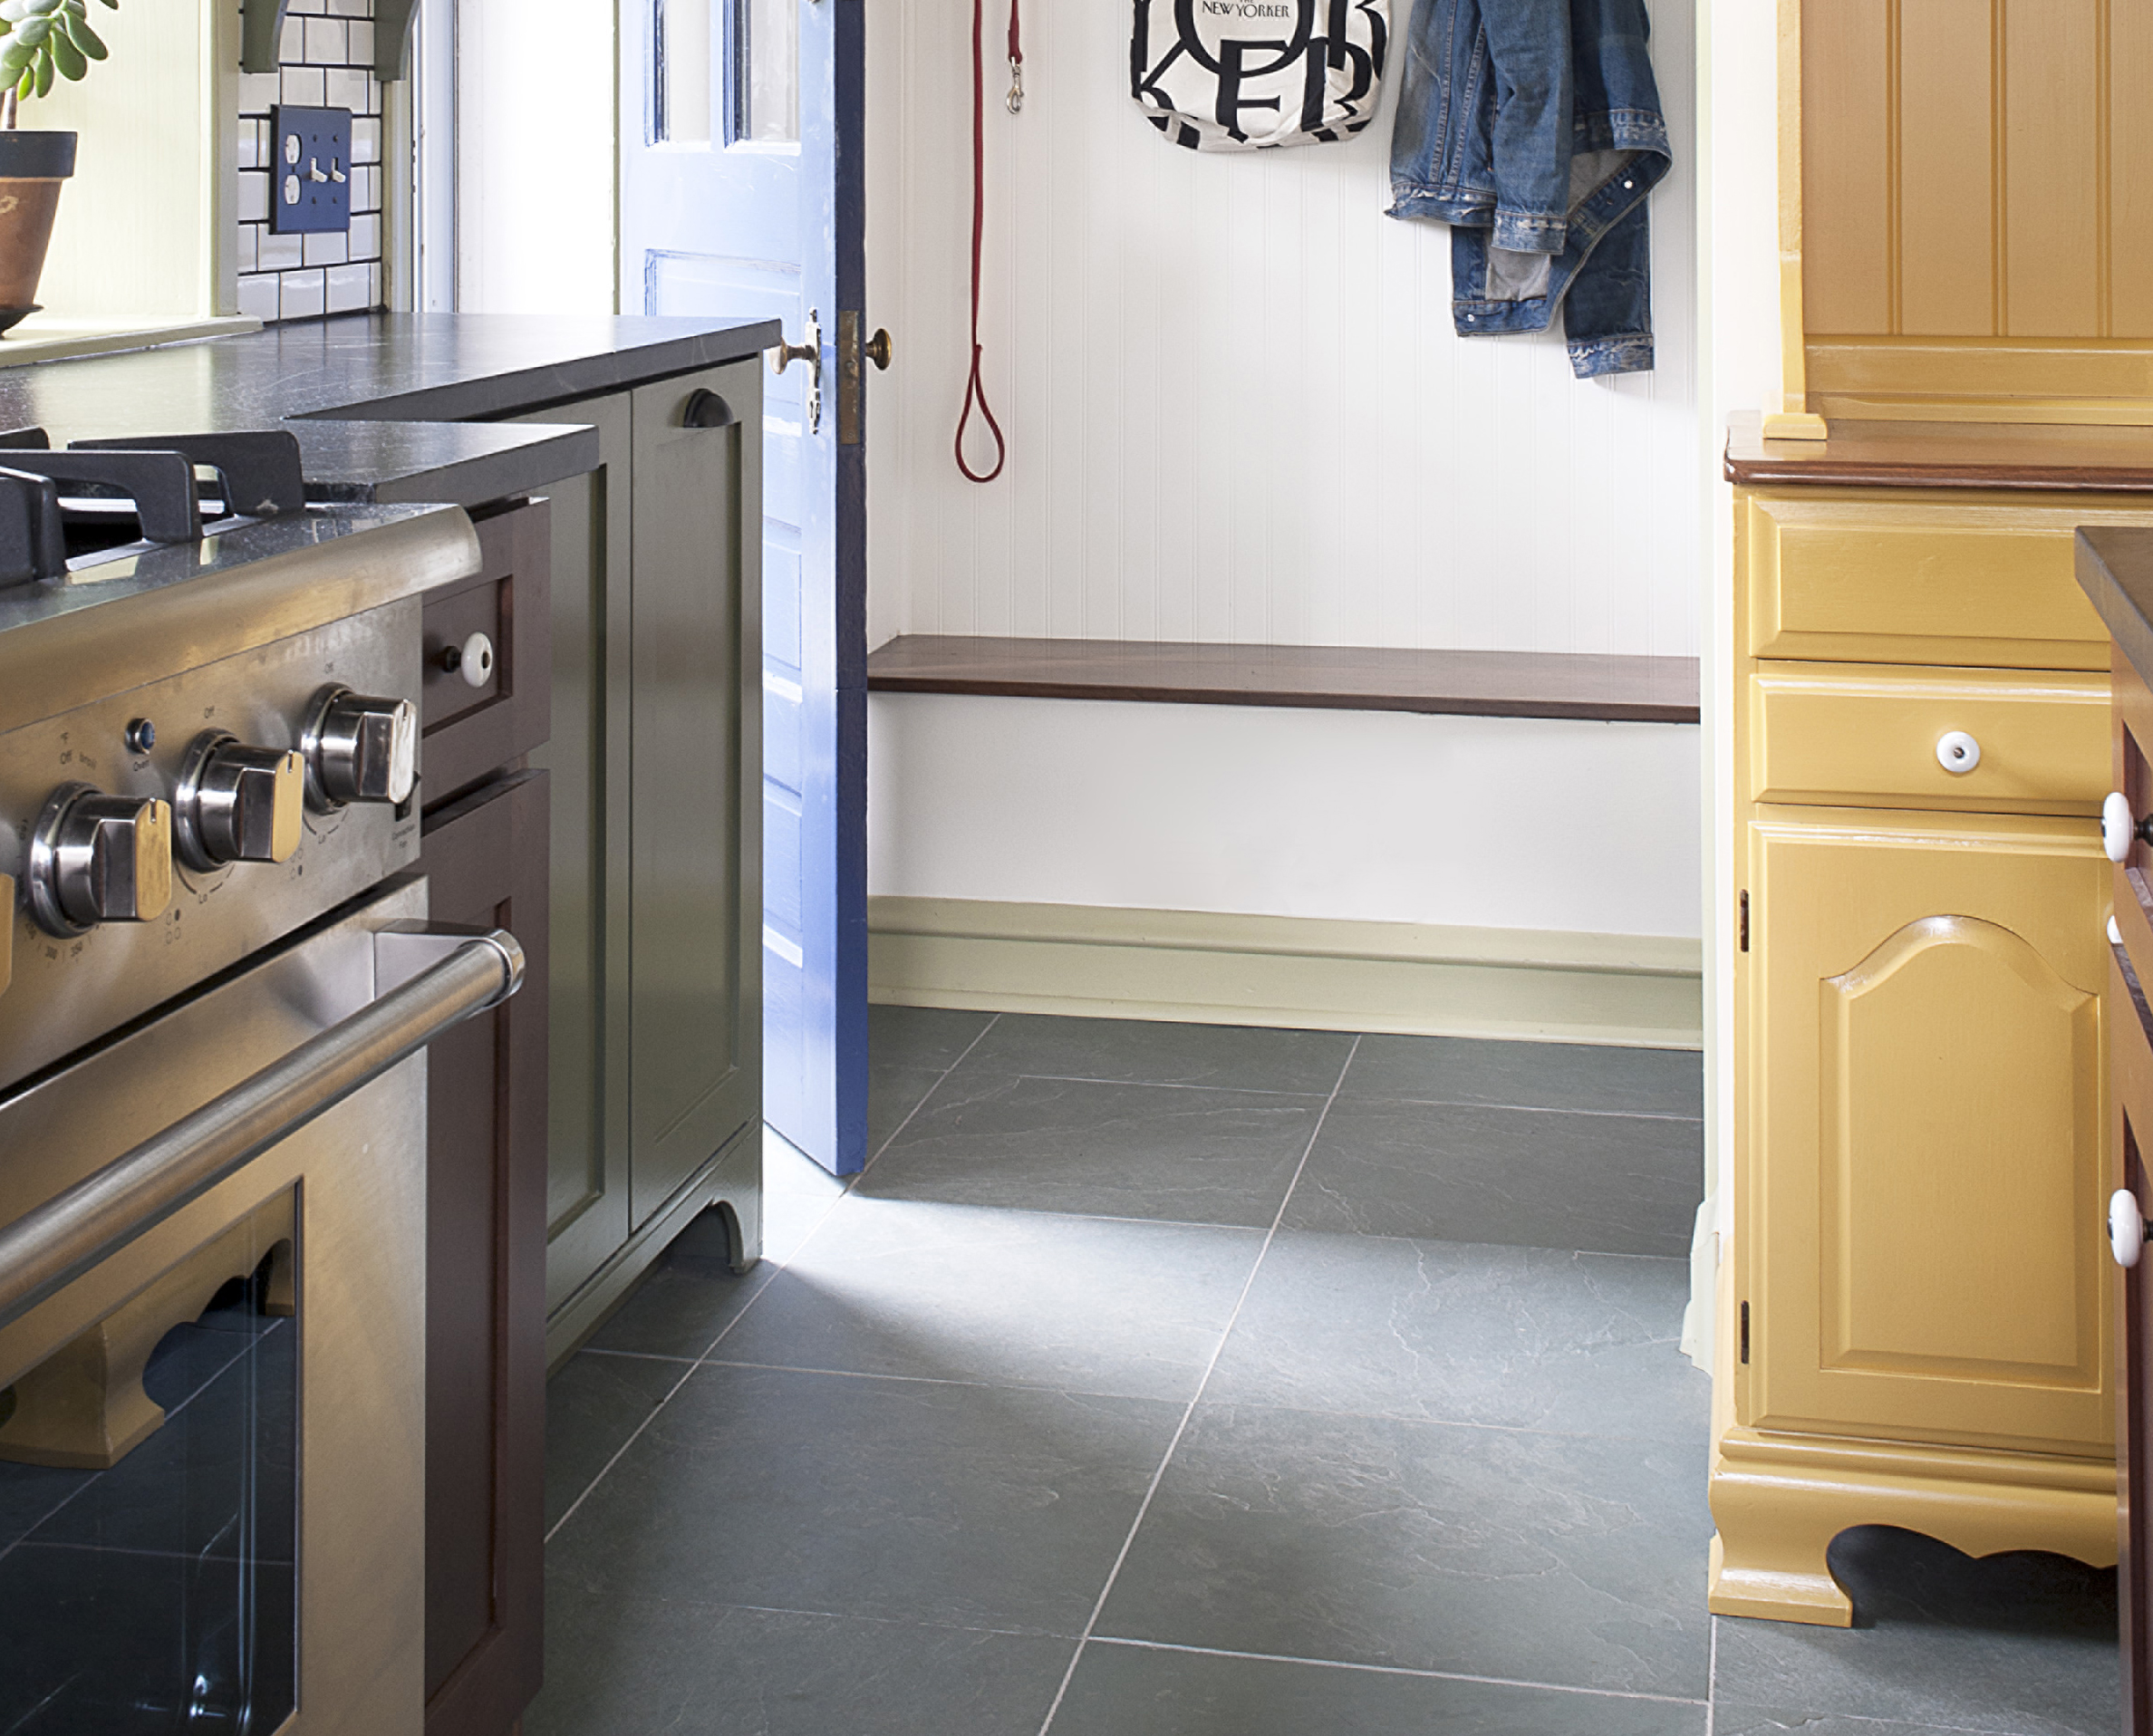
- Black Slate Tile Kitchen Floor
- Industrial Kitchen Floor Tiles
- Ceramic Tile Kitchen Floor
- Kitchen Floor Designs
- Light Grey Wood Floor Kitchen
- Grey Vinyl Flooring Kitchen
- Country Kitchen Flooring
How to Redo Kitchen Floor: A Step-by-Step Guide
When it comes to redoing your kitchen floor, the options can seem overwhelming. Do you go with tile, hardwood, laminate, vinyl, or something else? While the choice is up to you, the process of redoing the floor is pretty much the same. Whether you are replacing old tiles or laying down new ones, this guide will show you how to redo your kitchen floor in a few simple steps.
Step 1: Remove the Old Flooring
The first step in redoing your kitchen floor is to remove the existing flooring. This step can be a bit tricky, depending on what material is currently installed. If you have tile, you may need to use specialized tools such as a chisel and hammer to break apart the tiles and remove them. Hardwoods and laminates require a bit more finesse; you may need to use a pry bar and chisel to get underneath them and carefully remove them. Once all of the old flooring has been removed, you’ll be able to start laying down the new material.
Step 2: Prepare the Subfloor
Once the old flooring has been removed, it’s time to prepare the subfloor for installation. This is an essential step as it ensures that your new flooring will last for years to come. If you’re working with a concrete subfloor, you’ll want to make sure it’s clean and level before proceeding. You may need to fill any cracks or gaps with cement patch or a self-leveling compound. If you’re working with plywood or particleboard subfloors, make sure they’re in good condition and appropriately sealed before moving forward.
Step 3: Install Underlayment (if necessary)
Depending on what type of flooring you are installing, you may need to install an underlayment before proceeding with the installation. This is especially true if you are installing sheet vinyl or engineered wood floors. The underlayment serves as a moisture barrier and helps protect against moisture damage while also providing additional cushioning and insulation. Make sure that you read the manufacturer’s instructions carefully when installing an underlayment as it can be tricky if not done correctly.
Step 4: Install the Flooring
Now that you have prepped the subfloor and installed any necessary underlayment, it’s time to install the new flooring. The process here will vary depending on what material you are working with. For example, tile can be installed using mortar or adhesive while hardwoods and laminates typically require tongue-and-groove locking systems for easy installation. Vinyl can be installed using adhesive or a floating method where planks are snapped together without glue. Make sure that you follow all manufacturer instructions when installing your new flooring for best results.
Step 5: Finishing Touches
Once your new flooring is installed, there are a few finishing touches that will help make it look its best. For tile floors, grout should be applied between each tile for added protection and aesthetic appeal. Hardwood floors should be sanded and finished with polyurethane for added protection against spills and everyday wear-and-tear. Vinyl floors should be buffed with a soft cloth after installation to ensure that all seams are properly sealed and secure.
FAQs About Redoing Kitchen Floors
Q: What type of material is best for kitchen floors?
A: It really depends on your personal preference as well as practical considerations such as budget and ease of maintenance. Tile is typically considered one of the most durable materials for kitchen floors but can be expensive and time-consuming to install and maintain. Hardwood is also very popular but can be pricey as well as susceptible to water damage if not properly sealed and maintained. Laminate is a great option if you want the look of hardwood without breaking the bank; however, it is not as durable as other materials so it may need to be replaced sooner than others. Vinyl is also becoming increasingly popular due to its affordability and ease of installation; however, it can fade over time if