Understanding the Importance of Resealing Concrete Floors
Concrete floors are a popular choice for many homeowners and businesses due to their durability and low maintenance. However, over time, concrete floors can become worn, stained, and even cracked. That’s where resealing comes in. Resealing concrete floors is a crucial step in maintaining their appearance and extending their lifespan. Here are the importance of resealing concrete floors and why it should be a part of your regular maintenance routine.
- Protection against Stains and Damage: One of the primary reasons to reseal concrete floors is to protect them against stains and damage. Concrete is a porous material, which means it can easily absorb liquids, dirt, and chemicals. Resealing creates a protective barrier on the surface, preventing these substances from seeping into the pores and causing stains or damage. Regular resealing ensures that your concrete floors remain resilient and resistant to spills, making them easier to clean and maintain.
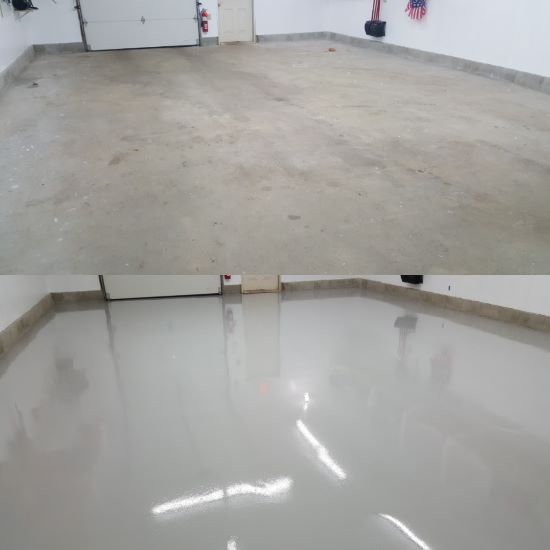
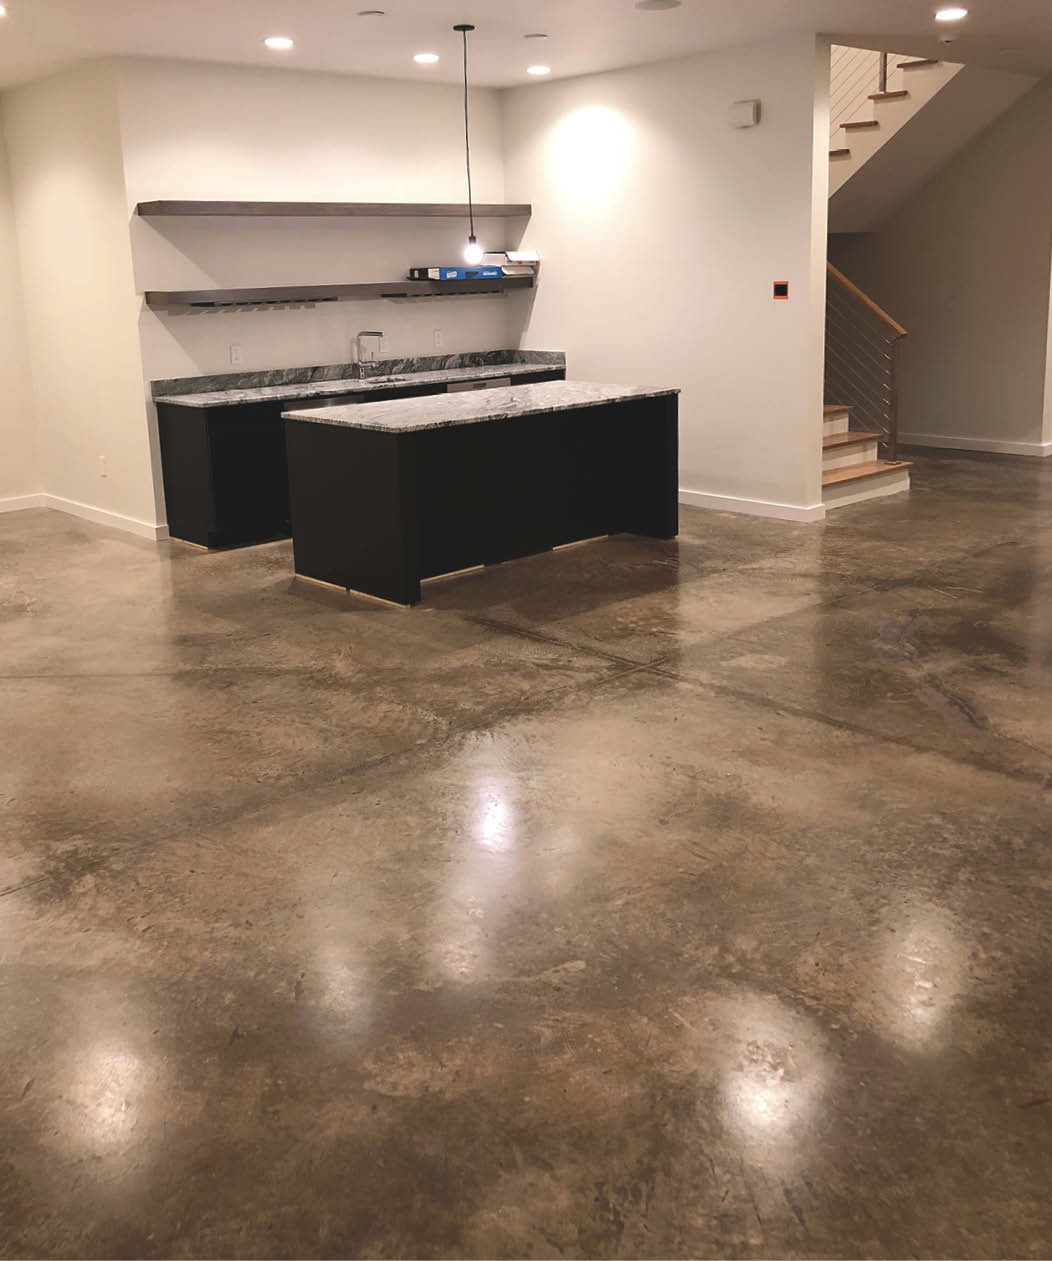
- Enhancing Aesthetic Appeal: Resealing concrete floors can significantly enhance their aesthetic appeal. Over time, exposure to sunlight, foot traffic, and other factors can cause the color of the concrete to fade or become dull. Resealing can bring back the vibrancy of the floor, making it look fresh and new. Additionally, resealing can provide a glossy or matte finish, depending on your preference, giving your concrete floors a polished and professional appearance.
- Preventing Cracks and Structural Issues: Concrete floors are prone to cracking, especially in areas with heavy foot traffic or exposure to extreme temperature changes. Resealing can help prevent these cracks from forming or spreading. The sealer fills in the existing cracks and acts as a protective layer, preventing moisture from seeping in and causing further damage. By regularly resealing your concrete floors, you can ensure their structural integrity and avoid costly repairs down the line.
- Improving Indoor Air Quality: Resealing your concrete floors can also contribute to better indoor air quality. Unsealed concrete can release dust particles and other contaminants into the air, which can cause respiratory issues and allergies. Resealing traps these particles and prevents them from becoming airborne, creating a healthier environment for you and your family.
- Cost-Effective Maintenance: Resealing is a cost-effective maintenance solution for concrete floors. Regularly resealing your floors can help extend their lifespan, reducing the need for expensive repairs or replacements. Additionally, resealing is a relatively simple and affordable process that can be done without professional help, saving you money in the long run.

How to Prepare Your Concrete Floor for Resealing
Before resealing your concrete floor, proper preparation is crucial to ensure a successful and long-lasting result. Below we provide you with a step-by-step guide on how to prepare your concrete floor for resealing, ensuring a smooth and even application of the sealer.
Clearing the Area: Start by removing all furniture, decorations, and other objects from the concrete floor. Clearing the area will give you ample space to work and prevent any accidental damage to your belongings during the preparation and resealing process.
Cleaning the Surface: Next, thoroughly clean the concrete floor to remove any dirt, dust, grease, or stains. Sweep or vacuum the floor to remove loose debris, and then use a mild detergent and water solution to scrub the surface. For stubborn stains, you may need to use a specialized concrete cleaner or degreaser. Rinse the floor thoroughly and allow it to dry completely before proceeding.
Repairing Cracks and Damage: Inspect the concrete floor for any cracks, chips, or other damage. Use a concrete repair compound or epoxy filler to patch up these areas. Follow the manufacturer’s instructions for proper application and allow sufficient drying time. It’s important to address any existing damage before resealing to ensure a smooth and even finish.
Etching the Surface: Etching the concrete floor is an essential step to promote proper adhesion of the sealer. Use an etching solution, such as muriatic acid or commercial concrete, etc., following the manufacturer’s instructions. Apply the solution evenly to the entire surface, scrub it with a stiff brush, and rinse thoroughly with water. Be sure to wear protective gear, such as gloves and goggles, when working with etching solutions.
Testing for Porosity: Before applying the sealer, it’s crucial to test the porosity of the concrete floor. Sprinkle a few drops of water on the surface and observe how quickly it is absorbed. If the water is immediately absorbed, the floor is porous and ready for sealing. If the water forms beads or takes a long time to absorb, additional etching may be necessary.
Allowing Sufficient Drying Time: Once the preparation steps are complete, allow the concrete floor to dry completely before applying the sealer. This ensures proper adhesion and prevents trapped moisture from affecting the sealer’s performance. Follow the manufacturer’s instructions for recommended drying times, as they can vary depending on the type of sealer and environmental conditions.
Choosing the Right Sealer for Your Concrete Floor
Choosing the right sealer for your concrete floor is crucial to achieve the desired results and ensure its longevity. With a variety of sealers available in the market, it’s important to consider factors such as the type of concrete, desired appearance, and level of protection needed. Let me guide you through the process of selecting the right sealer for your concrete floor.
Determine the Type of Sealer: There are two main types of sealers for concrete floors: penetrating sealers and topical sealers. Penetrating sealers penetrate the concrete surface, protecting within. They are suitable for outdoor concrete floors and provide excellent protection against moisture and freeze-thaw damage. Topical sealers, on the other hand, sit on the surface of the concrete and provide a protective layer. They are commonly used for indoor concrete floors and offer various finishes, such as glossy or matte.
Consider the Concrete’s Condition: The condition of your concrete floor will also influence the choice of sealer. If the floor is in good condition with minimal cracks or damage, a thin sealer may be sufficient. However, for older or more damaged floors, a thicker sealer or a sealer with added fillers may be necessary to provide better coverage and fill in any imperfections.
Determine the Desired Appearance: The appearance of your concrete floor is another important consideration. If you prefer a natural look, a penetrating sealer is a good option as it won’t change the appearance of the concrete significantly. If you want a glossy or satin finish, a topical sealer with the desired sheen level can be chosen. It’s important to test the sealer on a small, inconspicuous area of the floor to ensure you achieve the desired appearance before applying it to the entire floor.
Assess the Level of Protection Needed: Consider the level of protection your concrete floor requires. If the floor is exposed to heavy foot traffic, spills, or chemicals, a sealer with high resistance to staining and abrasion is recommended. Look for sealers that offer UV resistance if the floor is exposed to sunlight. Additionally, if you live in an area with freezing temperatures, choose a sealer that protects freeze-thaw cycles.
Research and Compare Products: Take the time to research and compare different sealer products available in the market. Read customer reviews, consult with professionals, and consider the manufacturer’s recommendations. Look for sealers that are specifically designed for concrete floors and have a proven track record of performance and durability. It’s also essential to consider the application process and choose a sealer that aligns with your level of expertise or willingness to hire professional help.
Tips and Techniques for a Smooth and Even Finish
Applying the sealer to your concrete floor is the final step in the resealing process. To achieve a smooth and even finish, it’s important to follow proper application techniques and take necessary precautions. We will provide you with tips and techniques for applying the sealer to your concrete floor.
Prepare the Area: Before applying the sealer, ensure that the area is well-prepared. Remove all furniture, decorations, and other objects from the floor. Cover adjacent surfaces, such as walls or baseboards, with plastic or painter’s tape to protect them from accidental sealer drips or spills. Adequate ventilation is also important, so open windows or use fans to promote air circulation.
Mix the Sealer: If your sealer requires mixing, follow the manufacturer’s instructions carefully. Some sealers come pre-mixed, while others require you to combine multiple components. Use a clean bucket and mixing paddle to blend the sealer thoroughly. Avoid over-mixing, as it can introduce air bubbles into the sealer.
Test the Sealer: Before applying the sealer to the entire floor, it’s crucial to test it on a small, inconspicuous area. This test will help you determine the desired appearance and ensure compatibility with your concrete floor. Apply the sealer as per the manufacturer’s instructions and allow it to dry completely. Evaluate the results and make any necessary adjustments before proceeding with the full application.
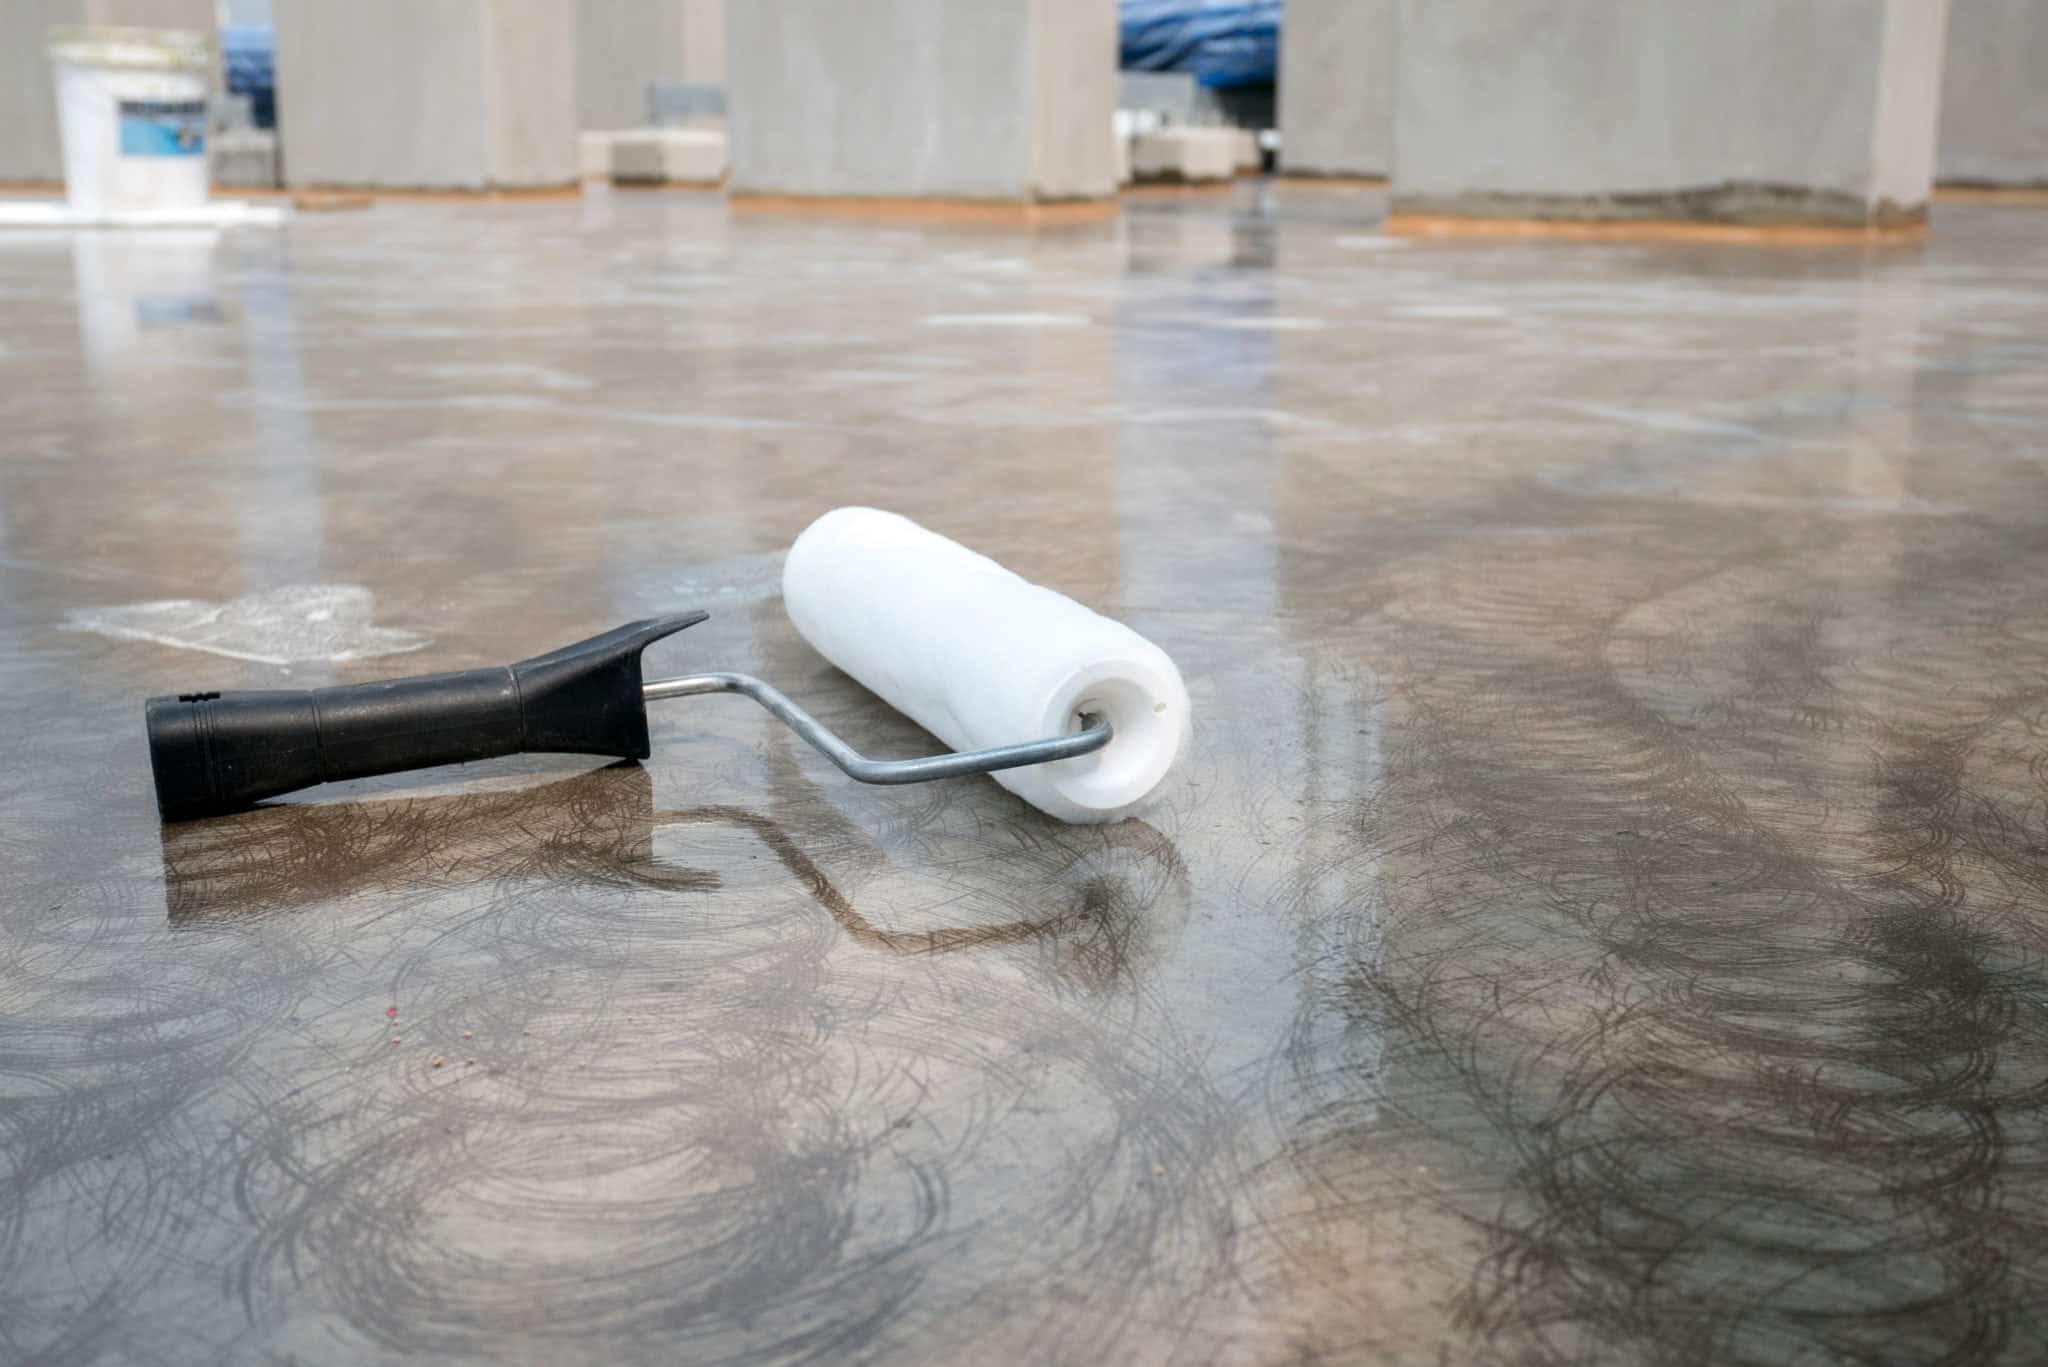
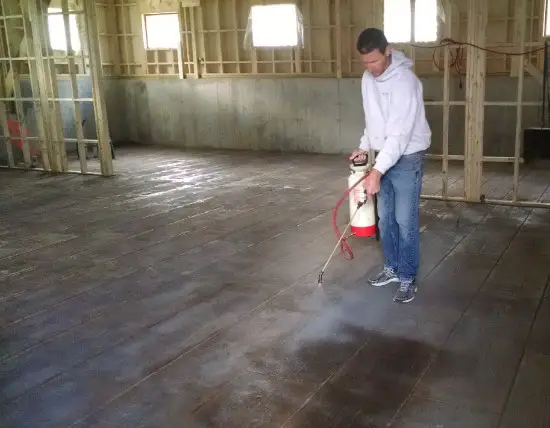
Apply the Sealer: Start by pouring a small amount of sealer into a clean paint tray or roller pan. Use a paintbrush or trim pad to cut in along the edges of the floor, applying the sealer in a thin and even coat. Then, use a roller with a long handle to apply the sealer to the rest of the floor. Work in small sections, applying the sealer in overlapping strokes to ensure complete coverage. Avoid applying too much sealer in one area, as it can result in a thick and uneven finish.
Allow Proper Drying Time: After applying the sealer, allow it to dry according to the manufacturer’s instructions. This typically ranges from a few hours to a day or more, depending on the type of sealer and environmental conditions. Avoid walking on the freshly sealed floor until it is completely dry to prevent any marks or damage.
Consider Multiple Coats: Depending on the desired level of protection and appearance, you may need to apply multiple coats of sealer. Follow the manufacturer’s recommendations for the number of coats required and allow each coat to dry thoroughly before applying the next. Applying multiple thin coats will typically result in a more durable and even finish.
Maintaining the Sealed Concrete Floor: Dos and Don’ts for Longevity
Once you have resealed your concrete floor, proper maintenance is essential to ensure its longevity and preserve its appearance. Let’s talk about the dos and don’ts of maintaining a sealed concrete floor, helping you keep it in optimal condition for years to come.
Do Regular Cleaning: Regular cleaning is crucial for maintaining a sealed concrete floor. Sweep or vacuum the floor regularly to remove dirt, dust, and debris that can scratch or dull the surface. Use a mild detergent and water solution for mopping, avoiding harsh cleaners that can damage the sealer. Be sure to rinse the floor thoroughly after cleaning to remove any residue.
Do Use Protective Mats and Pads: Place mats or area rugs at entryways and high-traffic areas to trap dirt and prevent it from scratching the floor. Use furniture pads under heavy pieces of furniture to avoid scratches or indentations. Avoid dragging heavy objects across the floor, as it can damage the sealer.
Do Wipe Spills Immediately: Accidents happen, and spills are inevitable. However, it’s important to wipe up spills immediately to prevent them from seeping into the concrete and causing stains. Use a clean cloth or paper towel to blot the spill, and then clean the area with a mild detergent and water solution.
Don’t Use Harsh Chemicals: Avoid using harsh chemicals, such as bleach or ammonia-based cleaners, on your sealed concrete floor. These can strip away the sealer and damage the surface. Instead, use pH-neutral cleaners specifically designed for sealed concrete floors.
Don’t Use Abrasive Tools: When cleaning your sealed concrete floor, avoid using abrasive tools or scrub brushes that can scratch the surface or dull the finish. Opt for soft-bristle brushes or mops that are gentle on the sealer. If necessary, use a non-abrasive scrub pad for stubborn stains.
Don’t Ignore Maintenance Schedule: Follow a regular maintenance schedule to keep your sealed concrete floor in optimal condition. This can include periodic resealing, depending on the type of sealer and the amount of foot traffic. Consult the manufacturer’s recommendations for resealing frequency and be proactive in scheduling maintenance to prevent premature wear and damage.

Colored Coatings u0026 Clear Sealers for Concrete Premier Veneers
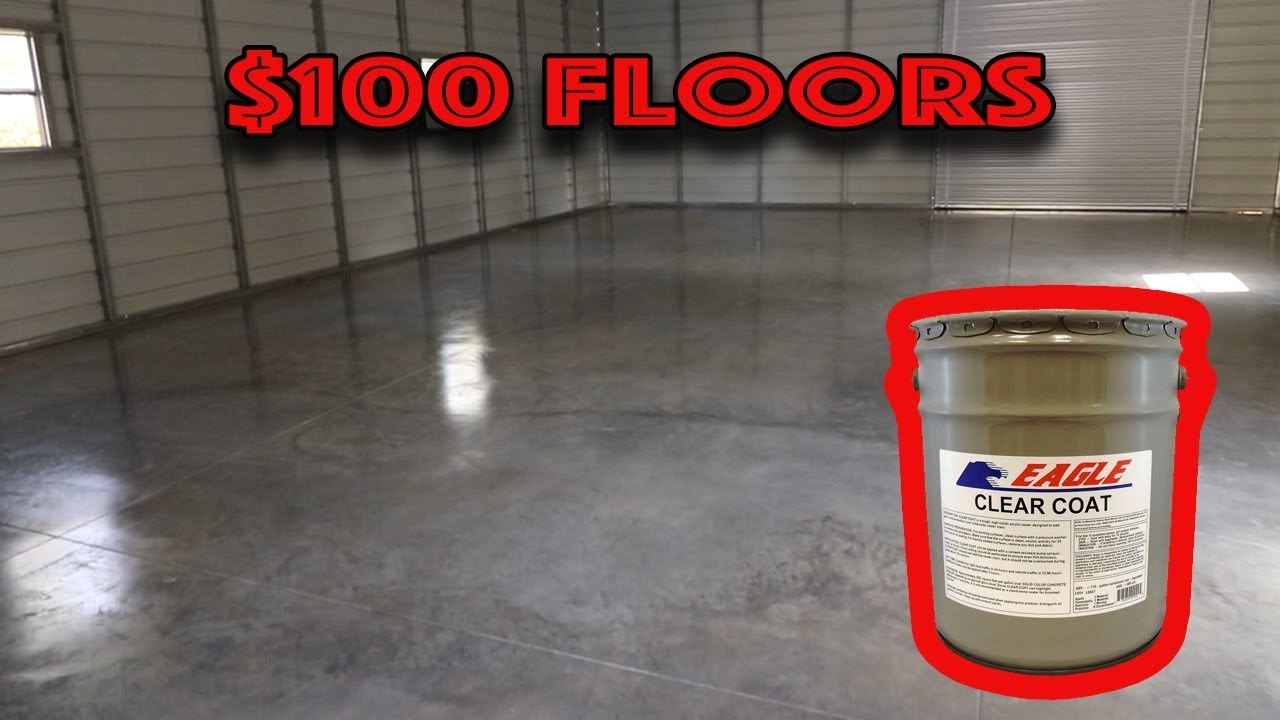
New Garage Floors for $100 dollars Eagle Gloss Sealer
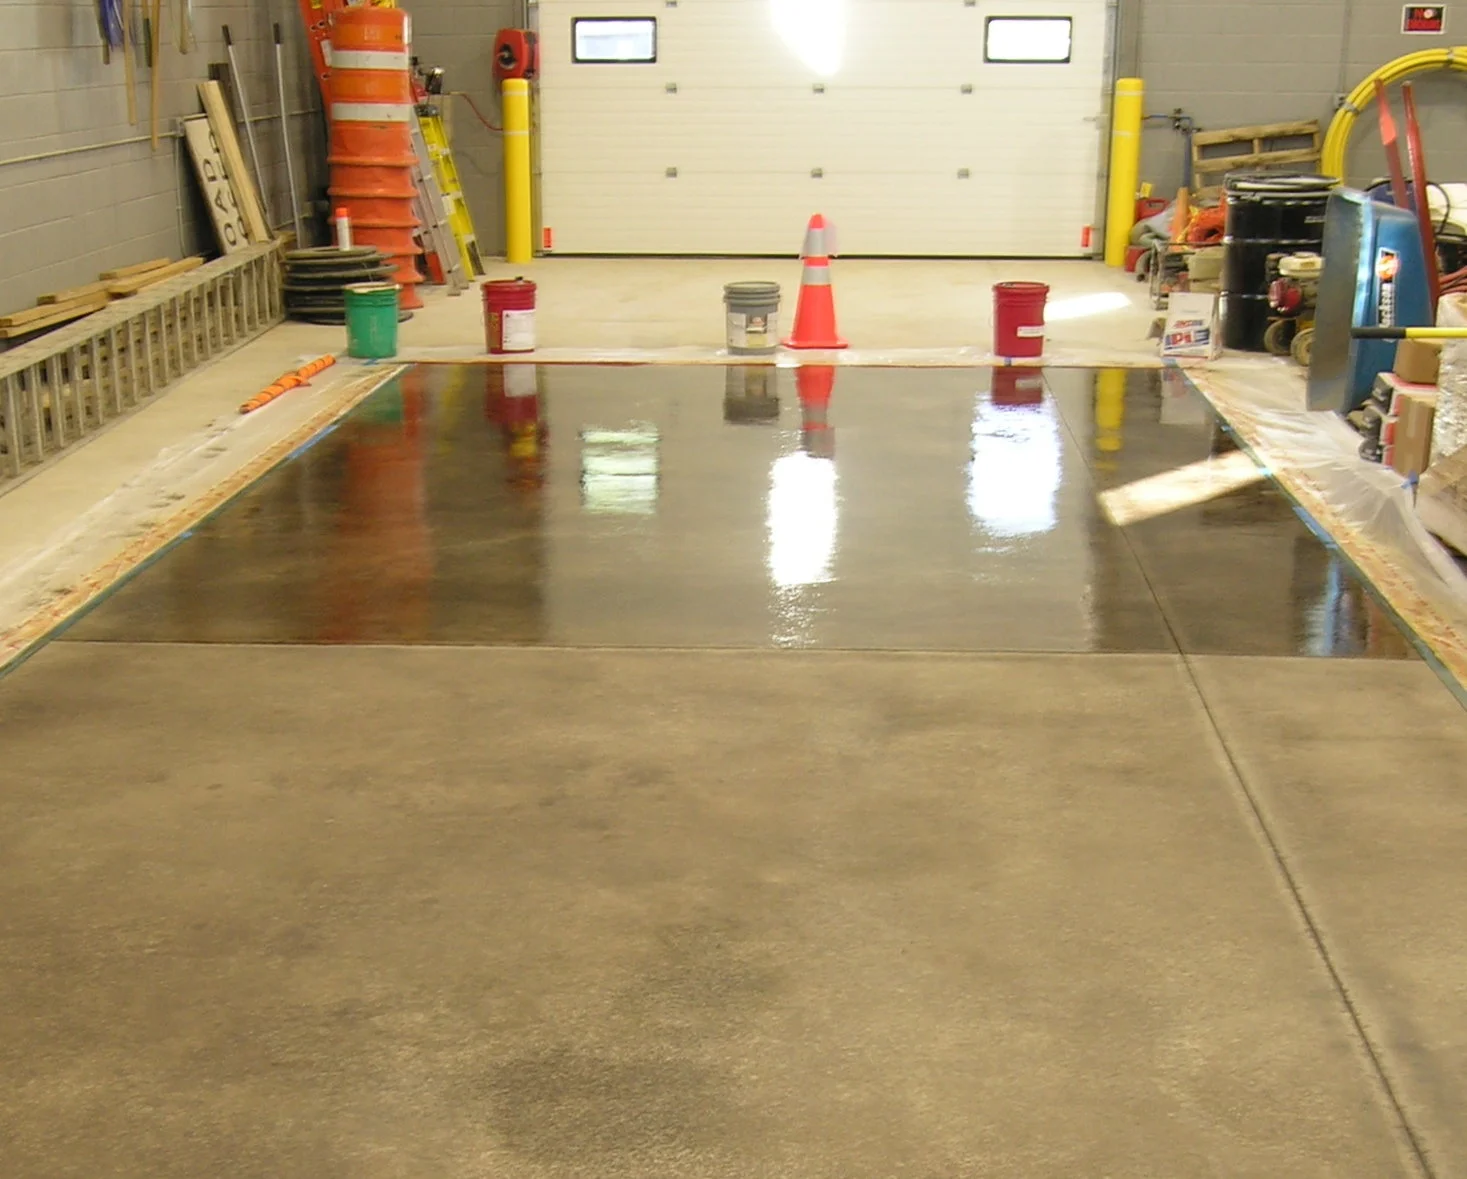
Natural concrete floor sanded and sealed with Euclid Chemical

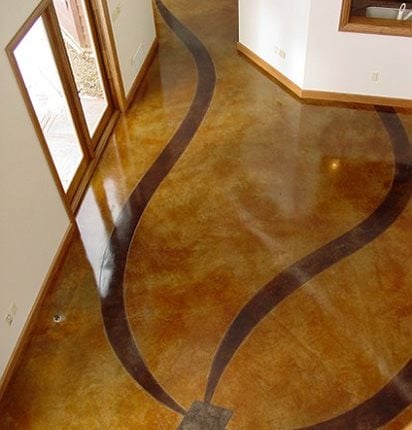
Alternative Finishes for Interior Concrete Floors – Concrete Decor
Concrete Sealer – How To Choose The Right Sealer For Your Concrete
Firehouse WP Concrete Sealer

Related Posts: