For starters, we need to go over where cork comes from. Check with the flooring manufacturer to see what recommendations and also limits they set forth when installing more than a current floor. Because of the millions of small cellular air containments in cork, this floor have the ability to function as cushions and are really soft they are able to process vibrations and sound.
Images about Installing Floating Cork Flooring
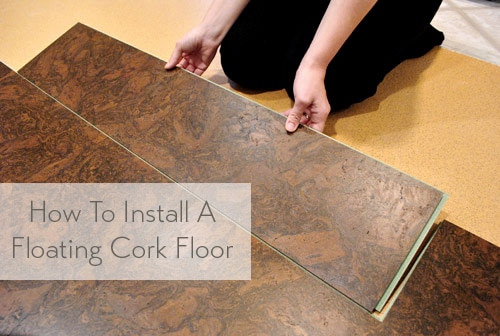
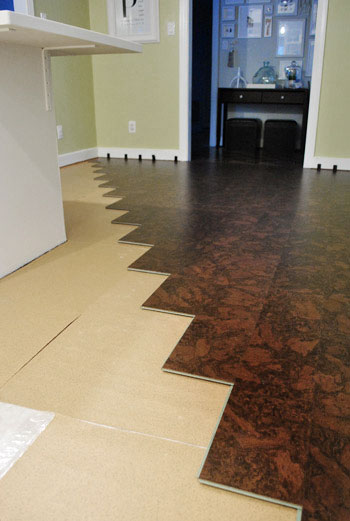
Installing Floating Cork Flooring
Millions of very small honeycomb air filled cells in cork material allow it to take in as well as cushion effect, shocks, etc. So let's dig a little deeper into the upsides of cork flooring. The cork oak tree is actually the only tree that provides commercial grade cork for creation and manufacturing. Cork flooring isn't new, although you will not discover it in way too many homes; at the very least not even.
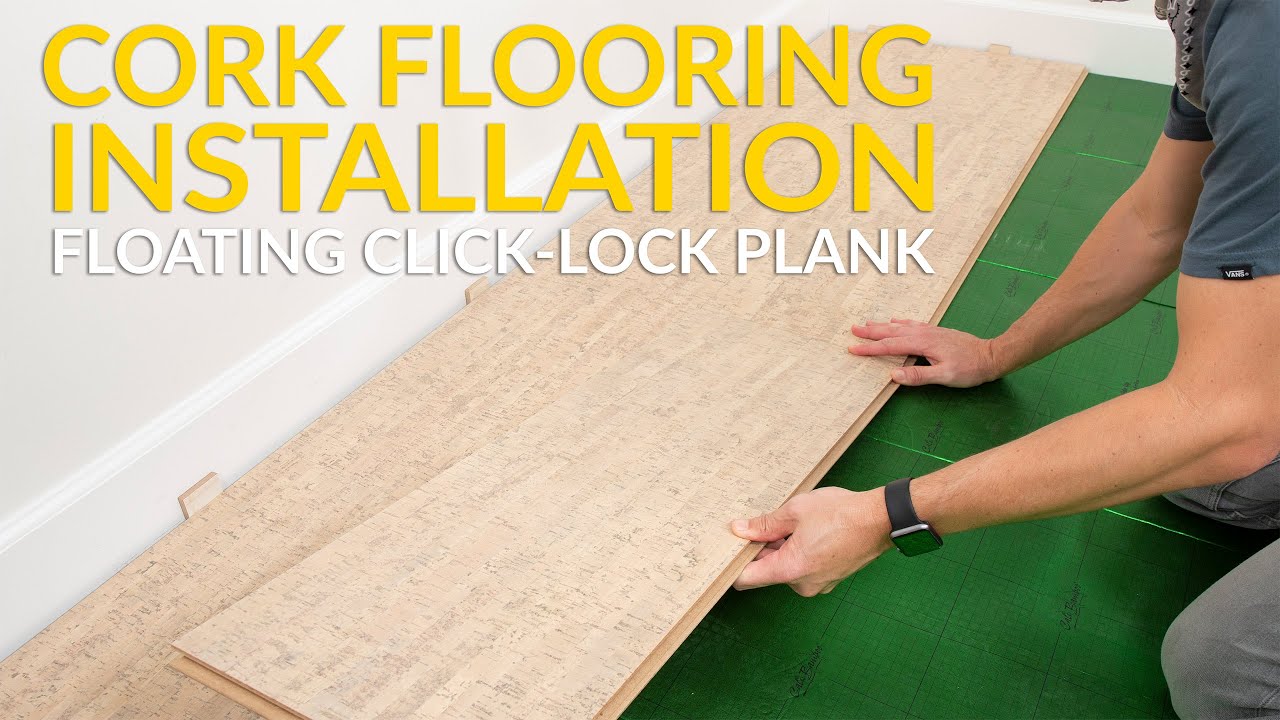
Cali Cork Flooring Floated Click-lock Installation
Cork takes heat absorption to a whole brand new level, and whereas hardwood floors is often noisy to hike on, cork floors are much quieter. However, this is precisely the complete opposite of just how cork is harvested. We suggest you check up a showroom that showcases cork as the flooring version of theirs. We would love to expose one to a flooring item that we think will improves your homes decor and be a great investment.
How to Install a Cork Floor – This Old House
/cdn.vox-cdn.com/uploads/chorus_asset/file/19495909/h1006handbook08.jpg)
Cork Flooring 101: Cost, Types, u0026 Installation – This Old House
/cdn.vox-cdn.com/uploads/chorus_asset/file/23088021/0421_NB_All_About_Cork_Floors_Cork_flooring_iStock_950010876.jpg)
How To Install A Floating Cork Floor Young House Love
How to Install a Cork Floor – This Old House
/cdn.vox-cdn.com/uploads/chorus_asset/file/22873091/H1006HANDBOOK01.jpg)
How to Install Cork Flooring- Cork Flooring Installation Made Easy

What Is Cork Floating Flooring? – Cancork

Cork Flooring: What Are the Pros u0026 Cons?

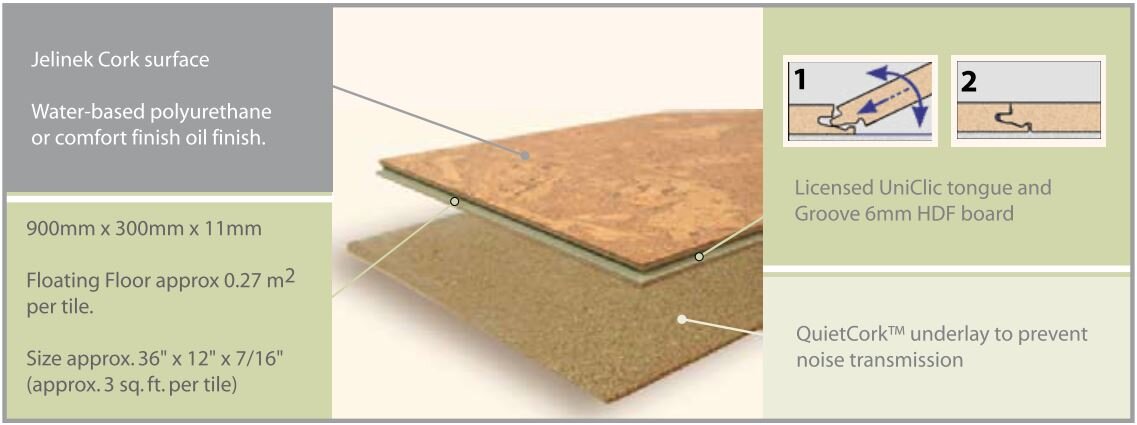
Cork Floating Floors u2014 Jelinek Cork Group®
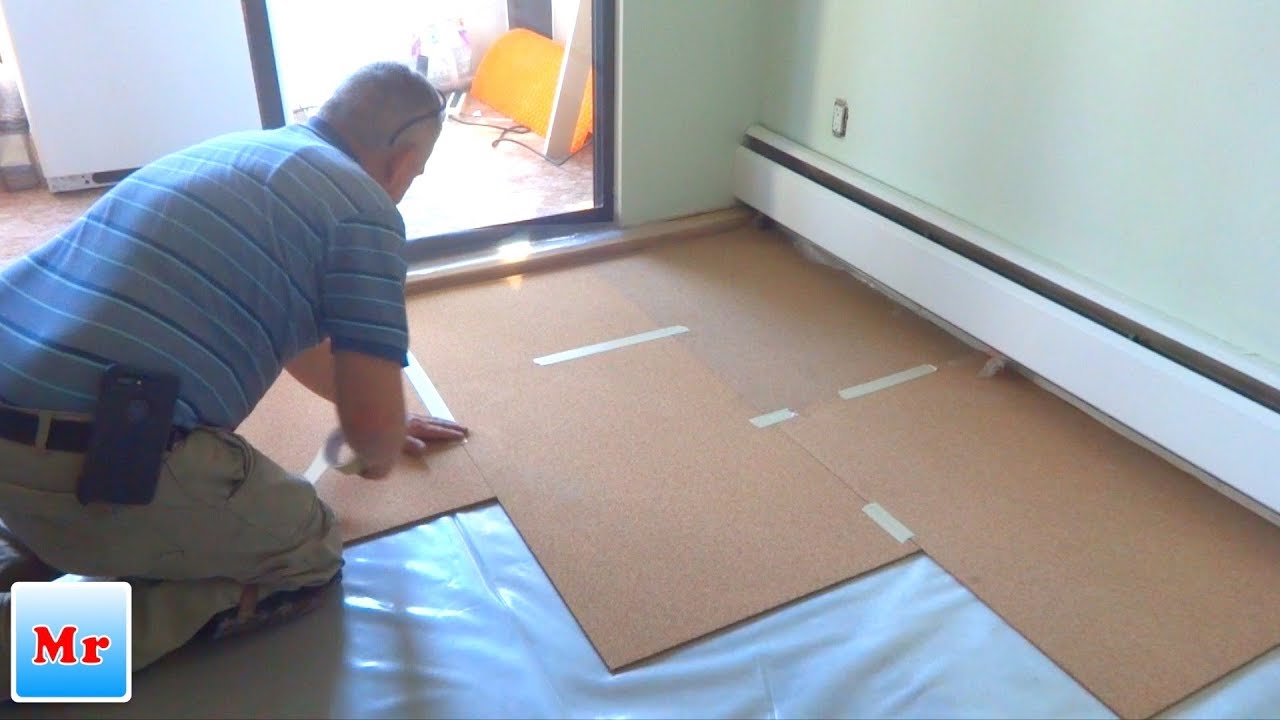
How to Install Cork Underlayment for Laminate Flooring Installation – Mryoucandoityourself
Cork Flooring Pros and Cons
/cork-flooring-pros-and-cons-1314688_hero_0032-9ed702033d384a5aad92329dc679a300.jpg)
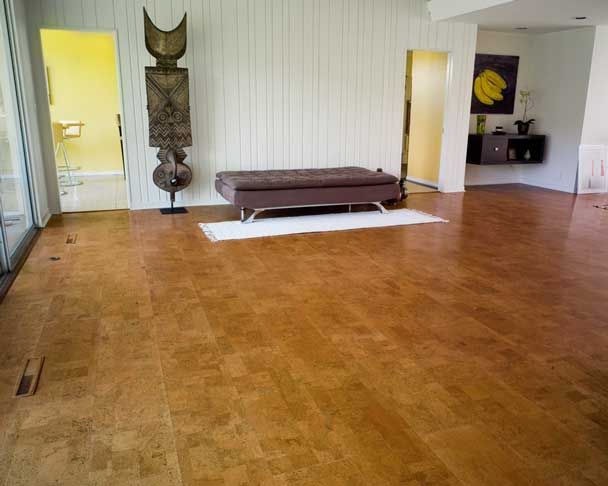
One possibility is a cork floor, but what is cork? Floating Cork
How to Install Cork Flooring – (Tips and Guidelines For Your DIY

Related Posts:
- Cork Flooring Colors
- Cork Flooring Dining Room
- Light Cork Flooring
- Engineered Cork Flooring
- Cork Flooring In Kitchen
- Cork Flooring Modern
- Cork Flooring White
- Herringbone Cork Flooring
- Outdoor Cork Flooring
- Cork Flooring Bathroom
Installing Floating Cork Flooring: A Comprehensive Guide
Floating cork flooring is a popular choice for both residential and commercial settings. It provides a durable, comfortable, and attractive flooring solution that is relatively simple to install. In this guide, we’ll explain the steps involved in installing a floating cork floor, as well as answering some common questions about installation.
Preparation Before Installation
Before you begin installing your floating cork floor, there are a few steps you need to take in order to ensure a successful installation.
Subfloor Requirements
The first step is assessing the condition of the subfloor. The subfloor must be clean, dry, level, and free of any defects or damage. If necessary, you can use self-leveling compound to level an uneven subfloor.
Acclimatization
The next step is acclimatization. This is the process of allowing the cork planks to adjust to the temperature and humidity of their environment before installation. Generally, you should leave the planks in their packaging in the room they’ll be installed in for at least 48 hours before installation.
Layout Planning
Once the subfloor has been prepared and the planks have been acclimated, it’s time to begin planning your layout. When laying out your floor, you should make sure to leave an expansion gap around the perimeter of the room. This gap will help ensure that your floor doesn’t buckle or warp over time due to changes in temperature or humidity.
Tools Required for Installation
Once you’ve planned out your layout and prepared the subfloor, you’re ready to begin installing your floating cork flooring. To do this, you will need several tools:
• Measuring tape
• Circular saw
• Jigsaw (for cutting around obstacles)
• Chalk line (for marking straight lines)
• Utility knife
• Mallet (for tapping planks into place)
• Tapping block (for tapping planks into place)
• Carpenter’s square (for marking straight lines)
• Safety glasses (to protect your eyes from sawdust and debris)
Installing the Planks
With your tools and materials gathered and your layout planned, it’s time to start installing your planks. Begin by laying out your first row of planks along one wall of the room. Make sure to leave an expansion gap of approximately 1/4 inch between the wall and the plank. You can use a scrap piece of plank or a spacer to ensure that you leave this gap consistently throughout the installation. Once you’ve laid out your first row, proceed to lay out each subsequent row of planks until you reach the opposite wall. When laying out each row, make sure to stagger them by at least 6 inches from row to row. This will help ensure that your floor is more stable and less likely to warp over time.
Once all of your planks have been laid out, it’s time to begin snapping them together. Start at one end of a row and press down on one end of a plank until it clicks into place. Then move down the row snapping each plank into place until you reach the other end of the row. Once all of your planks are snapped together, use a mallet and tapping block to secure them into place by tapping along their edges.
Trimming Around Obstacles
Once all of your planks have been snapped together, it’s time to trim any pieces that need to be cut around obstacles such as doorways or pipes. To do this, use a jigsaw or circular saw with a fine-toothed blade designed for cutting wood or laminate floors. Make sure that when you cut planks near an obstacle that you leave at least 1/4 inch expansion gap between them so they don’t buckle or warp over time due to changes in temperature or humidity levels in the room.