Flooring can be probably the priciest of the materials that you wish to upgrade in the home of yours. Colors as well as patterns aside, vinyl wood floors also are available in textures which are different. Low-end vinyl flooring is often recommended if you wish to have the most inexpensive type of flooring material. Choose from a great range of effects, including marble, slate, granite, wood and tile.
Images about Installing Interlocking Vinyl Floor Tiles
Installing Interlocking Vinyl Floor Tiles

More and more people are choosing affordable vinyl flooring as their floor of preference. Regardless of the kind of luxury vinyl flooring along with the styles of its wear layer, most vinyl floor coverings are prepared with built-in cushion underlayment. Vinyl flooring tends to soak up some spills or discolorations that happen to cover it or it is possible that you can scratch, mark or rip your vinyl floor.
How to Lay a Vinyl Tile Floor – This Old House
/cdn.vox-cdn.com/uploads/chorus_asset/file/19494355/howto_vinylfloor_05.jpg)
Particularly if you're considering flooring of kitchen as well as bathrooms, vinyl floor is definitely the most suitable choice. The wear layer is probably the topmost layer which suffers most abuse, which includes scratches, stains and dents. Below some of the main advantages you are able to expect from selecting vinyl are discussed. When working with a stain, make use of a stain remover that is especially intended for luxury vinyl flooring.
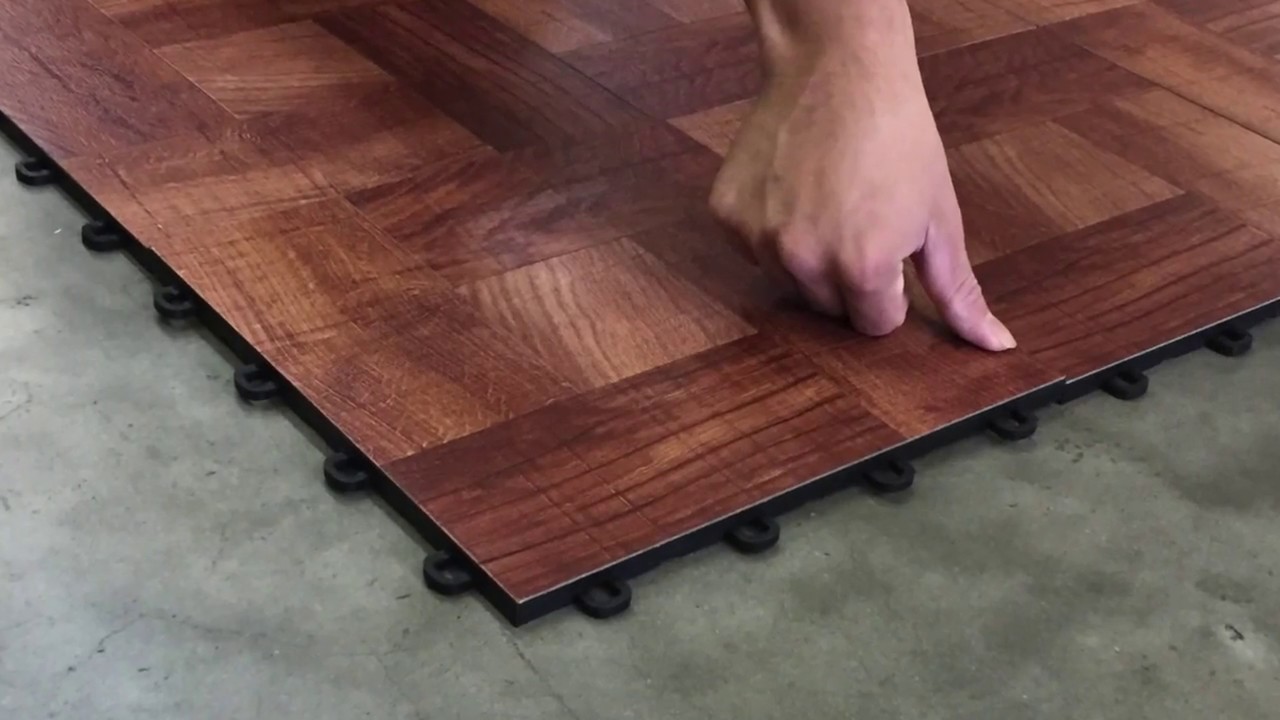
Basement Vinyl Tile – Interlocking
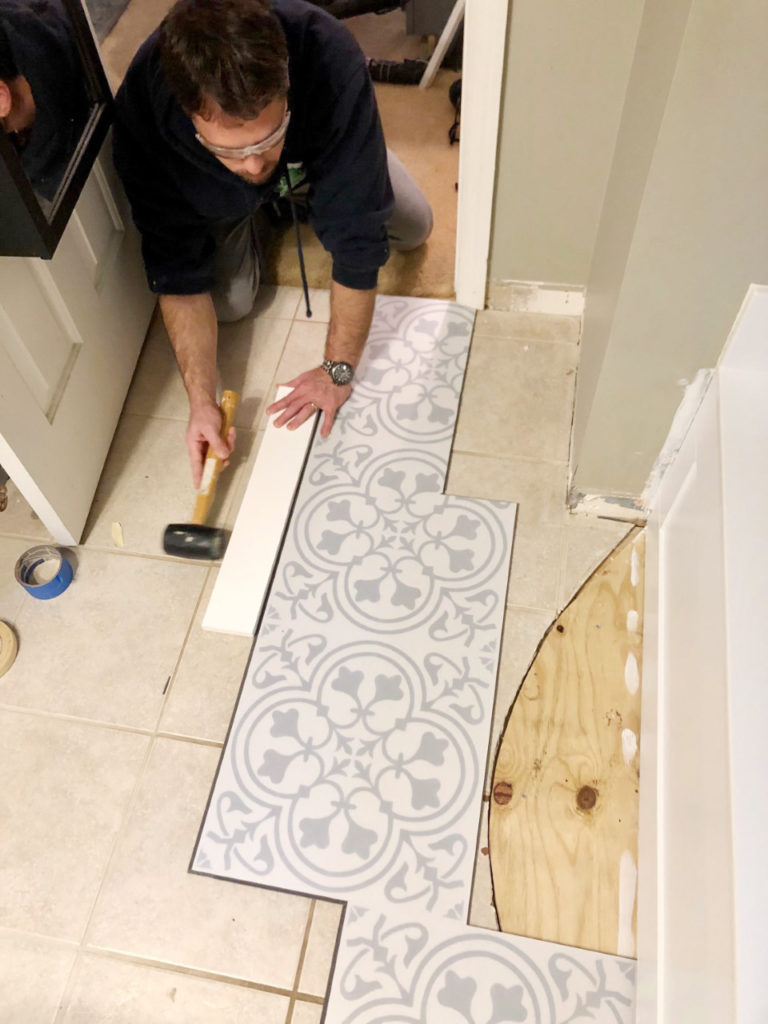
How to Install Vinyl Plank Flooring in a BATHROOM 🚽

LVT Flooring Over Existing Tile the Easy Way – Vinyl Floor
How to Install Floating Vinyl Flooring Over Old Floors u2013 Simply2moms

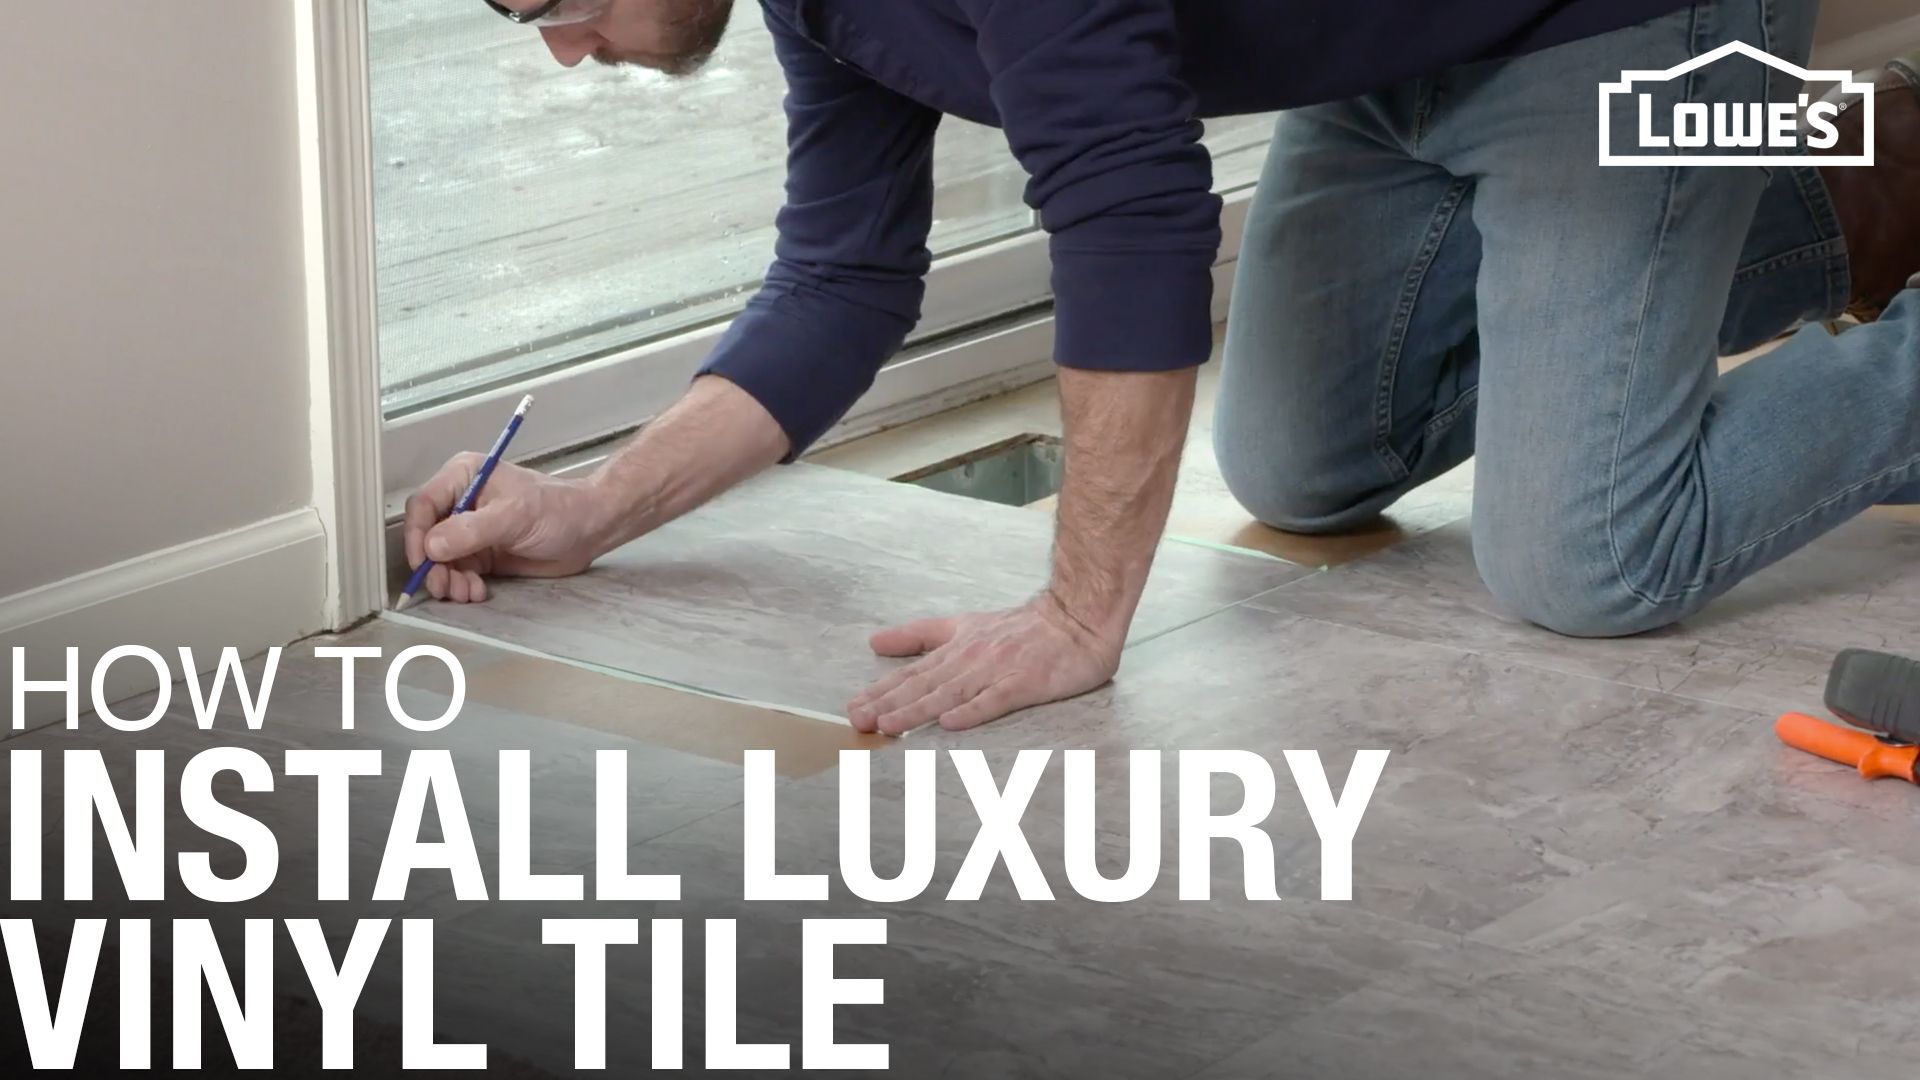
How to Install Luxury Vinyl Tile Flooring
How to Install Garage Flooring – Ecotile Interlocking Floor Tiles in Small Garage

Interlocking Floor Tiles Fast Track and Modular Tiles Gerflor

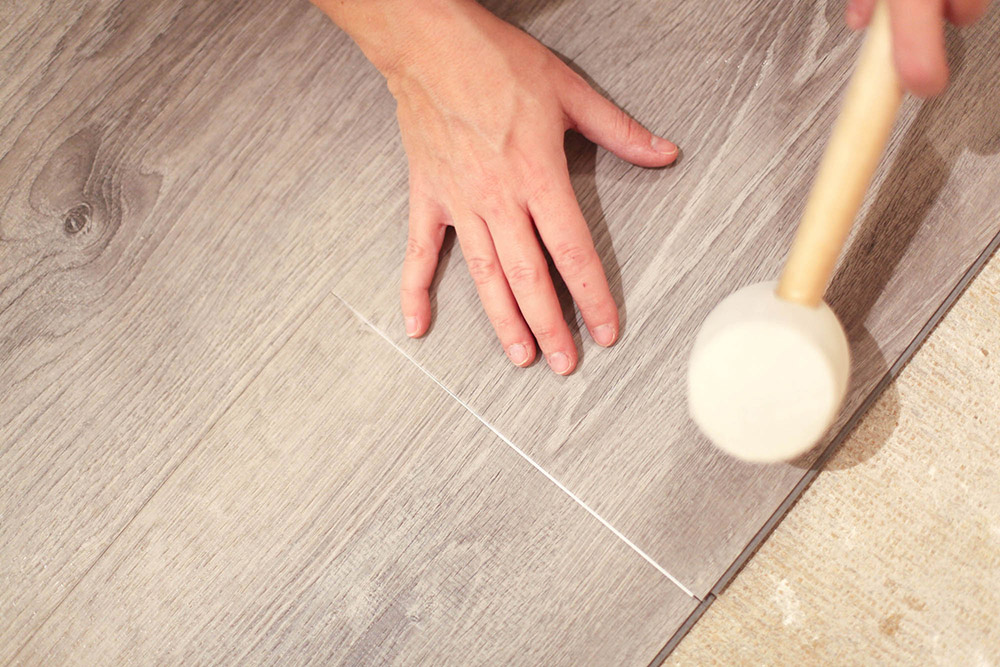
How to Install Vinyl Plank Flooring
Luxury Vinyl Flooring Tiles by Lucida Surfaces Interlocking Floor Tile for DIY Installation 10 Wood-Look Planks Bark TruCore 24.5 Sq. Feet

How to Install Vinyl Plank Flooring
Interlocking Floor Tiles Wood Vinyl Top – 12″ x 12″

Pin on Mud Room Flooring and Storage

Related Posts:
- How To Repair Vinyl Flooring Scratches
- Copper Vinyl Flooring
- Vinyl Flooring In Bathroom
- Commercial Vinyl Flooring
- Luxury Vinyl Flooring Bedroom
- Herringbone Vinyl Floor Tiles
- Vinyl Flooring That Looks Like Wood
- Vinyl Flooring For Basement
- Toilet Vinyl Flooring
- Rustic Vinyl Flooring
Installing Interlocking Vinyl Floor Tiles: A Comprehensive Guide
Interlocking vinyl floor tiles are a great way to update the look of any room in your home. The tiles are easy to install and can be done with minimal effort. In this comprehensive guide, we will explain how you can install interlocking vinyl floor tiles in your home.
Preparing the Area
Before installing the interlocking vinyl floor tiles, it is important to prepare the area. This includes removing any existing flooring, such as carpet or linoleum, and making sure the subfloor is level and clean. If necessary, use a level to ensure that the floor is even. Once the area is prepared, you can begin installing the vinyl floor tiles.
Laying Out the Tiles
Once the area is prepared, you can begin laying out the tiles. Start by laying out a few tiles in the center of the room and work your way outwards. Make sure that the edges of each tile line up and that there is an equal gap between each tile. It is also important to ensure that the tiles are laid out in a straight line so that there are no gaps or uneven edges when they are installed.
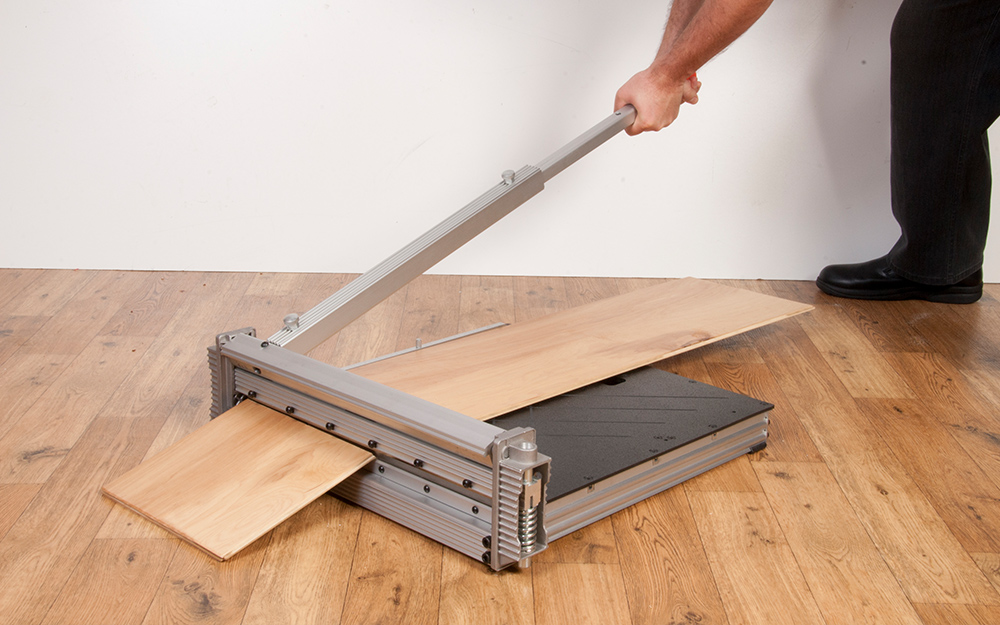
Cutting Tiles
Once you have laid out all of the tiles, you may need to cut some of them to fit around obstacles such as door frames or radiators. To do this, use a sharp utility knife and carefully measure and mark where each tile needs to be cut before making the cuts. Once all of the tiles have been cut to size, they can be laid down in the room.
Installing the Tiles
Once all of the tiles have been cut to size, they can be installed in the room. Start by applying a thin layer of adhesive to one side of each tile and then firmly pressing it into place on the floor. Once all of the tiles have been installed, use a rolling pin to ensure that they are properly sealed and that there are no gaps between them. Allow the adhesive to dry thoroughly before walking on or using any furniture on top of the tiles.
Finishing Touches
Once all of the tiles have been installed, there are some finishing touches that need to be taken care of. If there are any edges or corners of tiles that are sticking up, use a grout saw or other tool to sand them down until they are flush with the rest of the floor. This will ensure that there will not be any tripping hazards when walking on top of the newly installed vinyl tiles. Additionally, if you want to further protect your floors from wear and tear, consider applying a coat of sealant after installation is complete.
FAQs About Installing Interlocking Vinyl Floor Tiles
Q: What tools do I need for installing vinyl floor tiles?
A: To install vinyl floor tiles, you will need a level, a sharp utility knife, an adhesive such as mastic or glue, a rolling pin, and a grout saw (for cutting corners). You may also want to use sealant after installation is complete for further protection against wear and tear.
Q: How long should I wait before walking on my new vinyl floor?
A: It is recommended to wait at least 24 hours after installation before walking on your new vinyl flooring. This will ensure that the adhesive has had enough time to properly set and dry so that it won’t crack or chip underfoot.
Q: Can I install interlocking vinyl floor tiles over concrete?
A: Yes, interlocking vinyl floor tiles can be installed over concrete as long as it is clean and level. Make sure you apply an appropriate adhesive for concrete surfaces before installing your tiles for best results.