As you'd probably love to get every previous detail just right, you are guaranteed to take a lot of time in picking out flooring for it. Have a blast because you pick the types, colors, patterns and sizes of bathroom floor tile as well as related details for the bathroom of yours. Several different bathroom floor tiles ideas include tiling your bathroom with floor tiles made of cork, hardwood or bamboo.
Images about Installing Vinyl Flooring In A Bathroom
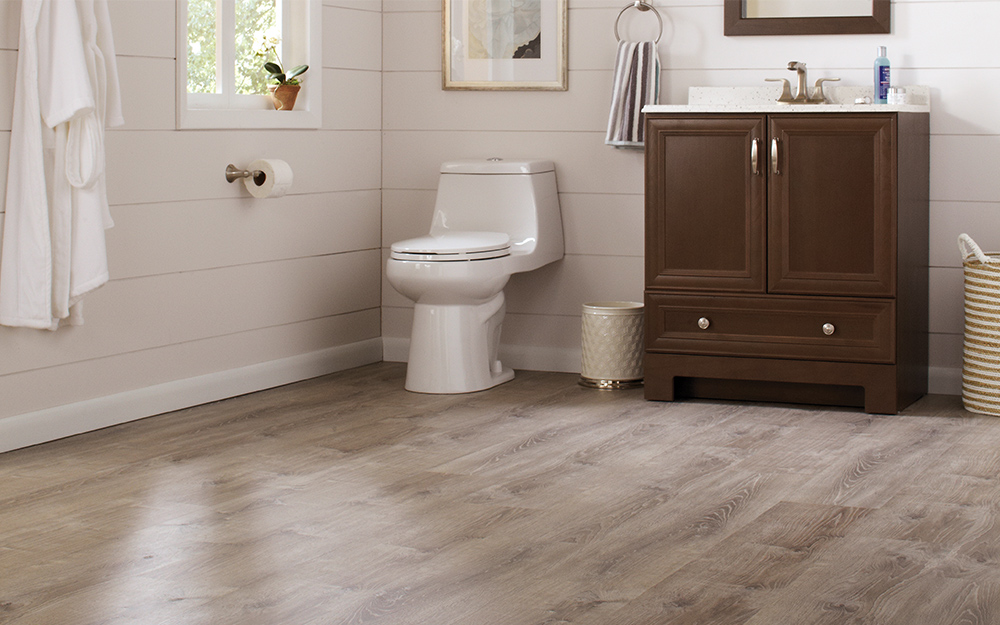
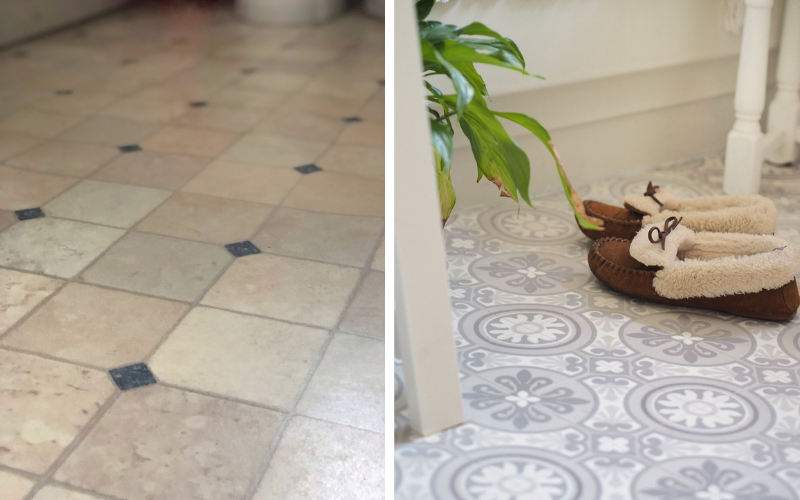
Installing Vinyl Flooring In A Bathroom
It's considerably more elegant compared to that of hardwood and carpets, also, because it can use oak, cherry, slate, marble, etc, because the so-called "wear layer" of the bath room floor. If you are looking for shiny textures and heavy colors, choose inlaid vinyl which have color granules embedded within them.
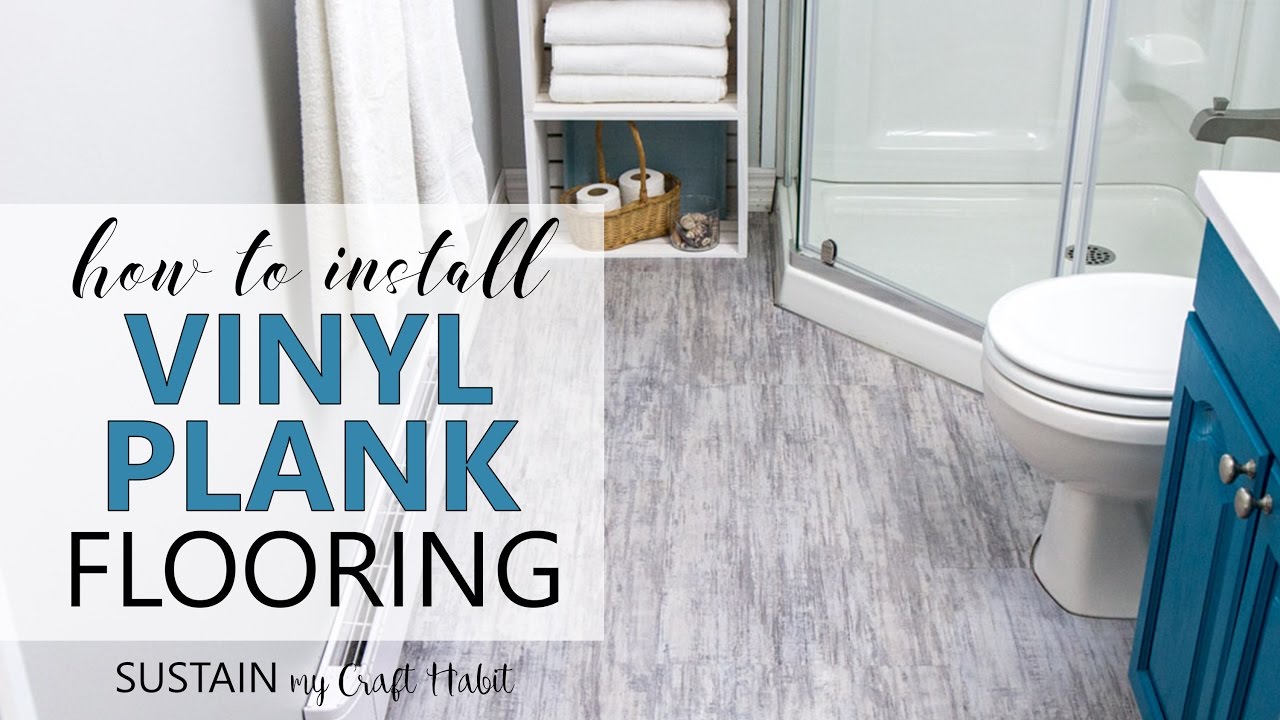
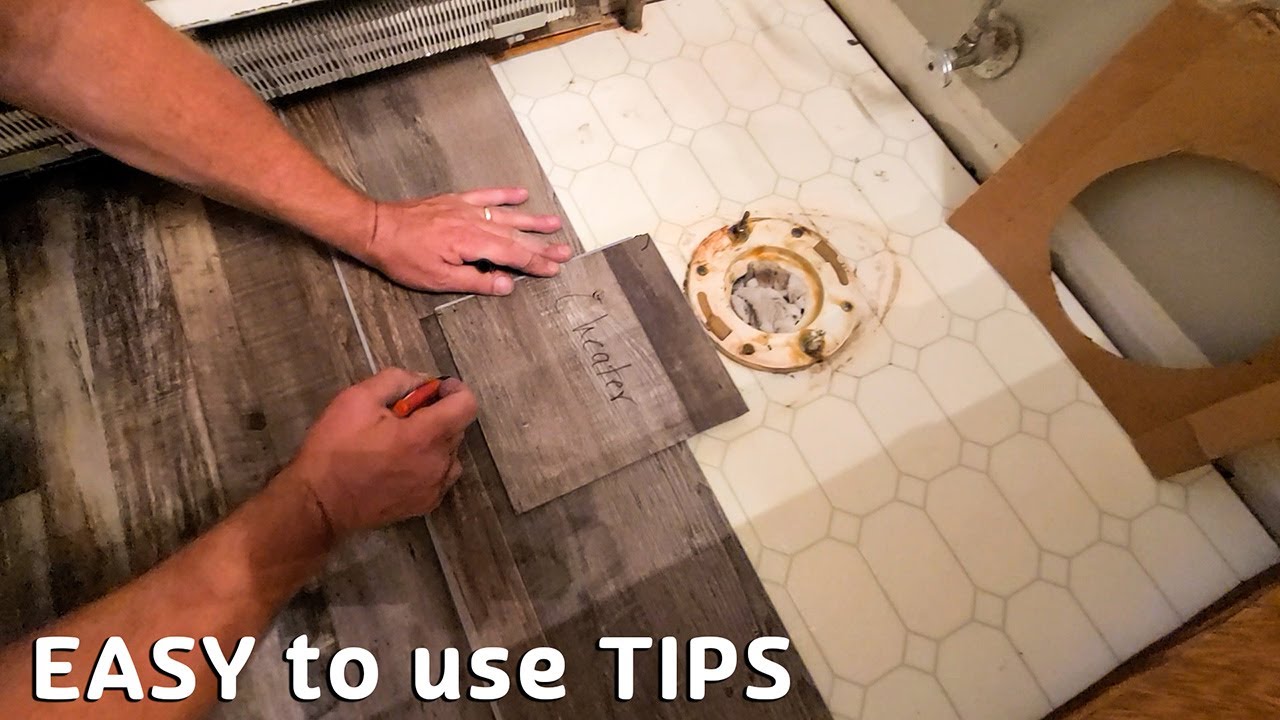
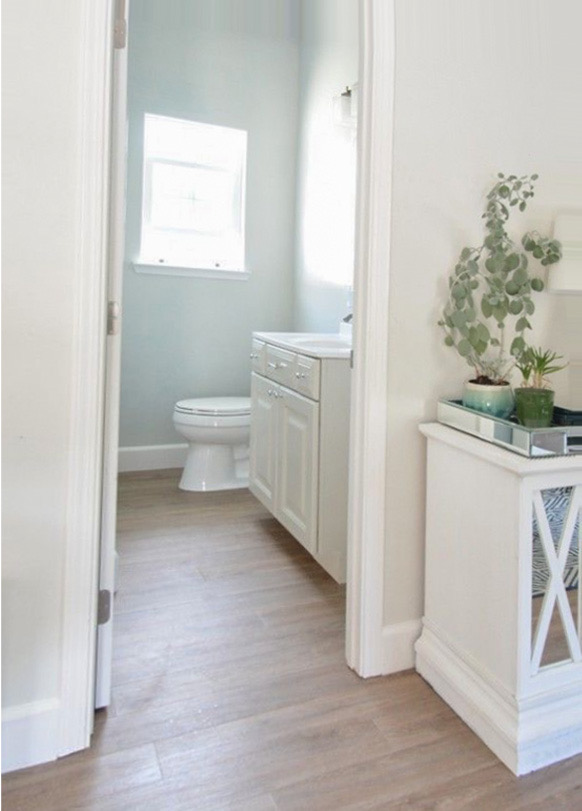
How to Install Vinyl Plank Flooring in a BATHROOM 🚽

In case you're considering undertaking bathroom remodeling, be sure that you choose the appropriate contractor to advise you about the very best flooring choices for your bathroom. The bathroom is a place in which you are able to visit unwind, and you would like it to be a comfortable and relaxing environment. Cork flooring gives your bathroom a different texture.
How to Install Vinyl Plank Flooring // Allure ISOCORE Vinyl Tile Installation Tutorial
How to Install Vinyl Plank Flooring Into a Bathroom
Installing Vinyl Plank Flooring: Lifeproof Waterproof Rigid Core
Installing Vinyl Plank Flooring: Lifeproof Waterproof Rigid Core

How to Install Vinyl Plank Flooring
How to lay vinyl floor in a bathroom Dove Cottage
DOs and DONu0027Ts for Installing Vinyl Plank Floors in the Bathroom
Installing Vinyl Plank Flooring: Lifeproof Waterproof Rigid Core
How to Install Vinyl Flooring in a Sheet (DIY) Family Handyman
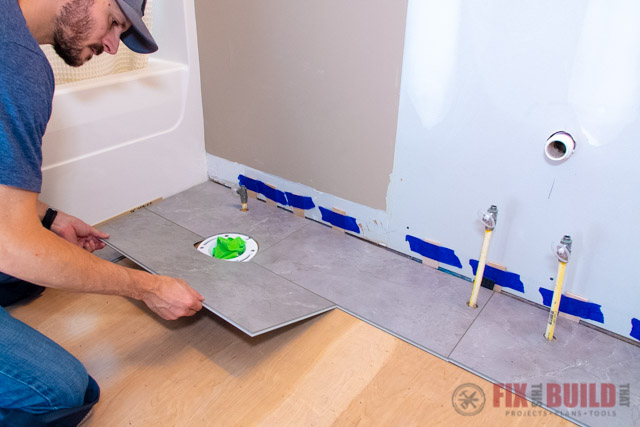
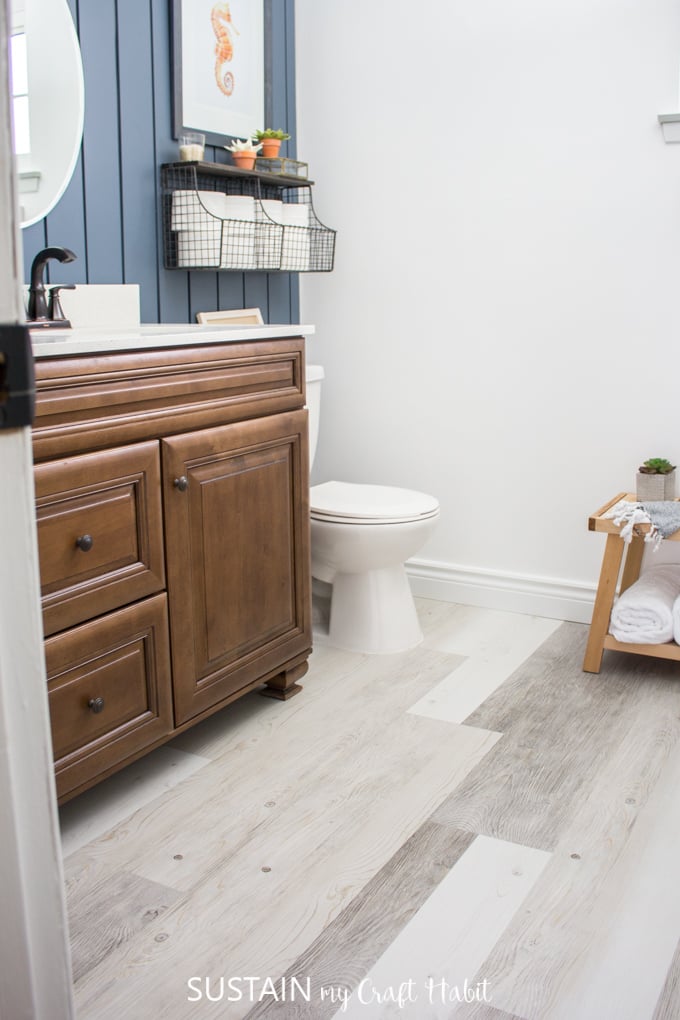
How to Install Vinyl Plank Flooring in a Bathroom FixThisBuildThat
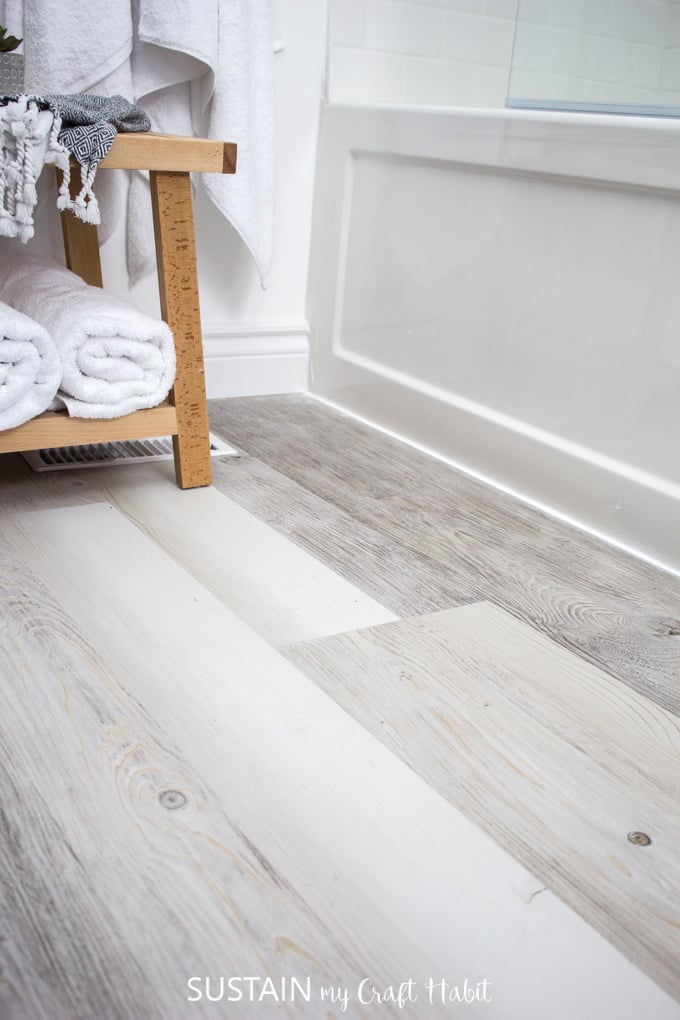
Why We Chose Vinyl Plank Flooring for Our New Build Home The
How to Install Vinyl Plank Flooring in a Bathroom FixThisBuildThat
Related Posts:
- Reglazing Bathroom Floor Tiles
- Colorful Bathroom Floor Tile
- Vinyl Flooring For Bathrooms
- Bathroom Flooring Ideas
- Bathroom Floor Patterns
- Bathroom Tile Floors
- Modern Vinyl Bathroom Flooring
- Mosaic Bathroom Floor Tiles
- Wood Bathroom Floor
- 1930s Bathroom Floor Tile
Installing Vinyl Flooring In A Bathroom: A Comprehensive Guide
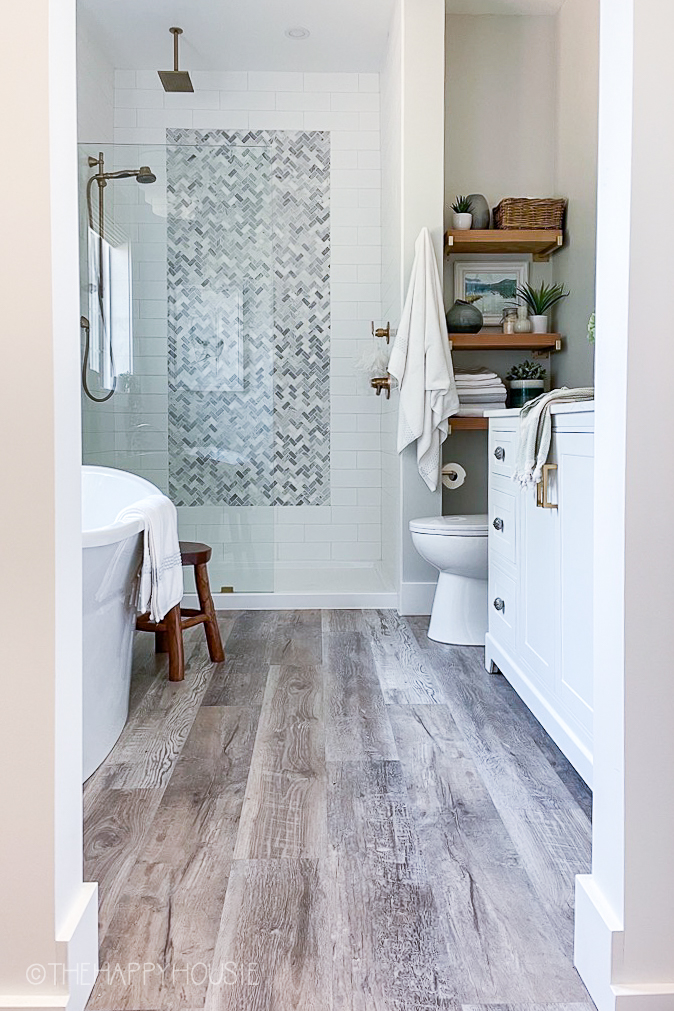
Vinyl flooring is a great choice for bathrooms as it is durable, easy to maintain, and provides a wide range of design options. Installing vinyl flooring in your bathroom is a fairly simple task that can be completed in one day. This comprehensive guide will provide you with all the information you need to know to successfully install vinyl flooring in your bathroom.
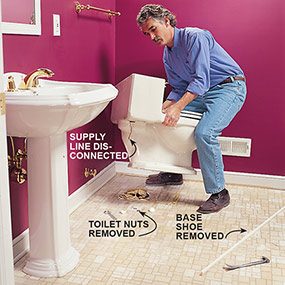
Preparing the Room
Before you begin installing your vinyl flooring, it is essential to properly prepare the room. This includes removing any existing flooring, cleaning the sub-floor, and ensuring that the walls and floor are level and free of any imperfections. To remove existing flooring, use an oscillating multi-tool or a pry bar. Once all the existing flooring has been removed, clean the sub-floor thoroughly and check for any unevenness or imperfections. If necessary, use a leveler or self-leveling compound to ensure the floor is completely flat and even. Finally, make sure all walls and corners are caulked before installing your new vinyl flooring.
Measuring and Purchasing Materials
Once you have prepared the room, it is time to measure and purchase your materials. Measure the room to determine how much vinyl flooring you will need and make sure to add an extra 10% for waste. When purchasing your materials, make sure to get adhesive specifically designed for vinyl flooring and purchase enough transition strips to cover all doorways or other areas where the vinyl meets another type of flooring material.
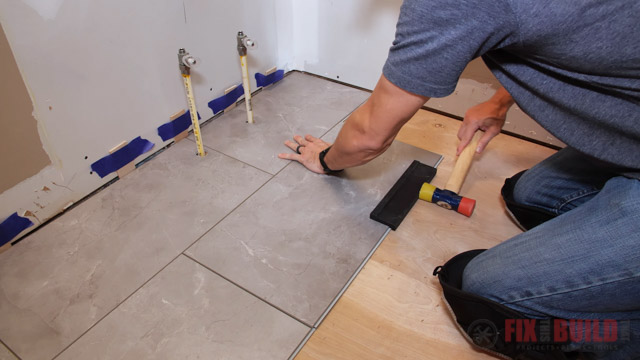
Installing Vinyl Floor Planks
The next step is installing your vinyl planks. Start by laying out the planks in the room to ensure that they fit properly before applying any adhesive. When applying adhesive, make sure to spread a thin layer over the entire sub-floor using a trowel. Once the adhesive is spread evenly over the sub-floor, begin laying down the planks one at a time, making sure to press them firmly into place so that they stick correctly. As you lay down each plank, use a rubber mallet or block of wood to ensure that they are tightly connected at the seams.
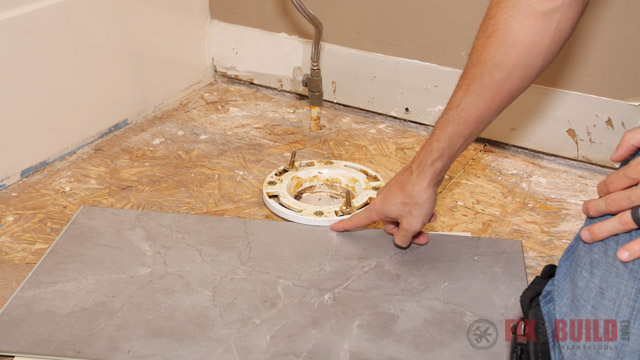
Cutting Around Obstacles
When you reach obstacles such as walls or fixtures, use a jigsaw or utility knife to cut around them with precision. Make sure to use a straightedge when cutting so that your cuts are precise and accurate. For curved edges such as around toilets or tubs, you may need to use a jigsaw with a curved blade attachment.
Installing Transition Strips
Once all of the planks have been installed, it’s time to install transition strips around any doorways or areas where the vinyl meets another type of flooring material. Use adhesive specifically designed for transition strips to attach them securely in place, ensuring that they are level with the surrounding flooring materials.
FAQs
Q: What type of adhesive should I use when installing vinyl flooring?
A: When installing vinyl flooring, it is important to use an adhesive specifically designed for vinyl floors as this will provide maximum adhesion and ensure that your new floor lasts for years to come.
Q: How do I cut around obstacles such as walls or fixtures?
A: To cut around obstacles such as walls or fixtures, use a jigsaw or utility knife with a straightedge for precision cuts. If you have curved edges such as around toilets or tubs, you may need to use a jigsaw with a curved blade attachment.
Q: How do I ensure that my transition strips are level with the surrounding floor?
A: When installing transition strips around doorways or areas where the vinyl meets another type of flooring material, it is important to make sure that they are level with the surrounding floors. The best way to do this is by attaching them with an adhesive specifically designed for transition strips and using a leveler tool while they dry in order to ensure they are even with their surroundings before they set completely.