When I first looked at the bare concrete floors in my newly constructed home, I saw them as a blank canvas rather than something to cover up. After researching various flooring options, I decided to embrace the industrial aesthetic and stain the concrete floors throughout my living areas. Three years later, I’m absolutely thrilled with my decision. The process taught me so much about concrete preparation, stain selection, and application techniques that I’ve since helped several friends transform their own spaces with stunning results.
Understanding Different Types of Concrete Stains
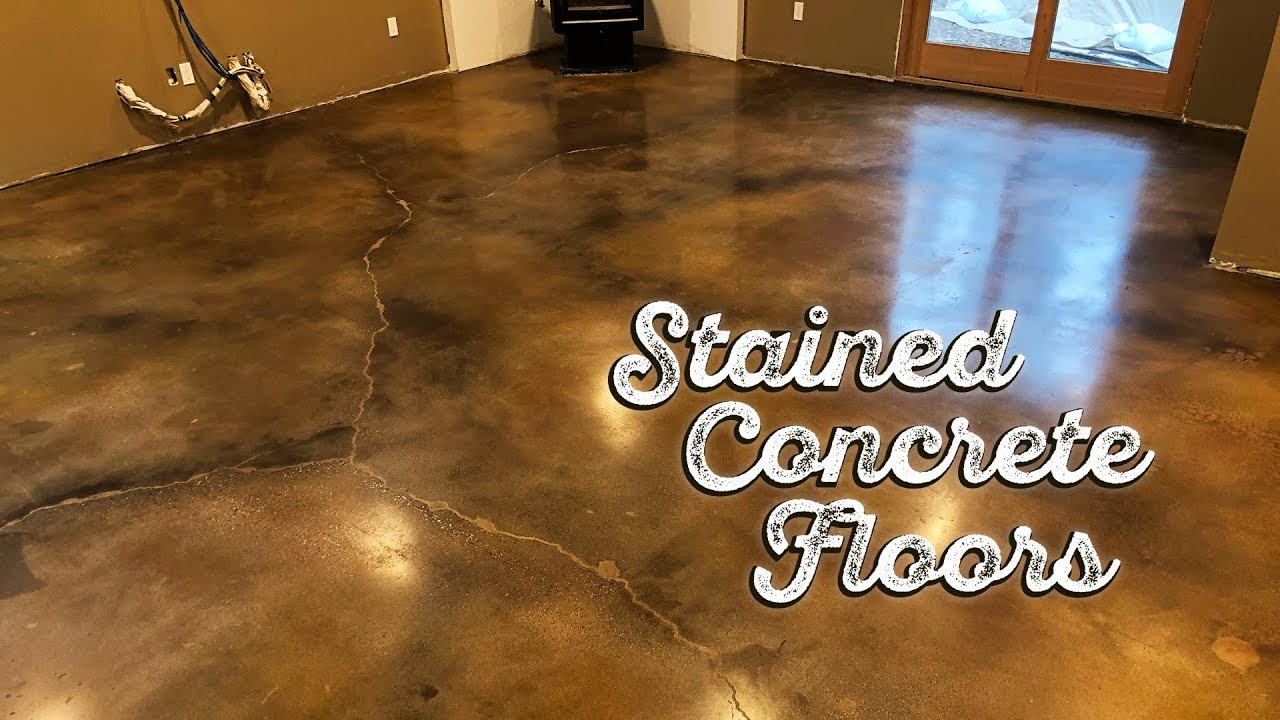
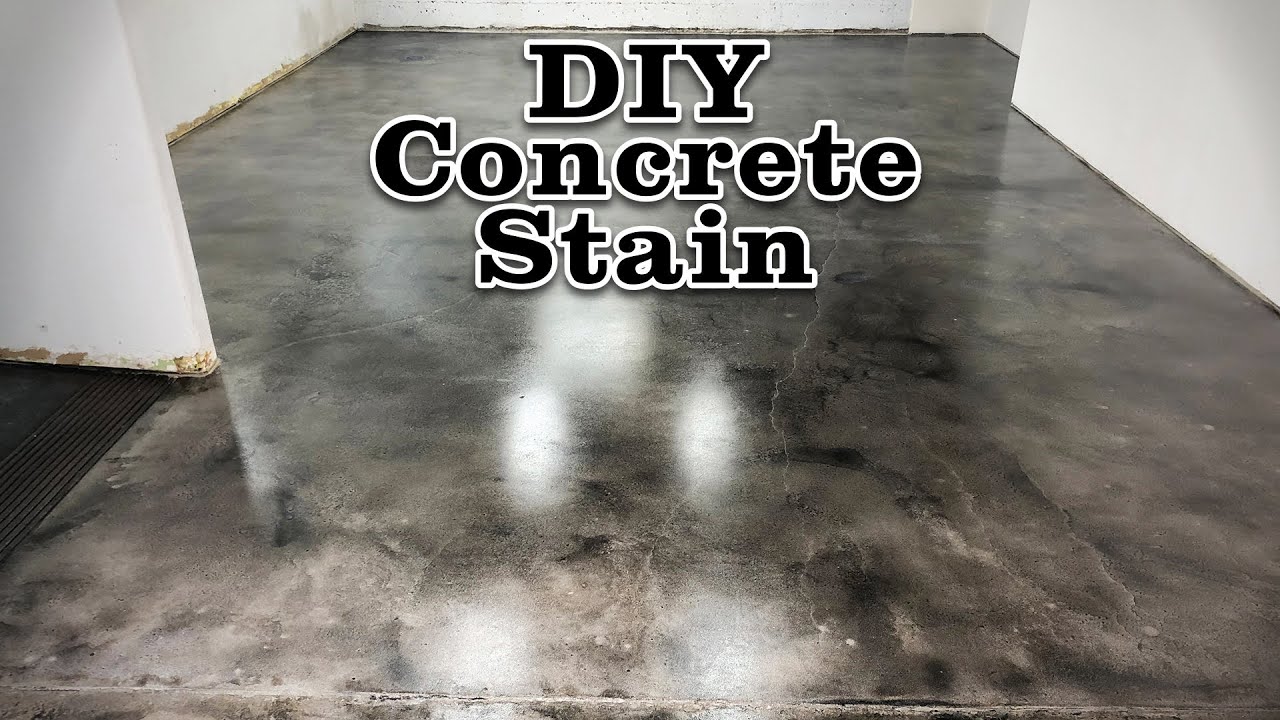
My first major decision was choosing between acid-based and water-based stains, and honestly, I was overwhelmed by the options initially. Acid stains create chemical reactions with the concrete’s minerals, producing unique, mottled patterns that can’t be replicated. I chose an acid stain in terra cotta for my living room because I loved how it would create natural variations and unpredictable beauty that would make each section of the floor unique.
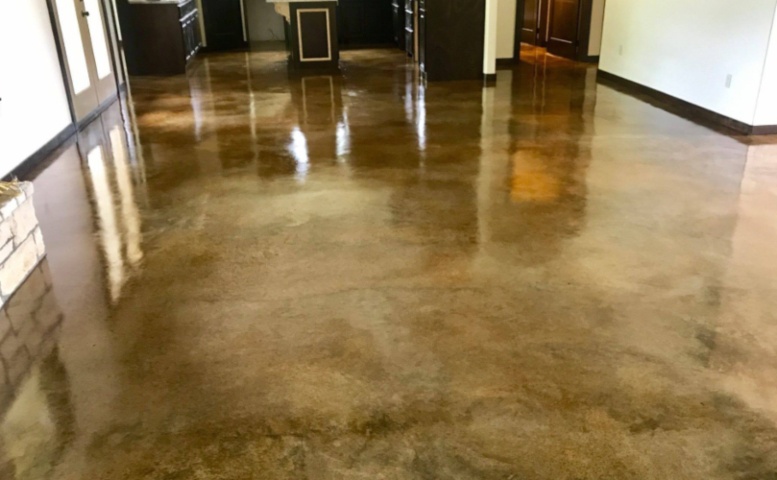
Water-based stains offered me more predictable color results and a wider range of hues. I used these in my kitchen and dining areas, where I wanted more consistent coverage and brighter colors. The water-based stains penetrate the concrete surface but don’t create the same chemical reactions as acid stains. This gave me better control over the final appearance and allowed me to achieve the exact shade of sage green I’d envisioned.
I also discovered epoxy-based stains during my research, though I didn’t use them in my project. These create a coating on top of the concrete rather than penetrating like acid and water-based options. They’re more durable but don’t have the natural, integrated look I was seeking. For my home, I wanted the stain to become part of the concrete itself, creating a permanent color that would age gracefully over time.
Preparing Concrete Surfaces for Staining
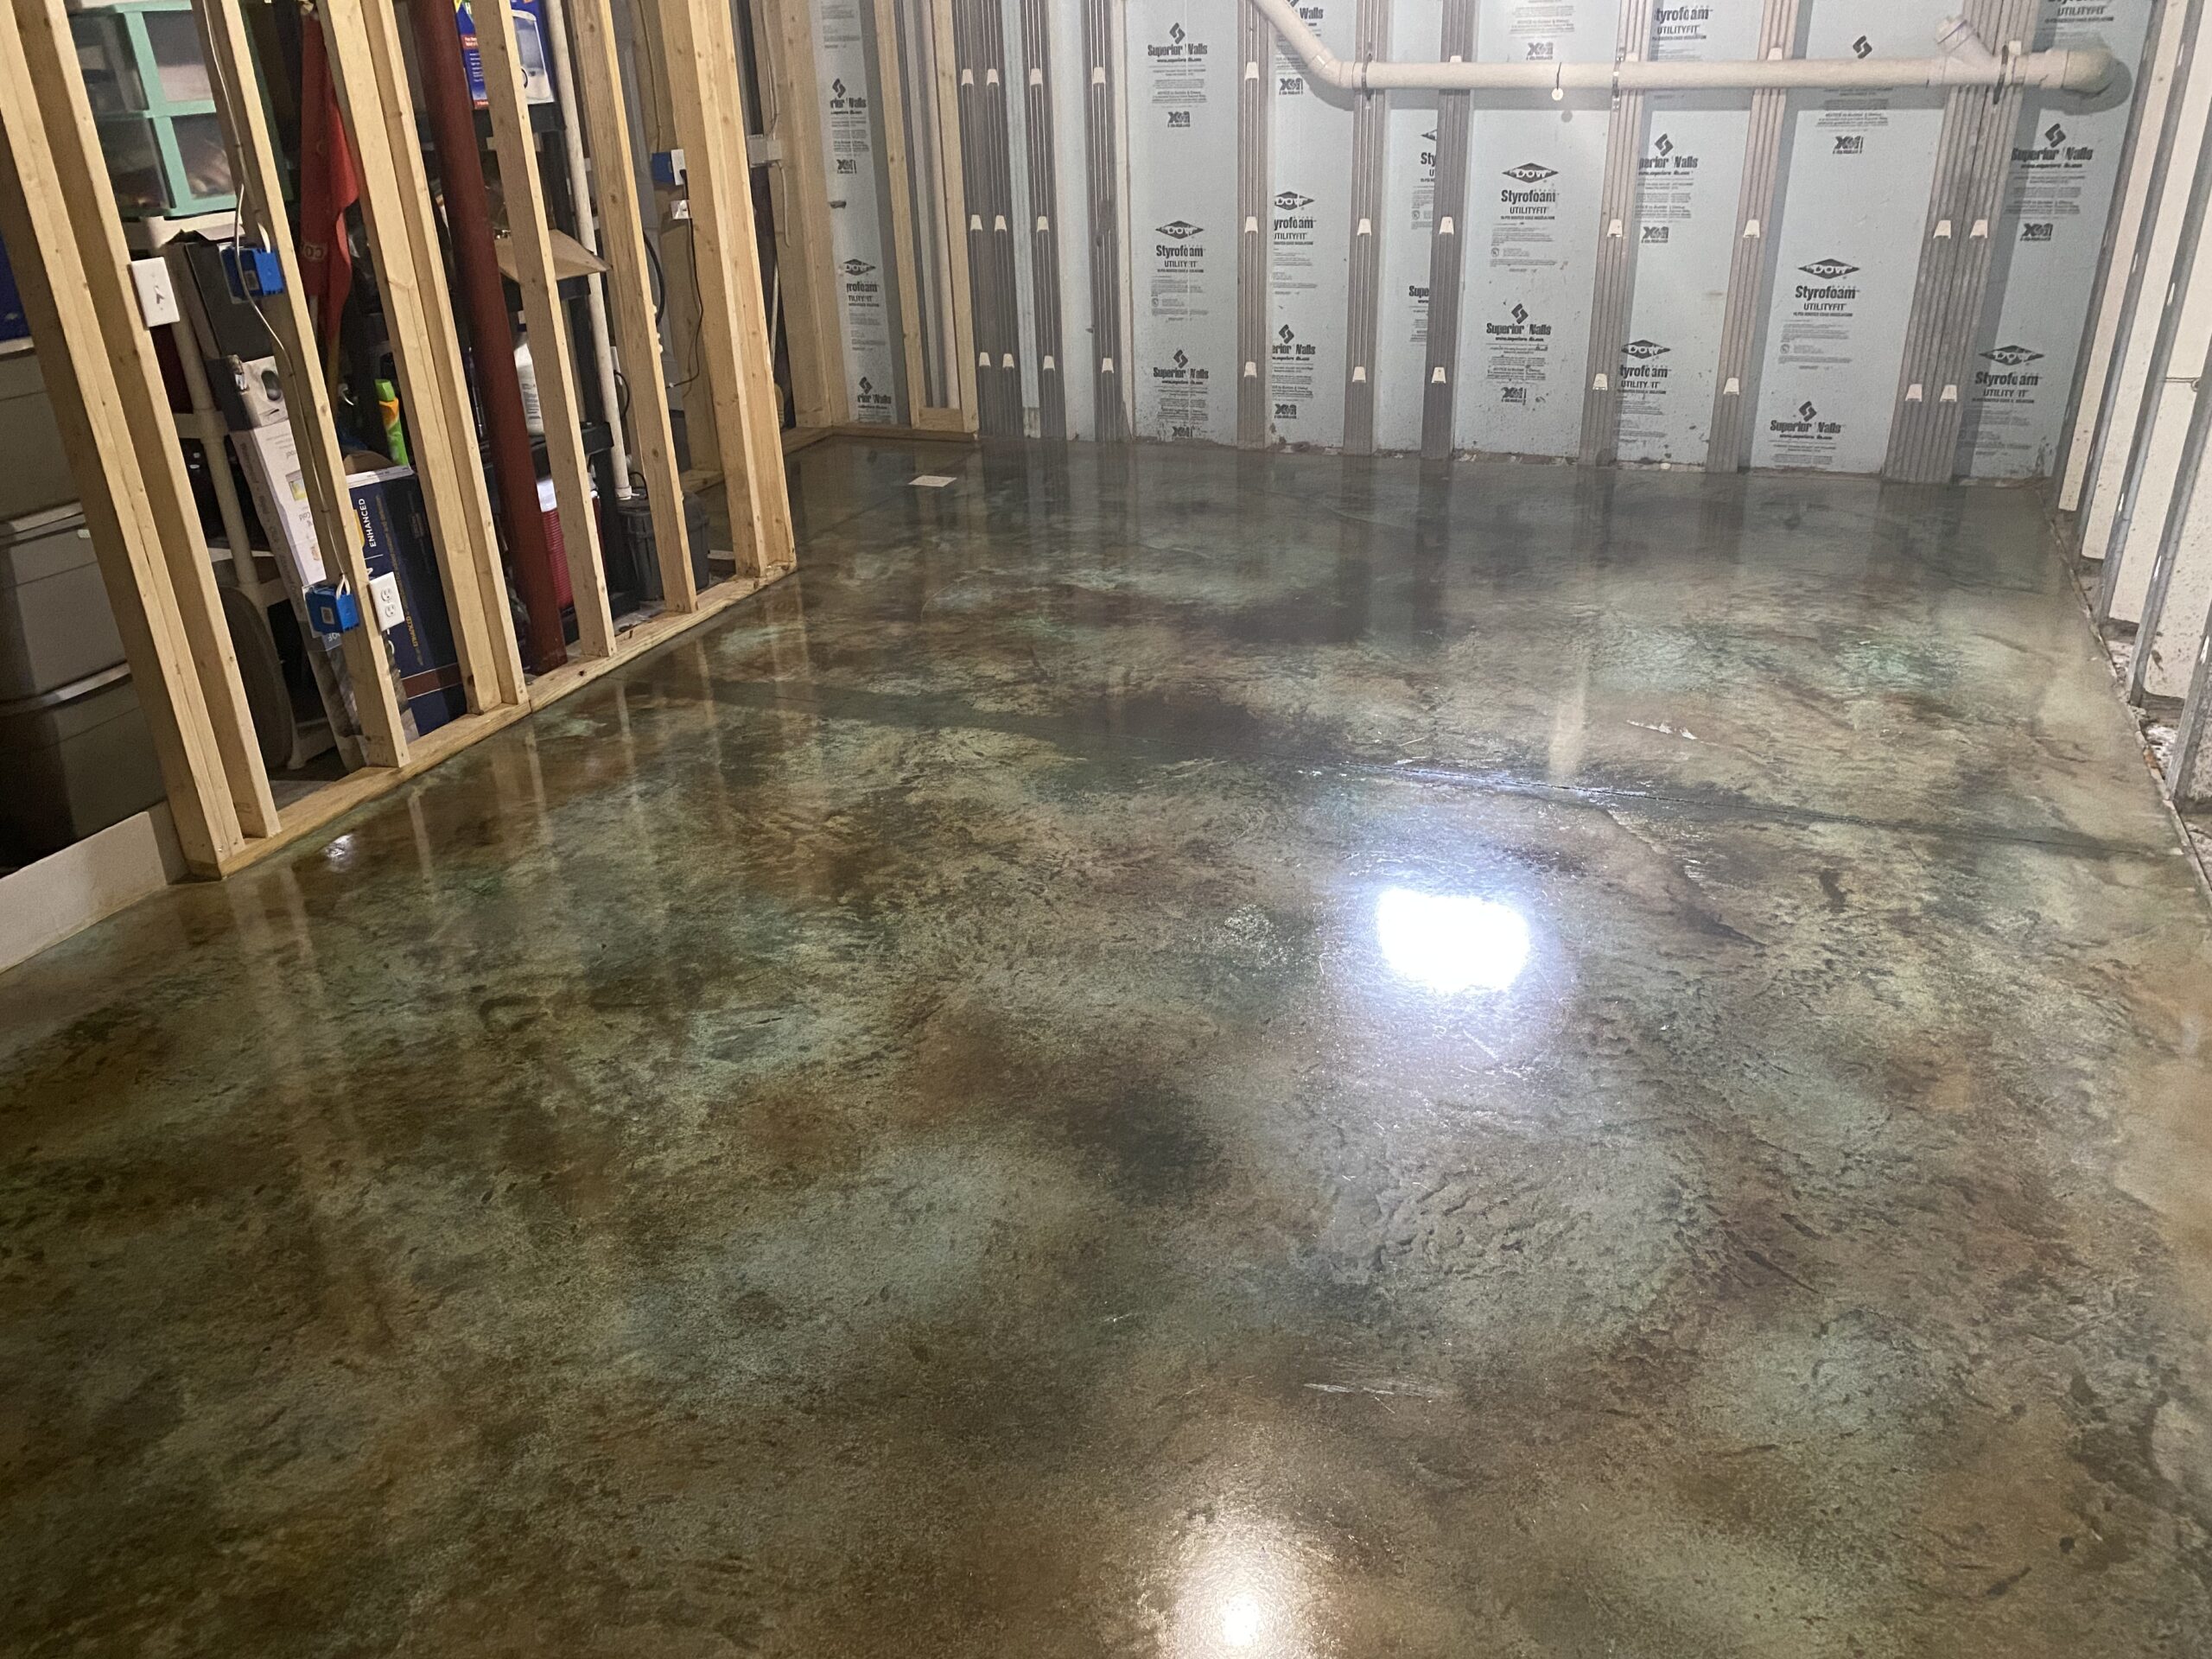
Surface preparation turned out to be absolutely critical for achieving professional-looking results. My concrete floors looked smooth and ready, but I learned they needed proper cleaning and etching before stain application. I started by thoroughly degreasing the entire surface with a concrete degreaser, paying special attention to areas where construction materials might have left residue or stains that could interfere with even stain absorption.
The etching process initially intimidated me, but it proved essential for opening the concrete’s pores and allowing proper stain penetration. I used a mild muriatic acid solution, following all safety precautions with proper ventilation and protective equipment. The acid created a slight roughness that helped the stain bond effectively. I tested different etching strengths on small, inconspicuous areas first to find the right balance for my specific concrete mix.
After etching, I spent considerable time ensuring the floors were completely clean and neutral before staining. Any soap residue, acid remnants, or cleaning chemicals would affect stain absorption and create blotchy results. I used multiple rinses and pH test strips to confirm the concrete was ready. The drying time was crucial too; I waited several days with dehumidifiers running to ensure no moisture remained that could interfere with the staining process.

My Color Selection and Design Process
Choosing colors became an exciting, creative journey that involved lots of experimentation and sample testing. I created test patches in my garage using the same concrete mix as my floors, trying different stain combinations and application techniques. This testing phase saved me from making expensive mistakes and helped me visualize how different colors would look under various lighting conditions throughout the day.
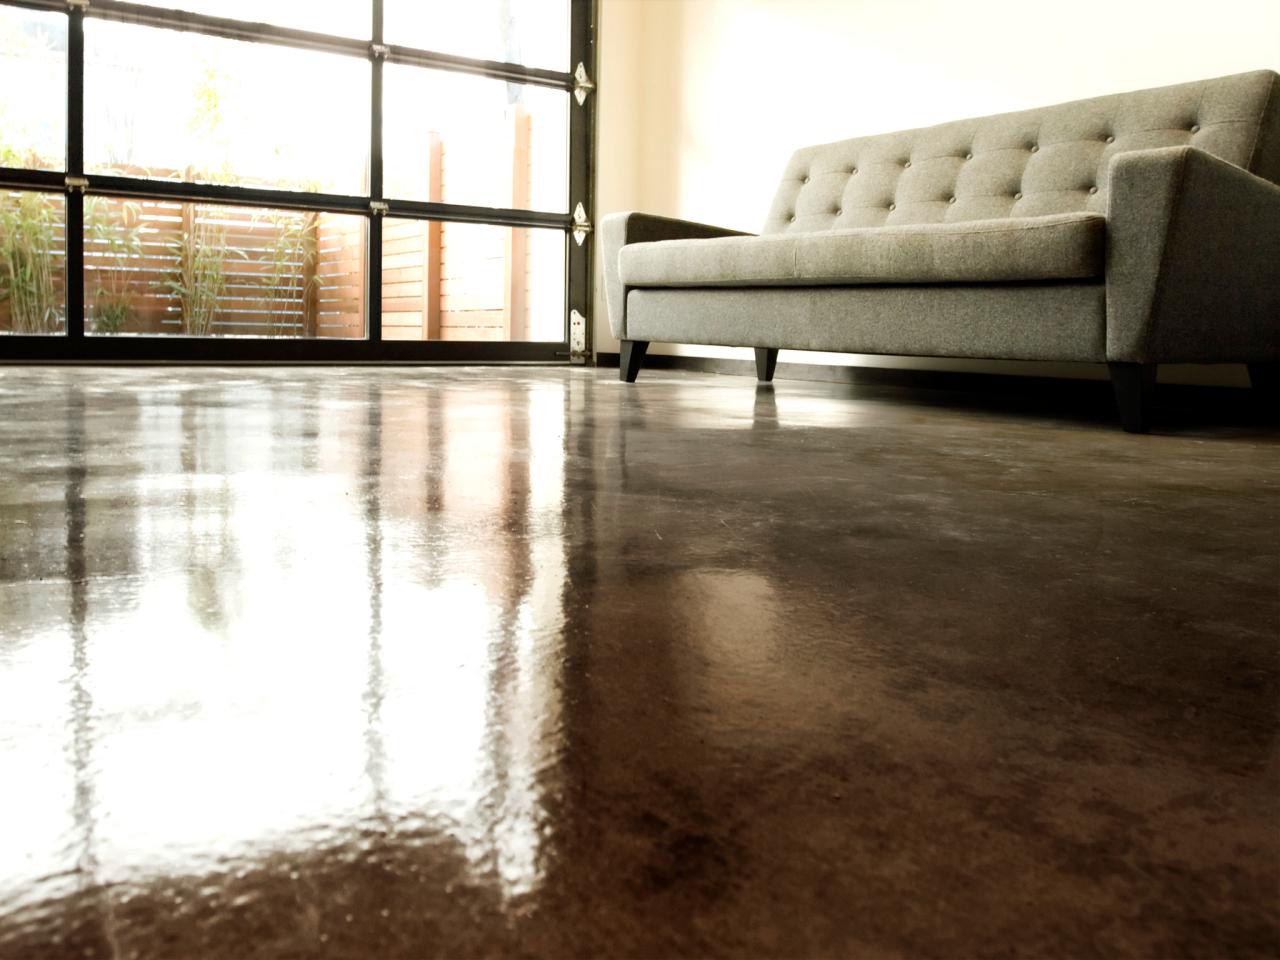
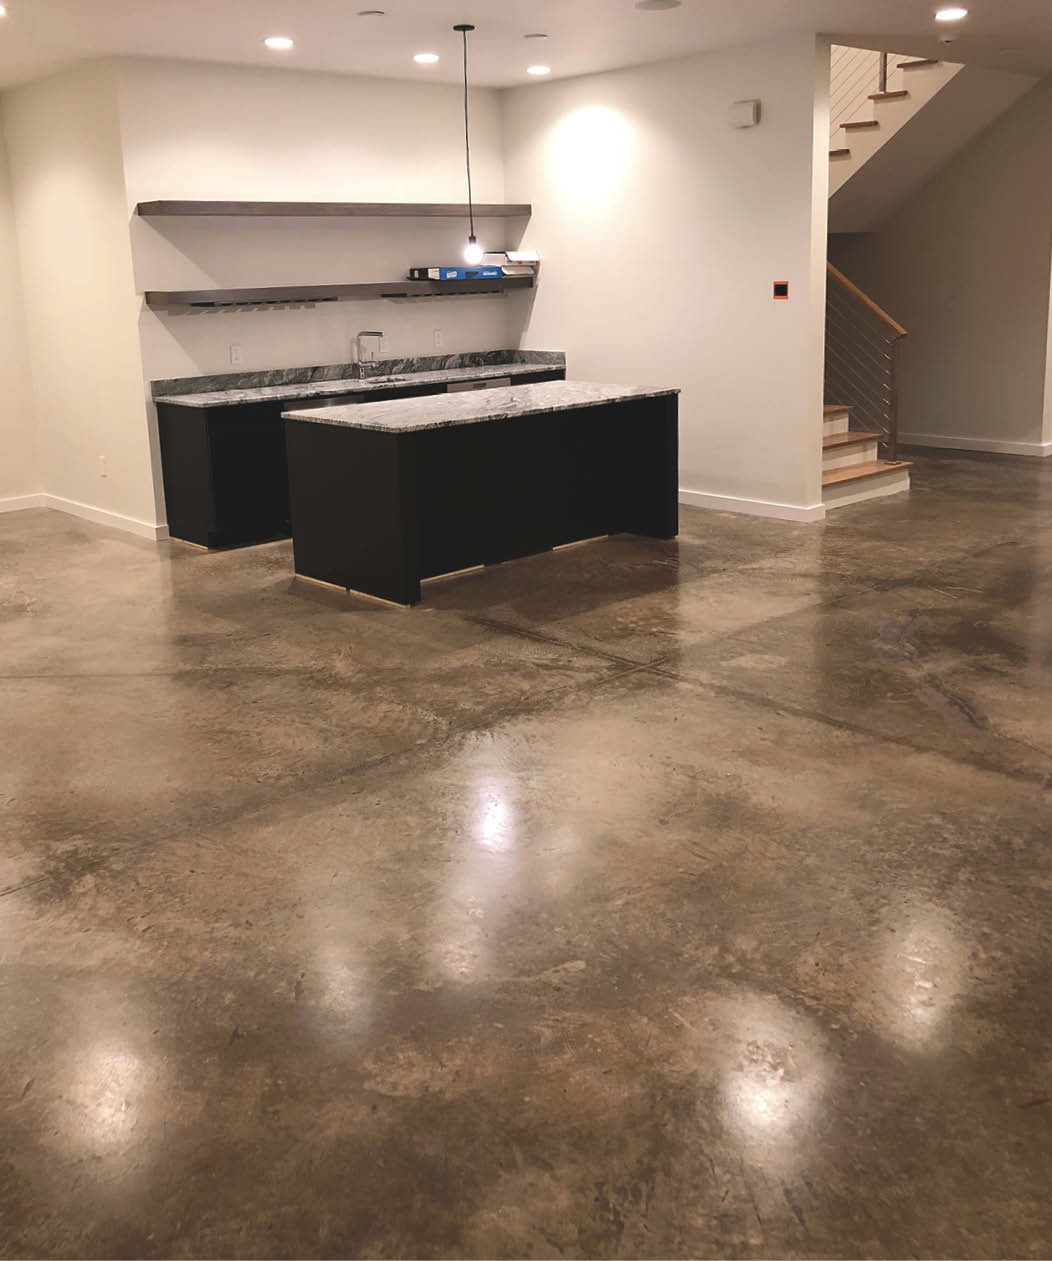
For my open-concept living area, I decided on a warm terra cotta acid stain that would complement my southwestern decor style. I loved how the natural variations created depth and character, making the floor look like aged leather or natural stone. In contrast, I chose a cooler sage green water-based stain for the kitchen area, creating subtle zoning while maintaining visual flow throughout the connected spaces.
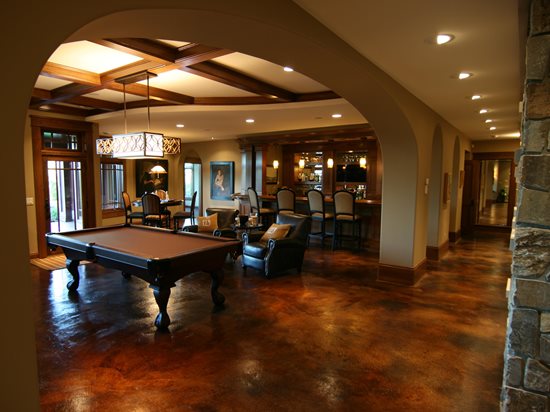
I also experimented with layering different stains to create custom colors and effects. By applying a light base coat of one color and following with strategic applications of another, I achieved rich, complex tones that no single stain could provide. This technique worked especially well around focal points like the fireplace hearth, where I created deeper, more dramatic coloring that drew the eye and created visual interest.
Application Techniques and Tools
The actual staining process required patience and the right tools to achieve even, professional-looking results. I used pump sprayers for large areas and foam brushes for detail work around edges and corners. The key was maintaining consistent coverage while working quickly enough to avoid overlap marks. I learned to work in manageable sections and always maintain a wet edge to prevent visible seams between areas.
Acid stain application taught me about working with unpredictable chemical reactions. I couldn’t control exactly how the stain would react with different minerals in my concrete, but I could influence the process through application techniques. I used circular, overlapping motions and varied my spray patterns to encourage natural-looking variations. The chemical reaction continued for hours after application, so I had to resist the urge to touch up areas prematurely.
Water-based stains required different techniques but offered more predictable results. I could build up color gradually with multiple thin coats rather than trying to achieve full coverage in one application. This approach gave me better control over the final intensity and helped me avoid streaking or blotchiness. I used cross-hatch patterns with my sprayer to ensure even coverage and eliminate any directional patterns that might be visible in the finished floor.
Sealing and Protecting Stained Floors
Selecting the right sealer was crucial for protecting my investment and achieving the desired appearance. I chose a penetrating sealer for most areas because I wanted to maintain the natural, matte look of the stained concrete. This type of sealer soaks into the surface and protects without creating a glossy film on top. It allows the concrete to breathe while still offering good stain and moisture resistance for daily living.
In high-traffic areas like the kitchen and entryway, I applied a topical acrylic sealer for added durability and easier maintenance. This creates a protective film on the surface that can be renewed as needed without affecting the underlying stain. The slight sheen adds depth to the colors while making cleanup much easier when spills occur. I learned to apply thin, even coats to avoid bubbling or peeling issues.
The curing process required patience but was essential for long-term performance. I kept foot traffic to a minimum for the first 24 hours and avoided moving furniture for a full week. The sealer continued to cure and harden for about 30 days, during which time I was extra careful about maintenance and cleaning. This initial care period set the foundation for years of beautiful, durable floors that have exceeded my expectations.

Long-Term Maintenance and Care
Daily maintenance of my stained concrete floors turned out to be surprisingly simple and low-maintenance. Regular dust mopping and occasional damp mopping with pH-neutral cleaners keep them looking fresh and clean. I avoid harsh chemicals and acidic cleaners that could damage the sealer or affect the stain color over time. The sealed surface resists most stains and spills, making cleanup quick and easy, even with pets and frequent entertaining.
Over the past three years, I’ve reapplied sealer in high-traffic areas twice to maintain protection and appearance. This maintenance is straightforward and much less expensive than refinishing hardwood or replacing other flooring types. I can easily touch up small worn areas or damage without affecting the surrounding floor, something that’s impossible with many other flooring options.
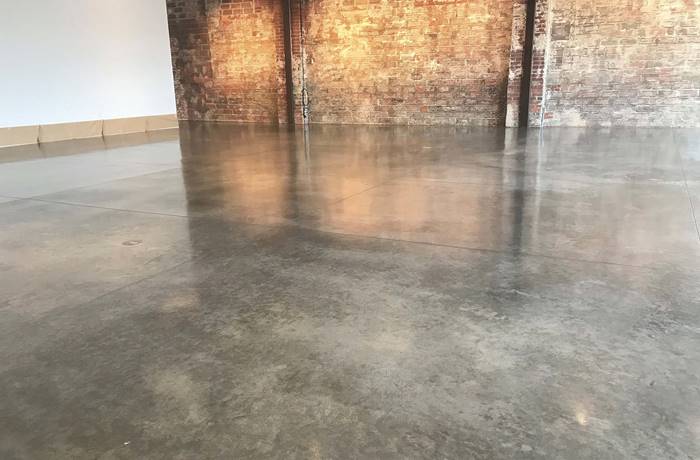
The floors have developed a beautiful patina over time that adds character and warmth to my home. Minor wear patterns actually enhance the industrial aesthetic I was seeking, and the concrete continues to look better with age. Friends consistently comment on the unique beauty and ask about the process, many deciding to stain their own concrete floors after seeing my results. The combination of durability, beauty, and low maintenance makes stained concrete an excellent long-term flooring choice.
How long does concrete floor stain last before needing renewal?
In my experience, properly applied concrete stain is permanent and won’t fade or wear away like paint. The sealer needs renewal every 3-5 years in high-traffic areas, but the actual stain color remains vibrant indefinitely. I’ve had mine for three years with no color changes, just normal wear patterns that add character.
Can you stain concrete floors that already have existing coatings?
Unfortunately, you can’t stain over existing sealers, paints, or coatings. I learned this when helping a friend whose floors had been sealed previously. We had to grind off the old coating completely before staining, which added significant time and cost to the project. Fresh, clean concrete gives the best results.

Is concrete floor staining safe for homes with children and pets?
Once properly cured and sealed, stained concrete floors are completely safe for families. During application, I used proper ventilation and kept kids and pets away until everything was dry. The finished surface is non-toxic and actually easier to keep clean than many other flooring options, which is great for allergen control.
What’s the total cost compared to other flooring options?
My material costs were about $2-4 per square foot for stain and sealer, significantly less than hardwood, tile, or quality laminate. Even including tools and supplies, I spent roughly one-third of what comparable flooring would have cost. The durability and low maintenance make it an excellent long-term investment.
Can concrete floor stains be removed if I change my mind?
Stains penetrate deeply and are essentially permanent, which is both a benefit and a consideration. Light colors can sometimes be darkened with additional stain, but removing the stain completely requires grinding the surface. I recommend thorough testing and planning before committing to ensure you’ll love the results long-term.
Do stained concrete floors get cold in winter?
Concrete does feel cool underfoot, especially in winter, but I’ve found it surprisingly comfortable with area rugs in seating areas. The thermal mass actually helps moderate temperature swings, and radiant heating systems work wonderfully with concrete floors. Many people find the coolness refreshing in the summer months.

How to Acid Stain a Concrete Floor – Plank and Pillow

How to Apply an Acid-Stain Look to Concrete Flooring
Concrete Stain
Alternative Finishes for Interior Concrete Floors – Concrete Decor
Reasons to Choose Concrete Floors Over Traditional Flooring
_1499887981.jpg)
Alternative Finishes for Interior Concrete Floors – Concrete Decor
Related Posts: