At this point you ought to know how you can maintain it so that you do not need to invest once again on the hardwood floors in next few years. Nevertheless, if you are looking for far more low-priced hardwood flooring, it might be worth the while of yours to take a look suppliers that provide hardwood flooring discount costs.
Images about Laying Hardwood Flooring In A Hallway
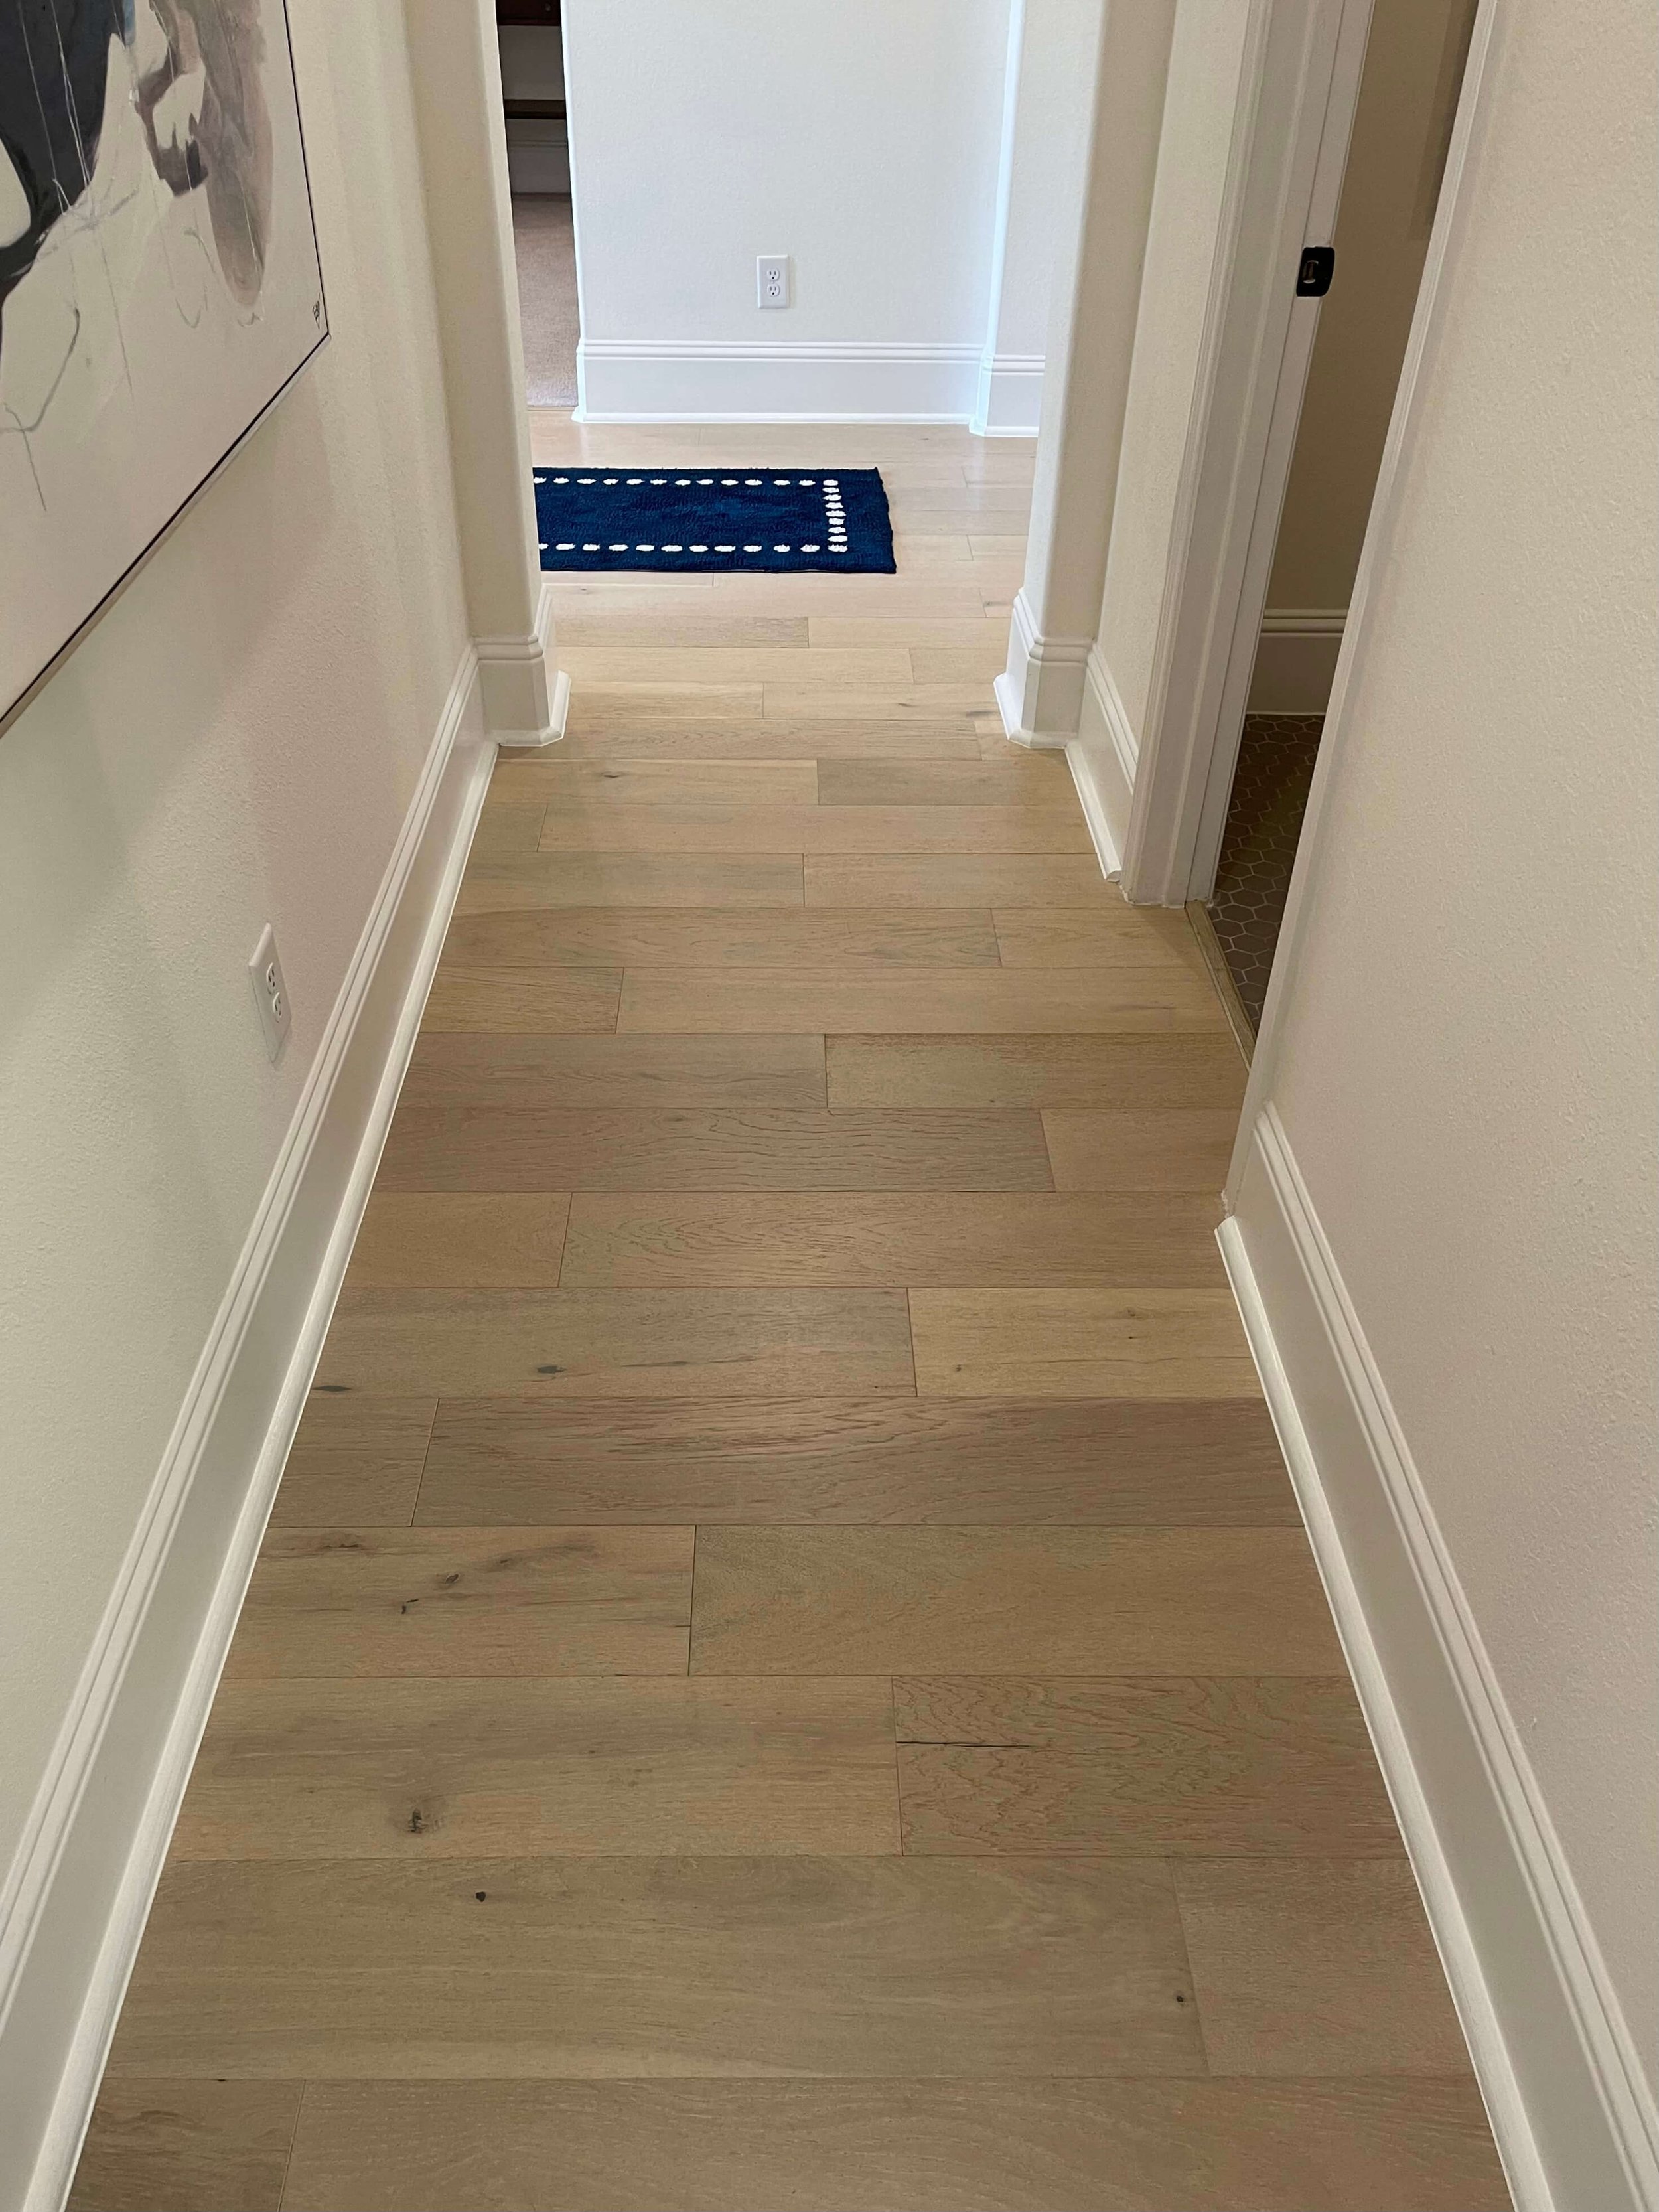
Laying Hardwood Flooring In A Hallway
Wherever you’re in doubt, it’s ideal to contact your manufacturer or perhaps seller and they will be in a position to give you the instructions you need. All dust and dirt must be removed. The advantage to prefinished engineered wood flooring surfaces is the fact that the factory is often able to coat the finish as much as seven times or over.
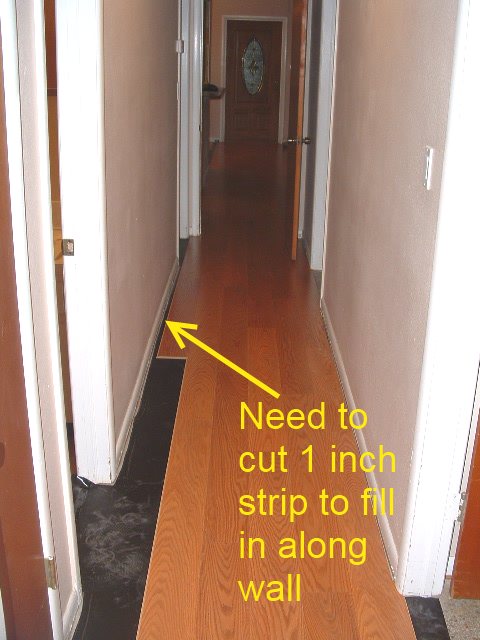
Hardwood laying direction
With modern innovative wood flooring spots as well as finishes, the cleaning of wood floors has never been easier. Application of an inappropriate or unapproved hardwood wax/cleaner combination will hurt the producer applied sealer dulling the luster, leaving steaks that are clearly apparent. This generates an incredibly durable exterior which is going to stand up to a great deal of visitors. All engineered flooring comes prefinished from the factory.
Learning How To Rack Our Maple Hardwood Flooring merrypad

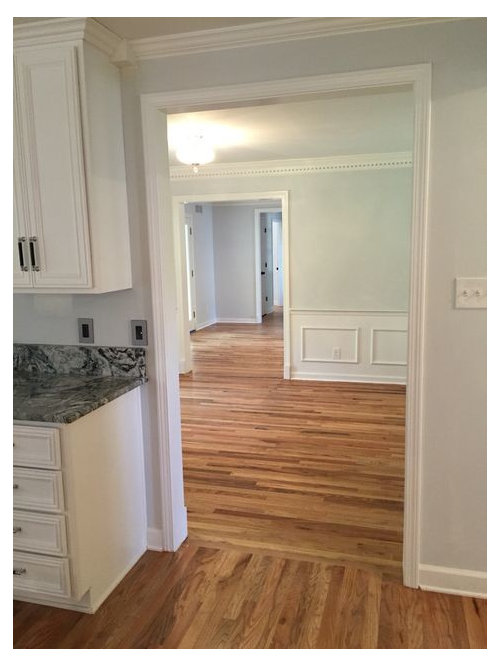
Hallway Hardwood Flooring Install Progress (Plus A Few

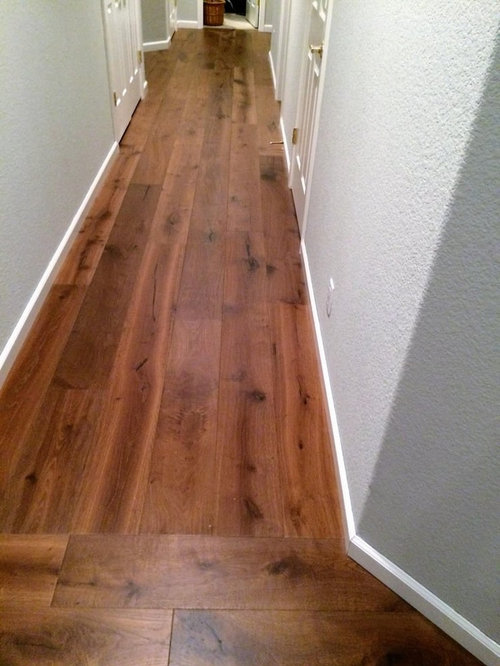
Which direction to run hardwood flooring
Hallway Hardwood Flooring Install Progress (Plus A Few
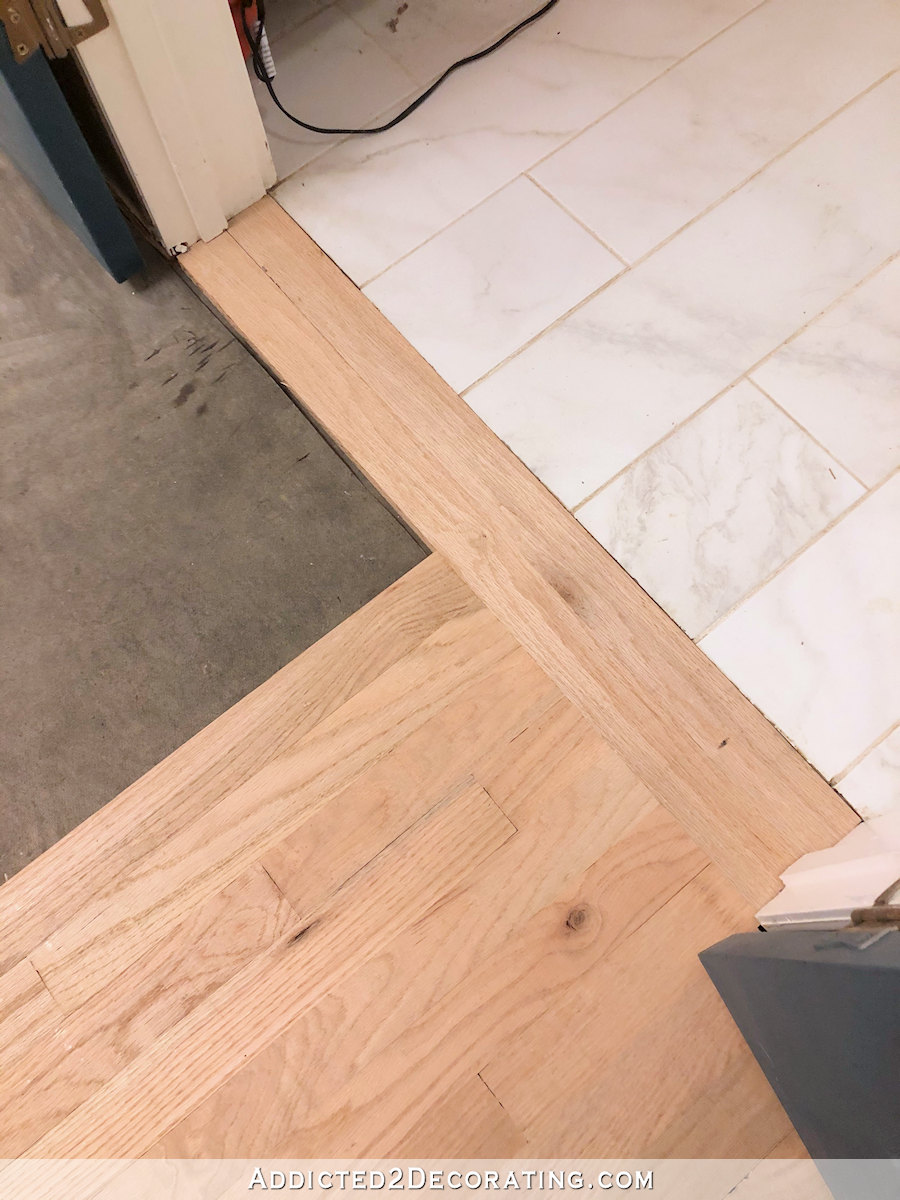
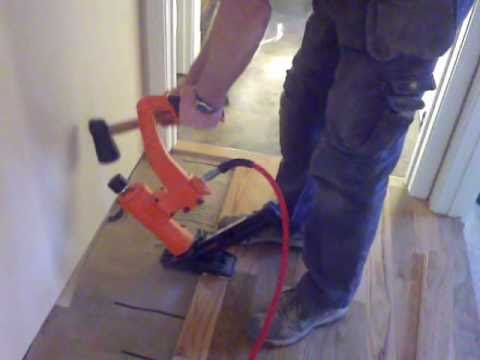
Installing hardwood floors in hallways, tight spots, angles and doorways
Hardwood laying direction
Installing Engineered Wood Floors Hallway Layout Part 3

How To Install Oak Hardwood Floors Young House Love

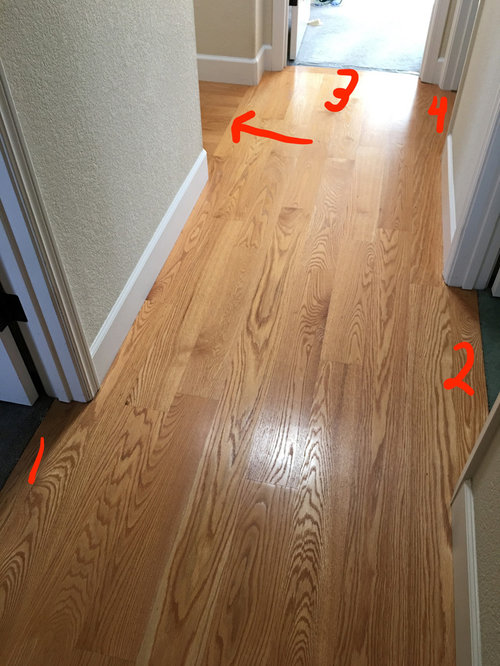
Wood direction change in hallway Hardwood floors, Flooring, Wood

Best Of Flooring Direction Hallway And Review Flooring, Laying

Installing Laminate Flooring in Hallways, Do It Yourself
How To Hardwood Flooring Installation with Flat Transition DIY Tricks MrYoucandoityourself

Related Posts:
- Hardwood Floors In Bedroom
- Hand Scraped Hardwood Flooring
- Birch Hardwood Flooring
- Walnut Hardwood Flooring Ideas
- Cherry Hardwood Flooring
- Hand Scraped Hardwood Floors
- White Hardwood Flooring
- Hardwood Floor Care
- Walnut Hardwood Flooring Kitchen
- Floating Hardwood Floors
Installing Hardwood Flooring In A Hallway
Installing hardwood flooring in a hallway can be a time-consuming task, but with the right materials, tools, and instructions, you can create a beautiful and durable hardwood floor in no time. Hardwood flooring is known for its beauty and long-lasting durability, making it an ideal option for hallways that receive a lot of foot traffic. In this article, we’ll walk you through the steps of installing hardwood flooring in a hallway and answer some frequently asked questions about the process.
Materials & Tools Needed for Installation
Before you begin the installation process, it’s important to make sure you have all the necessary materials and tools on hand. You’ll need the following items:
– Hardwood Flooring
– Underlayment
– Nails or Staples
– Hammer
– Drill
– Tape Measure
– Saw
– Chalk Line
– Level
– Putty Knife
– Spackle
– Sandpaper
– Finish (stain, paint, or sealer)
– Paintbrush or Roller
Preparing The Subfloor
The first step of installing hardwood flooring in a hallway is to prepare the subfloor. This includes cleaning the surface to make sure it is free of dirt, debris, and any other obstacles that might impede the installation process. Then, you’ll need to measure the area to determine how much flooring you need to purchase. Once you’ve purchased the necessary amount of hardwood flooring, it’s time to begin installation.
Installing The Underlayment & Hardwood Flooring
Once you have all your materials and tools on hand and the subfloor is ready for installation, it’s time to install the underlayment and hardwood flooring. Start by laying down the underlayment in rows along the length of the hallway. Make sure that each row is evenly spaced and that there are no gaps between them. Once all the underlayment is in place, it’s time to install the hardwood flooring. Begin by nailing or stapling the first row of boards into place along one edge of the hallway. Make sure that each row is level and that there are no gaps between them. When you reach the end of each row, cut off any excess with a saw. Continue this process until all of the hardwood flooring has been installed.
Finishing The Floor
Once all of the hardwood flooring has been installed, it’s time to finish the job by filling any gaps or cracks with spackle and sanding down any rough edges with sandpaper. Then, you can choose to either stain, paint, or seal your newly installed hardwood floor. If you decide to stain or paint your floor, use a brush or roller to apply a thin coat of your chosen finish. Allow it to dry before applying a second coat if necessary. If you decide to seal your floor, apply an even coat with a roller or brush and allow it to dry completely before walking on it.
FAQs About Installing Hardwood Flooring In A Hallway
Q: What type of nails should I use for installing hardwood flooring?
A: The type of nails you use will depend on what type of hardwood flooring you are using. For most types of solid wood floors, you should use 1 1/2 inch nails or staples with a galvanized finish. For engineered wood floors, you can use 1 1/4 inch nails or staples with a stainless steel finish.
Q: How do I know if my subfloor is ready for installation?
A: It’s important to make sure that your subfloor is clean and level before beginning the installation process. To check if your subfloor is level, use a leveler to measure any dips or bumps in the surface. If there are any dips or bumps that are more than 1/8 inch deep,