What is Hardwood Floor Beading?
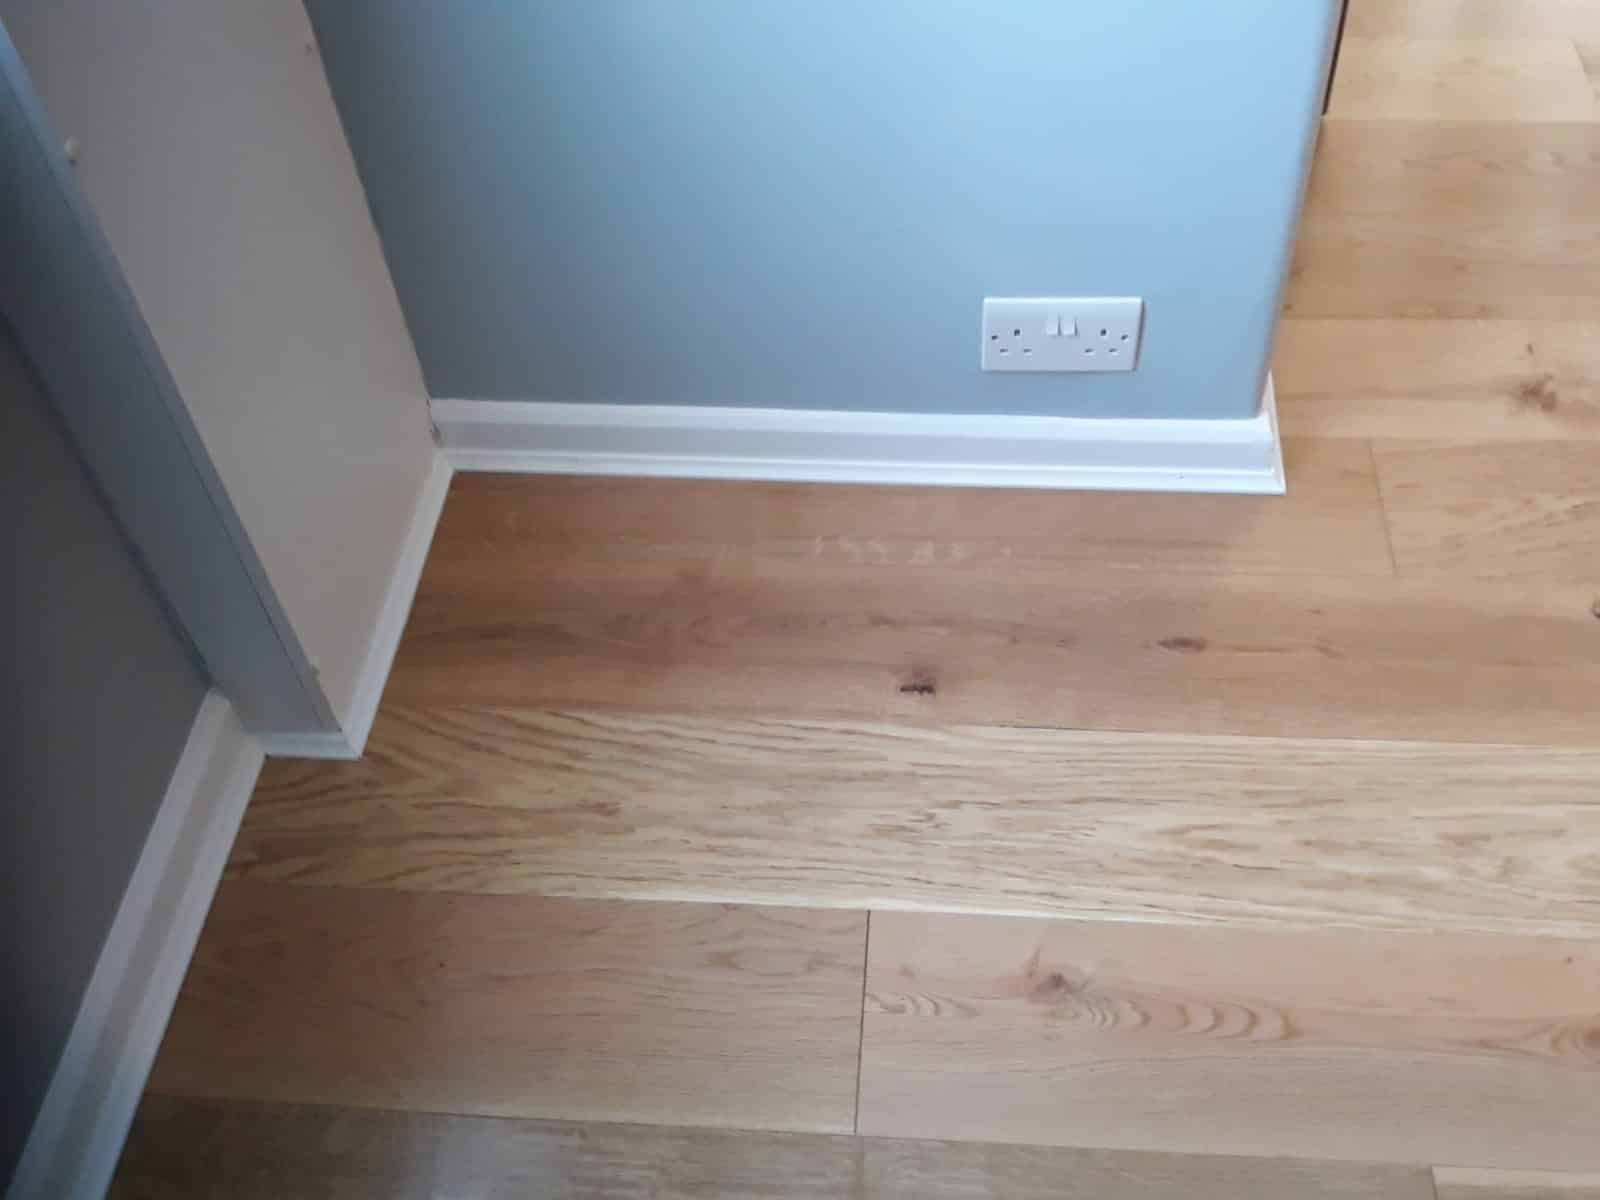
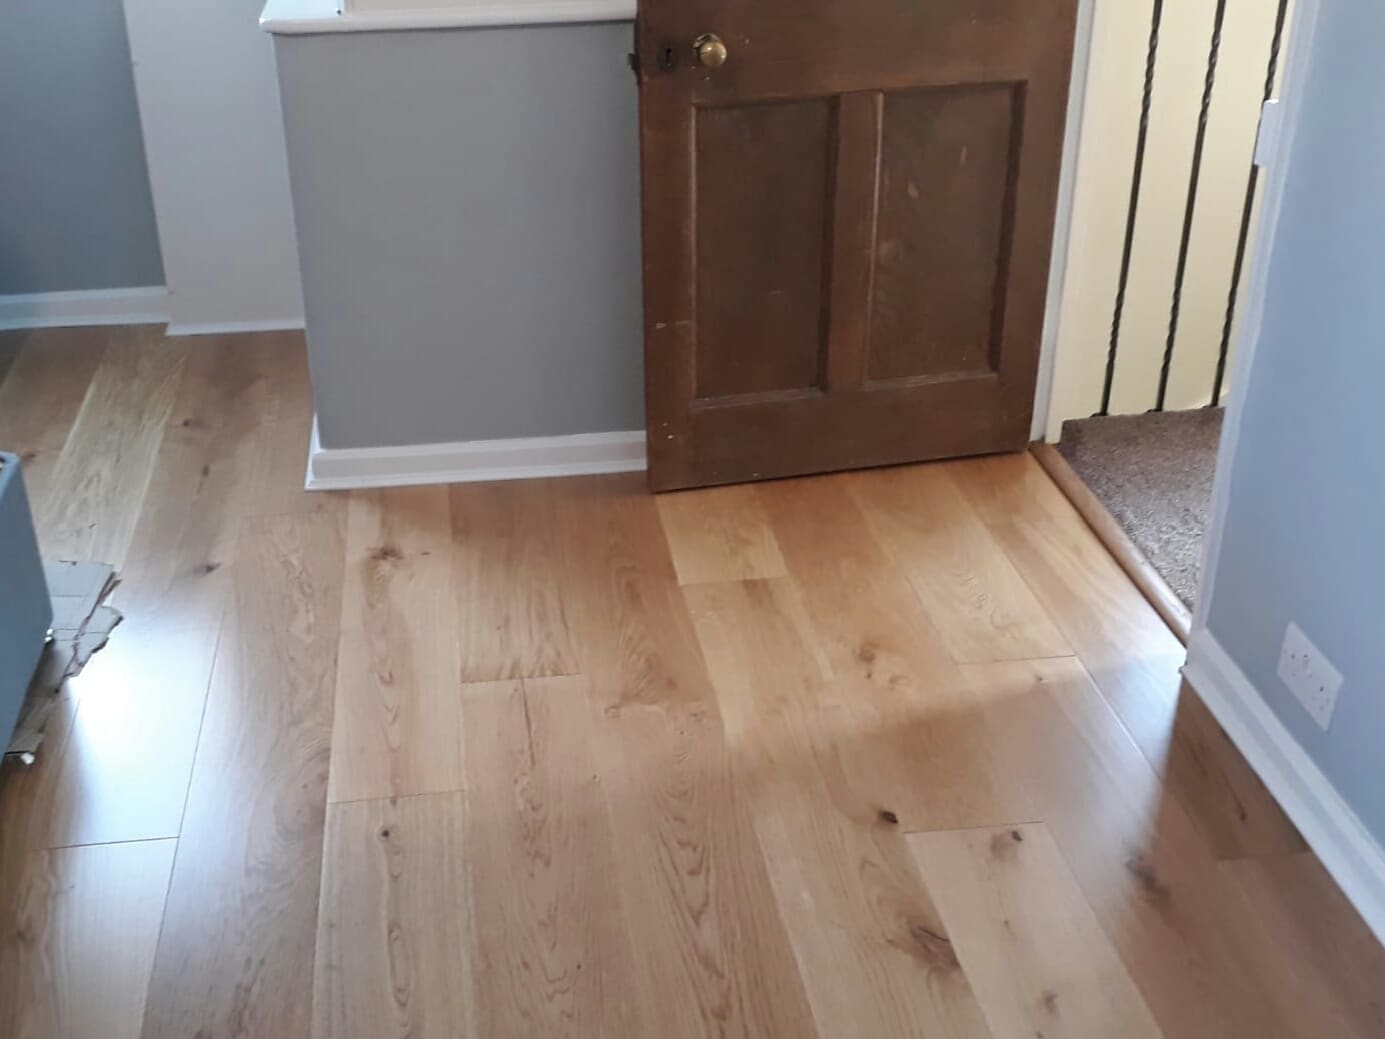
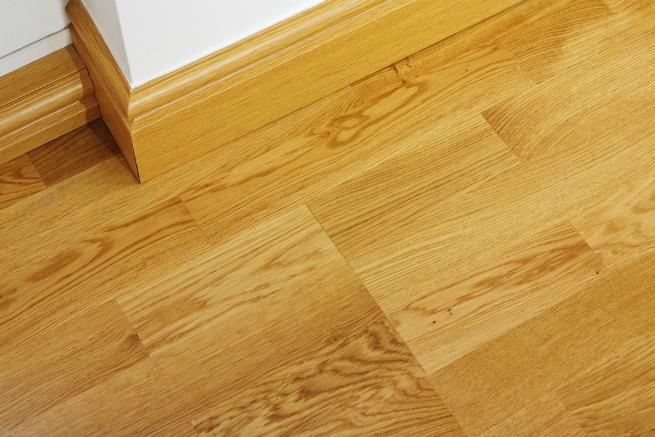
Hardwood floor beading, also known as floor molding or quarter round, is a type of trim used to cover the expansion gap between the hardwood floor and the baseboard or wall. It is typically made from solid wood or MDF (medium-density fiberboard) and is available in various profiles and finishes to complement different hardwood flooring styles. Let’s discuss the purpose and function of hardwood floor beading and how it enhances the overall appearance of hardwood floors.
- Purpose: The primary purpose of hardwood floor beading is to conceal the expansion gap between the hardwood floor planks and the walls or baseboards. This expansion gap allows the hardwood floor to expand and contract with changes in temperature and humidity without buckling or warping. By covering the expansion gap with beading, the hardwood floor installation appears finished and polished.
- Function: Hardwood floor beading serves both a functional and aesthetic purpose in hardwood floor installations. Functionally, it helps to protect the edges of the hardwood floor planks from damage, such as chipping or splintering. Additionally, it helps to prevent dirt, dust, and debris from accumulating in the expansion gap, making cleaning and maintenance easier. Aesthetically, hardwood floor beading provides a seamless transition between the hardwood floor and the walls or baseboards, creating a clean and polished look.
- Appearance: Hardwood floor beading comes in a variety of profiles and finishes to match different hardwood flooring styles and decor preferences. Common profiles include quarter round, which has a convex outer surface, and shoe molding, which has a flat outer surface. Beading is available in a wide range of wood species, stains, and finishes, allowing homeowners to choose a trim that complements their hardwood flooring and overall decor scheme.
- Installation: Hardwood floor beading is typically installed after the hardwood floor has been laid and secured in place. It is attached to the baseboard or wall using nails, screws, or adhesive, depending on the installation method and substrate material. The beading should be installed snugly against the hardwood floor, with a small gap left between the top of the beading and the baseboard or wall to allow for expansion and contraction.
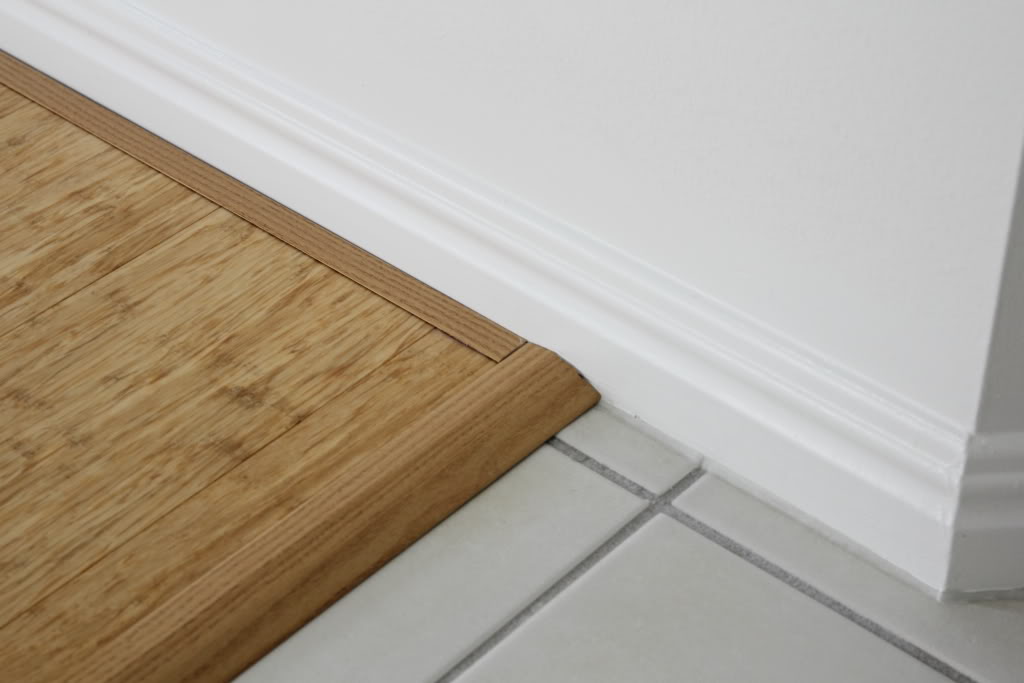
- Versatility: In addition to covering the expansion gap around the perimeter of the room, hardwood floor beading can also be used to transition between different types of flooring materials or to create decorative accents within the room. For example, beading can be used to border a hardwood floor area rug or to frame a decorative tile inset in a hardwood floor installation. Its versatility makes it a popular choice for homeowners looking to add custom details and finishing touches to their hardwood floor projects.

Benefits of Using Hardwood Floor Beading
Hardwood floor beading offers several benefits that make it a valuable addition to any hardwood floor installation. From its ability to conceal unsightly gaps to its decorative versatility, hardwood floor beading enhances the overall appearance and functionality of hardwood floors. Below are the benefits of using hardwood floor beading in your next flooring project.
Conceals Expansion Gap: One of the primary benefits of hardwood floor beading is its ability to conceal the expansion gap between the hardwood floor planks and the walls or baseboards. This expansion gap allows the hardwood floor to expand and contract with changes in temperature and humidity without buckling or warping. By covering the gap with beading, the hardwood floor installation appears finished and polished, creating a clean and seamless transition between the floor and the walls.
Protects Edges: Hardwood floor beading helps to protect the edges of the hardwood floor planks from damage, such as chipping or splintering. Without beading, the exposed edges of the hardwood floor are more susceptible to wear and tear from foot traffic, furniture, and other sources of impact. Beading provides a barrier that helps to prevent damage and prolong the lifespan of the hardwood floor, saving homeowners time and money on repairs and replacements.
Enhances Appearance: In addition to its functional benefits, hardwood floor beading enhances the overall appearance of hardwood floors by providing a clean and polished finish. Beading comes in a variety of profiles and finishes to match different hardwood flooring styles and decor preferences, allowing homeowners to choose a trim that complements their flooring and enhances the aesthetic appeal of the room. Whether it’s a classic quarter-round profile or a modern square edge design, beading adds a decorative touch that elevates the look of any hardwood floor installation.
Facilitates Cleaning: Hardwood floor beading helps to prevent dirt, dust, and debris from accumulating in the expansion gap between the hardwood floor and the walls or baseboards. This makes cleaning and maintenance easier, as homeowners can simply sweep or vacuum the floor without worrying about debris getting trapped in hard-to-reach areas. Additionally, some types of beading are designed with smooth surfaces that are easy to wipe clean, further simplifying the cleaning process and helping to keep hardwood floors looking their best.
Versatile Design Options: Hardwood floor beading comes in a wide range of profiles, wood species, stains, and finishes, allowing homeowners to choose a trim that complements their hardwood flooring and overall decor scheme. Whether it’s a traditional oak quarter round or a sleek cherry shoe molding, there is a beading option to suit every style and preference. Additionally, some manufacturers offer custom beading options, allowing homeowners to create unique and personalized accents that add character and charm to their hardwood floor projects.
Types and Styles of Hardwood Floor Beading
Hardwood floor beading comes in a variety of types and styles to suit different hardwood flooring installations and decor preferences. From classic quarter round to modern square edge designs, there is a beading option to complement any hardwood floor style and enhance the overall appearance of the room. Here are some of the most common types and styles of hardwood floor beading and how they can add a finishing touch to your hardwood floor project.
Quarter Round: Quarter round is the most common type of hardwood floor beading and is characterized by its convex outer surface. It is typically installed along the perimeter of the room, where the hardwood floor meets the walls or baseboards, to cover the expansion gap and provide a clean and polished finish. Quarter round is available in a variety of wood species, stains, and finishes to match different hardwood flooring styles and decor preferences.
Shoe Molding: Shoe molding is similar to quarter round but has a flat outer surface instead of a convex one. It is typically installed in areas where the hardwood floor meets the baseboards or cabinets, providing a seamless transition between different materials and covering any gaps or imperfections in the flooring installation. Like quarter round, shoe molding comes in a variety of profiles and finishes to complement different hardwood flooring styles and decor schemes.
Base Shoe: Base shoe, also known as base cap or base molding, is a type of hardwood floor beading that is installed at the base of the baseboard or wall, rather than along the top edge. It is typically used to cover gaps between the baseboard and the floor or to add a decorative accent to the baseboard. Base shoe is available in a variety of profiles and finishes to match different baseboard styles and enhance the overall appearance of the room.
Square Edge: Square edge beading is a modern alternative to traditional quarter round or shoe molding and is characterized by its straight, squared-off edges. It provides a clean and contemporary finish to hardwood floor installations, creating a sleek and streamlined look that complements modern decor styles. Square edge beading is available in a variety of wood species, stains, and finishes to match different hardwood flooring styles and personal preferences.
Custom Designs: In addition to standard profiles and styles, hardwood floor beading can also be custom-designed to create unique and personalized accents for your hardwood floor project. Custom beading options include intricate patterns, decorative motifs, and custom finishes that add character and charm to any room. Whether it’s a custom inlay border or a hand-carved design, custom beading allows homeowners to express their creativity and create a one-of-a-kind look for their hardwood floors.
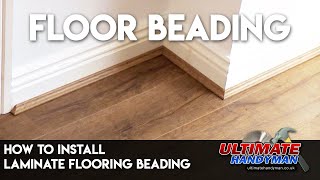
Installation Process of Hardwood Floor Beading
The installation process of hardwood floor beading requires precision and attention to detail to achieve a seamless and professional result. Whether you’re installing quarter round, shoe molding, or base shoe, proper preparation and technique are essential for ensuring a finished look that complements your hardwood flooring installation. Below we provide a step-by-step guide to help you understand the installation process of hardwood floor beading and achieve a polished finish for your hardwood floors.
Preparation: Before installing hardwood floor beading, it’s essential to prepare the area by removing any existing trim or molding and cleaning the surface to remove dust, dirt, and debris. Measure the length of each wall or baseboard where the beading will be installed and cut the beading to size using a miter saw or handsaw, making sure to cut precise 45-degree angles at the corners for a seamless fit.
Layout: Once the beading is cut to size, dry-fit each piece along the perimeter of the room to ensure a proper fit and alignment. Make any necessary adjustments to the length or angle of the beading as needed, and mark the location of each piece with a pencil or chalk for reference during installation. If installing the base shoe, position it flush against the baseboard or wall, leaving a small gap between the top of the beading and the surface to allow for expansion and contraction.
Attachment: Attach the hardwood floor beading to the baseboard or wall using finishing nails, brad nails, or adhesive, depending on the installation method and substrate material. For quarter-round or shoe molding, nails should be driven through the top edge of the beading at a slight angle to secure it to the wall or baseboard. For base shoes, nails should be driven through the bottom edge of the beading into the floor, leaving a small gap between the top of the beading and the surface to allow for expansion and contraction.
Finishing Touches: Once all the beading is installed, fill any nail holes or gaps with wood filler or caulk, and sand the surface smoothly to create a seamless finish. If necessary, touch up the finish or stain to match the color of the hardwood flooring. Finally, clean the surface to remove any dust or debris, and admire the finished look of your hardwood floor installation with beading.
Optional: Painting or Staining: Depending on your personal preference and decor style, you may choose to paint or stain the hardwood floor beading to match the color of the walls, baseboards, or hardwood flooring. Before painting or staining, sand the surface of the beading to remove any rough spots or imperfections, and apply a coat of primer or wood conditioner to ensure proper adhesion of the paint or stain. Once dry, apply the desired finish coat of paint or stain using a brush or roller, and allow it to dry completely before handling or installing.

Maintenance and Care Tips
Proper maintenance and care are essential for preserving the beauty and functionality of hardwood floor beading and ensuring its long-term durability. From regular cleaning and inspections to addressing minor issues promptly, several maintenance tasks can help keep your beading looking its best for years to come. Here are several maintenance and care tips for hardwood floor beading and how to keep it in top condition.
Regular Cleaning: Establish a regular cleaning routine to remove dust, dirt, and debris from the surface of your hardwood floor beading. Use a soft-bristled brush or vacuum attachment to gently sweep away any loose particles, and wipe down the surface with a damp cloth or mop to remove stubborn stains or residue. Avoid using harsh chemicals or abrasive cleaners on the beading, as these can damage the finish or discolor the wood.
Preventative Maintenance: Take steps to prevent damage to your hardwood floor beading by using furniture pads or coasters under heavy furniture legs to prevent scratching or indenting the surface. Additionally, avoid dragging heavy or sharp objects across the beading, as this can cause scratches or gouges that are difficult to repair. If necessary, apply a coat of clear polyurethane or lacquer to the surface of the beading to protect it from wear and tear.
Inspect for Damage: Periodically inspect your hardwood floor beading for any signs of damage, such as scratches, dents, or chips. Address any minor issues promptly by sanding the surface smooth and applying a touch-up finish or stain to match the color of the beading. For more significant damage or defects, consider replacing the affected section of beading to maintain a uniform and polished appearance.
Avoid Moisture Exposure: Hardwood floor beading is susceptible to damage from moisture exposure, so it’s essential to avoid excessive humidity or moisture in the room where it is installed. Use a dehumidifier or air conditioner to maintain a stable indoor climate, and wipe up any spills or splashes immediately to prevent water damage to the beading. Additionally, avoid installing hardwood floor beading in areas prone to moisture, such as bathrooms or kitchens, unless it is properly sealed and protected from water exposure.
Regular Maintenance: Perform regular maintenance on your hardwood floor beading to keep it looking its best and prevent minor issues from becoming more significant problems. This includes sanding and refinishing the surface as needed to remove scratches or stains and restore the original luster of the wood. Additionally, clean and polish the surface of the beading regularly to remove dirt and debris and maintain its natural beauty.
Professional Maintenance: For deep cleaning and maintenance of your hardwood floor beading, consider hiring a professional woodworker or flooring contractor. Professional maintenance services can help remove stubborn stains, repair minor damage, and restore the finish of the beading to its original condition. Be sure to follow the manufacturer’s recommendations for professional maintenance and consult with a qualified professional for best results.
Polish your Hardwood Floors with the perfect Trim u0026 Moldings!
Matte Fiberboard Quarter Beading – Wooden Flooring Accesories

How to Prepare for Your Floor Project Daveu0027s Floor Sanding

Scotia Solid Hardwood Floor Beading Solid hardwood floors, Solid

Floor Edging – Skirting Boards or Beading for Laminate Floors?
Related Posts: