That is the explanation why you get it in a frame instead of securing it to the floor board. Job it down alongside the laminate, and then subsequent keep tapping the block until it works like a glove. Everyone really wants to have a polished and beautiful looking floor that is shining. All you need for setting up your laminate flooring always will come with easy to understand directions on the box its going to help make the work of yours very simple.
Images about Laying Timber Laminate Flooring
Laying Timber Laminate Flooring

So when you employ a buddy of a good friend, or someone functioning under their own shingle, are you guaranteed the sort of installation you expect? In addition, when using a moonlighting installer, you need to be having to pay no over 50-60 % of the prevailing number of the independent retailer set up fee. This is the long term! Think of it in this way.
How to Install Laminate Flooring
/how-to-lay-laminate-flooring-1822250-hero-e5982b82c7a34c0fb7fc777099f2a1cd.jpg)
Laminate surface for public environments have a significantly higher resistance and can be less easily scratched or damaged. When using laminate flooring, the floors has to extend underneath the doorframe. If you are considering moving to an alternative house in the next several years, you may want to choose a lesser quality of laminate flooring too. Laminate flooring can make life easier.
How to Install Laminate Flooring
:max_bytes(150000):strip_icc()/how-to-lay-laminate-flooring-1822250-04-e2971fa6cba84aaabb1bd9d571fbd745.jpg)
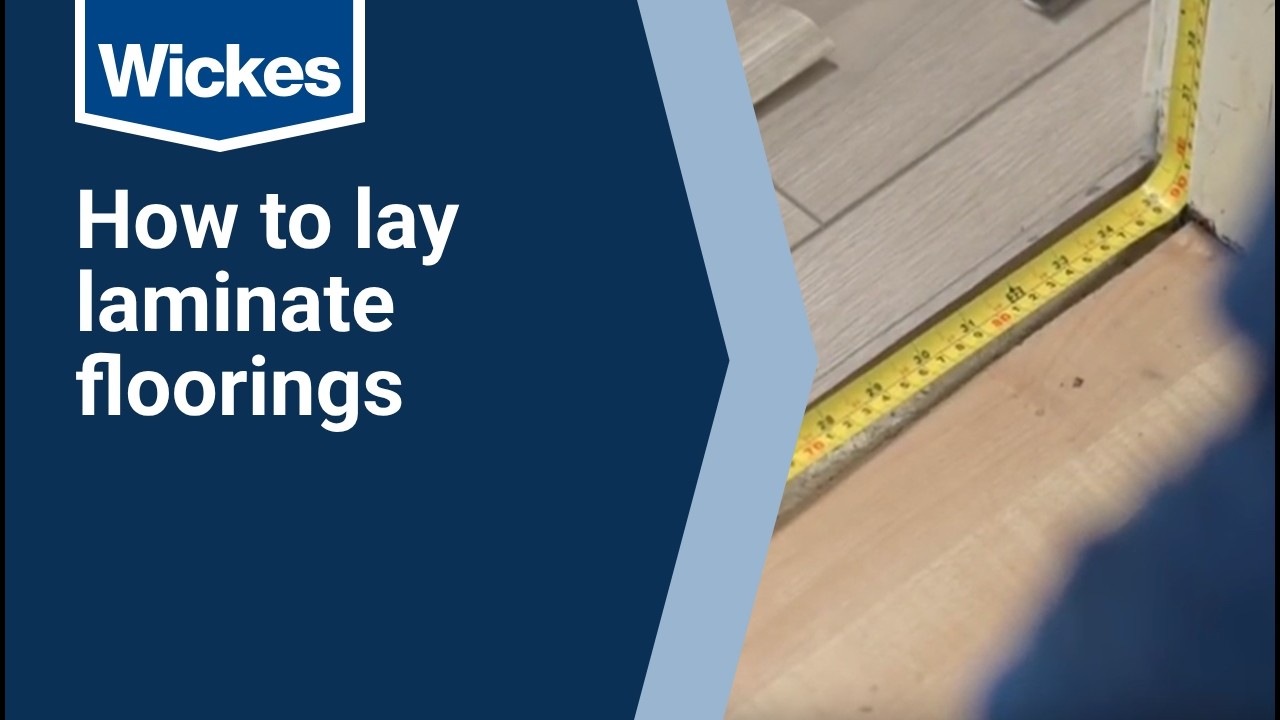
Wickes How To Lay Laminate Flooring
8 Essential Tools for Laminate Flooring Installations The Family
How to Install Laminate Flooring Cheap Flooring Guide 2019
How to Lay Laminate Flooring Cost in Australia Fantastic Handyman
How to Install Click Together Flooring Mitre 10 Easy As DIY
How to Install Laminate Flooring
:max_bytes(150000):strip_icc()/how-to-lay-laminate-flooring-1822250-08b-10f3572e10b14770b1e5da743da4226a.jpg)
How To Lay Solid Wood Flooring A Step by Step Guide for Everyone

Solid Timber Installation is an appropriate solution to the

Worker Hands Installing Timber Laminate Floor Stock Photo
How to Lay Engineered Timber Floor Guide Fantastic Handyman AU
The Pros and Cons of Laminate Flooring – JDog Carpet Cleaning
Related Posts:
- 12mm White Oak Laminate Flooring
- Walnut Laminate Flooring
- Bamboo Laminate Flooring
- Laminate Flooring Trim
- High Gloss Laminate Flooring
- Dark Oak Laminate Flooring
- Dark Wood Laminate Flooring
- Laminate Flooring Color Ideas
- Victorian Laminate Flooring
- Wood Laminate Flooring Bathroom
Laying Timber Laminate Flooring: A Step-by-Step Guide
Laying timber laminate flooring is a great way to bring a touch of warmth and elegance to any home. It is a relatively straightforward DIY project that can be accomplished in a few days, with the help of a few tools and supplies. In this article, we’ll cover everything you need to know about laying timber laminate flooring, from what materials you’ll need to the step-by-step process of laying the flooring.
Materials Needed for Laying Timber Laminate Flooring
Before beginning your project, it is important to make sure you have all the necessary materials. The main materials you will need for laying timber laminate flooring include:
– Laminate flooring planks
– Underlayment
– Spacers
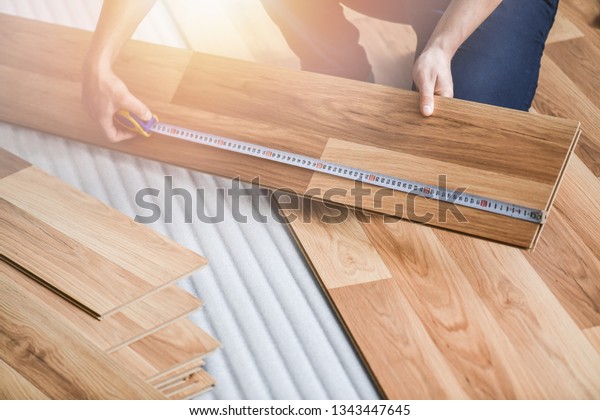
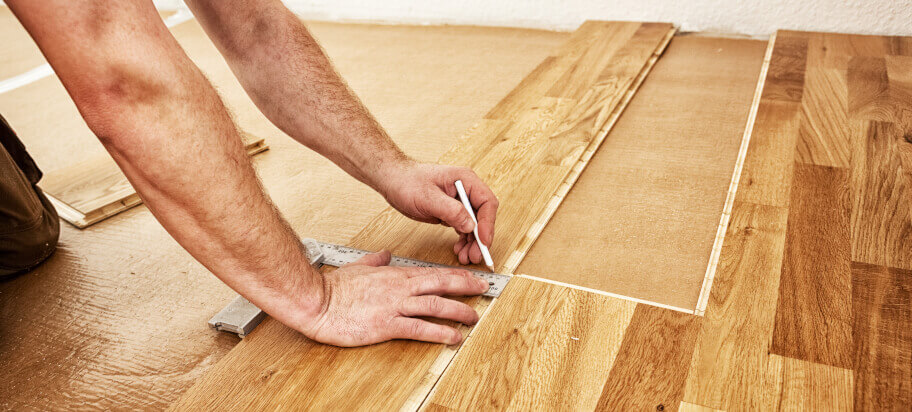
– Tape measure
– Utility knife
– Hammer
– Nails
– Saw
– Adhesive
– Finishing nails
Preparing the Subfloor for Laminate Flooring Installation
The first step in laying timber laminate flooring is preparing the subfloor. This involves making sure the subfloor is clean, level, and free of any debris or obstructions. It is also important to make sure there are no gaps or cracks in the subfloor that could affect the installation process. You may need to use a level or other tool to ensure the subfloor is level before beginning.
Installing Underlayment for Laminate Flooring
Once the subfloor is ready, it’s time to install underlayment. Underlayment helps provide a cushion between the subfloor and the laminate planks, as well as providing insulation and sound dampening. When installing underlayment, it’s important to make sure it is laid out evenly and that all seams are properly sealed. It is also important to make sure the underlayment is installed in accordance with manufacturer instructions.
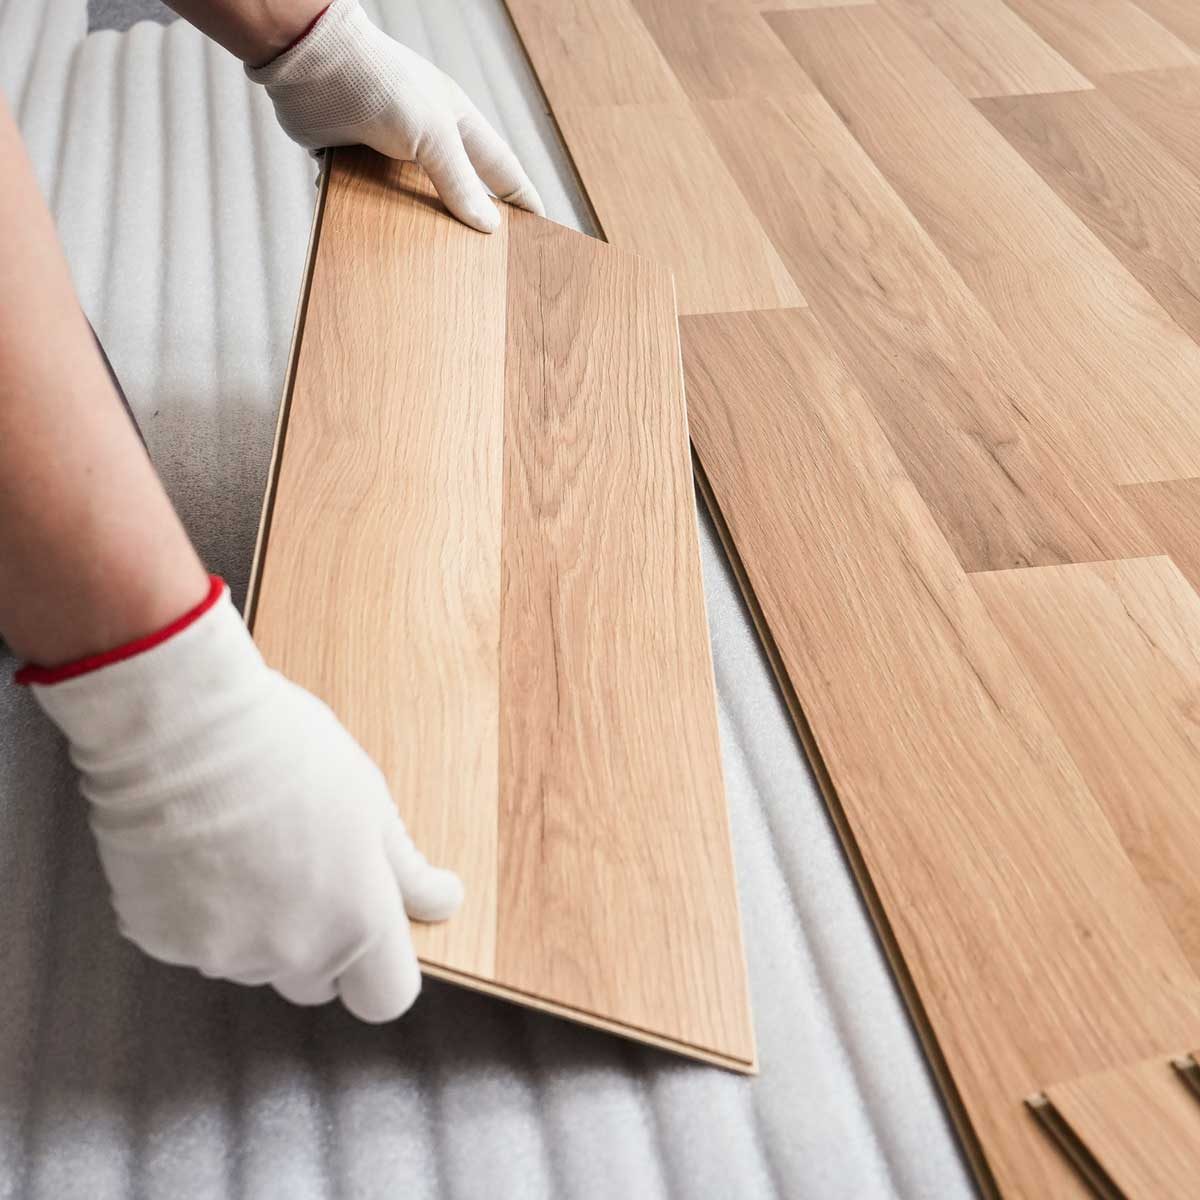
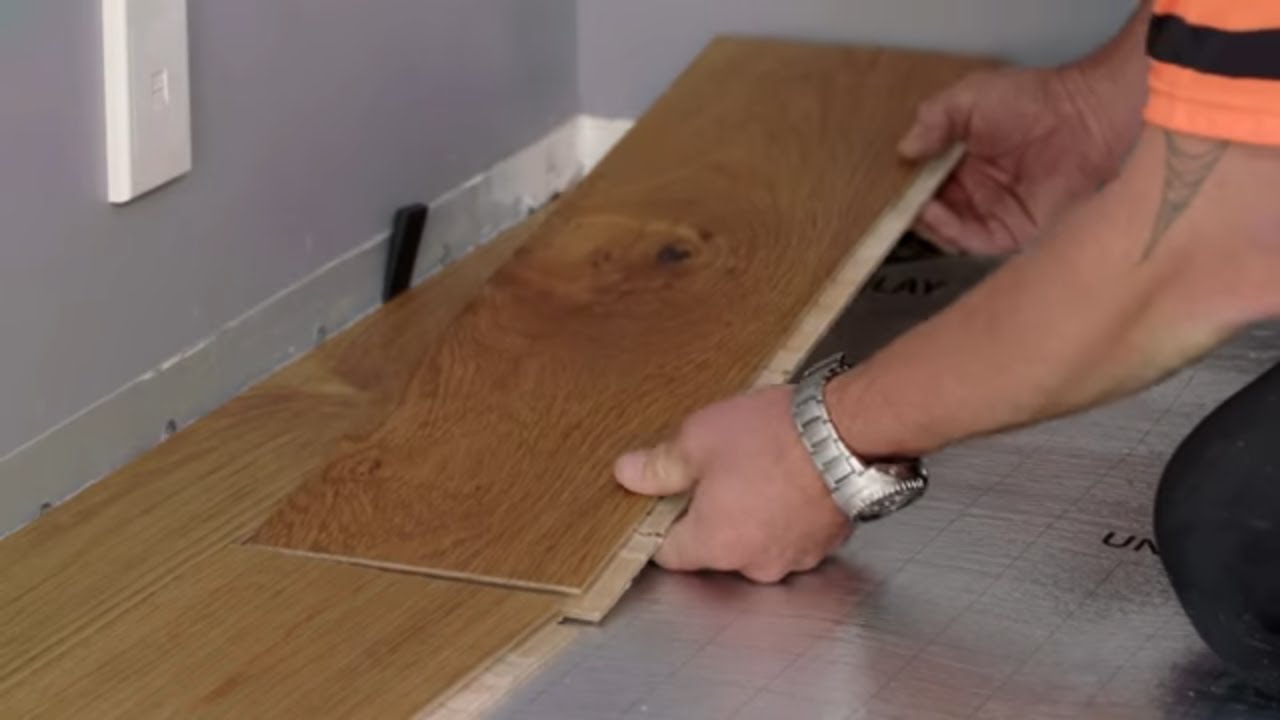
Laying Out and Installing the Laminate Planks
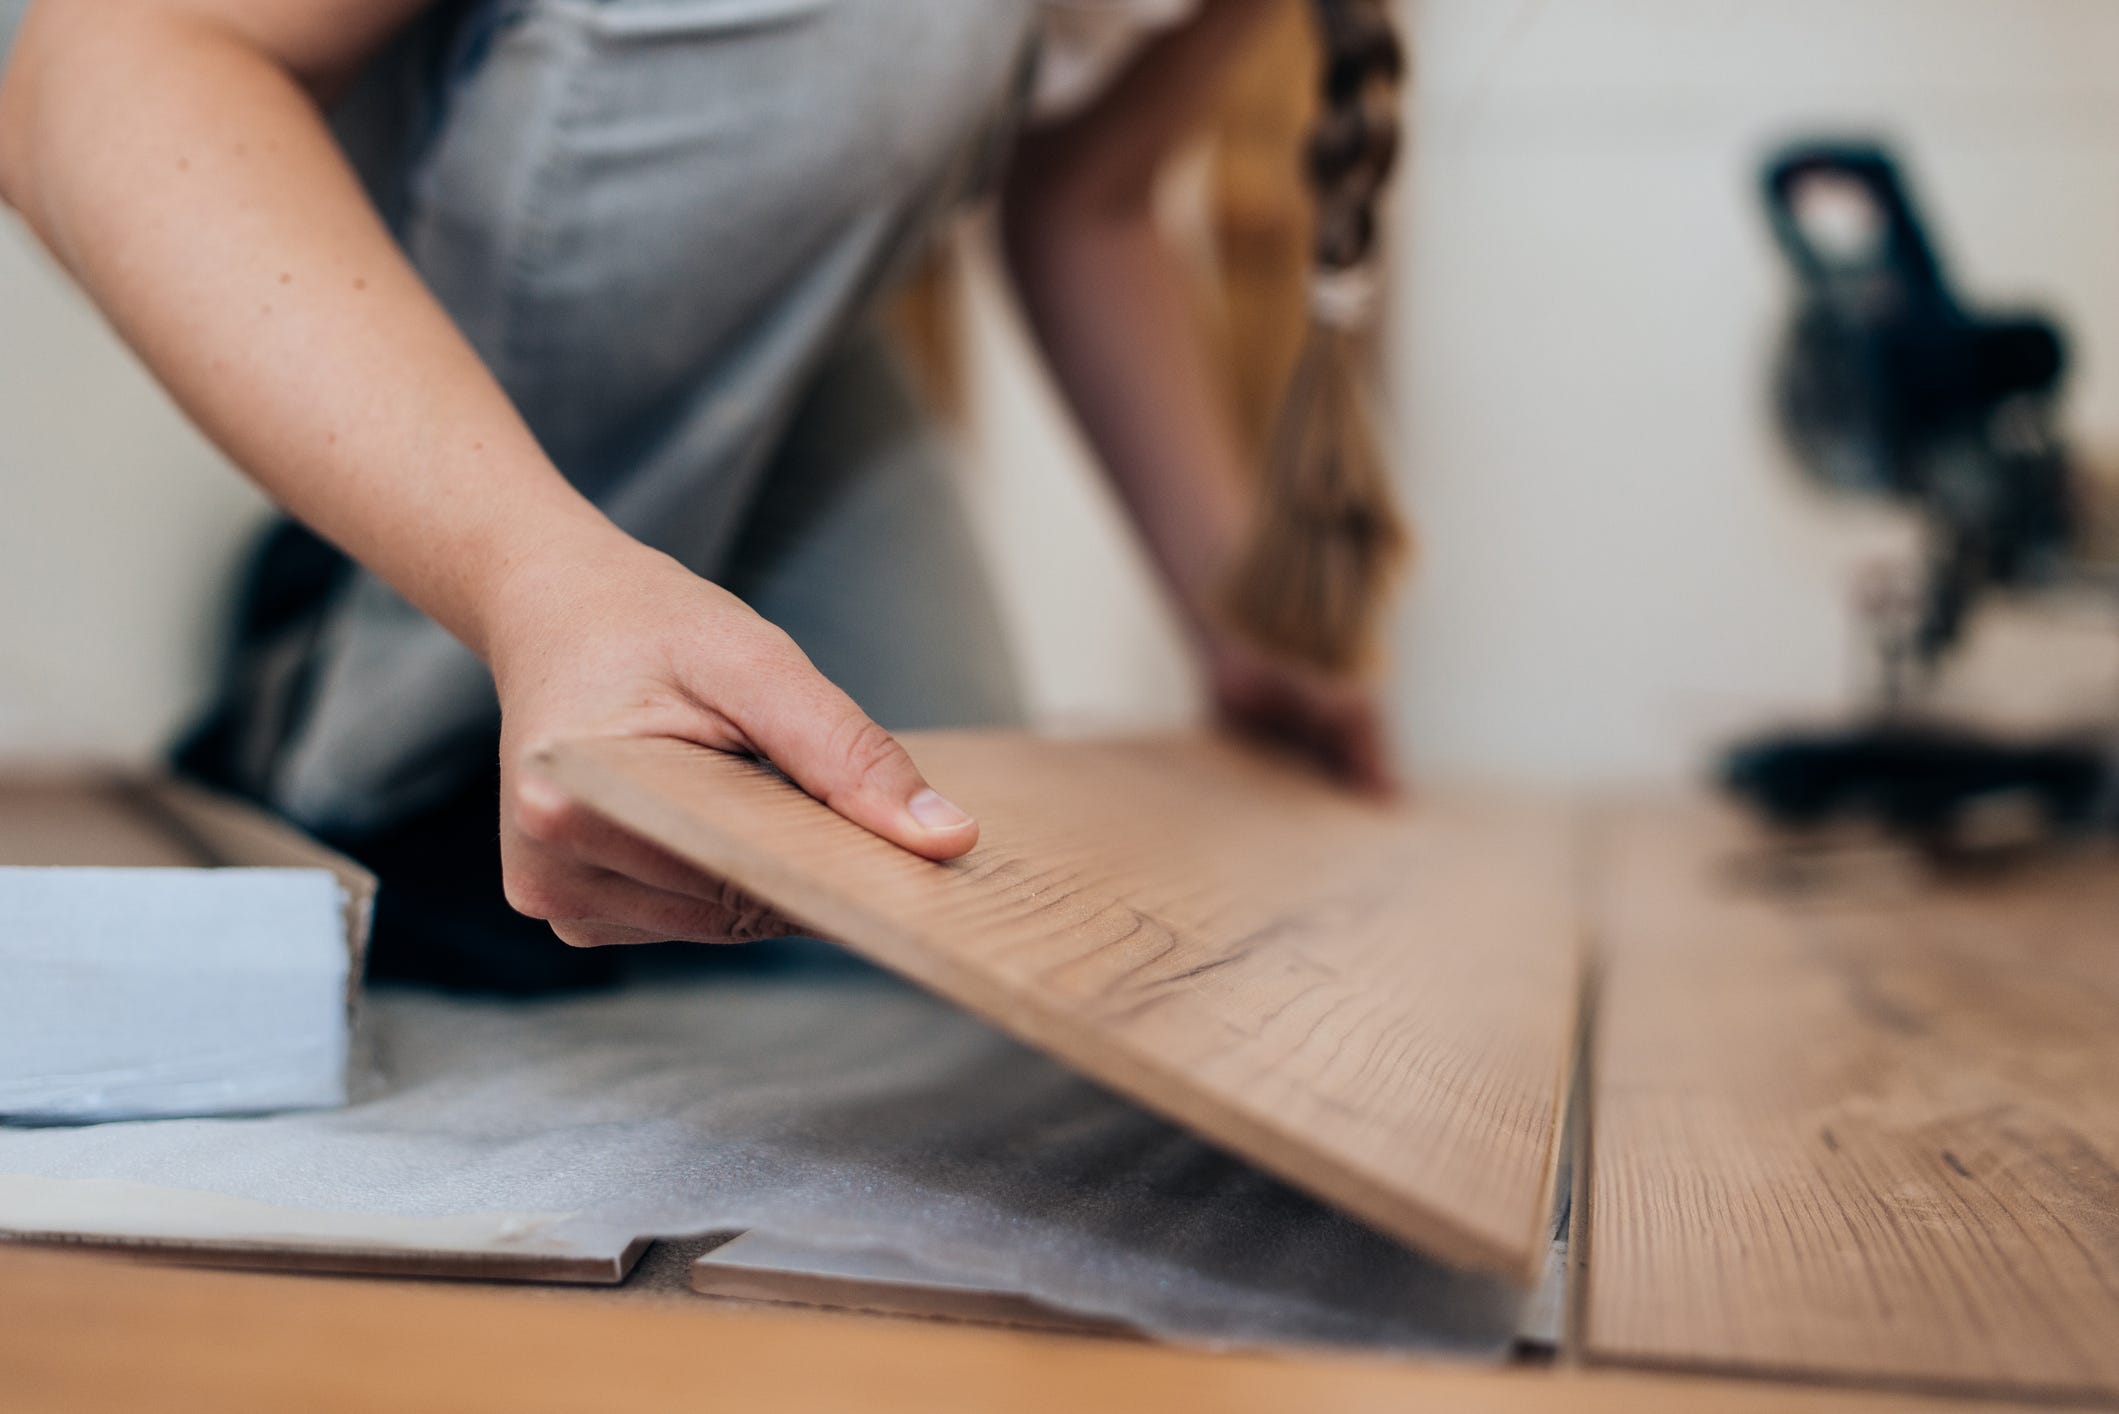
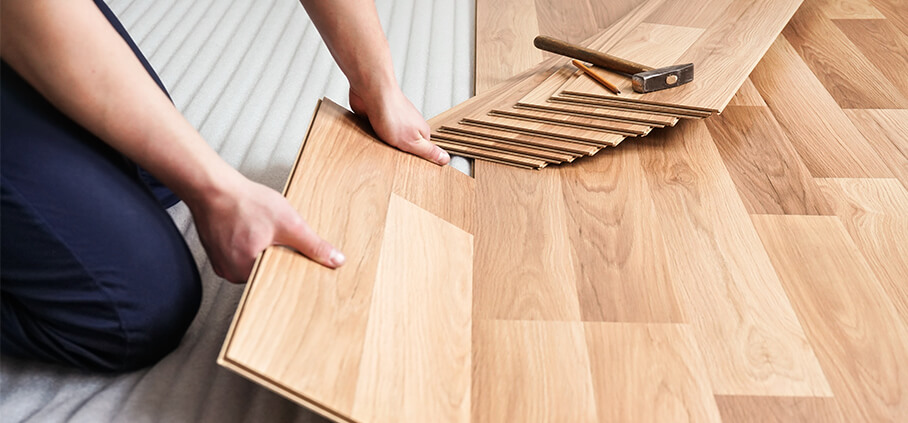
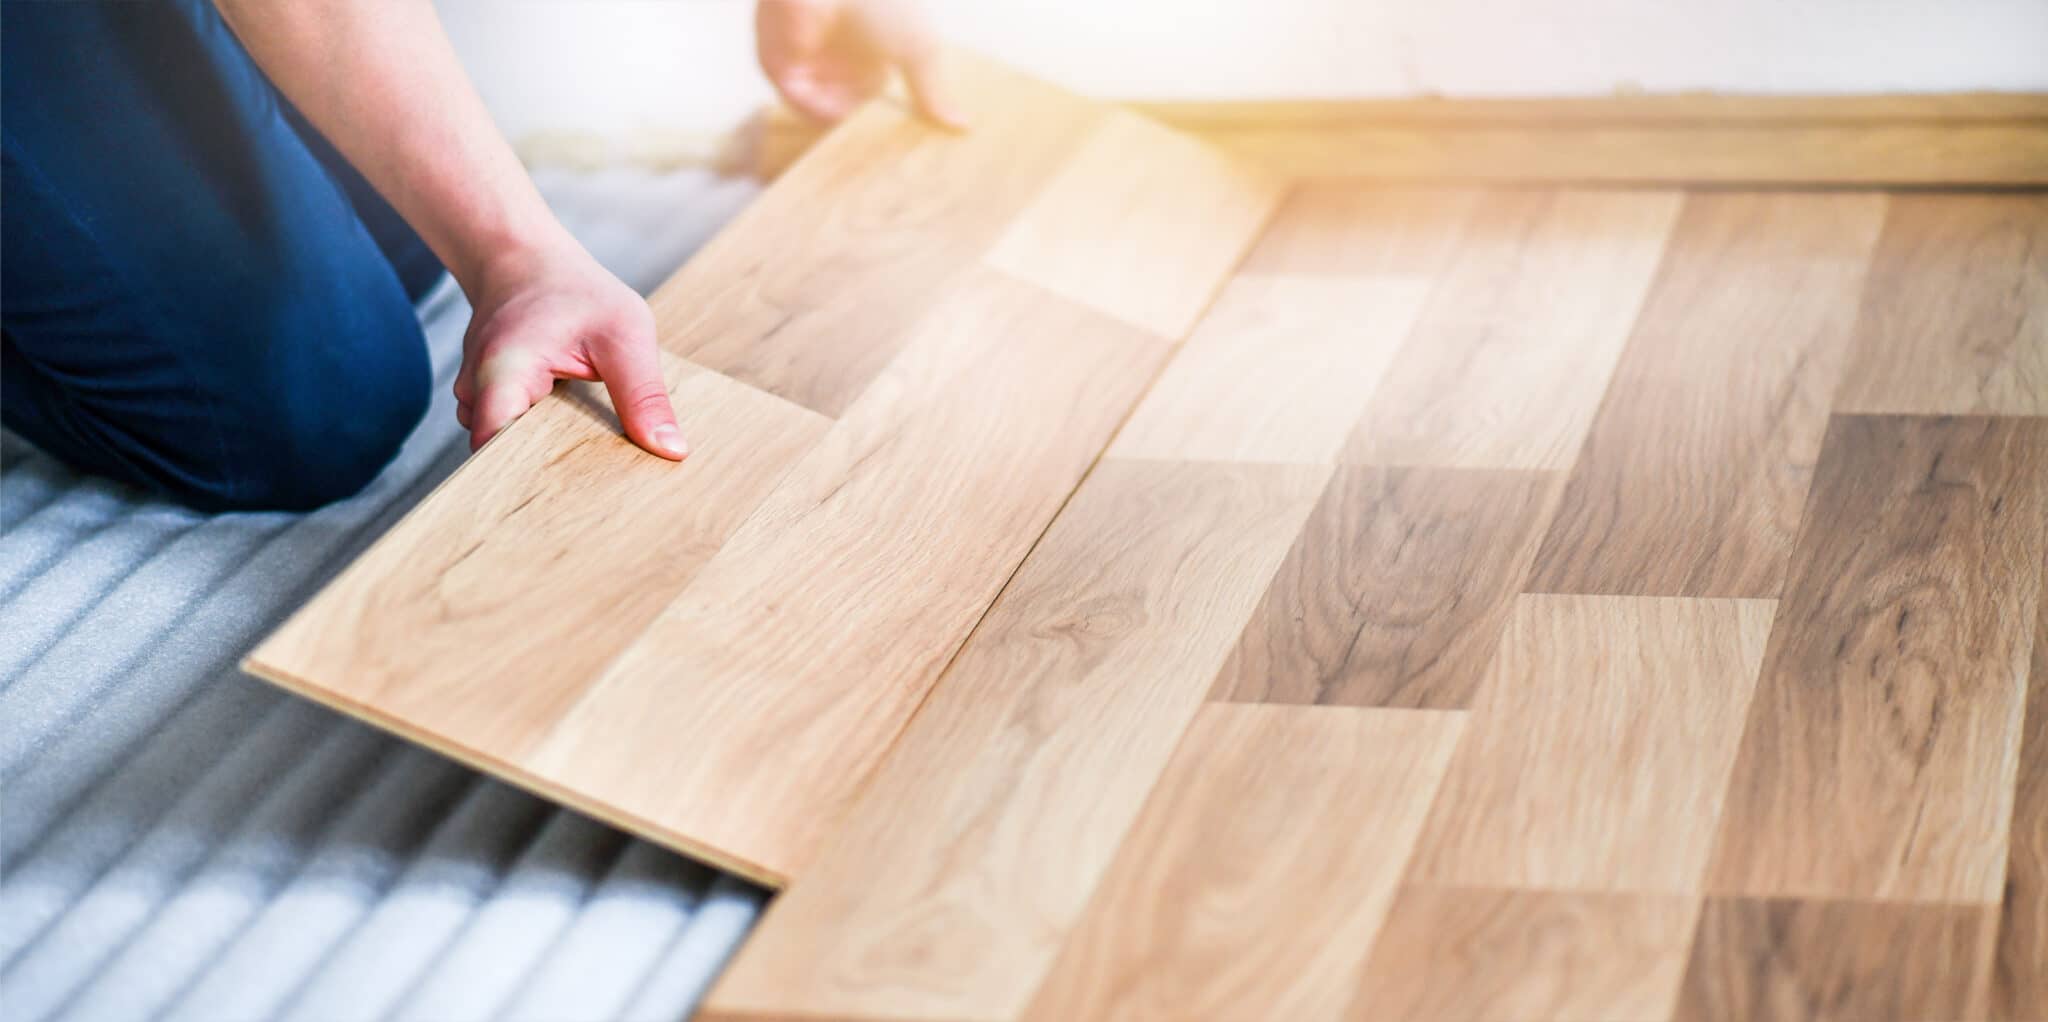
With the underlayment in place, it’s time to begin laying out and installing the laminate planks. Start by measuring the room where you will be installing the flooring, so you know how many planks to buy. When laying out the planks, it’s important to leave a small gap between each plank for expansion. Once all of the planks have been laid out in their proper places, it’s time to start installing them. Begin at one end of the room and work your way towards the other end, using spacers to ensure an even gap between each plank. Use a hammer and nails or an adhesive to secure each plank in place. Once all of the planks have been installed, use a utility knife to trim any excess material around doors or other obstructions.
Finishing Touches for Installing Laminate Flooring
Once all of the planks have been installed, it’s time for finishing touches such as trimming door frames and installing baseboards or moldings around edges of the room. Use finishing nails or an adhesive to secure trim in place and use a saw to cut any door frames that need trimming. Finally, clean up any debris or dust that may have accumulated during installation and enjoy your new timber laminate floor!
FAQs about Laying Timber Laminate Flooring
Q: What type of underlayment should I use when installing laminate flooring?
A: There are several types of underlayment available for installation with laminate flooring, including foam padding, felt paper, and cork underlayment. The type of underlayment you choose will depend on your specific needs and preferences. However, foam padding is generally recommended as it provides superior cushioning and insulation properties.
Q: How wide should I leave gaps between my laminate planks?
A: Generally speaking, you should leave a gap of roughly 1/8 inch between each plank when installing laminate flooring. This allows for expansion of