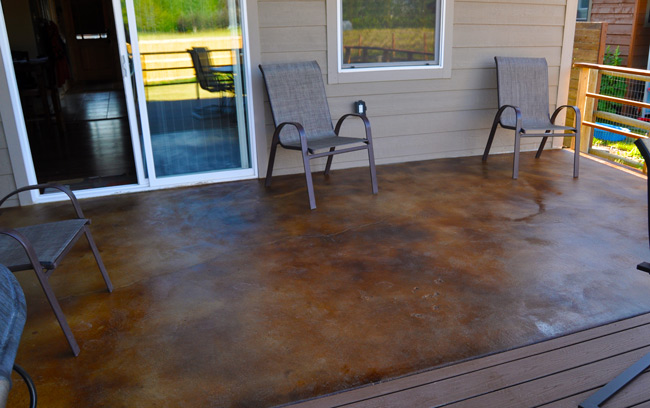
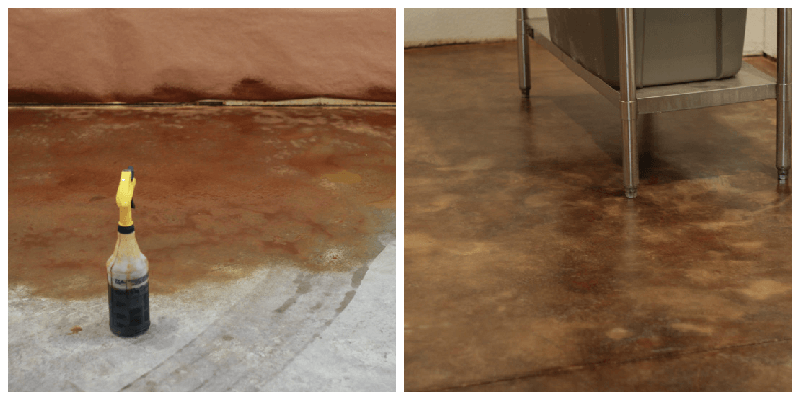
Introducing Acid Staining for Concrete Floors
Acid staining is a popular technique for enhancing the appearance of concrete floors, creating rich, variegated colors and unique patterns that mimic the look of natural stone or marble. Unlike paint or epoxy coatings, acid stains penetrate the surface of the concrete, reacting with the minerals to produce permanent, translucent color effects. If you’re considering acid-staining your concrete floors, here’s what you need to know to get started.
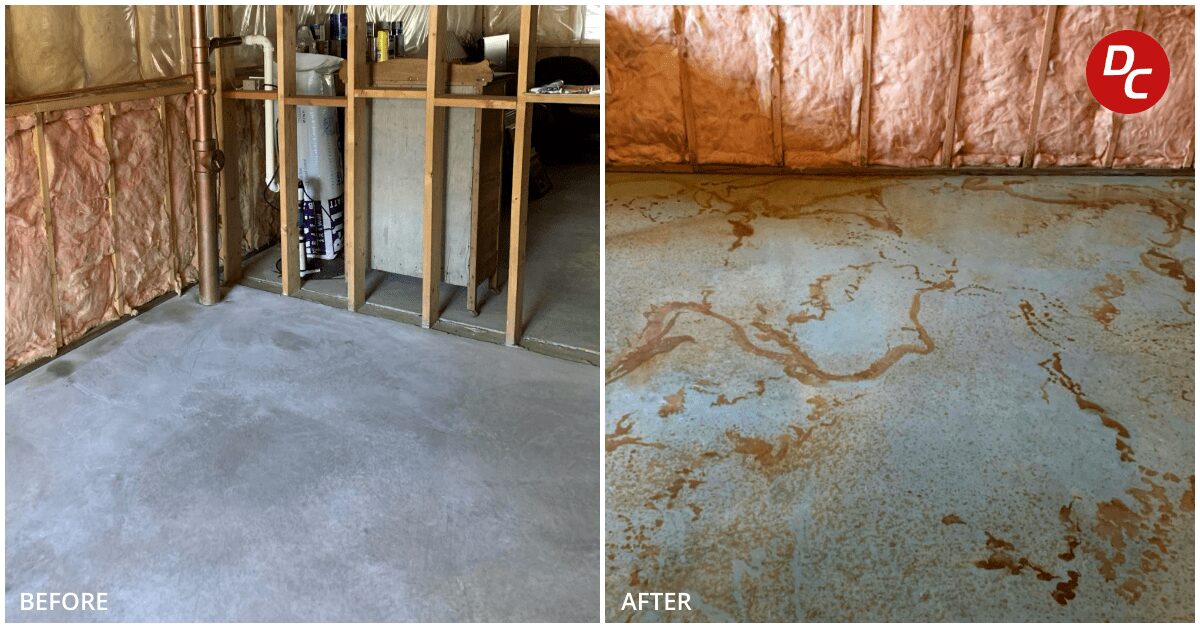
- Understanding Acid Stains: Acid stains are composed of a mixture of water, acid, and metallic salts. The acid, usually hydrochloric or phosphoric acid, opens up the pores of the concrete, allowing the metallic salts to penetrate and react with the calcium hydroxide in the concrete. This chemical reaction produces the characteristic mottled or marbled appearance of acid-stained concrete.
- The versatility of Acid Staining: Acid staining can be applied to both new and existing concrete surfaces, making it a versatile option for both residential and commercial applications. It can be used indoors or outdoors, on floors, countertops, patios, and other concrete surfaces, providing endless design possibilities.
- Benefits of Acid Staining: One of the main advantages of acid staining is its durability. Because the color penetrates the concrete rather than sitting on the surface, it won’t chip, peel, or fade over time. Acid-stained floors are also relatively low maintenance, requiring only periodic resealing to maintain their appearance.
- Limitations and Considerations: While acid staining offers many benefits, it’s essential to consider its limitations and potential drawbacks. Acid stains are translucent, which means they won’t hide imperfections or cover up flaws in the concrete. They also react differently to different concrete surfaces, so the final appearance can vary depending on factors such as the concrete’s age, composition, and condition.
- Safety Precautions: Working with acid stains requires careful attention to safety precautions. The acids used in acid stains are corrosive and can cause skin and eye irritation, so it’s essential to wear protective clothing, gloves, goggles, and a respirator when handling them. Adequate ventilation is also crucial to prevent inhalation of fumes.
- Professional vs. DIY: While some homeowners may opt to tackle acid staining as a DIY project, others may prefer to hire a professional contractor with experience in decorative concrete techniques. Professional installers have the expertise and equipment to achieve consistent, high-quality results, especially on larger or more complex projects.

Preparation Steps Before Acid Staining
Proper preparation is key to the success of an acid staining project. Before applying acid stain to concrete floors, it’s essential to thoroughly clean and prepare the surface to ensure optimal adhesion and color penetration. Here are the essential preparation steps you should take before acid staining your concrete floors.
Surface Inspection: Start by inspecting the concrete surface for any cracks, stains, or other imperfections. Repair any cracks or damaged areas using a concrete patching compound, and remove oil, grease, paint, or other contaminants using a suitable cleaner or degreaser.
Surface Cleaning: Thoroughly clean the concrete surface using a pressure washer or scrub brush and a solution of water and mild detergent. Rinse the surface thoroughly to remove any remaining residue, dirt, or debris. Allow the concrete to dry completely before proceeding to the next step.
Etching or Profiling: Depending on the condition of the concrete, you may need to etch or profile the surface to ensure proper adhesion of the acid stain. Etching involves applying a mild acid solution, such as muriatic acid, to the surface to open up the pores of the concrete. Profiling, on the other hand, involves using a mechanical grinder or sander to roughen the surface and create a better bond for the stain.
Masking and Protection: Use painter’s tape or plastic sheeting to mask off any areas you don’t want to stain, such as walls, baseboards, and adjacent surfaces. Cover surrounding fixtures, furniture, and landscaping with plastic sheeting or drop cloths to protect them from overspray or accidental spills.
Moisture Testing: Test the moisture content of the concrete using a moisture meter or plastic sheet test. Excessive moisture in the concrete can interfere with the staining process and affect the final results. If necessary, take steps to mitigate moisture issues, such as installing a vapor barrier or using a moisture-blocking primer.
Test Patch: Before applying the acid stain to the entire floor, it’s a good idea to do a test patch in an inconspicuous area to evaluate the color and appearance of the stain. This will allow you to make any adjustments to the staining process, such as diluting the stain or adjusting the application technique, before proceeding with the full application.
Applying Acid Stain to Concrete Floors
Once you’ve prepared the concrete surface, it’s time to apply the acid stain. Proper application is crucial to achieving the desired color and effects, so it’s essential to follow the manufacturer’s instructions carefully and pay attention to detail. Here’s how to apply acid stain to concrete floors effectively.
Mixing the Acid Stain: Start by thoroughly mixing the acid stain according to the manufacturer’s instructions. Most acid stains come in concentrated form and need to be diluted with water before application. Use a clean bucket and stir stick to ensure the stain is well mixed and homogeneous.
Testing Absorption: Before applying the stain to the entire floor, it’s a good idea to test the absorption of the concrete surface. Sprinkle a few drops of water on the concrete and observe how quickly it absorbs. If the water beads up or sits on the surface, the concrete may need additional etching or profiling to improve absorption.
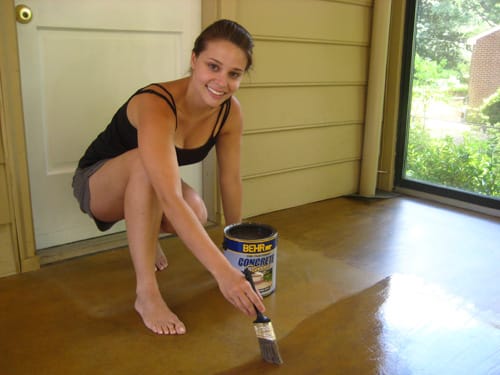
Applying the Stain: Once the concrete is prepared, use a pump sprayer or brush to apply the acid stain evenly to the surface. Work in small sections, starting from the farthest corner of the room and working your way toward the exit. Avoid overlapping areas to prevent uneven coloration.
Achieving Variegated Effects: To create variegated or mottled effects, you can apply multiple coats of stain in different colors or concentrations. Experiment with different application techniques, such as spraying, brushing, or sponging, to achieve the desired look. Keep in mind that the final color will develop over time as the stain reacts with the concrete.
Allowing Dwell Time: After applying the stain, allow it to dwell on the surface for the recommended amount of time, typically between 4 to 8 hours. The longer the stain sits, the deeper and richer the color will be. Monitor the color development closely to avoid over-staining or discoloration.
Neutralizing and Cleaning: Once the desired color is achieved, neutralize the acid stain by applying a solution of baking soda and water to the surface. This will stop the chemical reaction and prevent further color changes. Rinse the floor thoroughly with clean water to remove any residue, then allow it to dry completely before sealing.
Achieving Desired Effects and Colors
One of the most appealing aspects of acid staining is its ability to create a wide range of colors and effects on concrete surfaces. By understanding the factors that influence the final appearance of acid-stained concrete, you can achieve the desired effects and colors for your project. Here’s how to get started.
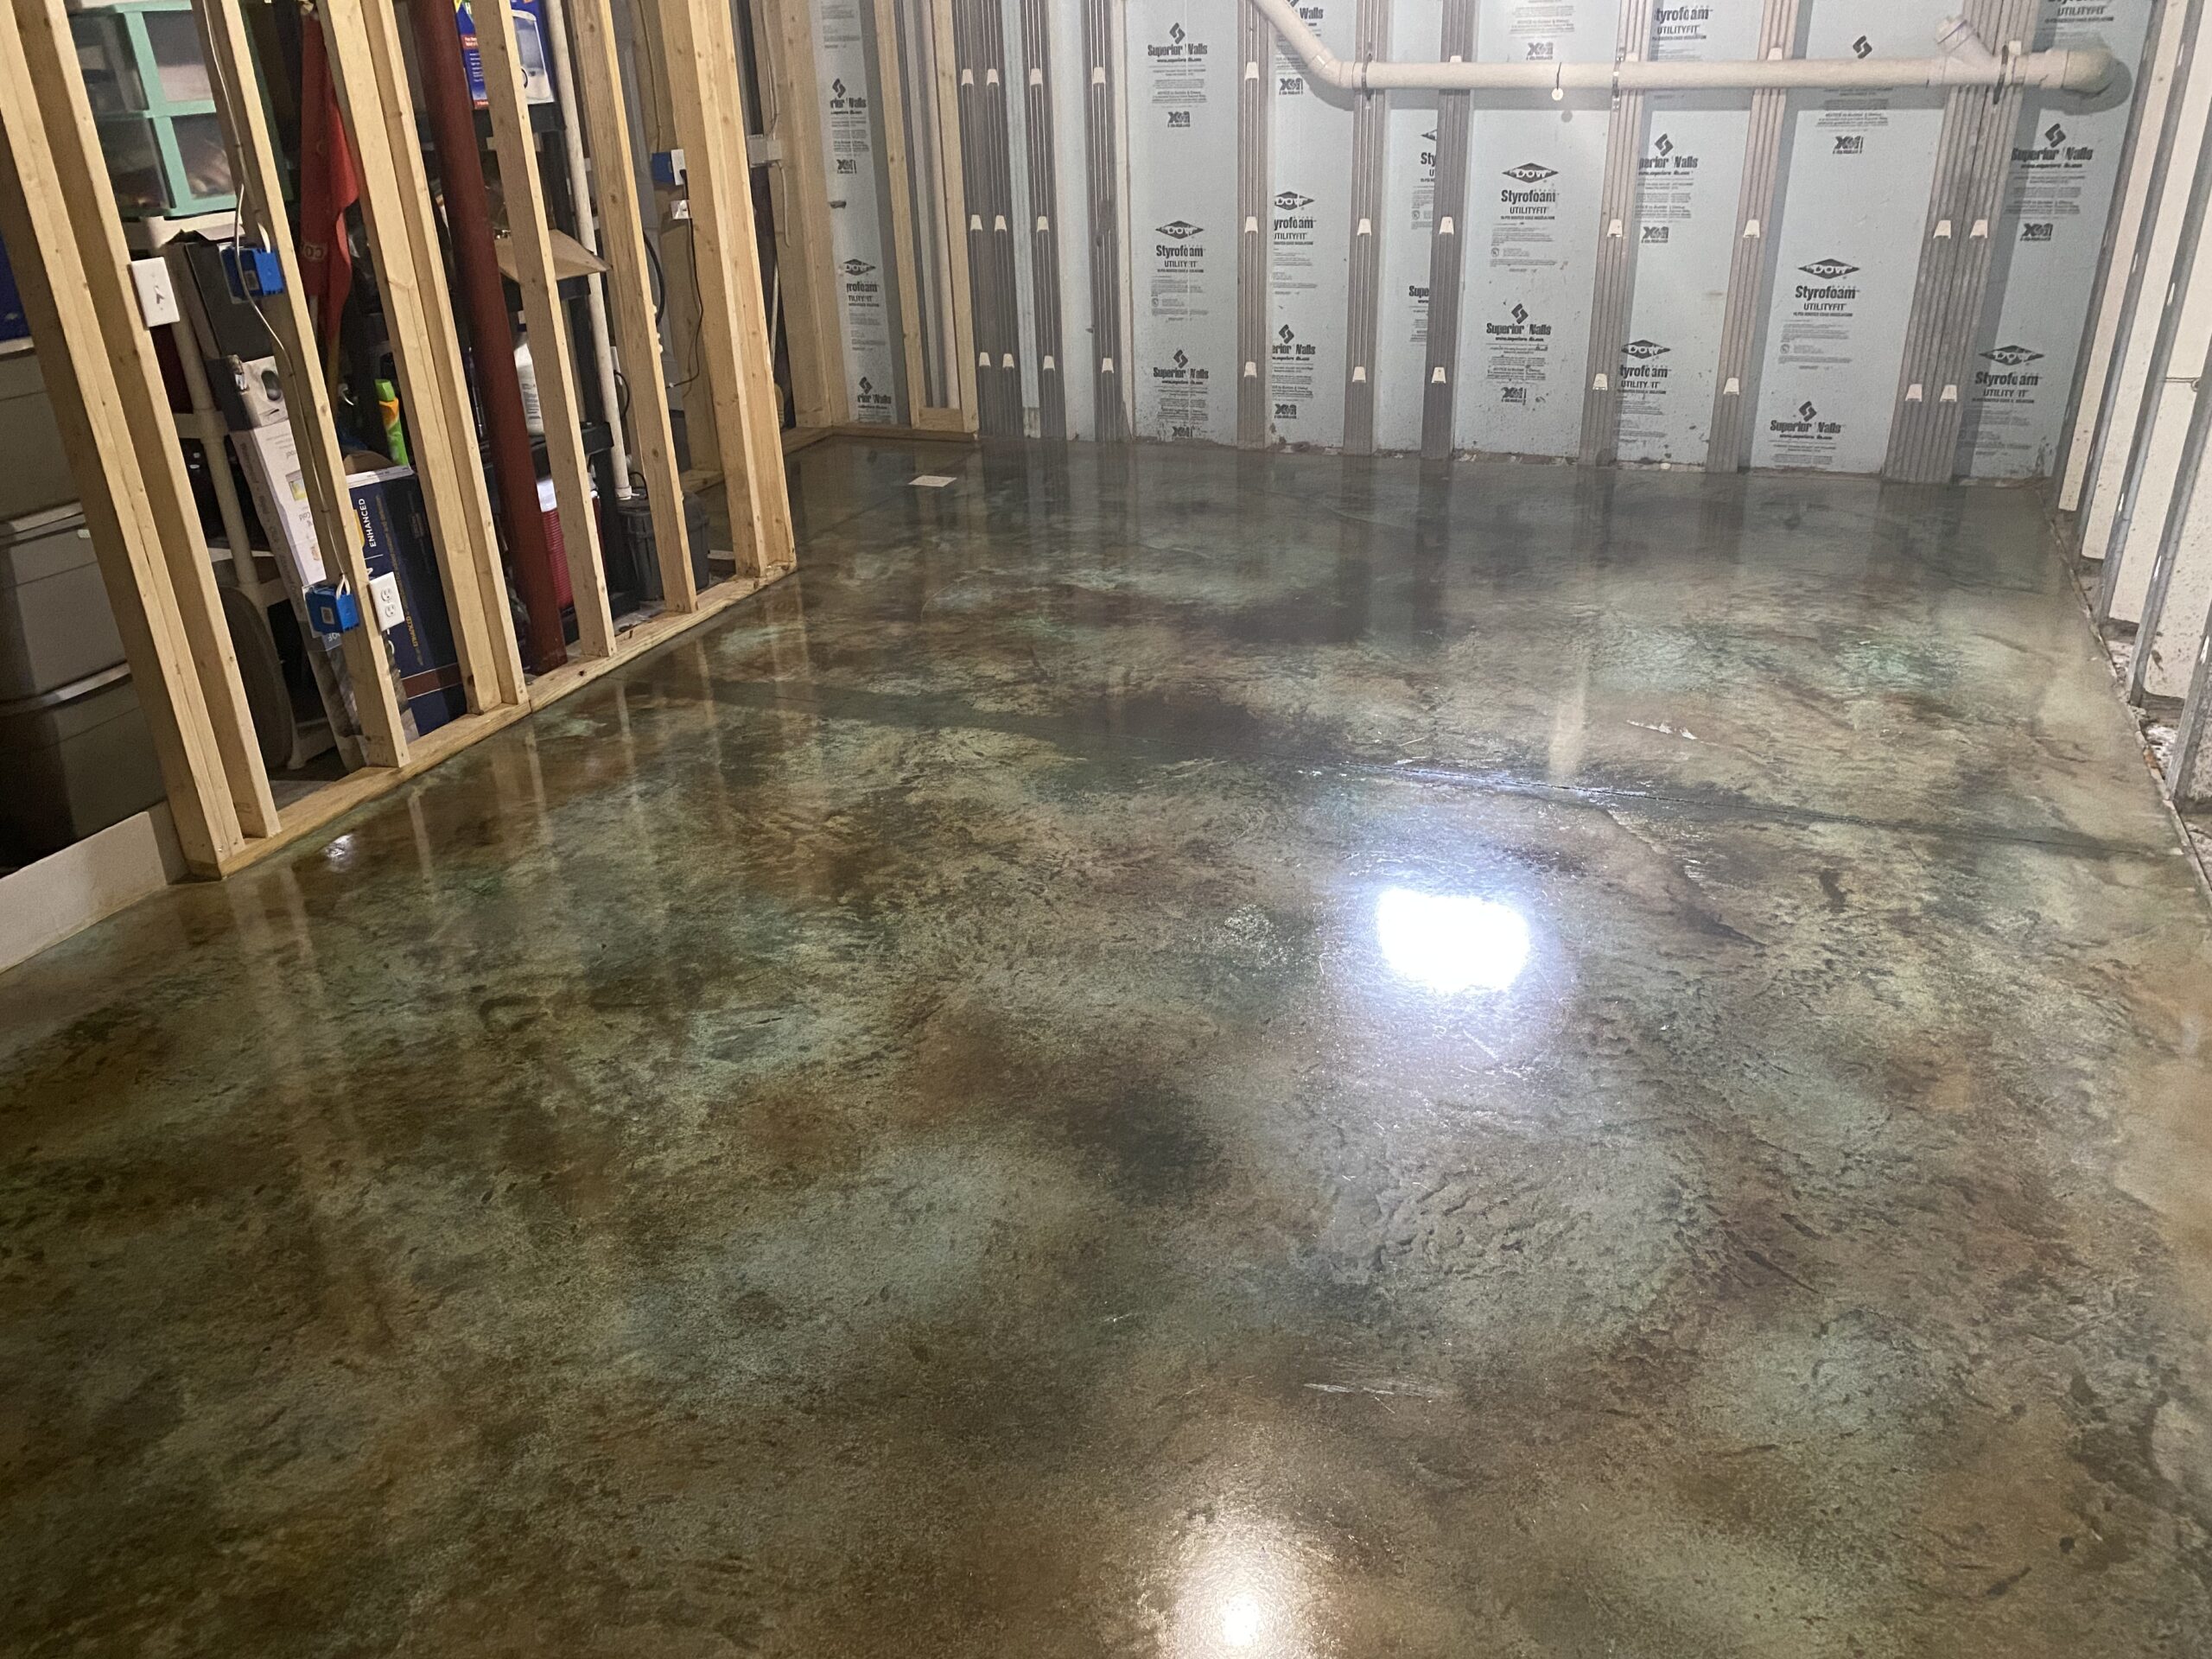
Understanding Color Variations: Acid stains react differently with different types of concrete, resulting in a range of colors and effects. Factors such as the concrete’s composition, age, porosity, and surface conditions can all influence the final color. It’s essential to test the stain on a small, inconspicuous area of the concrete to determine how it will react before applying it to the entire floor.
Choosing the Right Stain: Acid stains come in a variety of colors, ranging from earthy browns and reds to vibrant blues and greens. When selecting a stain, consider the overall aesthetic you want to achieve and how it will complement the surrounding decor and furnishings. Keep in mind that the final color may vary depending on the concrete surface and the application technique used.
Layering and Mixing Colors: For more complex or customized effects, consider layering or mixing different colors of acid stain. Apply lighter or darker stains over each other to create depth and dimension, or blend multiple colors to create unique hues and patterns. Experiment with different combinations and application techniques to achieve the desired look.
Adding Decorative Elements: In addition to color, you can enhance the visual interest of acid-stained concrete floors by incorporating decorative elements such as stencils, stamps, or scoring patterns. These techniques can create intricate designs, borders, or accents that add personality and style to your floors.
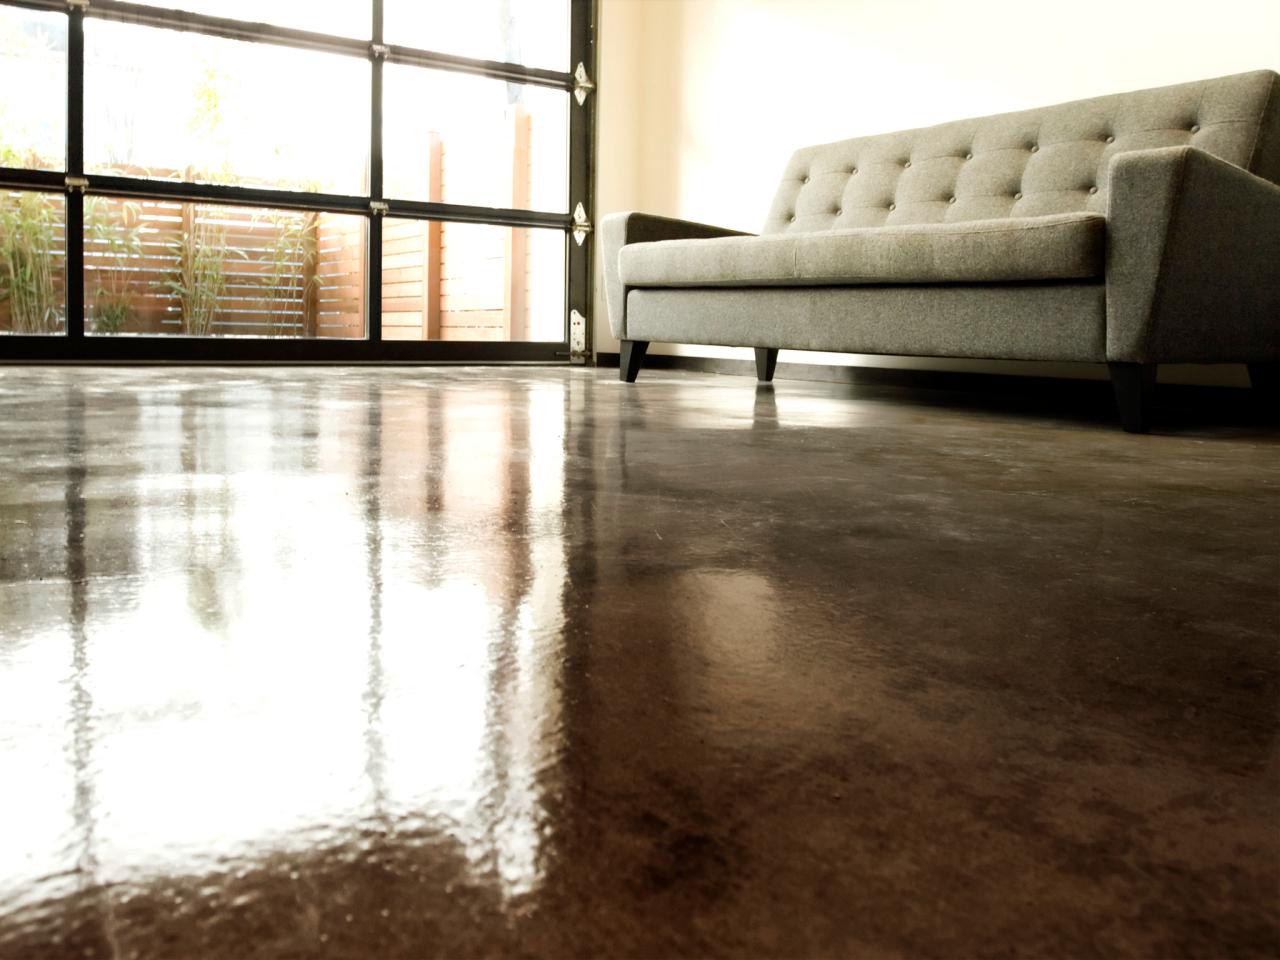
Enhancing Contrast: To highlight the natural variations and textures of acid-stained concrete, consider enhancing contrast with complementary elements such as furniture, rugs, or lighting. Lighter-colored furnishings and accessories can provide a striking contrast against darker stained floors, while darker accents can create a more cohesive, monochromatic look.
Sealing and Enhancing: Once the acid stain has fully dried and cured, seal the concrete surface with a high-quality concrete sealer to protect the stain and enhance its color and sheen. Choose a sealer specifically designed for use with acid-stained concrete and follow the manufacturer’s instructions for application and maintenance.
Neutralizing and Sealing Acid-Stained Concrete
After applying acid stain to your concrete floors, it’s essential to neutralize the acid and seal the surface to protect the stain and enhance its appearance. Neutralizing the acid stops the staining process and prevents further color changes while sealing the concrete provides long-lasting protection against wear, staining, and UV damage. Here’s how to neutralize and seal acid-stained concrete effectively.
Neutralizing the Acid: Once the acid stain has dried and achieved the desired color, it’s time to neutralize the acid to stop the chemical reaction. Prepare a solution of baking soda or ammonia and water in a clean bucket, following the manufacturer’s instructions for dilution ratios.
Applying the Neutralizer: Use a pump sprayer or mop to apply the neutralizing solution evenly to the acid-stained concrete surface. Work in small sections, starting from the farthest corner of the room and working your way toward the exit. Be sure to cover the entire surface thoroughly to ensure complete neutralization.
Rinsing and Cleaning: After applying the neutralizer, rinse the concrete surface thoroughly with clean water to remove any residue or remaining acid. Use a pressure washer or garden hose to flush the surface and ensure that all traces of the acid stain and neutralizer are removed. Allow the concrete to dry completely before proceeding to the sealing step.
Choosing the Right Sealer: Selecting the appropriate sealer is essential for protecting and enhancing the appearance of acid-stained concrete floors. Choose a high-quality concrete sealer specifically designed for use with acid-stained surfaces. Consider factors such as durability, UV resistance, and gloss level when selecting a sealer.
Applying the Sealer: Apply the sealer evenly to the clean, dry concrete surface using a pump sprayer, roller, or brush. Work in small sections, overlapping each pass slightly to ensure even coverage. Be sure to follow the manufacturer’s instructions for application rates and drying times.
Curing and Maintenance: Allow the sealer to cure completely according to the manufacturer’s recommendations before allowing foot traffic or placing furniture on the surface. Once cured, maintain the sealed concrete floor by cleaning regularly with a mild detergent and water, and reapplying sealer as needed to protect against wear and tear.
Maintenance Tips for Acid-Stained Concrete Floors
While acid-stained concrete floors are relatively low maintenance compared to other flooring options, they still require regular care to preserve their appearance and performance over time. By following these maintenance tips, you can keep your acid-stained concrete floors looking beautiful and in top condition for years to come.
Regular Cleaning: Sweep or vacuum your acid-stained concrete floors regularly to remove dirt, dust, and debris that can scratch or dull the surface. For deeper cleaning, mop the floors with a mild detergent or concrete cleaner and water, using a soft-bristled brush or mop to scrub stubborn stains or spills.
Avoid Harsh Chemicals: Avoid using harsh or abrasive cleaners, acids, or solvents on acid-stained concrete floors, as these can damage the sealer and dull the finish. Instead, use pH-neutral cleaners formulated specifically for use on sealed concrete surfaces to maintain the integrity of the sealer and protect the stain.
Protective Measures: Place furniture pads or felt protectors under heavy furniture legs to prevent scratching or gouging of the concrete surface. Use rugs or mats in high-traffic areas and entryways to trap dirt and moisture and reduce wear on the floors. Avoid dragging heavy objects across the floor, as this can cause scratches and abrasions.
Reapply Sealer: Periodically check the condition of the sealer on your acid-stained concrete floors and reapply it as needed to maintain protection against stains, wear, and UV damage. Signs that the sealer may need to be reapplied include loss of gloss, water absorption, or visible wear patterns on the surface.
Addressing Stains and Damage: Promptly clean up spills and stains on acid-stained concrete floors to prevent them from penetrating the surface and becoming permanent. For stubborn stains or damage, such as scratches or chips, consult a professional concrete contractor for repair and restoration options.
Regular Maintenance Schedule: Establish a regular maintenance schedule for your acid-stained concrete floors, including routine cleaning, inspection of the sealer, and reapplication as needed. By staying proactive and attentive to the condition of your floors, you can prevent problems and prolong their lifespan.
Acid Stained Concrete Floors – Stained Concrete Outdoors or Indoors
How to Apply an Acid-Stain Look to Concrete Flooring
Acid Stained Hard Troweled Concrete Floor Direct Colors
How to Acid Stain Concrete
How to acid stain a floor – How to stain concrete floors
The Beginner’s Guide to DIY Stained Concrete
Do it yourself concrete staining: How to stain concrete floors
How to Acid Stain Concrete Floors
Related Posts:
- Applying Concrete Floor Paint
- Non Slip Concrete Floor Sealer
- How To Paint Concrete Garage Floor
- Outdoor Concrete Floor Ideas
- Concrete Floor Covering Ideas
- Cracks In Polished Concrete Floors
- Drylok Concrete Floor Paint Colors
- Polished Concrete Floor Thickness
- Residential Stained Concrete Floors
- Cheap Concrete Floor Finishes

