Assessing Your Existing Concrete Floor
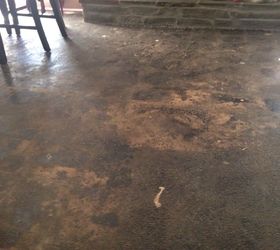
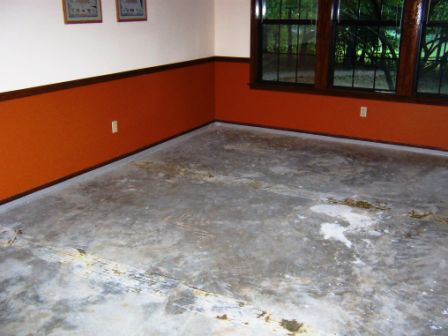
The first step in any concrete floor project is to assess the current condition of your concrete. Look at the level of wear, cracks, pits, spalls, stains, and other damage. This will help determine what kind of repairs may be needed before applying any new finishes.
- Examine the concrete for levelness and flatness. Concrete can settle and become uneven over time. Significantly unleveled floors may need grinding or an overlay installed to create a flat, smooth surface. Use a straightedge tool to check for flatness.
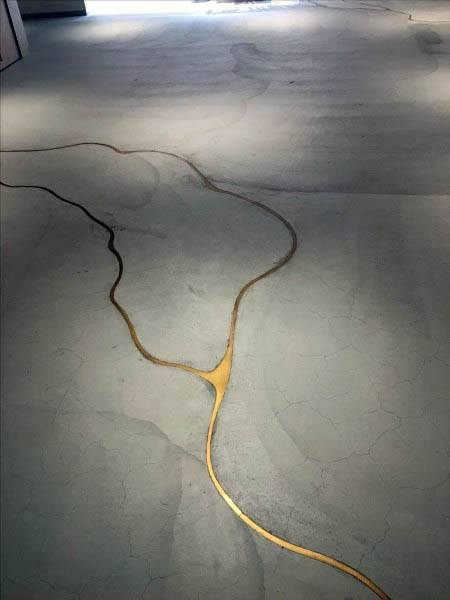
- Inspect the concrete thoroughly for any cracks. Very fine hairline cracks may not need filling, but larger cracks should be repaired so they don’t worsen or telegraph through new finishes. Epoxy or polyurethane caulks are often used for crack repairs.
- Determine if there are any hollow or loose areas by tapping the concrete and listening for a hollow sound, which indicates delamination. These areas will need repairs like injection of epoxy or polyurethane foam before refinishing.
- Check for scaling, pitting, spalls, and other deterioration. Minor flaws can be patched, while extensive damage may mean part of the slab needs replacing. The concrete’s condition will dictate what level of repairs are required.
- Look at the current texture and profile of the concrete. Is it very smooth or heavily textured? The existing profile impacts the adhesion of new finishes and determines if mechanical profiling is needed.
- Test the concrete for porosity by sprinkling a few drops of water. If it beads up and sits on top, the concrete is not very porous and may need etching or grinding to open it up before staining dyeing, or coating.
- Document all previous repairs like patches, sealed joints, and post-tensioning. Some materials used in past repairs may not be compatible with new finishes and need removal.
- Check for existing sealers by pouring a small amount of water on the floor. If it beads up, there is likely a sealer present that will have to be removed completely before applying new finishes.
- Pay attention to the condition of expansion joints, which allow the slab to flex naturally. Damaged or missing joint sealants will need replacing to prevent finish failures around joint edges.

Cleaning and Prepping the Concrete
Once you have thoroughly assessed the condition of the existing concrete, the next step is to clean and prepare the surface for new finishes. Proper cleaning and prep work help ensure maximum adhesion and durability of newly applied coatings, stains, dyes, etc.
- Start by thoroughly sweeping and vacuuming the floor to remove all dirt, dust, and loose debris. Pay close attention to the corners and edges. Even small amounts of contaminants left on the surface can cause failures in new finishes.
- Use a commercial-grade alkaline degreaser to remove any oil, grease, or other hydrocarbon stains from the concrete. Applying the degreaser and letting it soak for 10-15 minutes before scrubbing and rinsing can help lift deep-set grease spots.
- Etching the concrete with an acidic solution will help further clean and open up the pore structure of the concrete to accept new finishes. Phosphoric acid solutions are commonly used etchants. Letting it dwell for 15-20 minutes gives the acid time to react with the alkaline concrete.
- For smoothed or non-porous concrete, mechanical profiling by grinding or shot blasting provides deeper profiling to improve adhesion. Grinding with progressively finer abrasive pads also helps level and smooth uneven slabs.
- Once initial cleaning steps are complete, the concrete must be thoroughly rinsed with clean water to remove all residue. Acid etching will leave behind a powdery smear when dry, which must be completely neutralized and rinsed away.
- Let the concrete dry fully, testing moisture levels if needed. Nearly all coatings require completely dry concrete before application. Damp concrete may trigger finish failures like peeling, flaking, or discoloration.
- Repair any remaining cracks, chips, spalls, etc. Use concrete patching compounds to smooth defects, letting them dry fully before additional prep work. Vacuum up all dust from repairs before moving on.
- Mask or cover any areas you don’t want to be stripped, etched, or coated. Use painter’s tape, plastic sheeting, or cardboard secured with weights. Remember to cover nearby surfaces like baseboards too.
- Right before starting new finishes, do a final vacuum and tack cloth wipe down to remove the last traces of dust. Proper cleaning and prep create the ideal bare canvas for successfully applying decorative concrete finishes.
Staining and Dyeing Concrete Floors
Staining and dyeing are popular methods for adding color to existing concrete floors. Concrete stains work by chemically reacting with the concrete to produce permanent, variegated color effects. Dyes penetrate into the concrete pore structure to produce uniform, consistent colors.
Acid-based stains are the most common concrete stains used in residential settings. They are available in a range of transparent earth tones like amber, jade, and brick red. The concrete surface must be cleaned and profiled to allow the acid stain to properly react.
Water-based concrete stains provide similar variegated coloring with easier application and less odor compared to acid stains. They are a good choice for indoor concrete staining projects. Proper prep is still required for the stains to properly penetrate.
Decorative dye concentrates come in a wide spectrum of colors – both vibrant and muted. They can be mixed into acetone or alcohol solutions before being applied to bare, prepared concrete for deep, uniform coloring.
A test panel should always be prepared on a scrap piece of concrete to establish the timing, dilution, and number of coats needed to achieve the desired look. This helps avoid any surprises or dissatisfaction with the final results.
For a mottled, variegated look, acid or water-based stains are applied using a brush, roller, pump sprayer, or gelled application method. Multiple coats are often used, allowing the concrete to dry between applications.
Concrete dyes produce a more monochromatic look. The dye solution is flooded onto the surface and given time to fully penetrate and react before removing any excess residue with water and scrubbing.
With either staining or dyeing, the concrete color will appear lighter after drying. Sealing brings out the intensity of the colors. The entire process from prep to sealing takes 2-3 days.
Decorative saw cut or scoring techniques involve cutting lines into the concrete before applying stains. The cuts absorb more color and create accent lines in the final design. Stencils, resists, and tape can also be used to make patterns.
Paragraph 10: Protecting the finished stained or dyed floor with a quality sealer is mandatory. The sealer locks in the color protects from wear and stains, and provides UV resistance. Low-odor water-based sealers are commonly used.
Painting and Coating Concrete Floors
Paints and coatings are another way to transform plain gray concrete into an attractive, durable floor finish. From solid colors to custom designs, concrete paints and coatings offer limitless options for renovating or refreshing concrete floors on a budget.
Acrylic concrete paints provide a flexible, adhesive coating that can be used to completely change the color of interior or exterior concrete. They resist cracking, peeling, and UV damage. Proper concrete cleaning and etching ensure paint adhesion.
Epoxy coatings are commonly used for garage floors and other concrete that need maximum durability. The two-part epoxy creates an exceptionally hard, glossy surface resistant to chemicals, impacts, and heavy wear and tear.
Polyurethane concrete coatings provide a clear, non-yellowing protective layer over artistic finishes, stained concrete, or new concrete. The clear finish enhances underlying colors without changing them. Polyurethane is very durable and chemical resistant.
Water-based latex floor paints work well for indoor concrete that doesn’t require industrial-grade protection. Available in various sheens, latex paint stands up well to foot traffic while allowing concrete to breathe. It’s easy to apply and cleans up with soap and water.
For a mottled, variegated effect, tinted acrylic or water-based glazes can be applied over stained, integrally colored, or drab existing concrete. The translucent glaze adds depth and visual interest to the concrete. Multiple glaze coats may be applied.
Decorative chips and flakes can be broadcast over wet epoxy or polyurethane to create a speckled-colored aggregate finish. Metallic flakes produce a shimmering, iridescent effect across the concrete floor.
Complex multi-step staining and painting techniques allow for truly custom, artistic concrete floors. For example, applying varied color washes over stained concrete before protecting it with clear polyurethane.
Anti-slip additive in the final coating creates traction for slick concrete floors in garages, basements, pool decks, and more hazardous areas. Commercial anti-slip additives are premixed into the coating.
Adhesion testing, adequate coating thickness, and full cure times are critical for long-lasting, durable painted concrete finishes. Proper floor prep and application provide years of enjoyment.
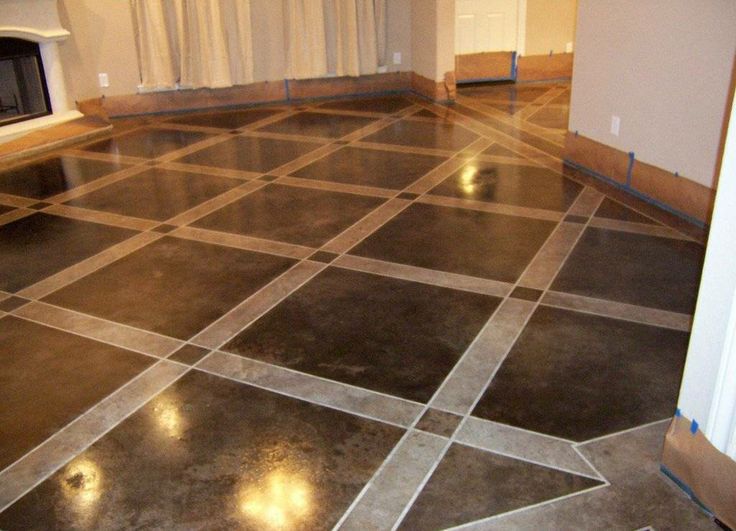
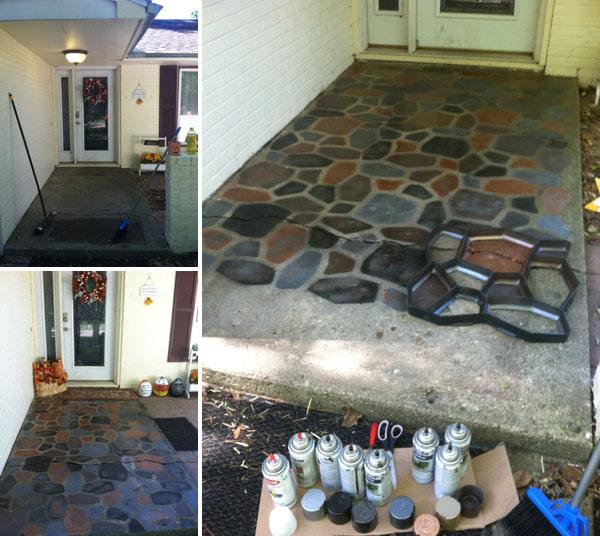
Stamping and Stenciling Concrete
Stamping and stenciling are decorative techniques used to pattern plain concrete and give it the look of other high-end flooring materials like stone, tile, brick, and wood. Typed properly, stamped or stenciled concrete can mimic these textures while providing a seamless surface.
Stamped concrete involves pressing imprinting tools into freshly placed concrete to create deep, three-dimensional patterns in the curing concrete. Stamped designs are available for slate, cobblestone, limestone, wood planking, and many other patterns.
Texture mats are another way to stamp patterns into fresh concrete. Mats are laid into the concrete, which then takes on the inverse impression of the texture when cured, such as stone or wood grains.
Stamped concrete is commonly colored using dry shake color hardeners sprinkled onto the wet concrete before stamping. The impression absorbs more color, emphasizing the pattern details. Release powders prevent stamping tools from sticking.
For existing concrete, flexible stamping mats can be used to add texture and patterns like brick, stone, tile, and wood. The mats are laid onto freshly applied overlay materials, not directly onto hardened concrete.
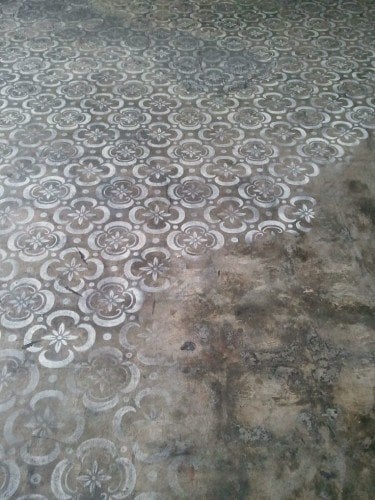
Stenciling involves laying a reusable template with cut-out patterns onto cured concrete and applying coloring materials like paints or stains over the top. When the stencil is removed, a colored, textured pattern is left behind.
Decorative concrete stencils mimic designs like brick, cobblestone, tile, stone, wood, flowers, logos, and more. They can be used with multiple coloring techniques like acid stains, water-based stains, or acrylic craft paints.
Small repeat tile stencil patterns create the look of hand-laid tile at a fraction of the cost. Larger custom stencils can be made for unique logos and designs. Stencils must be securely taped to prevent bleeding under the edges.
A complement to stamping or stenciling, scoring decorative saw lines into concrete can further enhance the realism of the patterns. Scoring assimilates the grout joints found around individual tiles, stones, bricks, boards, etc.
A major advantage of stamped or stenciled concrete is the seamless, monolithic finished surface. The patterns cover the entire floor without problematic joints found in other materials. This allows for expansive, uninterrupted designs.
DIY Concrete Flooring Makeover – Amazing DIY Interior
How to Make Cement Floors More Appealing DIY Projects Craft Ideas
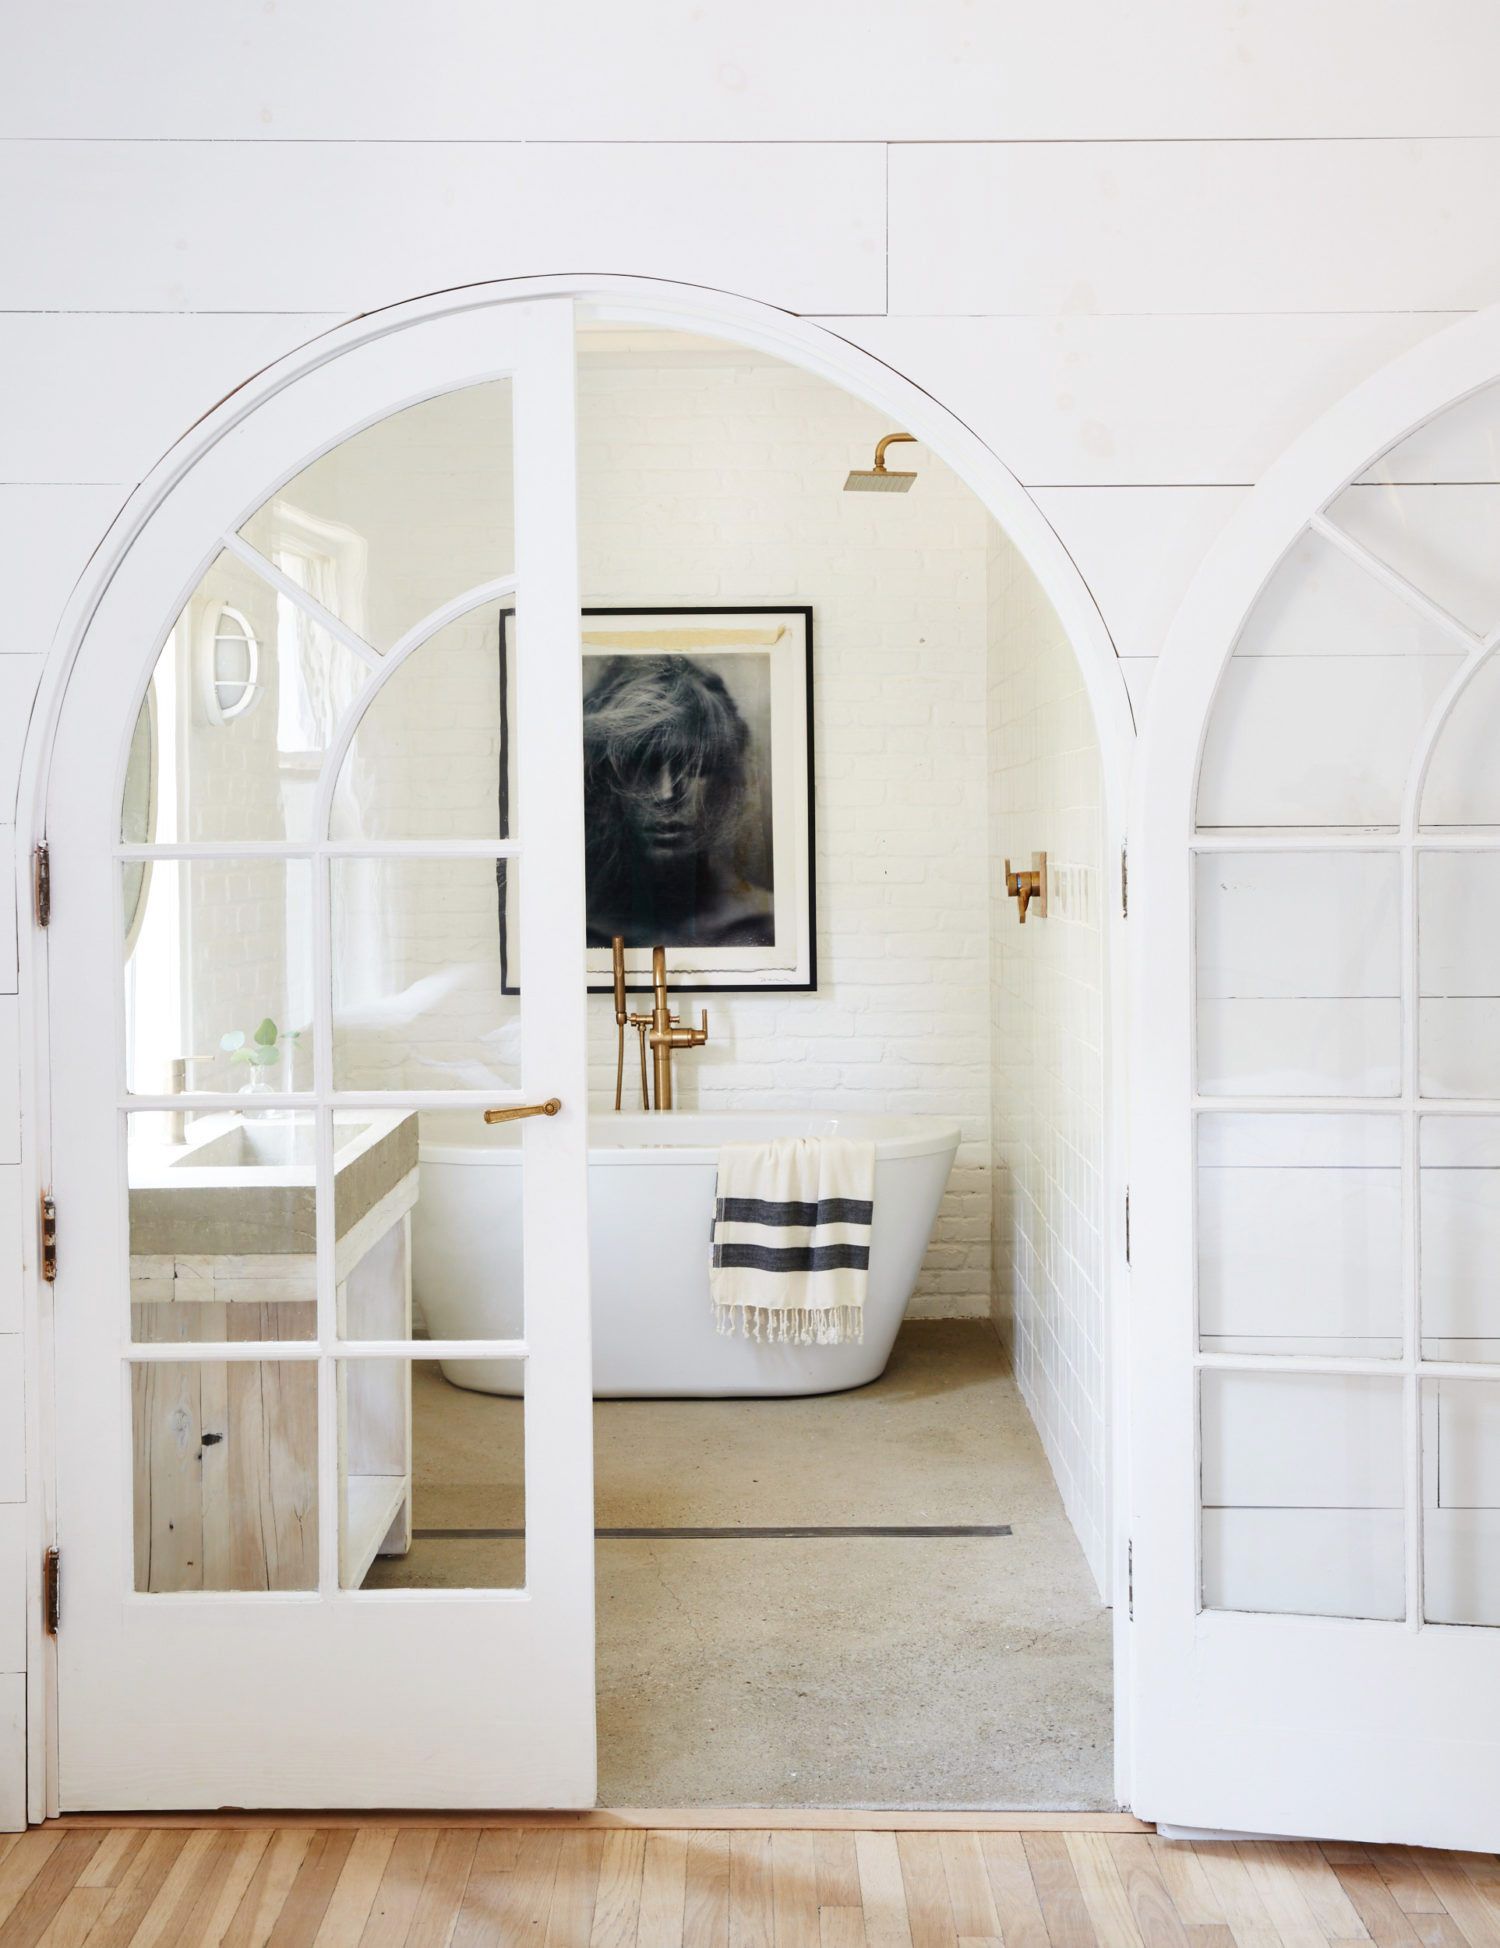
Stylish Concrete Floors Ideas

How To Stain Old Concrete The Complete Guide
Best Concrete Floor Ideas – Smooth Flooring Interior Designs
The Pros and Cons of Concrete Flooring
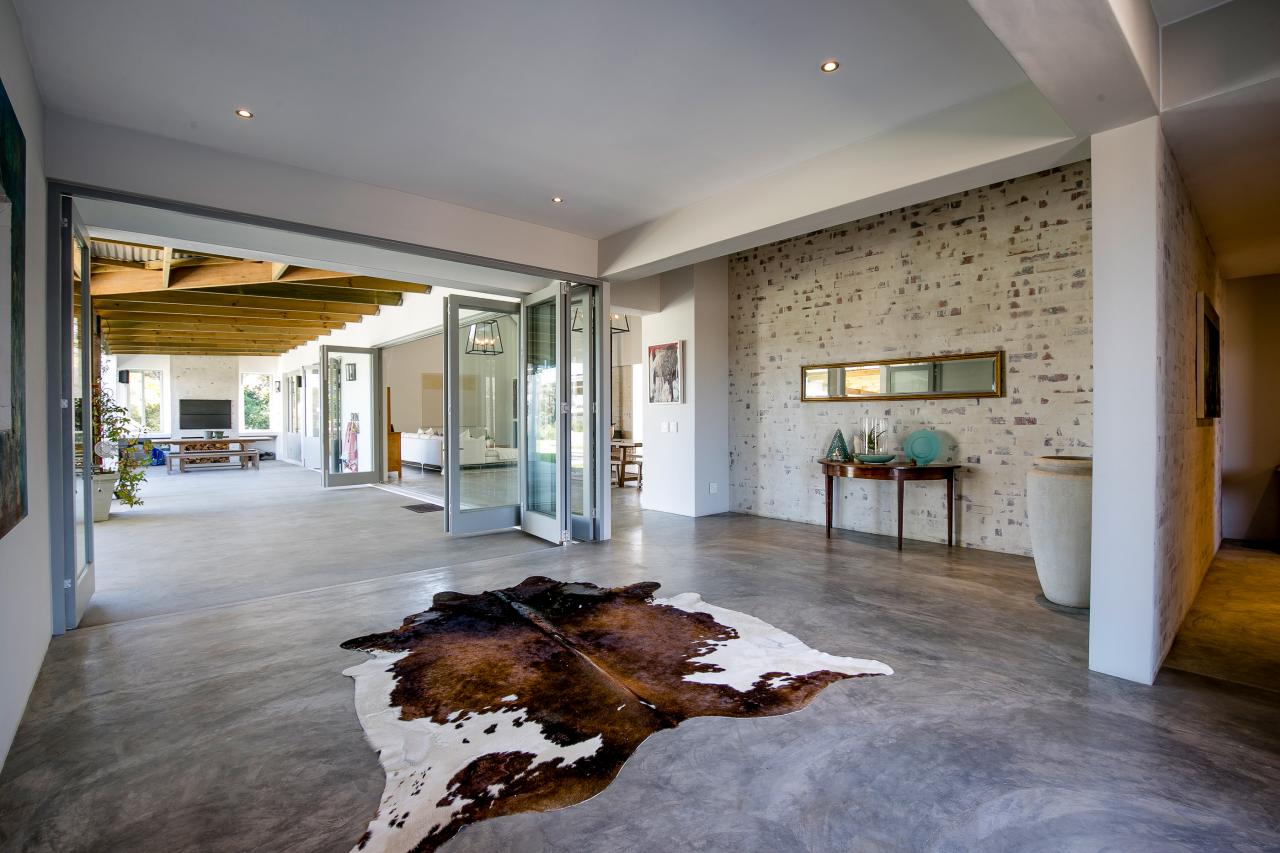
Stylish Concrete Floors Ideas – Inspiring
 Related Posts: