Almost any oak wood flooring can easily perk up the dullest looking space as well as develop a certain atmosphere of luxury to the household of yours. Right now there may be 100 nails or higher in an old stud, each one of which must be carefully located and deleted. Wood flooring is a sustainable material that cuts down on the requirements on the ecosystem of ours during its life-cycle.
Images about Pergo Wood Flooring Installation
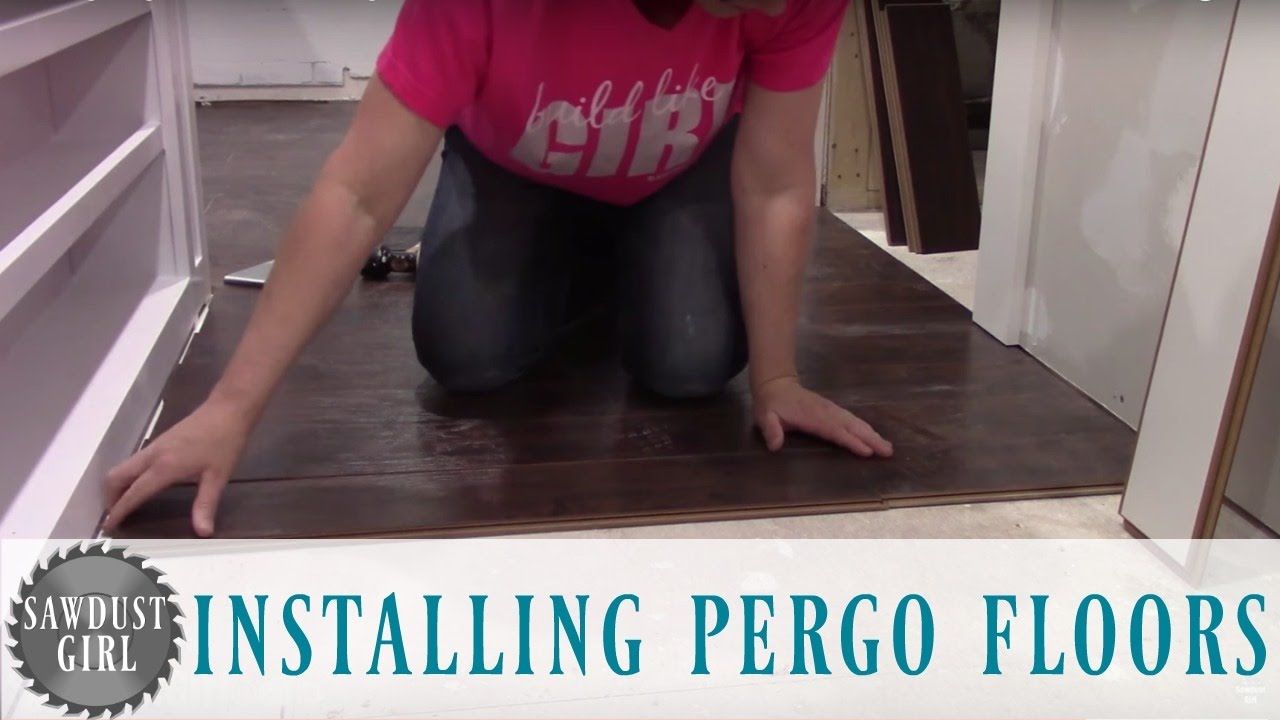
Pergo Wood Flooring Installation

In cases which are many, it is eco-friendly with a selection of finishes plus colours available, engineered wood flooring is one of the top purchases that anybody could make for their property. But lets be truthful, you will find some areas where any type of wood flooring products is not the best choice.
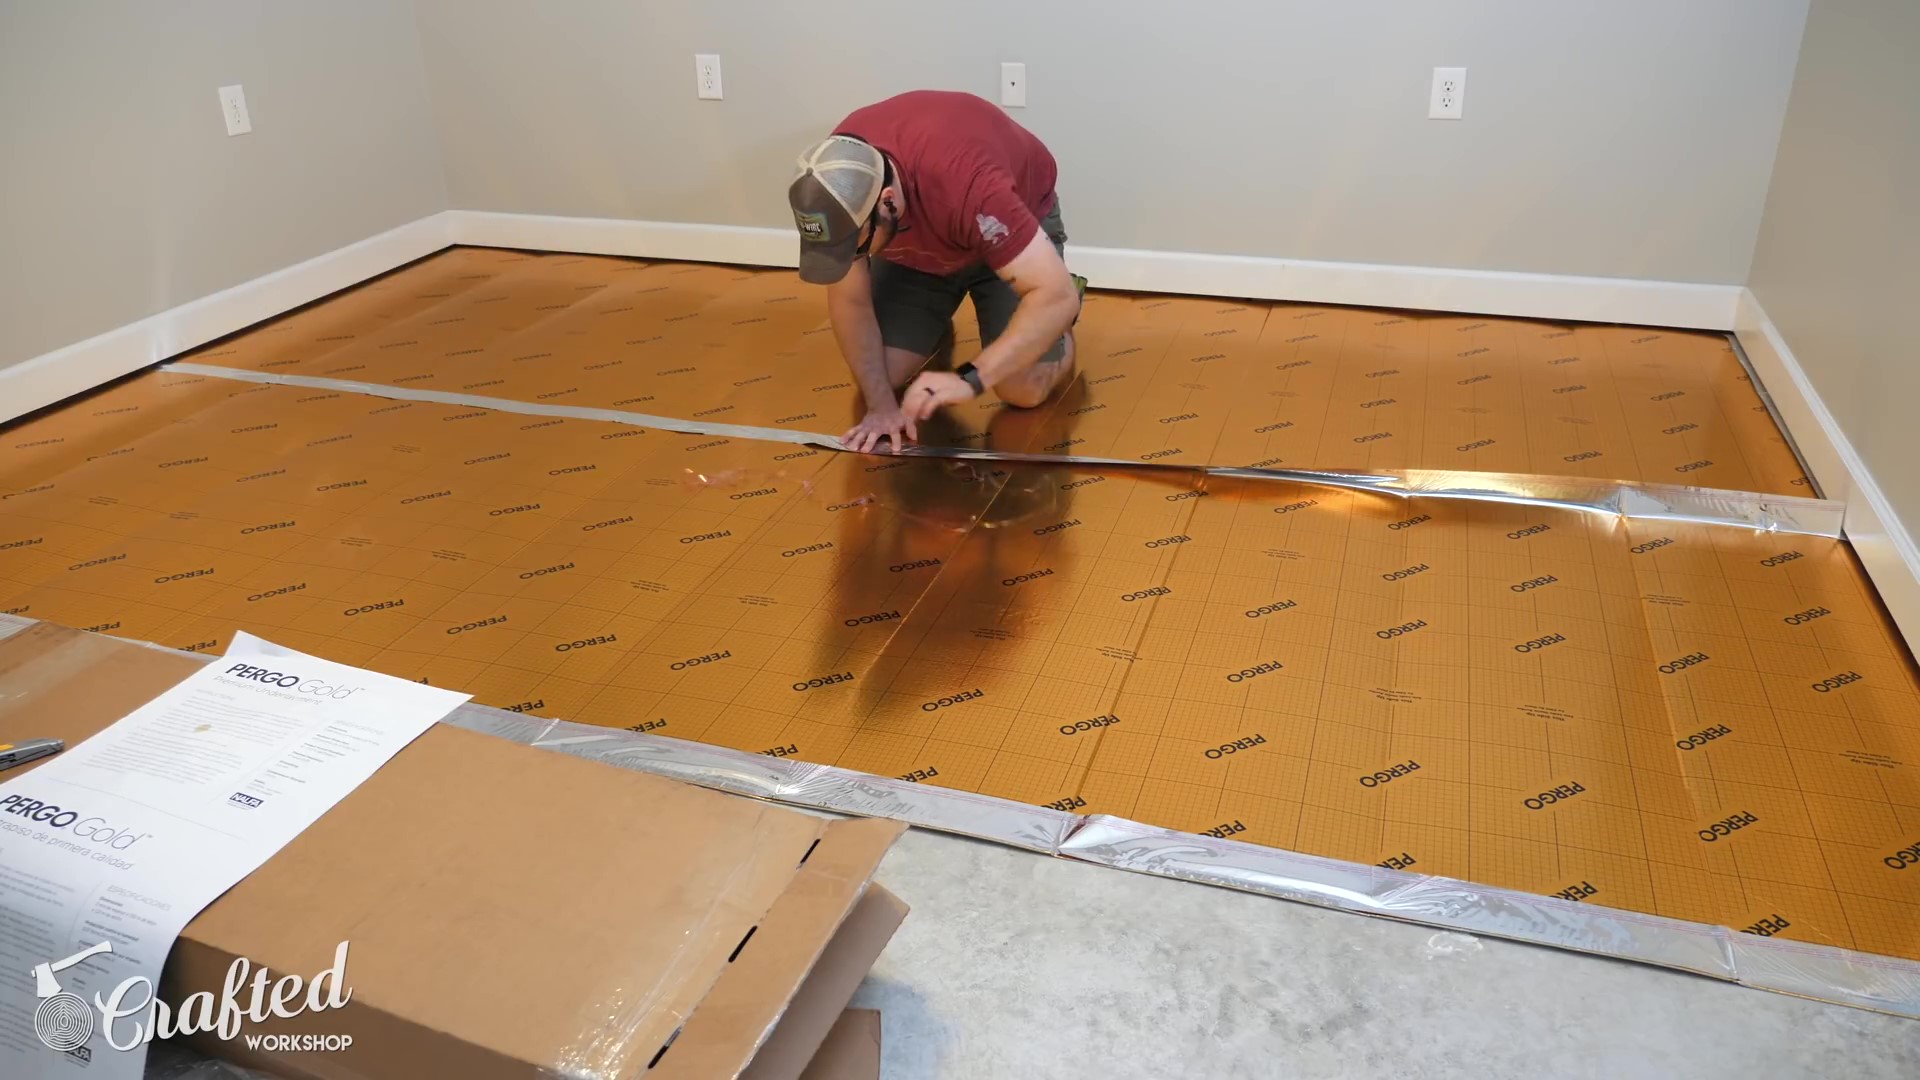
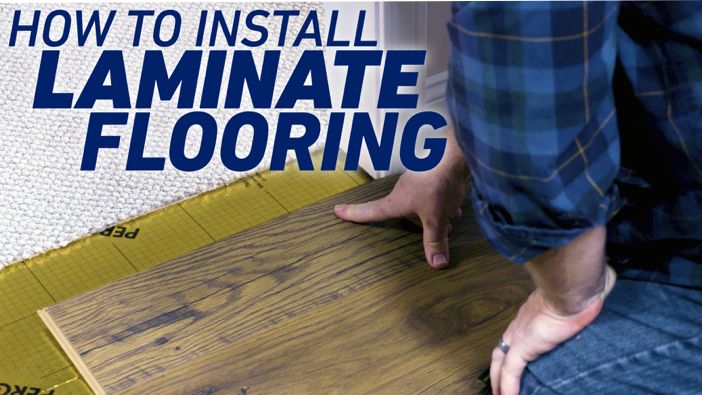
Installing Laminate Flooring For The First Time u2014 Crafted Workshop

Wood Flooring is starting to be more popular in homes all over the world. Lots of people choose a flooring material solely based on looks. Custom designs as feature strips, medallions, accents as well as borders are perfect for foyers or perhaps entry rooms because these're formal areas. Distressed or aged flooring, the distinctive collections of parquet flooring, there is engineered wood flooring as well as strip floors along with mosaic panels and end grain wood block floors.
Installing Laminate Flooring For The First Time u2014 Crafted Workshop

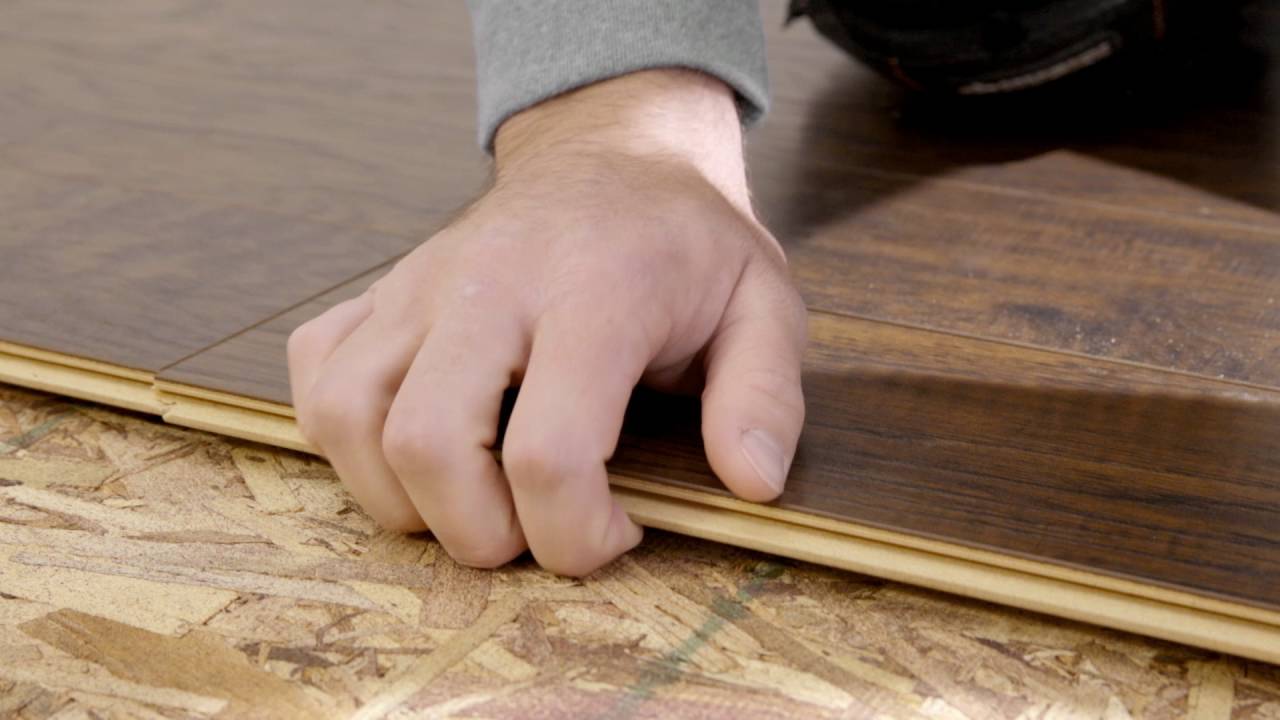
How to Install Pergo Laminate Flooring
How to Install Pergo Flooring: 11 Steps (with Pictures) – wikiHow

Installing Laminate Flooring For The First Time u2014 Crafted Workshop
Commercial wood flooring installation Pergo Asia
How to Install Pergo Outlast+®
8 Essential Tools for Laminate Flooring Installations The Family

How (NOT) To Install Laminate Flooring – Life She Has
How to Install a Laminate Floor
How to Install Pergo Flooring: 11 Steps (with Pictures) – wikiHow

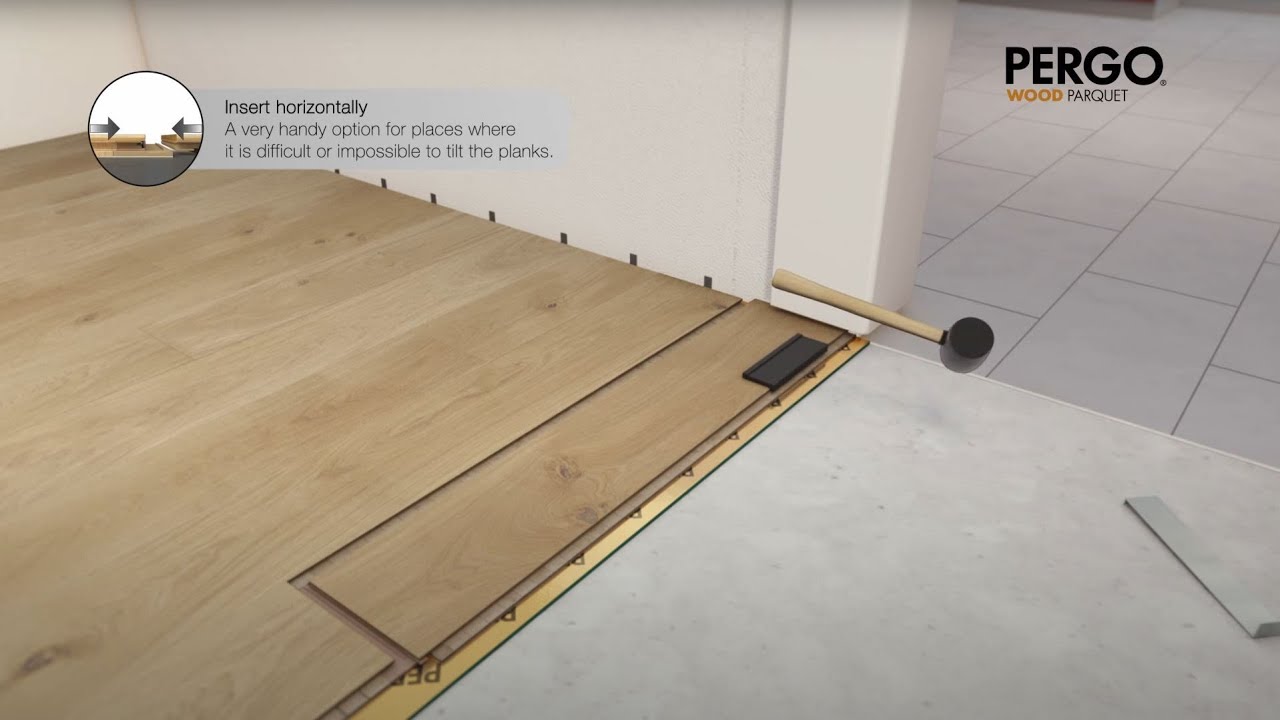
How to lay wood flooring by Pergo
Install Pergo Laminate Flooring for A Farmhouse Look Pergo

Related Posts:
- Dark Wood Floor Pattern
- Wood Floor White Stain
- Dark Wood Floors Master Bedroom
- Grey Faux Wood Flooring
- Walnut Solid Wood Flooring
- Extra Wide Wood Flooring
- Cherry Wood Floor Bedroom
- White Oak Wood Tile Flooring
- Oak Solid Wood Flooring
- Dark Wood Floor Dining Room
Introduction
Pergo wood flooring is a popular choice for many homeowners looking to add warmth and beauty to their homes. Installing Pergo wood flooring can be a great DIY project, but there are a few things you should know before getting started. In this article, we will discuss the basics of Pergo wood flooring installation and what you need to know to make the process as smooth as possible.
What is Pergo Wood Flooring?
Pergo wood flooring is a type of engineered hardwood made from multiple layers and bonded together. The top layer is made from a real wood veneer and the bottom layer consists of a composite material. The result is an incredibly durable flooring option that has the look and feel of real hardwood without the same maintenance requirements.
What is Required for Installation?
Before you start installing your Pergo wood flooring, you will need to make sure you have all the necessary tools and materials. This includes a saw, hammer, nails, tape measure, level, spacers, and a mallet. You will also need to make sure your subfloor is clean and level before beginning installation. Finally, you will need the appropriate adhesive for your Pergo wood flooring.
Step-by-Step Guide to Installing Pergo Wood Flooring
Installing Pergo wood flooring is a fairly straightforward process that can usually be completed in one day. Here’s a step-by-step guide on how to do it:
1. Prepare the subfloor: Before you begin installation, you will need to make sure your subfloor is clean and level. If there are any gaps or uneven areas in the subfloor, you will need to fill them with a self-leveling compound before continuing.
2. Install the underlayment: Once your subfloor is ready, you can begin installing your underlayment. This will provide cushioning and insulation between your subfloor and your new Pergo wood floors. Make sure all seams are sealed with tape to prevent moisture from seeping through.
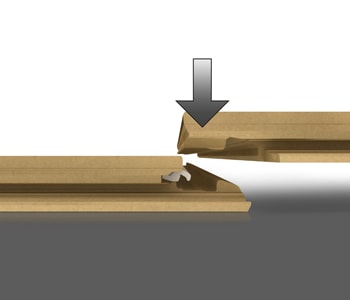
3. Lay out the planks: Once your underlayment is in place, you can begin laying out your planks. Start in one corner of the room and work your way outwards. Make sure to use spacers between each plank to ensure even gaps between them.
4. Nail down the planks: Once all of your planks are laid out, you can begin nailing them down into place with a hammer and nails. Make sure you use enough nails so that each plank is securely fastened in place.
5. Install the trim pieces: After nailing down all of your planks, you can begin installing the trim pieces around the edges of the room. This includes baseboards, quarter round trim, and shoe molding if applicable. Use a mallet and nails to secure them in place.
6. Apply adhesive: Once all of the trim pieces are installed, you can begin applying adhesive to each plank. Make sure to follow the instructions on the adhesive package carefully to ensure proper application and drying time.
7. Allow time for drying: After applying adhesive, allow it time to dry before walking on or using your new Pergo wood floors. For most adhesives, this takes about 24 hours or more depending on temperature and humidity levels in the room.
Common Questions about Installing Pergo Wood Flooring
Q: Do I need an underlayment for my Pergo wood floors?
A: Yes! An underlayment provides cushioning between your subfloor and your new floors which helps prolong their lifespan and reduce noise levels in the room.
Q: How much space should I leave between each plank?
A: You should leave about 1/8 inch of space between each plank when laying them out before nailing them down into place. This will help prevent any warping or buckling over time due to expansion and contraction from temperature changes in the room.
Q: What type of adhesive should I use?
A: The type of adhesive you should use depends on what type of subfloor you have (concrete, ply