Benefits of Staining Your Garage Floor
Staining your garage floor offers several advantages that make it a worthwhile project. It’s not just about improving the look of your garage; it’s also about adding functionality and longevity to the space.
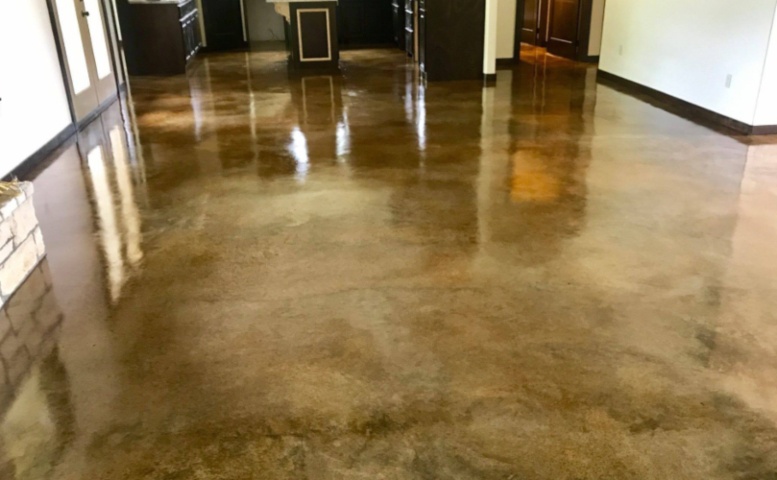
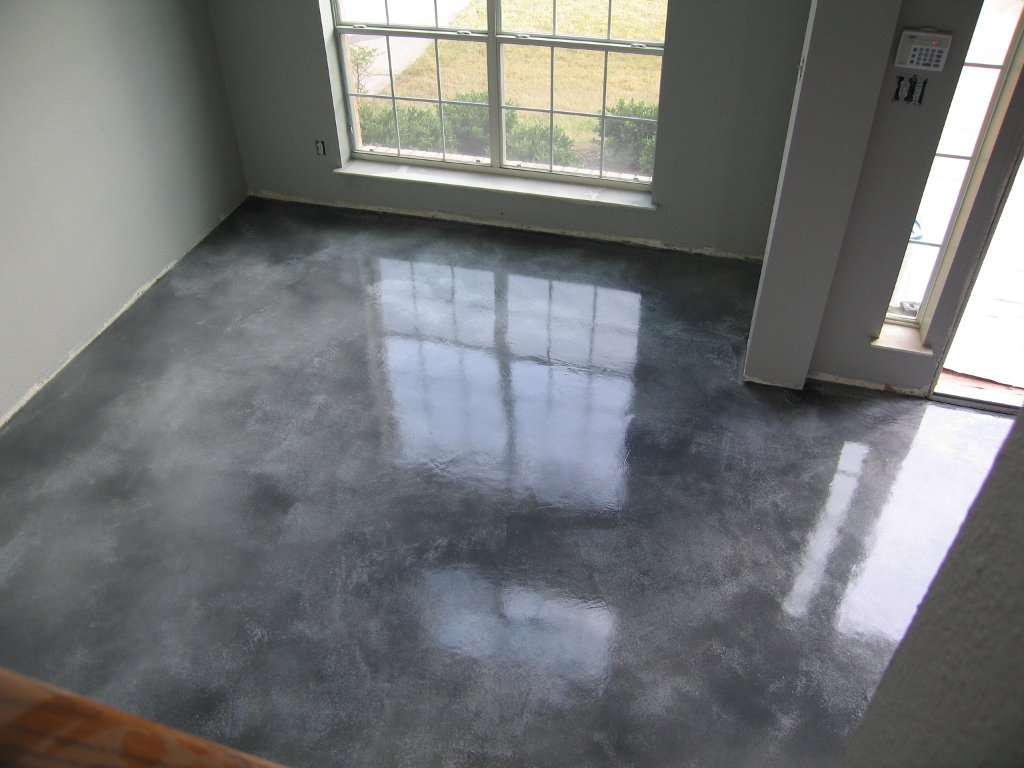
- Enhanced Aesthetics: Staining transforms a plain concrete floor into a visually appealing surface. You can choose from a variety of colors and finishes to match your garage’s style or create a unique look. Whether you prefer a solid color or a more decorative, marbled effect, staining can give your garage a polished appearance.
- Increased Durability: A stained garage floor is more resistant to damage from oil spills, chemicals, and heavy foot traffic. The stain penetrates the concrete, creating a bond that strengthens the surface and reduces the risk of cracks and chips. This makes your garage floor more durable and easier to maintain.
- Improved Cleanliness: Stained floors are easier to clean because the stain seals the porous surface of the concrete. This prevents dirt, oil, and other debris from penetrating the floor, making it simpler to sweep or mop up spills. A clean garage floor also helps maintain a more organized and functional space.
- Cost-Effective Solution: Compared to other flooring options like epoxy or tile, staining is a more affordable way to upgrade your garage floor. It provides many of the same benefits at a fraction of the cost, making it an excellent choice for homeowners on a budget.
- Increased Home Value: A well-maintained, stained garage floor can add value to your home. It creates a positive impression on potential buyers and demonstrates that the garage has been cared for. This small upgrade can make a big difference when it comes time to sell your home.
Preparing Your Garage Floor for Staining
Proper preparation is crucial for achieving a professional-looking finish. Skipping this step can lead to uneven staining, poor adhesion, and unsatisfactory results. Follow these steps to prepare your garage floor.
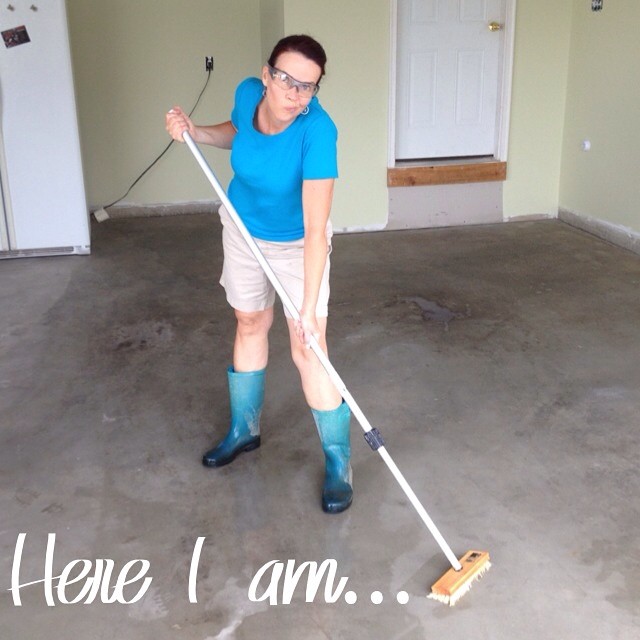
Clear the Space: Remove all items from the garage, including vehicles, tools, and storage boxes. This gives you full access to the floor and ensures that no obstacles interfere with the staining process. If you can’t remove everything, move items to one side and work in sections.
Clean the Floor Thoroughly: Dirt, grease, and oil can prevent the stain from adhering properly. Use a degreaser and a stiff-bristle brush to scrub the floor, paying special attention to areas with stains or spills. Rinse the floor with water and allow it to dry completely before proceeding.
Repair Cracks and Damage: Inspect the floor for cracks, holes, or uneven areas. Use a concrete patching compound to fill in any imperfections. Smooth the surface with a trowel and allow the compound to dry according to the manufacturer’s instructions. A smooth, even surface ensures a more consistent stain application.
Etch the Concrete: Etching opens up the pores of the concrete, allowing the stain to penetrate more effectively. Use a concrete etcher or muriatic acid solution, following the manufacturer’s instructions carefully. Rinse the floor thoroughly after etching and allow it to dry completely.
Test for Moisture: Before applying the stain, test the floor for moisture. Place a plastic sheet on the floor and tape down the edges. After 24 hours, check for condensation under the sheet. If moisture is present, you may need to address drainage or humidity issues before proceeding.

Choosing the Right Stain for Your Garage Floor
Selecting the right stain is an important step in the process. The type of stain you choose will affect the final appearance and performance of your garage floor.
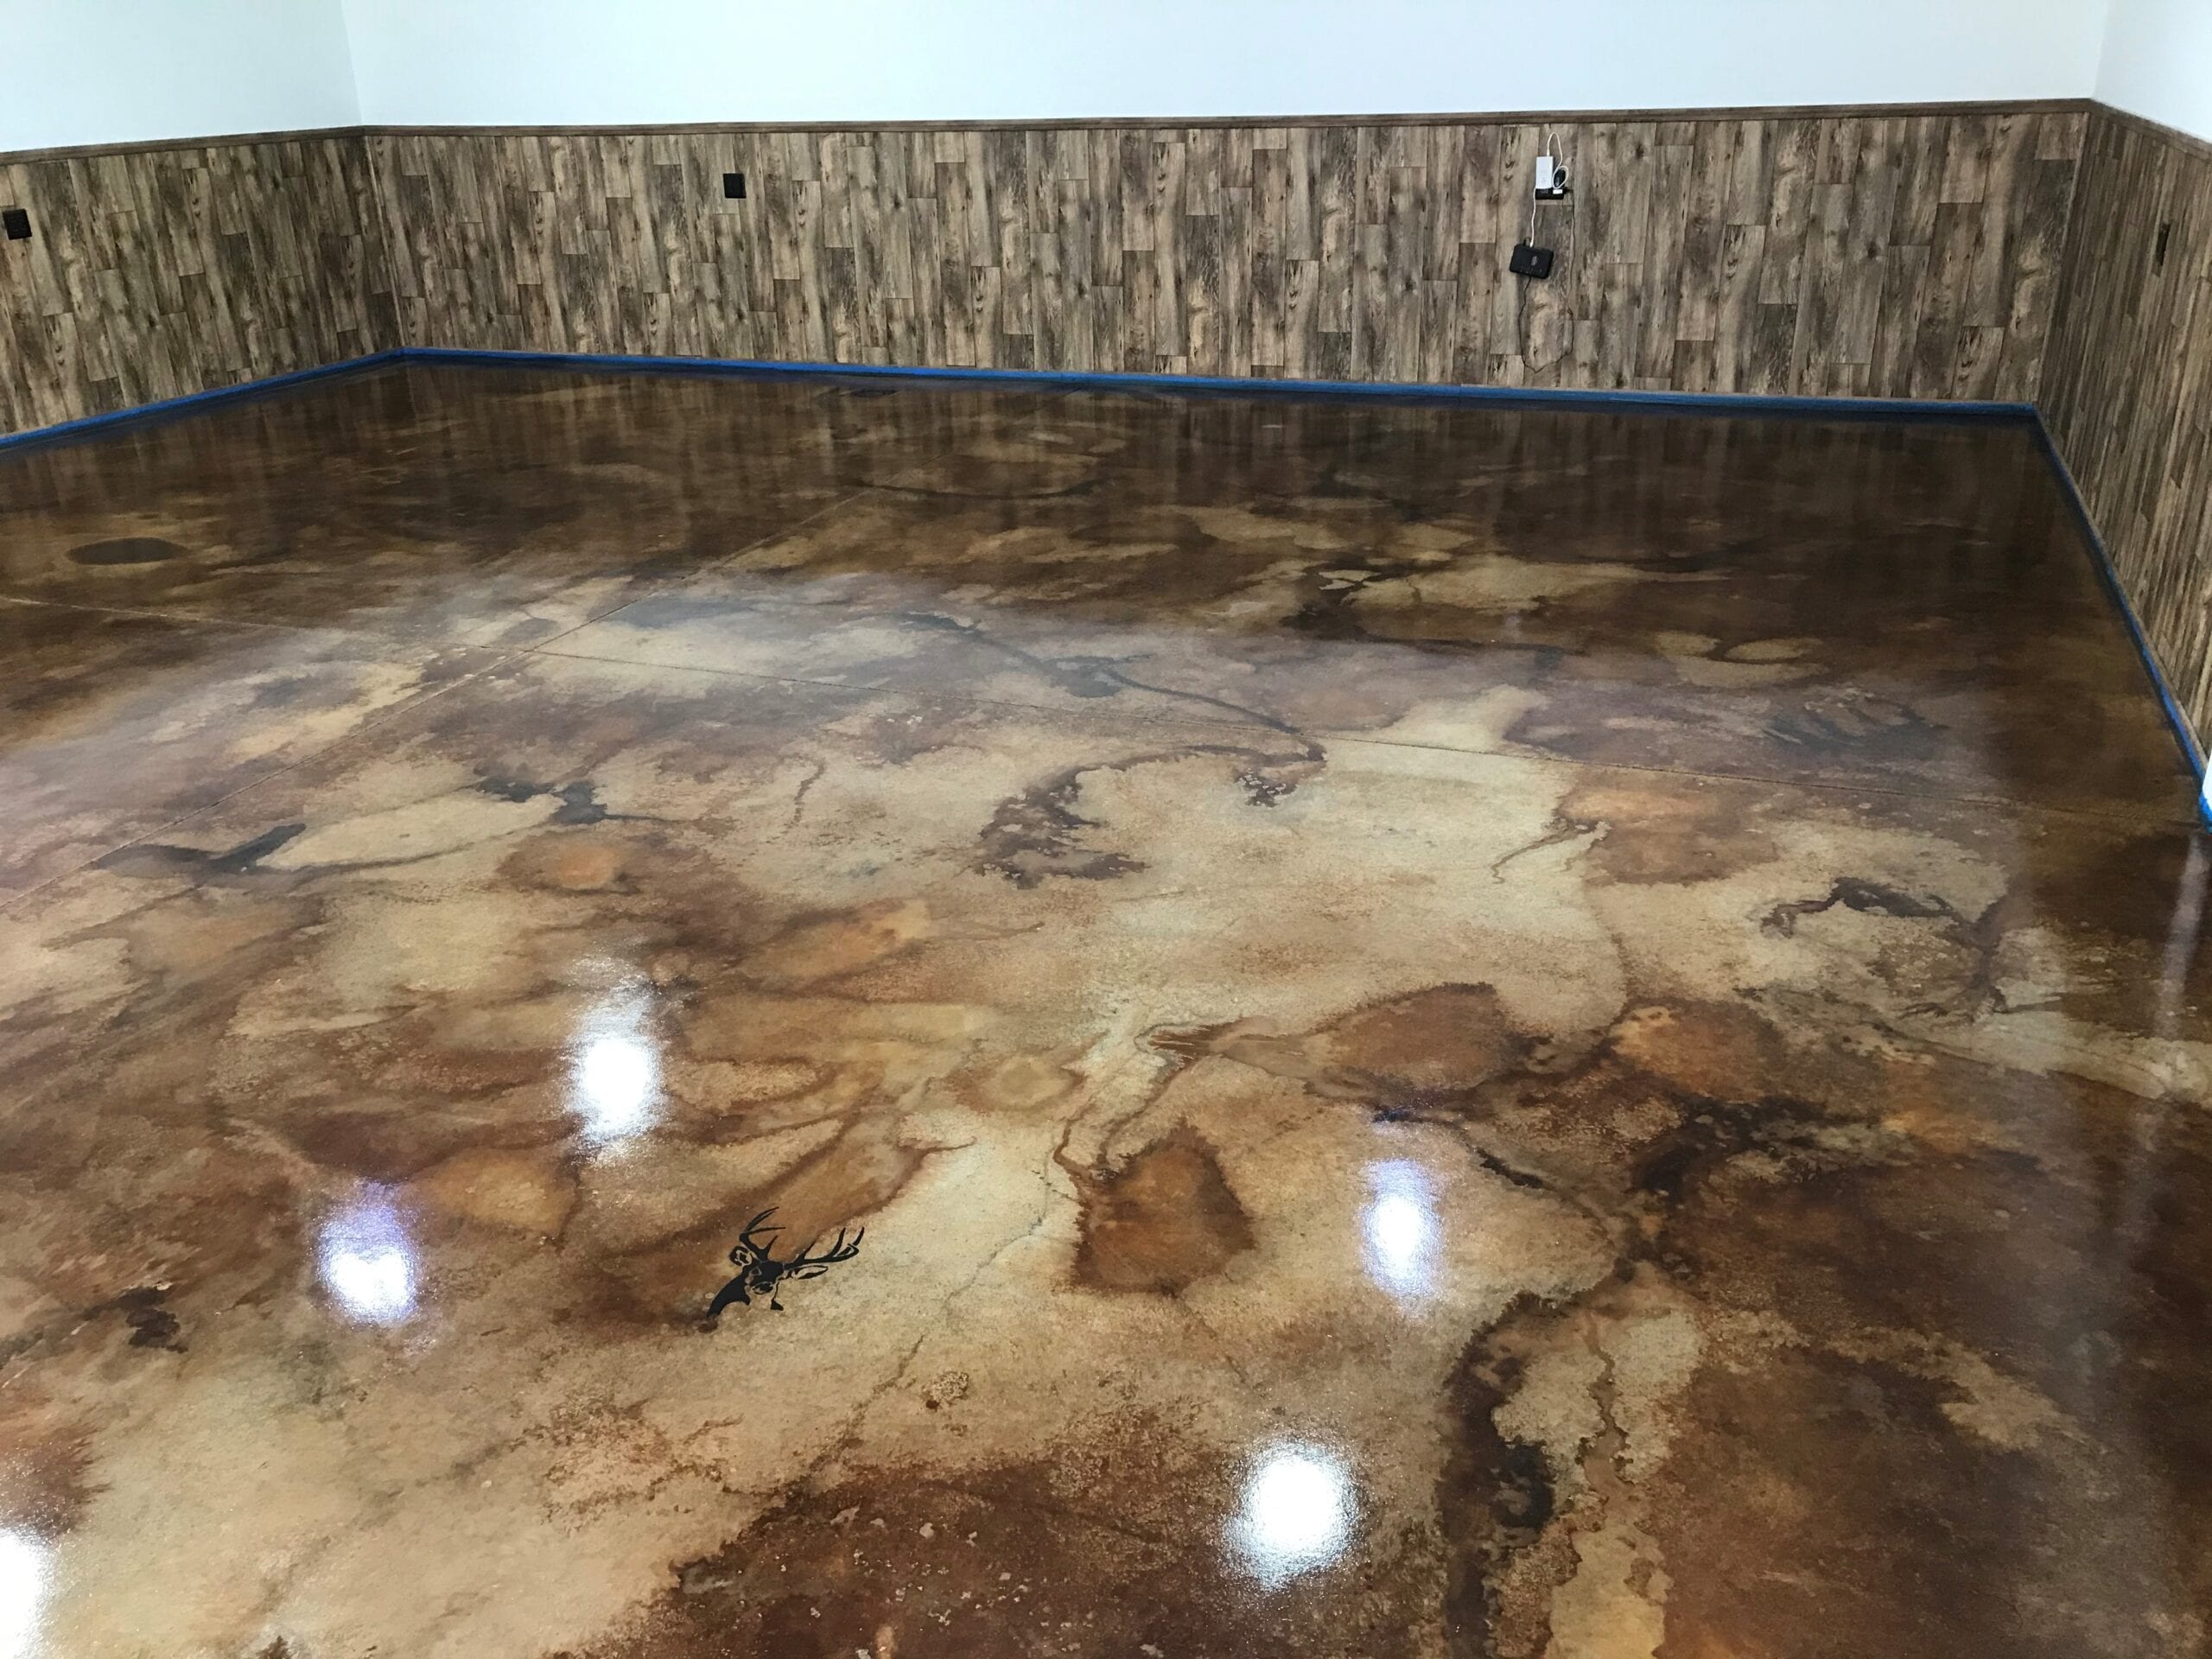
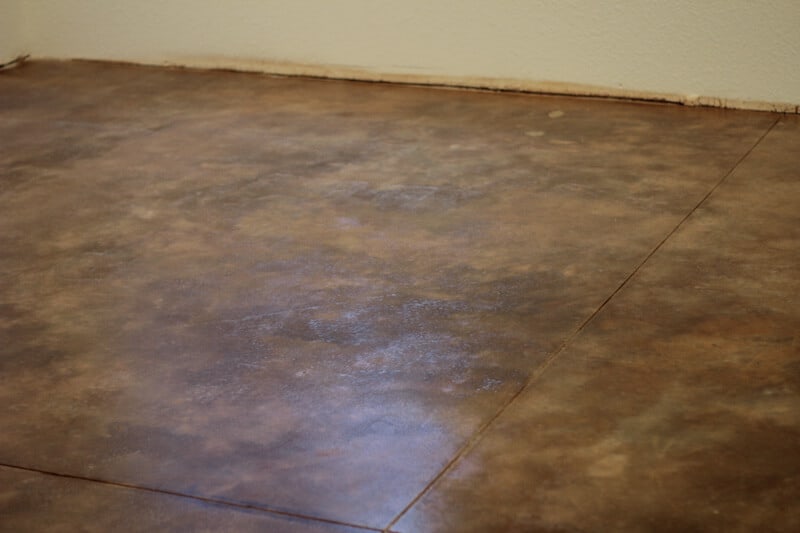
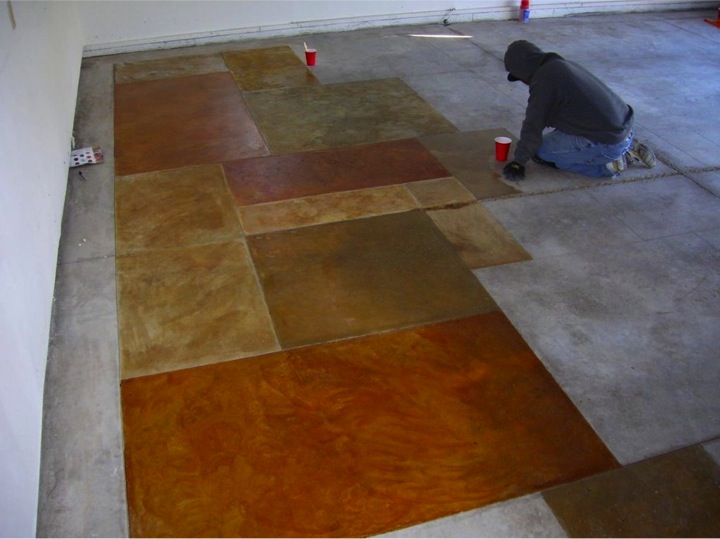
Acid-Based Stains: Acid-based stains create a unique, variegated look by reacting chemically with the concrete. They produce rich, earthy tones and a marbled effect that adds depth and character to the floor. However, acid stains require more skill to apply and can be more challenging for beginners.
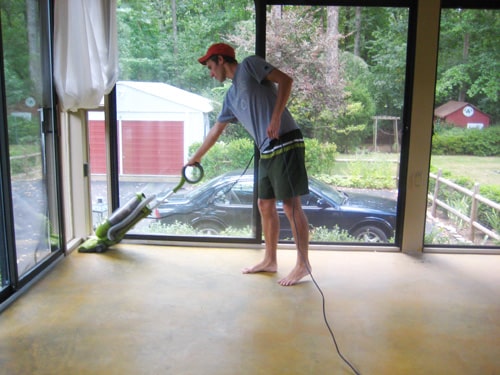
Water-Based Stains: Water-based stains are easier to apply and come in a wider range of colors. They provide a more consistent, opaque finish and are ideal for achieving solid colors. Water-based stains are also more environmentally friendly and have less odor than acid-based stains.
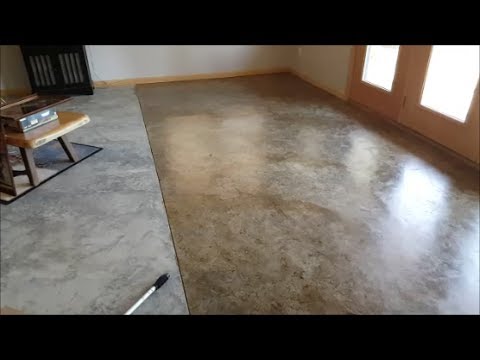
Transparent vs. Opaque Stains: Transparent stains allow the natural texture and variations of the concrete to show through, creating a subtle, natural look. Opaque stains provide more coverage and can completely change the color of the floor. Choose based on the look you want to achieve.
Consider the Finish: Stains are available in different finishes, including matte, satin, and glossy. Matte finishes are more forgiving of imperfections and provide a natural look, while glossy finishes add shine and are easier to clean. Consider the level of maintenance and the overall style of your garage when choosing a finish.
Test Samples: Before committing to a stain, test samples on a small, inconspicuous area of your garage floor. This allows you to see how the color and finish will look in your space and ensures you’re happy with your choice.
Applying the Stain
Once your floor is prepared and you’ve chosen the right stain, it’s time to apply it. Follow these steps for a smooth and even application.
Gather Your Tools: You’ll need a sprayer, roller, or brush for applying the stain, as well as a paint tray, protective gear (gloves, goggles, and a mask), and painter’s tape for edges. Make sure you have enough stain to cover the entire floor.
Apply the First Coat: Start by applying a thin, even coat of stain using your chosen tool. Work in small sections to ensure consistent coverage. For acid-based stains, use a sprayer for even distribution and follow up with a brush or roller to work the stain into the concrete.
Allow the Stain to Set: After applying the first coat, allow the stain to penetrate the concrete for the recommended time (usually 4-6 hours). This allows the color to develop fully. Avoid walking on the floor during this time.
Apply a Second Coat: If desired, apply a second coat of stain to deepen the color or enhance the effect. Follow the same process as the first coat, ensuring even coverage. Allow the second coat to set according to the manufacturer’s instructions.
Neutralize and Rinse (for Acid Stains): If you’re using an acid-based stain, neutralize the floor with a baking soda and water solution after the stain has set. Rinse the floor thoroughly to remove any residue and allow it to dry completely before proceeding.
Sealing and Maintaining Your Stained Garage Floor
Sealing your stained garage floor is essential for protecting the finish and ensuring its longevity. Proper maintenance will keep your floor looking great for years to come.
Choose the Right Sealer: Select a sealer that is compatible with your stain and provides the desired level of protection. Water-based sealers are easy to apply and environmentally friendly, while solvent-based sealers offer more durability and a higher gloss finish.
Apply the Sealer: Use a roller or sprayer to apply the sealer in thin, even coats. Work in small sections to avoid streaks or puddles. Allow the first coat to dry completely before applying a second coat, if necessary.
Allow Proper Drying Time: After applying the sealer, allow the floor to dry for at least 24 hours before walking on it or placing heavy objects on it. This ensures the sealer cures properly and provides maximum protection.
Regular Cleaning: Sweep or vacuum the floor regularly to remove dirt and debris. Clean up spills immediately to prevent staining. Use a mild detergent and water for routine cleaning, avoiding harsh chemicals that can damage the sealer.
Reapply Sealer as Needed: Over time, the sealer may wear off, especially in high-traffic areas. Reapply the sealer every 1-2 years to maintain the floor’s protection and appearance. Follow the manufacturer’s instructions for the best results.
Stained Concrete Floors
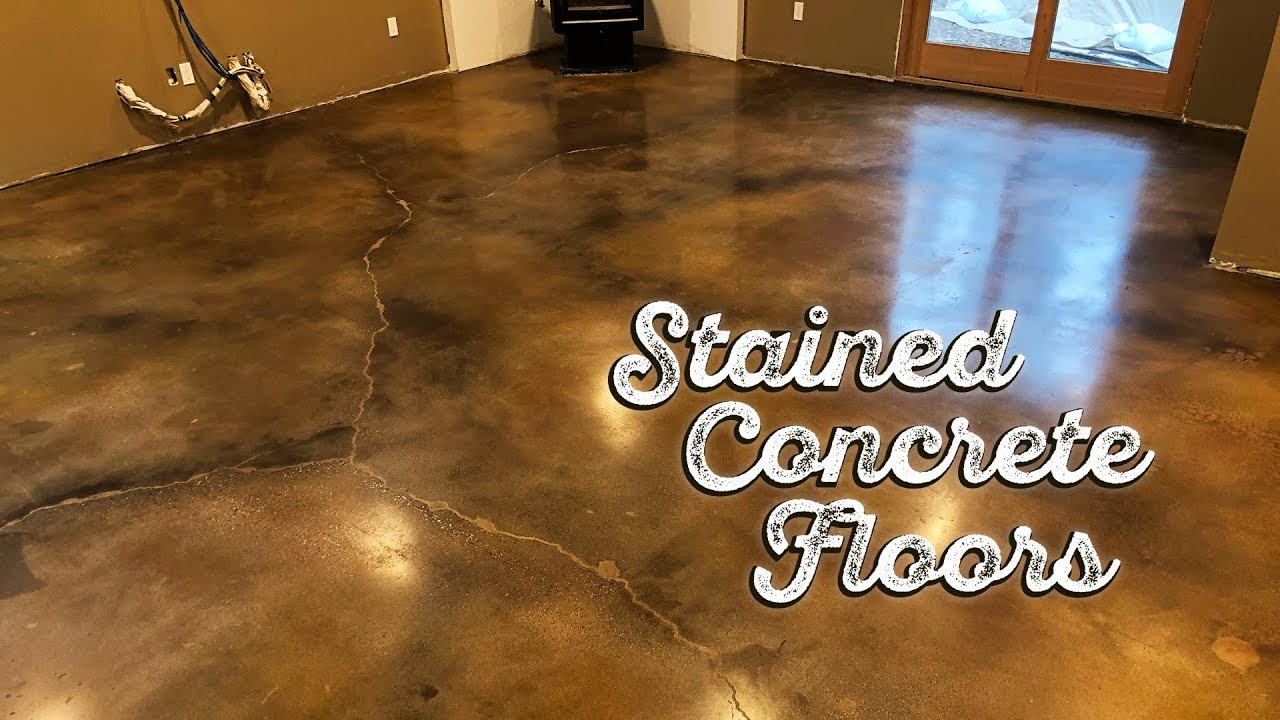
Stained Concrete Floors: Cost, How to Stain DIY, Maintenance Tips
How to Acid Stain Concrete Floors
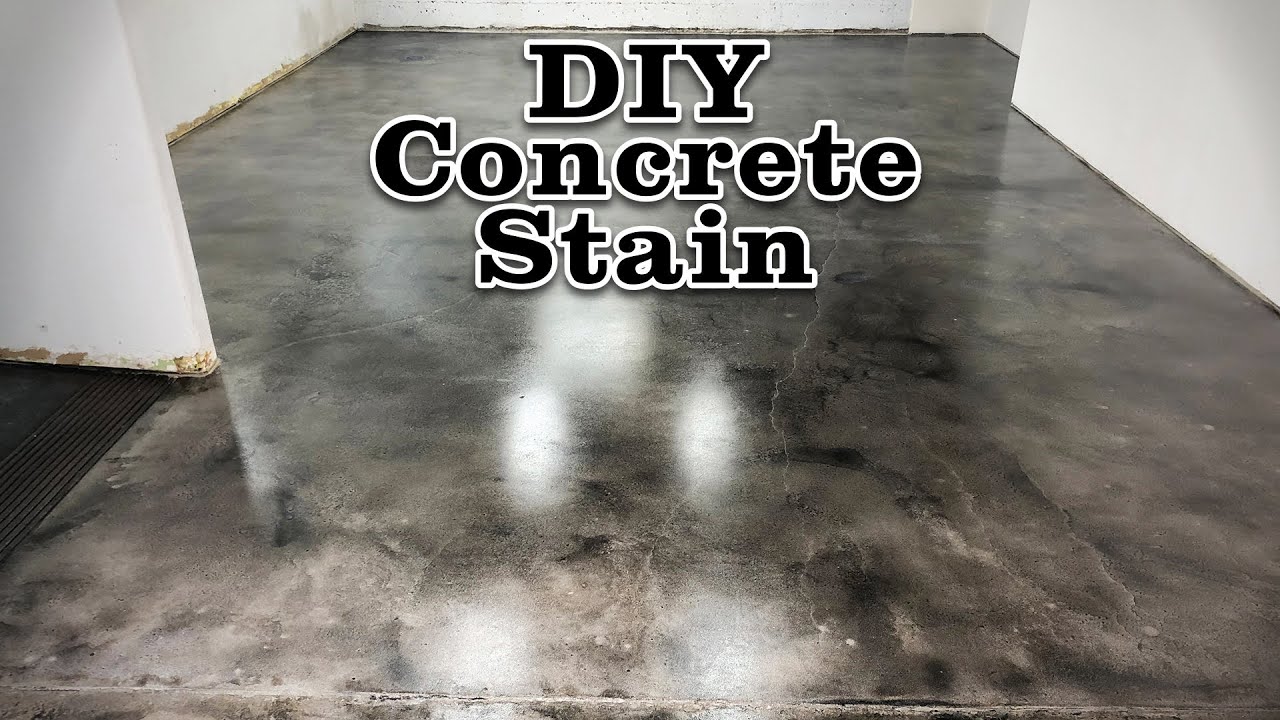
Staining Your Garage Floor DIY
The Beginner’s Guide to DIY Stained Concrete

DIY Basement Floor Stain and finish, 2 colors, Without Etching!
DIY Stained Concrete – How To Revitalize Any Concrete Surface
Staining A Concrete Floor Is Easy, Just Follow Our Step By Step
Related Posts: