Understanding the Key Ingredients in DIY Hardwood Floor Cleaners
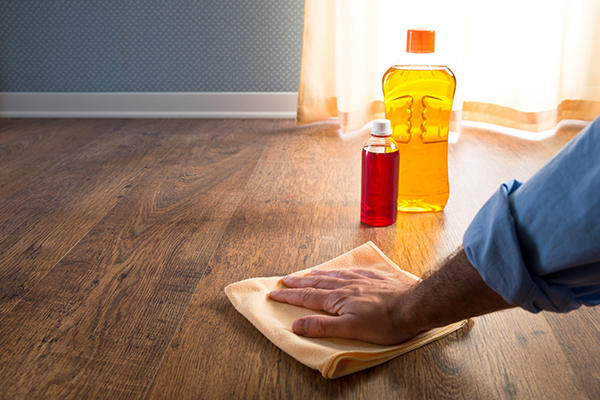
When it comes to homemade hardwood floor cleaners, knowing which ingredients to use is crucial. The wrong combination can dull your floor’s finish or even cause long-term damage. Below are five of the most reliable ingredients that form the base of effective and safe DIY solutions.
- White vinegar is a natural disinfectant.
It’s acidic enough to break down grime and grease without being too harsh on sealed wood surfaces. When diluted properly with water, vinegar helps remove sticky residue, dirt, and even some scuff marks. However, undiluted vinegar should never be used on hardwood as it can degrade the finish over time. - Olive oil restores natural shine.
Olive oil acts as a natural conditioner for hardwood floors. When used in small amounts, it can help polish the floor and bring out its natural color and shine. It’s particularly useful for older floors that have lost their luster. Just remember: a little goes a long way—too much oil can leave the surface greasy and slippery. - Essential oils add a pleasant scent and mild antibacterial properties.
Oils like lemon, tea tree, and lavender not only freshen up your space but also offer subtle antibacterial effects. Just a few drops mixed into your cleaner can do the trick. Be cautious, though—some essential oils can react with wood or finishes, so always test in a small spot first. - Rubbing alcohol helps speed up drying time.
It evaporates quickly and helps your floor dry faster, reducing moisture exposure. This is especially important for hardwood, which can warp or stain if it stays wet too long. Alcohol also has disinfecting properties, making it a smart addition when cleaning high-traffic areas. - Castile soap cuts through dirt and oil without harsh chemicals.
This plant-based soap is gentle on surfaces but tough on grime. It works well in areas that need a more thorough cleaning, such as entryways or kitchens. Unlike detergent-based soaps, castile soap rinses clean and won’t leave a sticky residue behind.
Best DIY Cleaner Recipes for Hardwood Floors
Once you’re familiar with the safe and useful ingredients, it’s time to start making your own floor cleaner. The following five recipes are balanced to protect your floors while effectively cleaning and adding shine. Each one serves a slightly different purpose, so you can pick what fits your needs best.
Simple vinegar and water solution.
Combine 1/2 cup of white vinegar with 1 gallon of warm water. This is your everyday cleaner for lightly dirty floors. Mop with a damp (not wet) cloth and dry immediately. It’s quick to mix, gentle, and cost-effective. Avoid using it on floors that are waxed or unfinished, as the acidity could harm them.
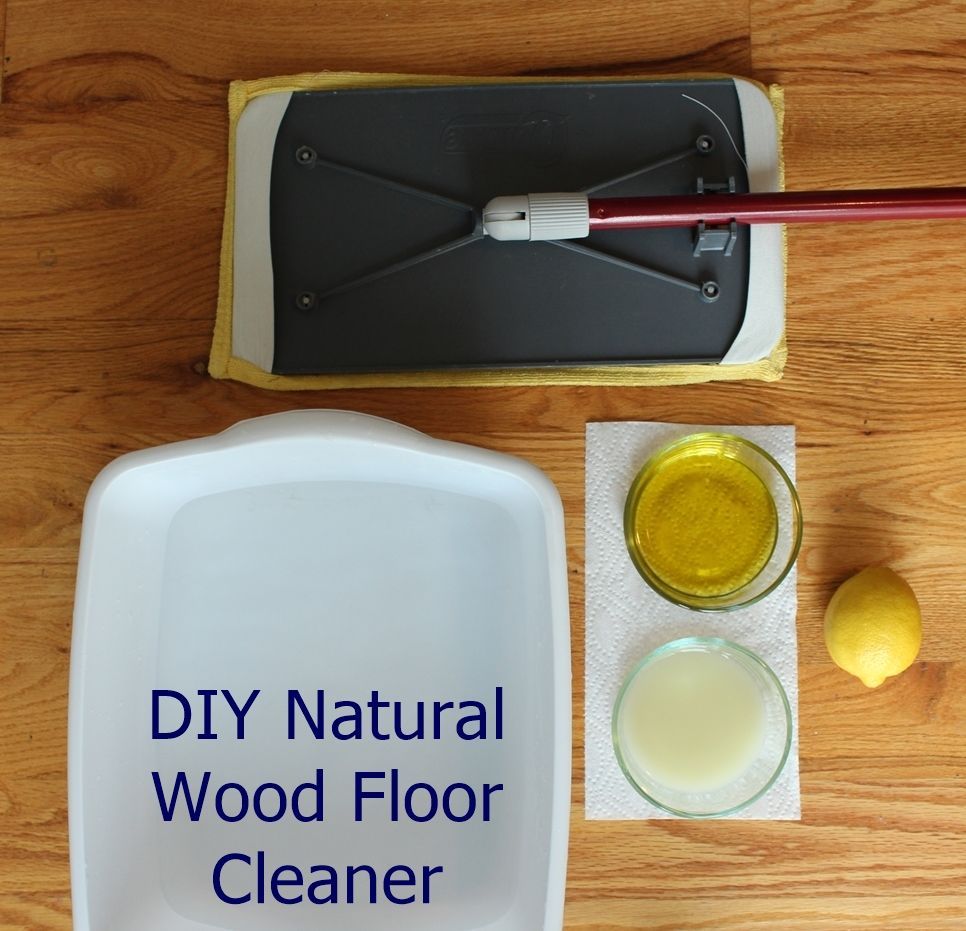
Vinegar, olive oil, and essential oils.
Mix 1/4 cup white vinegar, 1 tablespoon olive oil, and 5–10 drops of essential oil into 1 quart of warm water. Shake before use. This cleaner both removes grime and adds a light shine. Use it once or twice a month to maintain the floor’s glow without buildup. It’s ideal for living rooms and bedrooms.
Rubbing alcohol and castile soap cleaner.
Stir together 1 cup rubbing alcohol, 1 tablespoon castile soap, and 1 gallon warm water. This is great for kitchen floors or high-traffic areas. It lifts greasy residue and food spills effectively. Use a microfiber mop to prevent excess moisture and avoid soaking the wood.
Tea-based cleaner for darker woods.
Brew 2 black tea bags in 2 cups of boiling water. Let it cool, then use the tea with a soft cloth to wipe the floor. The tannic acid in tea enhances darker wood tones and adds a nice shine. It’s an old-fashioned but surprisingly effective approach, especially for antique floors.
Lemon juice blend for odor control.
Mix 1/2 cup lemon juice, 1/2 cup vinegar, and 1 gallon warm water. The lemon neutralizes odors and gives a fresh, clean scent. This is ideal for pet owners or anyone needing to remove unpleasant smells from the floor surface. Avoid on sensitive finishes—test first.

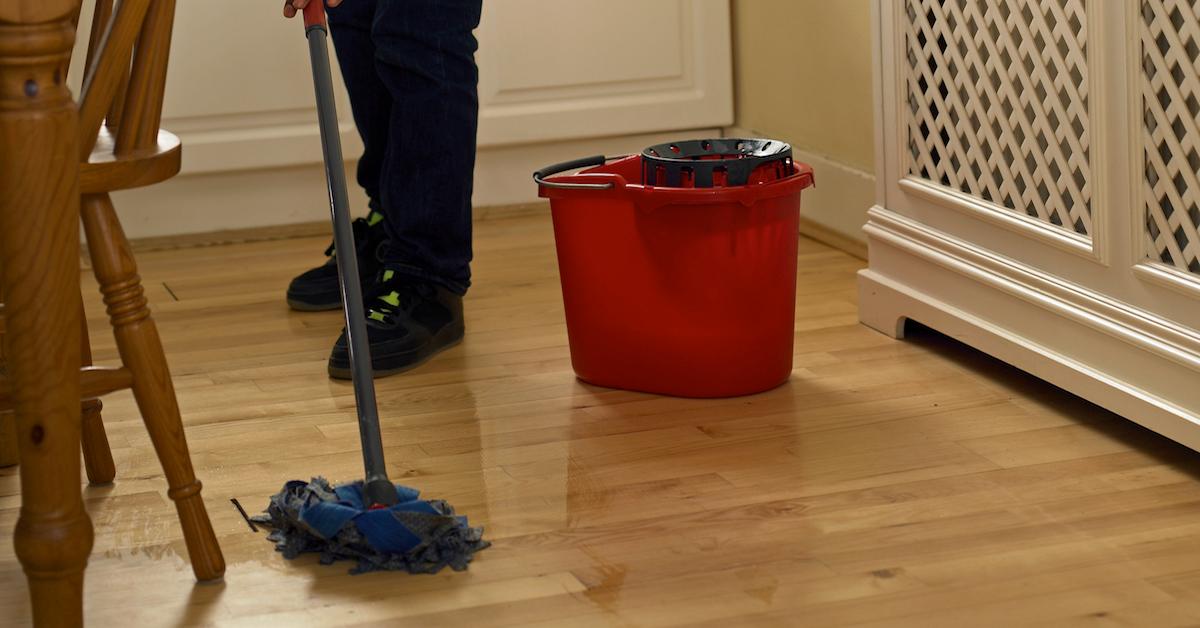
How to Apply DIY Cleaners Without Damaging Your Hardwood
Even the best cleaner won’t help if it’s used the wrong way. Hardwood floors are sensitive to water, friction, and certain materials. Applying your DIY cleaner properly ensures you get a clean floor without streaks, dullness, or wear on the wood’s finish.
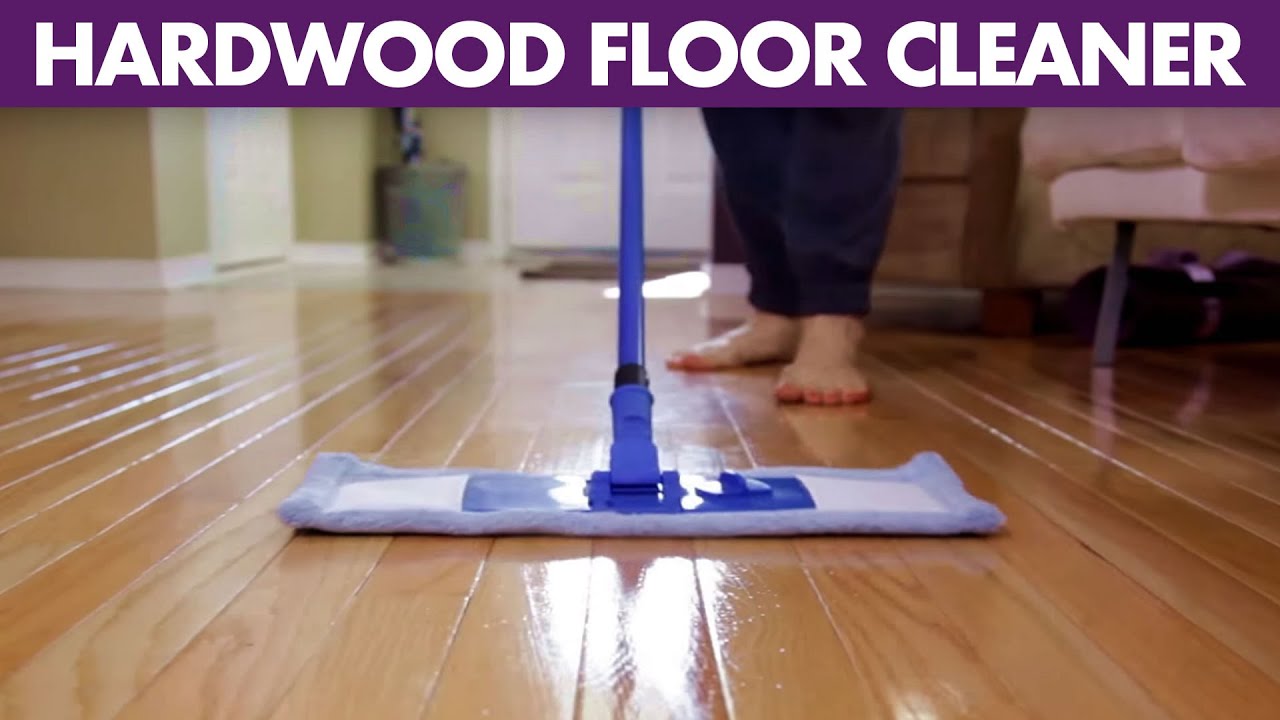
Always use a microfiber mop or cloth.
Traditional mops can hold too much water and leave puddles behind. Microfiber materials, on the other hand, absorb just enough liquid and trap dirt effectively. They’re also soft enough to prevent scratches. Wash them frequently to avoid spreading dirt around.
Never soak the floor—less is more.
Too much liquid is the enemy of hardwood. Always wring out your mop or cloth thoroughly. The goal is damp, not wet. Excess moisture can seep between the boards, causing warping or mold. Clean small sections at a time and dry them immediately with a towel or dry mop.
Work with the grain of the wood.
Following the direction of the grain helps remove dust from tiny grooves and prevents streaks. It also protects the natural appearance of the wood. You’ll notice the surface looks cleaner and more polished compared to cleaning across the grain.
Spot-test before full application.
Every hardwood floor is finished differently. What works on one may dull or stain another. Apply a small amount of your cleaner in a corner or under furniture to test for any adverse effects. Wait a few hours to see how the finish reacts before moving forward.
Don’t over-clean your floors.
Cleaning too often with even the gentlest solutions can wear down the finish over time. Unless the floor is visibly dirty, a dry dusting with a microfiber pad may be enough. Use your homemade cleaner for weekly or bi-weekly maintenance depending on foot traffic.
Solving Common Hardwood Floor Problems with DIY Solutions
Sometimes, your floors need more than a basic cleaning. Scuff marks, sticky spots, and dullness can all make a clean floor look less than its best. Here’s how you can solve some of the most common hardwood floor issues using simple DIY solutions.
For sticky spots, use vinegar and baking soda paste.
Make a thick paste from 1 tablespoon of baking soda and a small splash of vinegar. Dab it onto the sticky area and let it fizz for a few seconds, then wipe with a damp cloth. This helps lift residue without scratching or harming the surface.
For scuff marks, try a tennis ball or eraser.
Believe it or not, rubbing a clean tennis ball over a scuff mark can often lift it without any chemicals at all. For smaller marks, a standard white eraser can work well. Both are gentle enough not to harm the finish and can be reused multiple times.
For dull areas, apply an olive oil polish.
Mix 1 part olive oil with 2 parts vinegar and rub into the dull area with a soft cloth. Buff it in until the area shines. This can revive spots where the finish has worn down, especially in frequently walked-on paths.
For pet stains, try hydrogen peroxide.
Soak a clean cloth in 3% hydrogen peroxide and lay it over the stain. Let it sit for a few hours, then remove and wipe clean. This can lighten or even eliminate organic stains without damaging the finish if used carefully.
For cloudy residue, rinse with distilled water and dry immediately.
Sometimes, leftover soap or hard water can leave a cloudy film. Use a damp cloth with distilled water to gently wipe the area, then dry with a microfiber towel. This clears away build-up and leaves a clean, natural finish.
Maintenance Habits That Keep Hardwood Floors Looking New
Cleaning is only half the battle—keeping hardwood floors in top shape requires good daily habits. Here are five key tips for preserving the look and feel of your floors long after the mop has been put away.
Use doormats at all entrances.
Sand, dirt, and small stones are hardwood’s worst enemies. Placing doormats outside and inside every entryway reduces the amount of debris brought in. Encourage guests and family to wipe their shoes, or even remove them entirely when entering.
Sweep or dust daily with a microfiber pad.
A quick daily sweep can do more for your floor than frequent wet cleaning. Dust and grit cause micro-scratches that build up over time. Microfiber pads trap particles without scratching and can be used with or without cleaning fluid.
Avoid high heels and heavy furniture.
Stiletto heels and sharp edges can cause dents or gouges. Use felt pads under all furniture legs and move pieces carefully when rearranging. Regularly check for wear on these pads, as worn-out ones won’t offer proper protection.
Maintain consistent indoor humidity.
Wood expands and contracts with humidity. Use a humidifier during dry seasons and a dehumidifier when it’s humid. Aim for a range between 35–55% relative humidity to keep the planks from gapping or buckling over time.
Reapply a finish or wax layer when needed.
Every few years, depending on use, consider refreshing your floors with a proper finish or wax coat. This adds protection, revives appearance, and extends the life of the wood. Make sure to clean thoroughly before applying, and follow product instructions closely.
Simple DIY Hardwood Floor Polish Diy hardwood floors, Wood floor

My Homemade Wood Floor Cleaner Experiment Money Saving Mom®
Make Your Own Homemade Wood Floor Cleaner – Mom 4 Real

DIY Natural Wood Floor Polishing Cleaner
Hardwood Floor Cleaner – Day 5 – 31 Days of DIY Cleaners (Clean My Space)
Best Homemade Hardwood Floor Cleaners AHS
Forest Fresh Floor Cleaner – One Essential Community

How to Make DIY Hardwood Floor Cleaner – Earth Friendly Tips

Homemade hardwood floor cleaner Hardwood floor cleaner, Floor

Related Posts: