As someone who has worked extensively in the flooring industry, I understand the importance of a smooth and seamless transition from carpet to tile floor. The transition between these two flooring materials is a critical detail that can greatly impact a space’s overall aesthetic and functionality. In this article, I will guide you through achieving a flawless transition from carpet to tile, ensuring a visually appealing and practical result.
First and foremost, proper planning is essential when transitioning from carpet to tile floor. Before starting the installation process, measuring and assessing the height difference between the two flooring materials is crucial. This step will determine the transition method that will work best in your specific situation. Transition strips, thresholds, or reducers can bridge the gap between the carpet and tile, providing a seamless and safe transition.
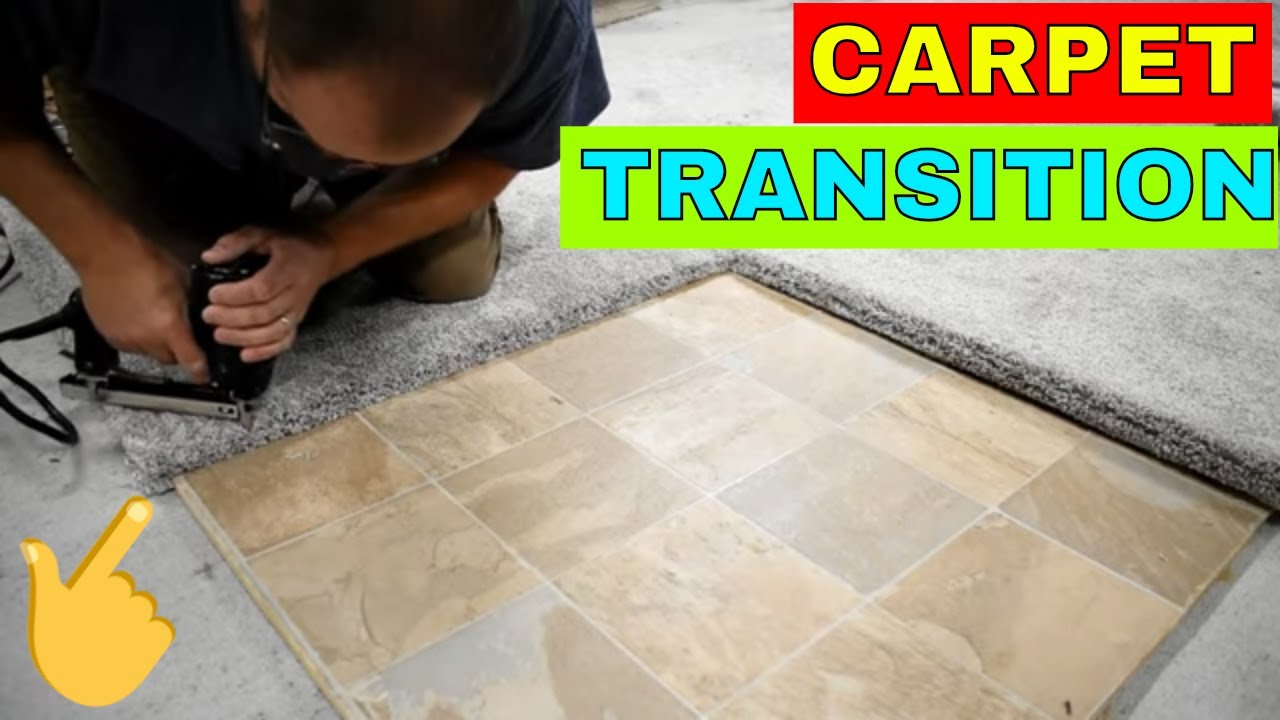
Once you have determined the appropriate transition method, it’s time to prepare the area for installation. This involves removing any existing carpet, padding, and tack strips and thoroughly cleaning the subfloor. It’s important to ensure the subfloor is level and free of debris or any protrusions that could affect the installation process. Proper preparation sets the foundation for a successful transition and guarantees a professional and polished result.

Next, it’s time to install the transition piece that will connect the carpet and tile. Transition strips are commonly used to create a smooth transition between the two surfaces. These strips come in various materials, including metal, wood, or vinyl, allowing you to choose the option that best suits your style and the space’s overall design. During installation, make sure the transition strip is securely fastened to the subfloor to prevent any movement or potential tripping hazards.
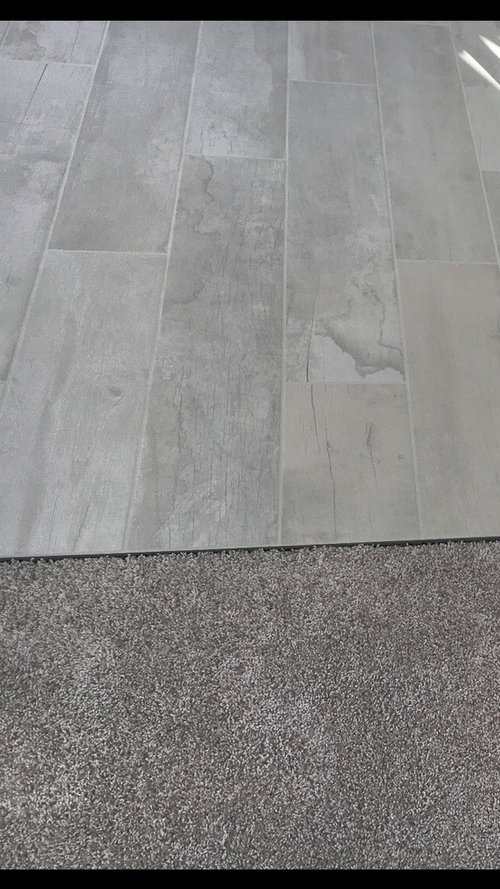
After installing the transition strip, it’s time to lay the tile adjacent to the transition area. Proper alignment is crucial to achieve a seamless look. Ensure that the edge of the tile is positioned closely to the transition strip, allowing for a smooth and even transition. Additionally, be mindful of the grout lines and the overall placement of the tile to create a visually pleasing pattern that complements the surrounding carpet.
Finally, once the tile is laid and grouted, it’s important to thoroughly clean the area to remove any grout residue or dirt. A clean transition area enhances the appearance and prevents any potential damage or staining to the carpet or tile. Take the time to inspect the transition area carefully and make any necessary adjustments or touch-ups to achieve a flawless finish.
A seamless transition from carpet to tile floor requires careful planning, proper preparation, and attention to detail. You can create a visually appealing and functional transition that seamlessly integrates the carpet and tile surfaces by selecting the appropriate transition method, ensuring proper installation, and meticulous cleaning. Remember, a well-executed transition enhances the space’s overall design and provides a smooth and safe transition between different flooring materials.
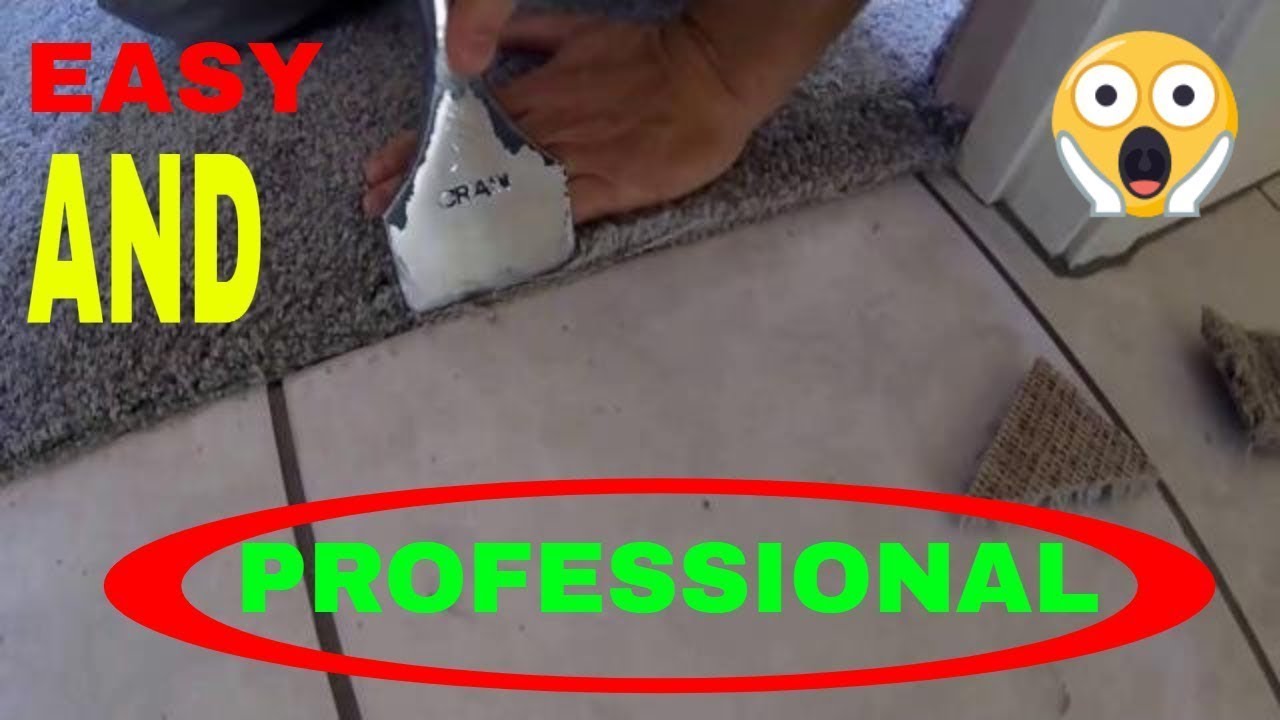
HOW TO TRANSITION CARPET TO TILE
4 Tile to Carpet Transition Options for a Stunning Floor
![]()
Can You Install Carpet Over Tile Floor? Carpet Land Omaha, Lincoln

Schluter®-SCHIENE Same-height Transitions For Floors

NEED HELP with tile to carpet transition!
CARPET TRANSITION / TURN AND TACK
Carpet to Tile Transition u0026 Repairs All-Round Cleaning
![]()
4 Tile to Carpet Transition Options for a Stunning Floor
![]()
Carpet to Tile Transition Carpet Repair Philadelphia

Carpet to Tile Transition-How to info – Ceramic Tile Advice Forums

Clip-Top Transition Strips vs. Nap Trim for Carpet-to-Tile Transitions
![]()
Click this image to show the full-size version. Carpet to tile

Adjustable Floor Transition (carpet to tile trim) Tileasy
![]()
Related Posts:
- Installing Slate Tile Floor
- Painting Ceramic Tile Floor In Kitchen
- Anti Slip For Tile Floors
- Laminate Tile Flooring
- Marble Tile Floors
- Travertine Tile Flooring
- Modern Kitchen Tile Floor
- Country Style Tile Floors
- White Tile Flooring Ideas
- Herringbone Brick Tile Floor
Transition From Carpet To Tile Floor: A Comprehensive Guide
Making the transition from carpet to tile flooring can be a difficult task. It requires careful planning and preparation to ensure that the job is done correctly and safely. This guide will provide you with all the information you need to make the transition from carpet to tile flooring as smooth and successful as possible.
How to Prepare the Subfloor
Before you can begin the transition process, you must first prepare the subfloor. The subfloor must be clean, dry, and level in order for the transition to go smoothly.
First, use a vacuum to thoroughly remove all dirt, dust, and debris from the subfloor. It is also important to check for any nails or screws that may have been left behind during the removal of the carpet. If these are present, they must be removed before any tiling can take place.
Next, you should use a level to check for any unevenness in the subfloor. If there are any low spots or high spots, they should be filled in with a patching compound or leveling compound before tiling begins. This will ensure that your tiles are laid evenly and securely.
Finally, you should apply a primer to the subfloor in order to enhance adhesion between the tiles and the subfloor. This is an important step in preparing for the transition from carpet to tile flooring and should not be overlooked.
Installing the Tiles
Once the subfloor has been properly prepared, you can move on to installing the tiles. There are a few different methods of installation depending on what type of tiles you are using.
For ceramic and porcelain tiles, you should use thin-set mortar to adhere them to the subfloor. Start by spreading a thin layer of mortar over a small section of the subfloor, then place your tiles into position and press them firmly into place. Make sure that each tile is firmly pressed into the mortar and that there are no air pockets underneath them.
For natural stone tiles, you should use a flexible adhesive instead of mortar. Spread a thin layer of adhesive over a small section of the subfloor before positioning your tiles in place and pressing them firmly into the adhesive. Again, make sure that each tile is firmly pressed into place and that there are no air pockets underneath them.
Once all of your tiles have been installed, allow them to dry according to manufacturer’s instructions. Once dry, grout your tiles using a grout specifically designed for your tile type. Allow the grout to dry completely before applying a sealer to protect your tiles and grout from staining and damage.
FAQs
Q: Do I need to use primer on my subfloor?
A: Yes, it is important to apply a primer to your subfloor before beginning any tiling work in order to enhance adhesion between your tiles and the subfloor.
Q: What type of adhesive should I use for natural stone tiles?
A: For natural stone tiles, it is best to use a flexible adhesive instead of thin-set mortar. Flexible adhesives are specially designed for natural stone tiles and will provide better adhesion than regular mortar would.
Q: How long should I wait before applying grout?
A: You should wait at least 24 hours after installing your tiles before applying grout. This will ensure that your tiles have had enough time to dry completely before being grouted.