As an avid DIY enthusiast, I’ve embarked on numerous home improvement projects, and refinishing my wood floors was one of the most rewarding experiences. There’s something truly satisfying about transforming tired, worn-out floors into stunning, elegant surfaces that breathe new life into your home.
Refinishing your wood floors not only adds value to your property but also allows you to unleash your creativity and connect with the heart of your living space. In this comprehensive guide, I’ll walk you through the step-by-step process of refinishing your wood floors like a pro, using simple techniques and readily available tools. Before we begin, remember that preparation and safety are key to a successful project, so let’s dive in!
Assessing the Need for Refinishing:
Before diving into the refinishing process, it’s crucial to determine if your wood floors actually need it. Look for signs of wear and tear, such as scratches, dullness, or uneven coloring. If you’re unsure about the type of wood or finish on your floors, conduct a simple test by applying a few drops of water to see how the wood reacts. Once you’ve established that refinishing is necessary, assess the level of refinishing required – whether it’s a simple touch-up or a full restoration.
Tools and Materials Needed
Gathering the right tools and materials is vital to ensure a smooth refinishing process. You’ll need a drum sander, an edge sander, sandpaper in different grits, paintbrushes, wood stain, finish applicators, and a vacuum cleaner. Don’t forget to equip yourself with safety gear, including safety glasses, dust masks, and knee pads, to protect yourself from dust and potential injuries during the project. Investing in high-quality tools and materials will make a significant difference in the final results.
Preparing the Area
Preparation is the foundation of any successful wood floor refinishing project. Start by clearing the room and removing all furniture, rugs, and decorations. This will give you ample space to work and protect your belongings from potential damage. Inspect the floor for any loose or damaged floorboards and replace them if necessary. Next, thoroughly clean the floor surface by sweeping and vacuuming up dust and debris. A clean and level surface will ensure that the refinishing process goes smoothly.
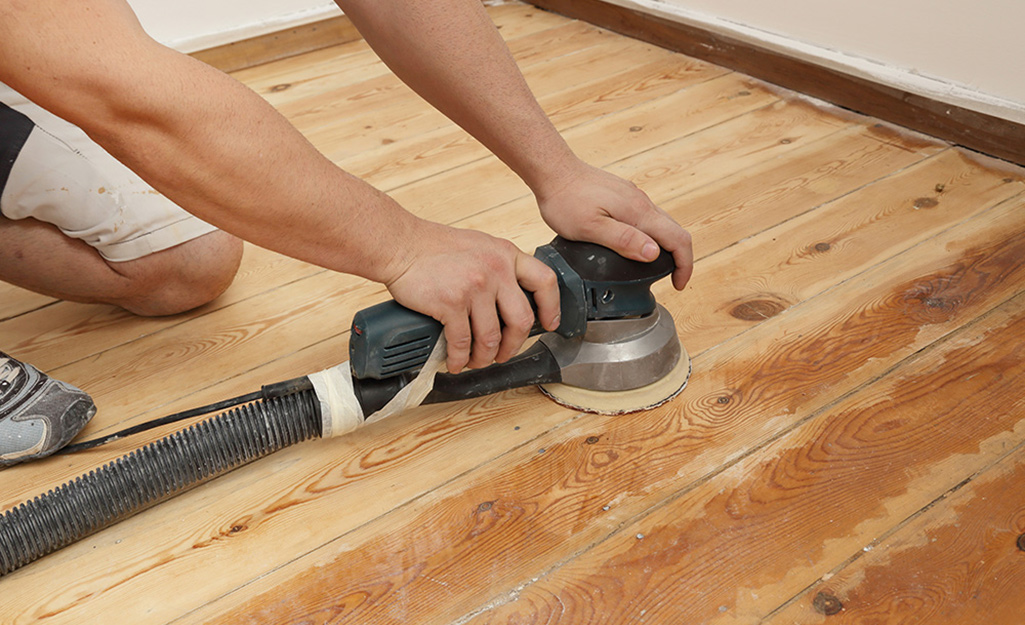
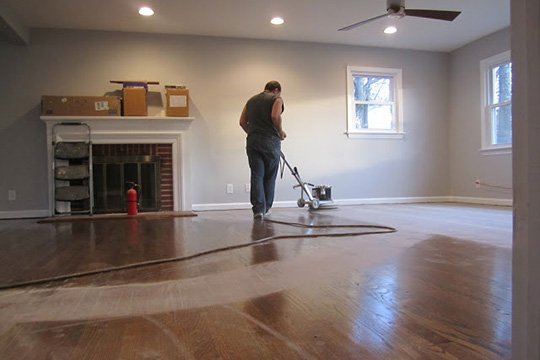
Sanding the Wood Floor
Sanding is a crucial step that restores the smoothness and uniformity of your wood floors. Begin with coarse-grit sandpaper on the drum sander to remove the old finish and imperfections. Work in straight lines, going with the grain of the wood to avoid uneven sanding marks. As you progress, switch to finer grits for a smoother finish. For hard-to-reach areas like corners and edges, use an edge sander. Proper sanding will prepare your floors for the next stages of refinishing.
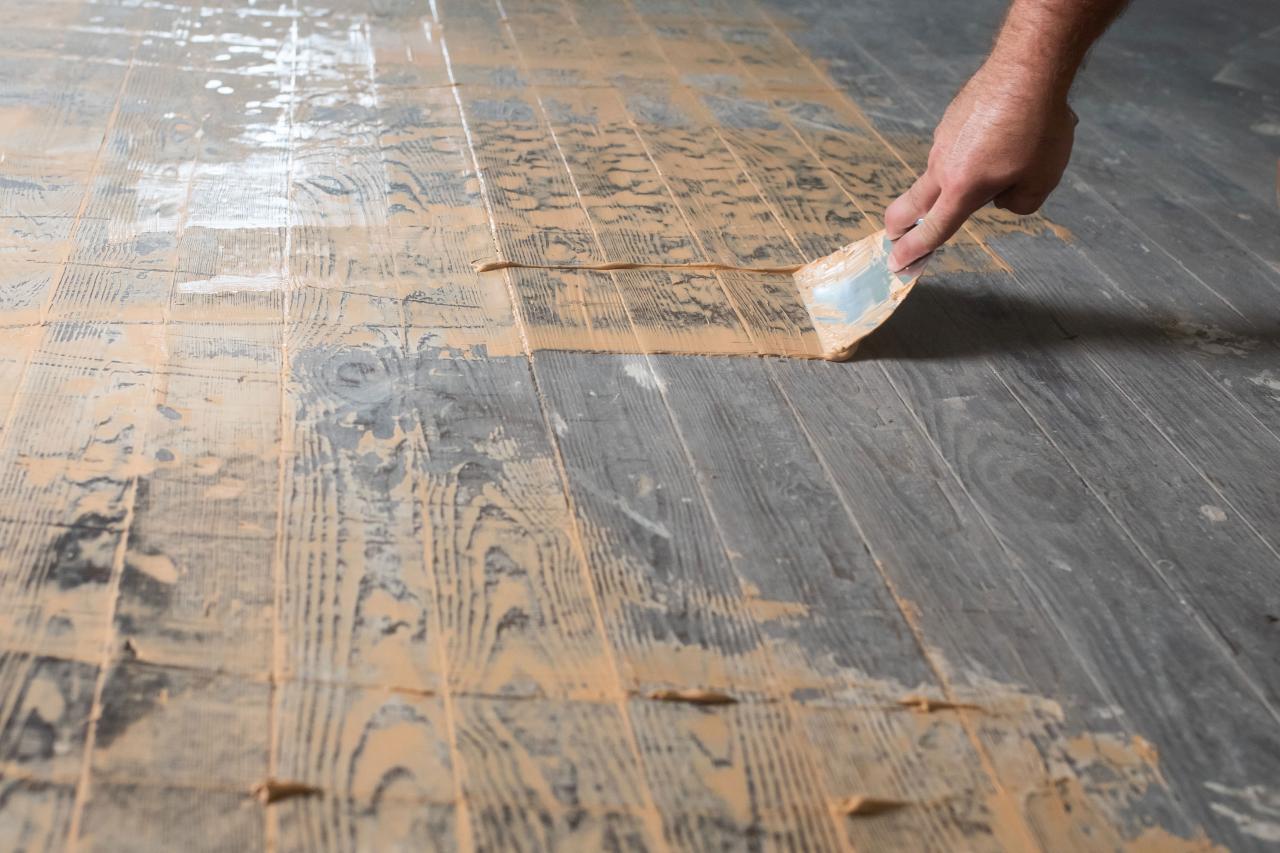
Dealing with Stains and Blemishes
Now that your floors are smooth and free from old finish remnants, it’s time to address stains and blemishes. Identify any discolored areas or deep scratches that require special attention. For stains, consider using wood bleach to lighten or remove them. For scratches and gaps, apply wood filler and sand it down until it blends seamlessly with the surrounding wood. These touch-ups will create a more uniform appearance and enhance the overall beauty of your floors.
Applying the Finish
Applying the finish is where your wood floors truly come to life. Choose the type of finish that aligns with your vision – whether it’s an oil-based finish for a rich, traditional look or a water-based finish for a faster drying time. Begin by applying a thin, even coat of finish using a paintbrush or an applicator pad. Allow each coat to dry completely before adding subsequent layers. Remember to lightly sand between coats to create a smooth and professional finish.
Additional Finish Techniques
If you want to add a personal touch to your floors, consider staining the wood for a different color tone that complements your interior design. Staining can transform the appearance of your wood floors, giving them a unique and customized look. Additionally, applying a protective topcoat, such as polyurethane, will enhance the durability and longevity of your newly refinished floors. Once the final coat is applied, buff and polish the surface for a lustrous shine that accentuates the natural beauty of the wood.
Caring for Refinished Wood Floors
Congratulations! You’ve successfully completed your wood floor refinishing project. However, your job doesn’t end here. Proper care and maintenance are essential to preserve the beauty and longevity of your refinished floors. Be patient during the curing and drying process to avoid premature damage. When moving furniture back in, use felt pads or coasters to prevent scratches. Implement a regular cleaning routine with a soft broom or vacuum and a damp mop to keep your floors looking pristine for years to come.
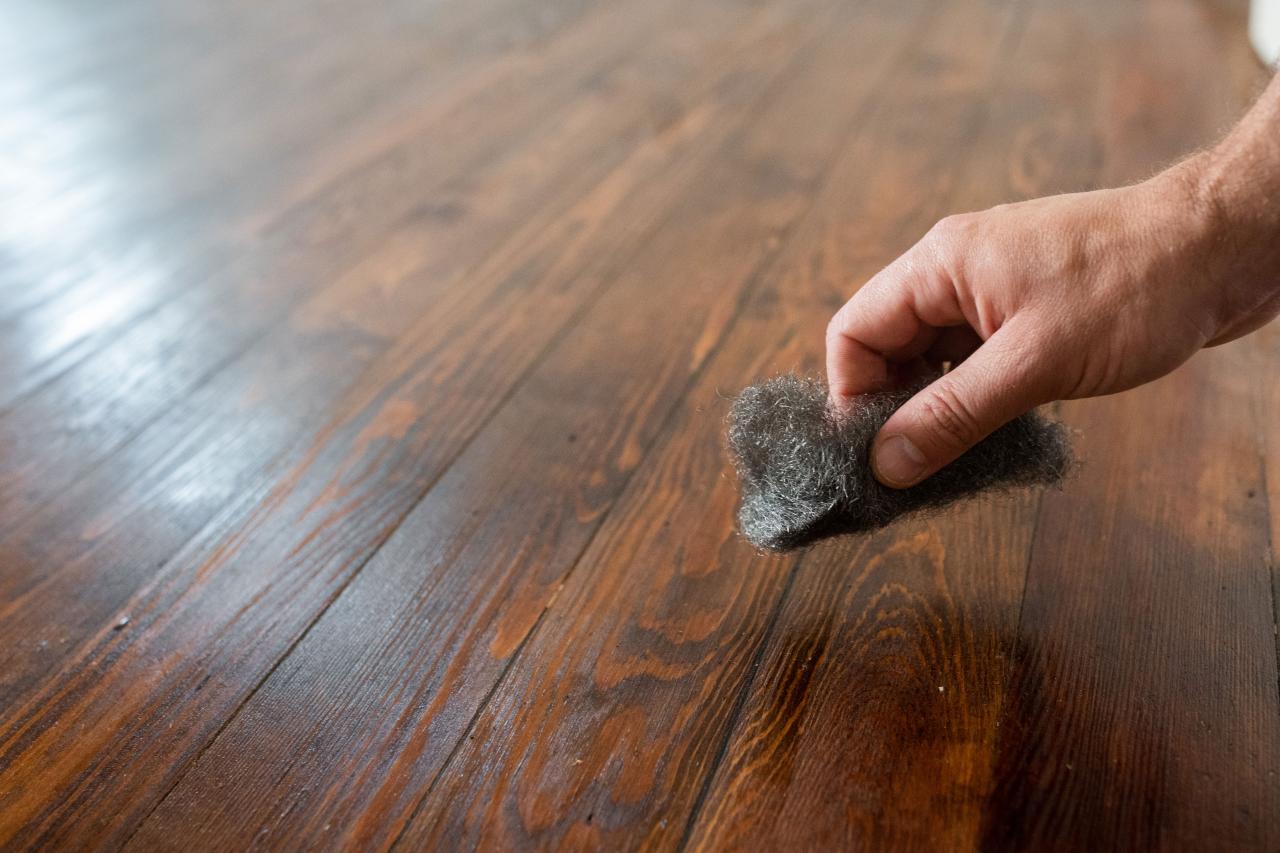
Troubleshooting and Common Mistakes
As with any DIY project, challenges may arise during the wood floor refinishing process. Don’t panic; instead, equip yourself with the knowledge to address common issues effectively. If you encounter uneven finishes or lap marks, carefully sand the affected areas and reapply the finish. Remember to use the appropriate grit sandpaper to achieve a seamless blend. Additionally, keep an eye out for dust and debris that may settle on the finish during drying, and use a tack cloth to gently remove them.
Safety Precautions
Your safety is paramount during the refinishing process. Ensure adequate ventilation in the work area to minimize exposure to dust and fumes. Wear appropriate safety gear, including safety glasses, dust masks, and knee pads, to protect yourself from potential hazards. Prevent fire hazards by storing flammable materials in designated containers and away from heat sources. Properly dispose of used materials according to local regulations.
Frugal DIY Hardwood Floor Refinishing for Beginners – Pretty Passive

How To Refinish Hardwood Floors – DIY Home Improvement HGTV
Frugal DIY Hardwood Floor Refinishing for Beginners – Pretty Passive

How To Refinish Hardwood Floors
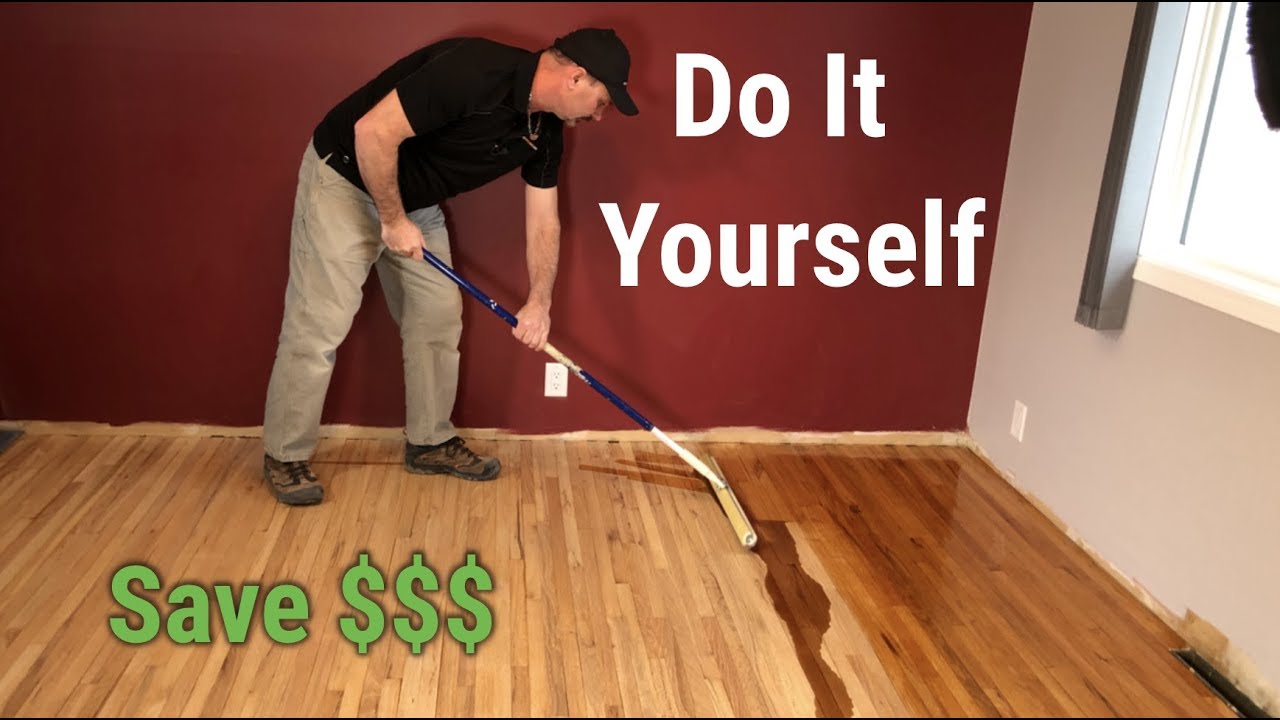
Refinish Hardwood Floors – Should You DIY? BuildDirectLearning

Refinishing Hardwood Floors DIY Wood Floor Refinishing Tips
DIY Floor Refinishing – Hardwood Floor Refinishing

How To Refinish Hardwood Floors – DIY Home Improvement HGTV
Related Posts:
- Dark Wood Floor Pattern
- Wood Floor White Stain
- Dark Wood Floors Master Bedroom
- Grey Faux Wood Flooring
- Walnut Solid Wood Flooring
- Extra Wide Wood Flooring
- Cherry Wood Floor Bedroom
- White Oak Wood Tile Flooring
- Oak Solid Wood Flooring
- Dark Wood Floor Dining Room