Understanding the Importance of Wood Floor Texture Render
Wood floor texture render plays a crucial role in enhancing the aesthetics and functionality of any space. This process involves adding a layer of texture or pattern to the surface of the wood floor, creating a unique and visually appealing look. By understanding the importance of wood floor texture renderings, you can make informed decisions when it comes to selecting the right texture for your space.
One of the primary reasons why wood floor texture render is important is its ability to add depth and dimension to the floor. A plain, smooth wood floor may lack visual interest and may not complement the overall design of the room. By adding texture, you can create a more visually appealing floor that adds character to the space. Whether you choose a subtle texture or a more pronounced pattern, the texture render can bring the floor to life and make it a focal point of the room.
In addition to enhancing the visual appeal, wood floor texture render also serves a functional purpose. The texture can provide improved traction, especially in high-traffic areas or spaces prone to moisture, such as kitchens or bathrooms. The added grip can help prevent slips and falls, making the floor safer for you and your family or visitors.
Furthermore, wood floor texture render can also help to conceal imperfections or wear and tear on the floor. Over time, wood floors may develop scratches, dents, or other signs of use. The texture render can help to camouflage these imperfections, making the floor appear newer and more well-maintained. This is particularly beneficial in commercial spaces where the floor is subjected to heavy foot traffic and is more prone to damage.
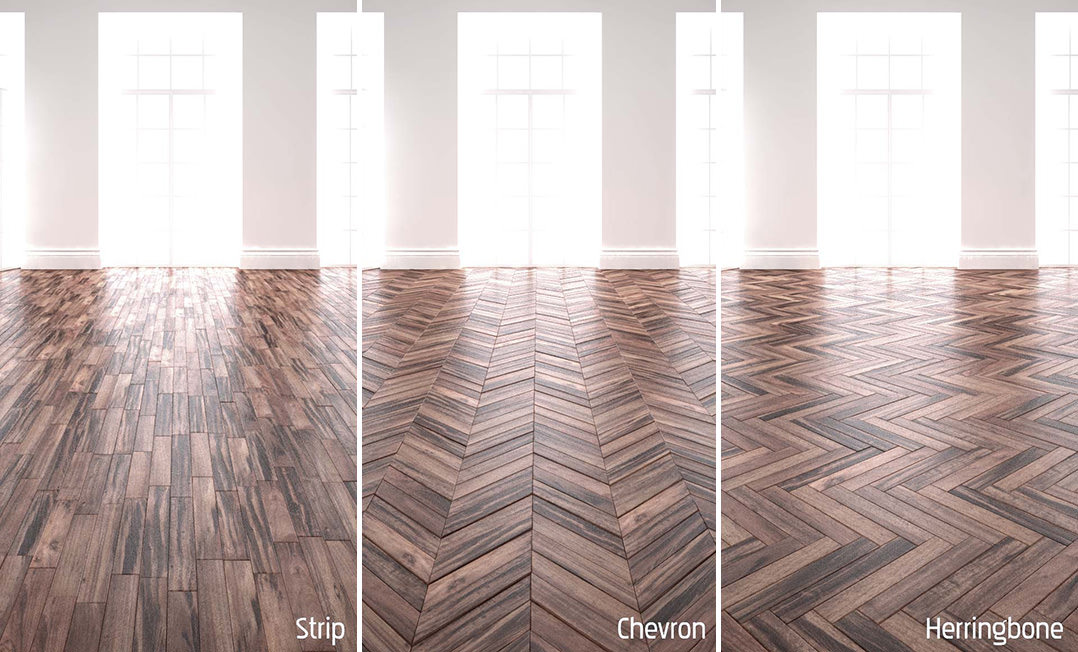
Another important aspect to consider when it comes to wood floor texture render is its versatility. There is a wide range of textures and patterns available, allowing you to select one that suits your design preferences and complements the overall theme of your space. Whether you prefer a rustic, distressed texture or a sleek, contemporary pattern, you can find a textured render that aligns with your vision.
Wood floor texture render is of utmost importance as it not only enhances the visual appeal of the floor but also serves functional purposes such as improved traction and concealment of imperfections. The versatility of texture render allows you to personalize your space and create a unique flooring solution. By understanding the significance of wood floor texture renderings, you can make informed decisions when it comes to selecting the right texture for your space.

Step-by-Step Guide to Achieving a Perfect Wood Floor Texture Render
Step 1: Prepare the Surface
Before starting the wood floor texture render, it is crucial to ensure that the surface is properly prepared. Begin by cleaning the floor thoroughly, and removing any dust, dirt, or debris. If there are any stains or imperfections, consider sanding the surface to create a smooth and even base. It is essential to have a clean and well-prepared surface for the best results.
Step 2: Choose the Appropriate Materials
Selecting the right materials is essential for achieving a perfect wood floor texture render. Opt for high-quality wood filler and putty to fill in any gaps, cracks, or holes in the surface. Additionally, choose a high-quality wood stain or paint that matches the desired texture and color.
Step 3: Apply the Wood Filler
Using a putty knife or a similar tool, apply the wood filler to the surface. Fill in any gaps, cracks, or holes in the wood floor, ensuring that the filler is evenly distributed. Smooth out the filler using the putty knife, removing any excess material. Allow the filler to dry completely before moving on to the next step.
Step 4: Sand the Surface
Once the wood filler is dry, sand the surface of the floor to create a smooth and even texture. Start with a coarse-grit sandpaper and gradually move to a finer grit to achieve the desired texture. Be sure to sand in the direction of the wood grain to avoid damaging the surface. Remove any dust or debris created during the sanding process before proceeding.
Step 5: Apply the Wood Stain or Paint
Now it’s time to add the desired wood stain or paint to achieve the perfect wood floor texture render. Use a brush or roller to apply an even coat of the chosen product, ensuring that it covers the entire surface. Follow the manufacturer’s instructions for the recommended drying time between coats. Apply additional coats if necessary to achieve the desired texture and color.
Step 6: Seal and Protect the Surface
To ensure the longevity and durability of the wood floor texture render, it is essential to seal and protect the surface. Apply a clear sealant or topcoat to protect the wood from moisture, scratches, and other potential damage. Allow the sealant to dry completely before placing any furniture or heavy objects on the floor.
Choosing the Right Tools and Materials
When it comes to creating a wood floor texture render, selecting the appropriate tools and materials is crucial to achieving a realistic and captivating final result. The following section will outline the various factors to consider when choosing the right tools and materials for this type of project.
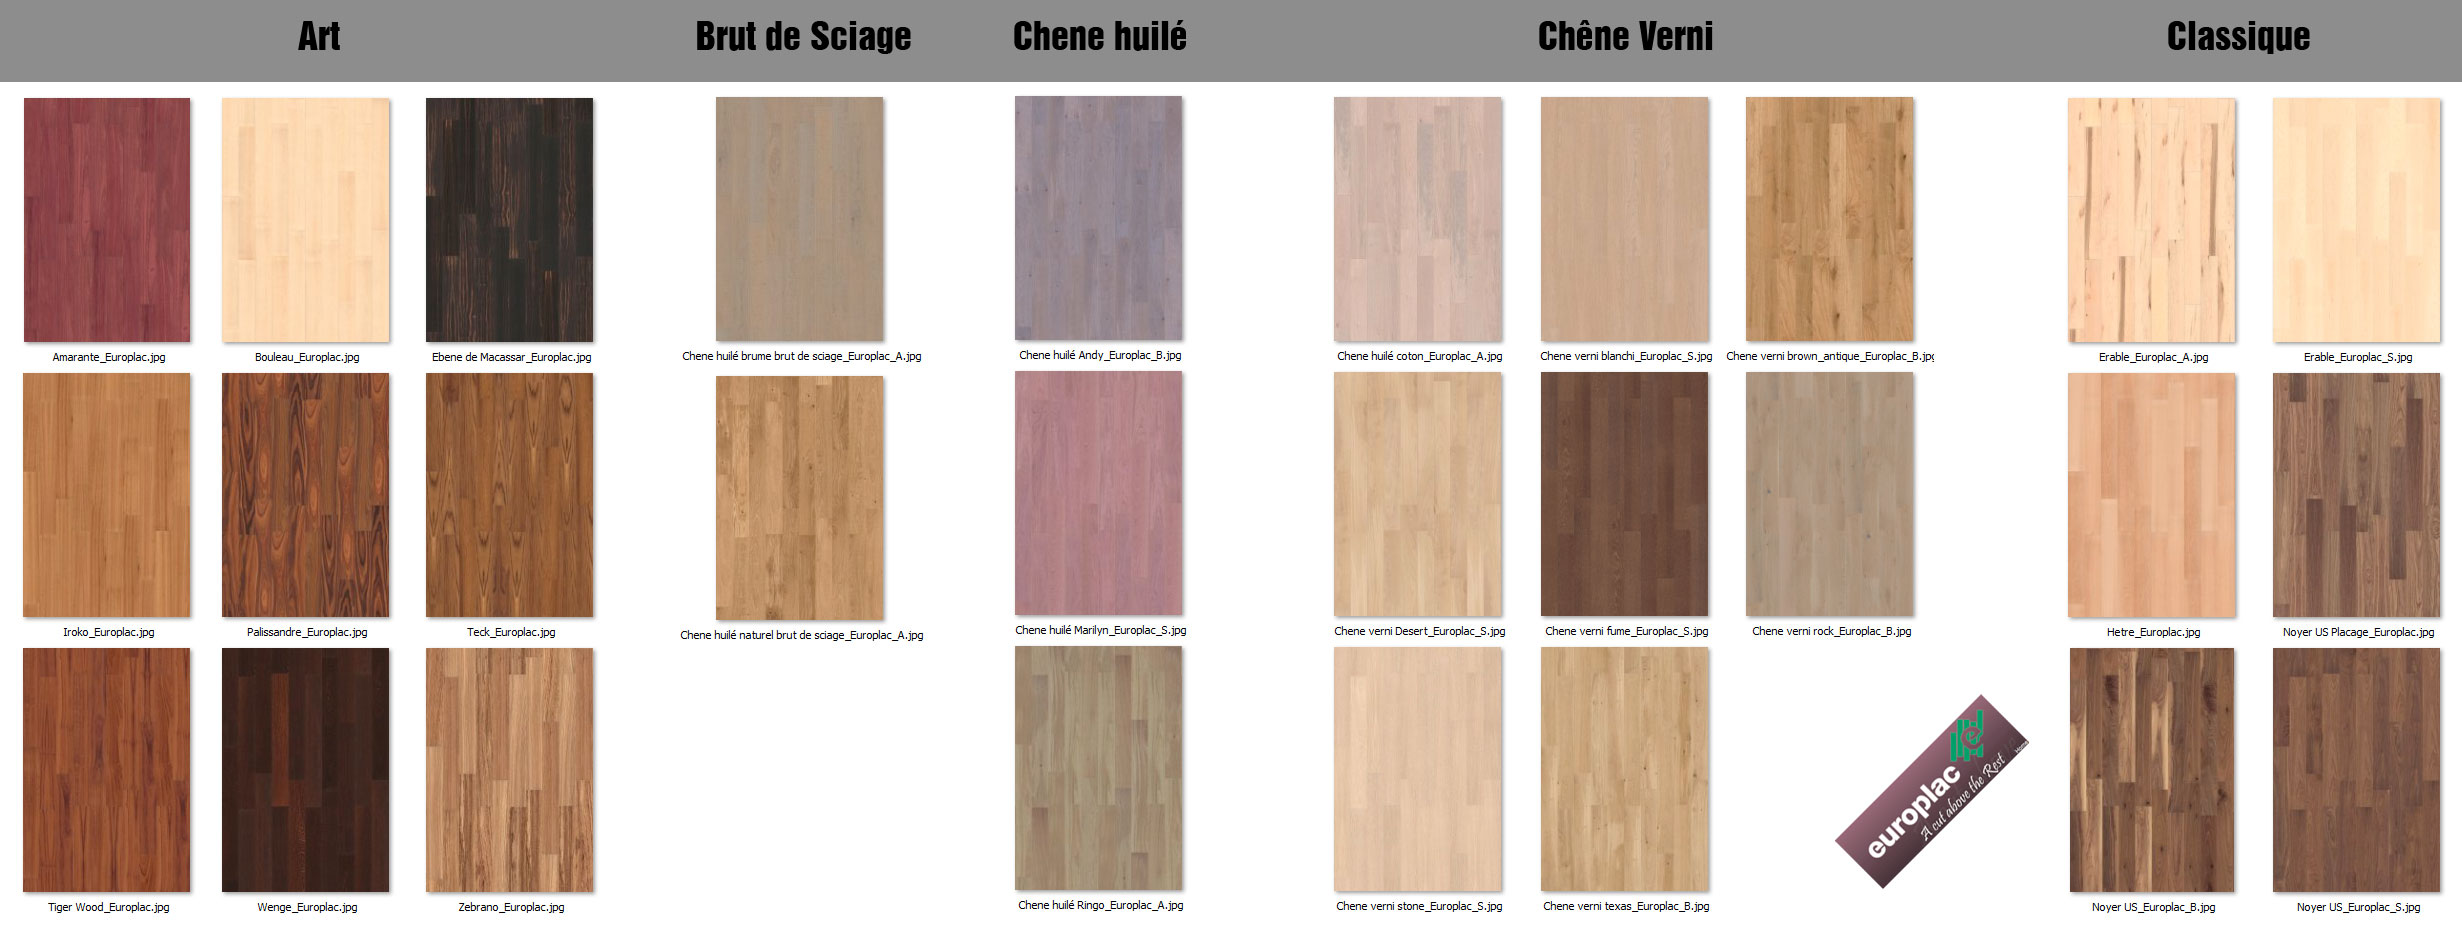
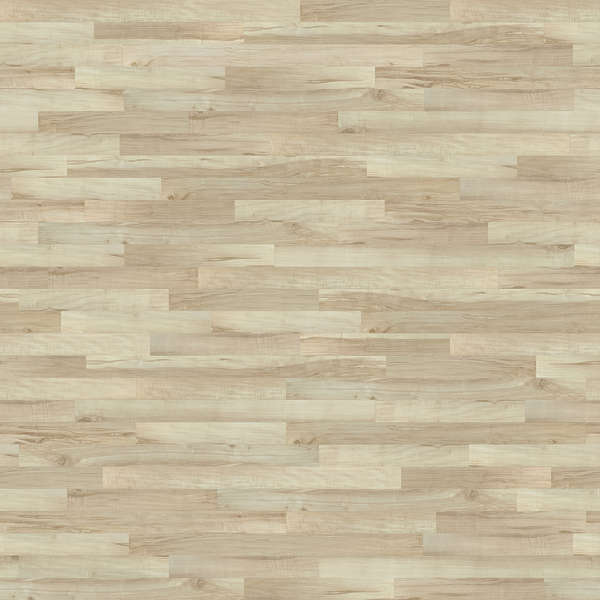
- Wood Type: The first step in selecting materials for a wood floor texture render is determining the type of wood you want to imitate. Different wood species have unique characteristics, such as grain patterns and color variations. Consider the desired effect and choose a wood type that aligns with your vision.
- Base Material: The base material used for the texture render will greatly impact the overall appearance and durability of the finished product. Options such as plywood, medium-density fiberboard (MDF), or particleboard can be used as the base. Each material has its own strengths and weaknesses, so it’s important to consider factors such as stability, cost, and ease of use.
- Texture Tools: To create a convincing wood floor texture, specific tools are needed to replicate the natural grain and patterns found in real wood. These tools may include brushes, sponges, or specialty texturing tools designed to mimic the effects of wood grain. Experiment with different tools to achieve the desired texture and depth.
- Paints and Stains: Choosing the right paints and stains is essential for achieving an authentic wood floor texture render. Opt for high-quality paints and stains that are specifically formulated for wood surfaces. Consider the color, sheen, and transparency of the product to ensure it matches the desired wood species and finish.
- Sealants and Finishes: Once the texture render is complete, applying a sealant or finish is crucial to protect the surface and enhance its appearance. Choose a sealant or finish that is suitable for the base material and provides the desired level of durability and shine. Consider options such as polyurethane, varnish, or wax to achieve the desired finish.
- Safety Equipment: When working with tools, paints, and sealants, it is important to prioritize safety. Wear appropriate protective equipment such as gloves, goggles, and a respirator to protect yourself from potential hazards, such as fumes or chemical splashes.

Maintaining and Enhancing the Wood Floor Texture Render
Regular Cleaning:
To maintain the wood floor texture render, it is essential to regularly clean the surface. Use a soft-bristle broom or vacuum cleaner with a floor attachment to remove dust, dirt, and debris. Avoid using harsh chemicals or abrasive cleaners that can damage the texture render. Instead, opt for a mild wood floor cleaner that is specifically designed for textured surfaces.
Avoid Excessive Moisture:
Excessive moisture can cause the wood floor texture render to warp or swell, affecting its appearance and durability. To prevent this, avoid using excessive water when cleaning the floor. Instead, use a slightly damp mop or cloth to remove stains or spills promptly. It is also important to wipe up any liquid spills immediately to prevent them from seeping into the texture render.
Regular Waxing or Polishing:
Waxing or polishing the wood floor texture render can help enhance its shine and protect the surface from scratches and wear. Choose a high-quality wood floor wax or polish that is suitable for textured surfaces. Apply the wax or polish following the manufacturer’s instructions, and buff the surface gently with a soft cloth or buffer to achieve a smooth and glossy finish.
Furniture Pads and Area Rugs:
Using furniture pads and area rugs can help protect the wood floor texture render from scratches and dents caused by furniture or heavy foot traffic. Place furniture pads under the legs of chairs, tables, and other furniture to prevent them from scratching or denting the surface. Additionally, place area rugs in high-traffic areas to reduce wear and tear on the texture render.
Avoid Direct Sunlight:
Excessive exposure to direct sunlight can cause the wood floor texture render to fade or discolor over time. To prevent this, use curtains or blinds to block out the sunlight during the peak hours of the day. Alternatively, consider applying a UV-protective coating on the windows to filter out harmful rays and protect the floor from sun damage.
Regular Maintenance and Inspection:
Regularly inspect the wood floor texture render for any signs of damage or wear. Check for loose or damaged boards, cracks, or areas that have lost their texture. Address any issues promptly to prevent further damage. Additionally, consider scheduling professional maintenance and refinishing services periodically to keep the wood floor texture rendered in optimal condition.
Pin on Texture

Wood Floor Free stock photos – Rgbstock – Free stock images
Wood Floor 3 Free stock photos – Rgbstock – Free stock images
Hardwood Floors? – Pro – SketchUp Community
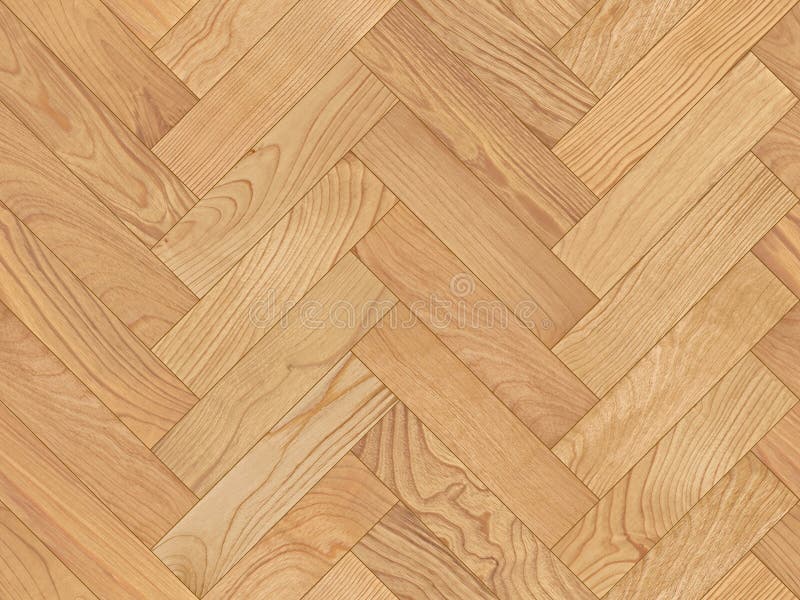
Seamless parquet texture stock image. Image of tree, parquetry
Timber Render – Woodgrain – YouTube

Wood texture floor – 3DArt

3 RailClone Parquet Floor Tutorials – 3D Architectural
Wooden Texture For Render 2D BMP Graphics Graphics u2022 Designs
14 New Rendering Textures ideas wood floor texture, floor

Related Posts: