Laminate flooring can be purchased in varying level of quality, but most of the time it's essentially a wood impression print stood to either an MDF or perhaps plywood board having a lacquer on the best, sanding it'd only sand away from the print and ruin the floor. Nevertheless, if they become scratched or even worn-through, laminate floorings are then no longer in the position to be re coated – they are then' damaged'.
Images about Distressed Wood Flooring DIY
Distressed Wood Flooring DIY

Due to the point that there will be a number of wood species as well as finish options available, it gets to be an excellent green selection for nearly anyone. On the opposite hand, the engineered floors is made of levels of thin pieces of hardwood. You have to understand the terminology used for describing wood flooring and just how different specifications affect the performance of the flooring.
Distressed Hardwood Flooring: 9 Design Ideas with a Cozy

In case you are looking to get into and finish a house renovation project that will add a lot of value to your home, you need look no instead of using engineered wood flooring. The wood must be thoroughly sawn to segregate the defects in a log or maybe beam that may possibly have been growing for many hundred years. The next most popular is often the unique style.
How To: Make Distressed Wood Floors – The Craftsman Blog
How To: Make Distressed Wood Floors – The Craftsman Blog
10 Steps to a Distressed Wood Floor

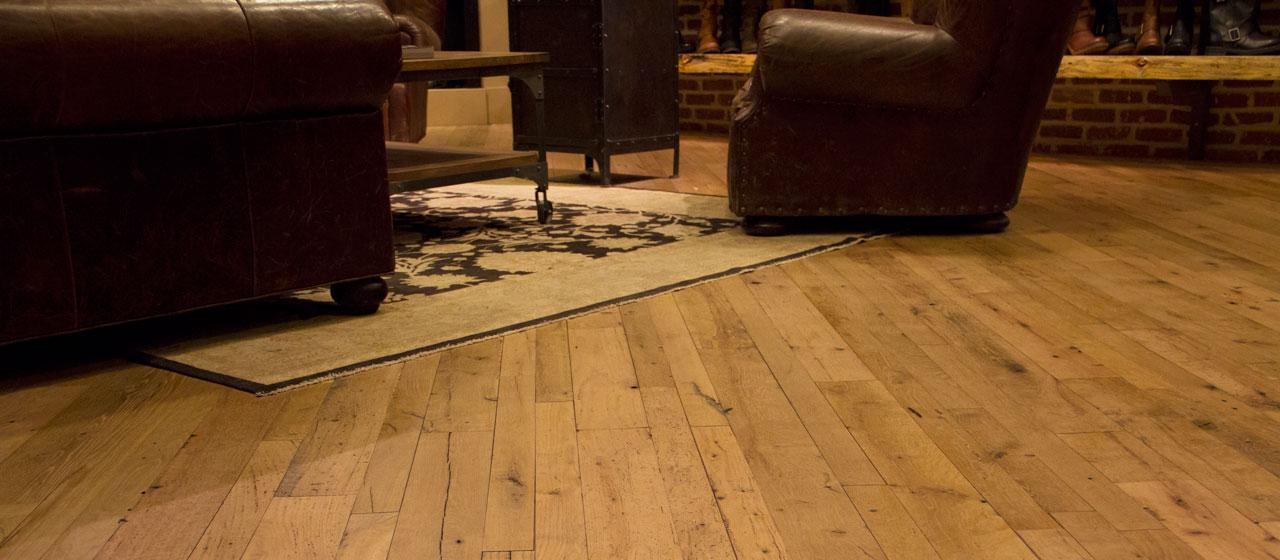
DIY Rustic Farmhouse Wood Flooring

DIY Rustic Farmhouse Wood Flooring

Distressed Hardwood Flooring: 9 Design Ideas with a Cozy

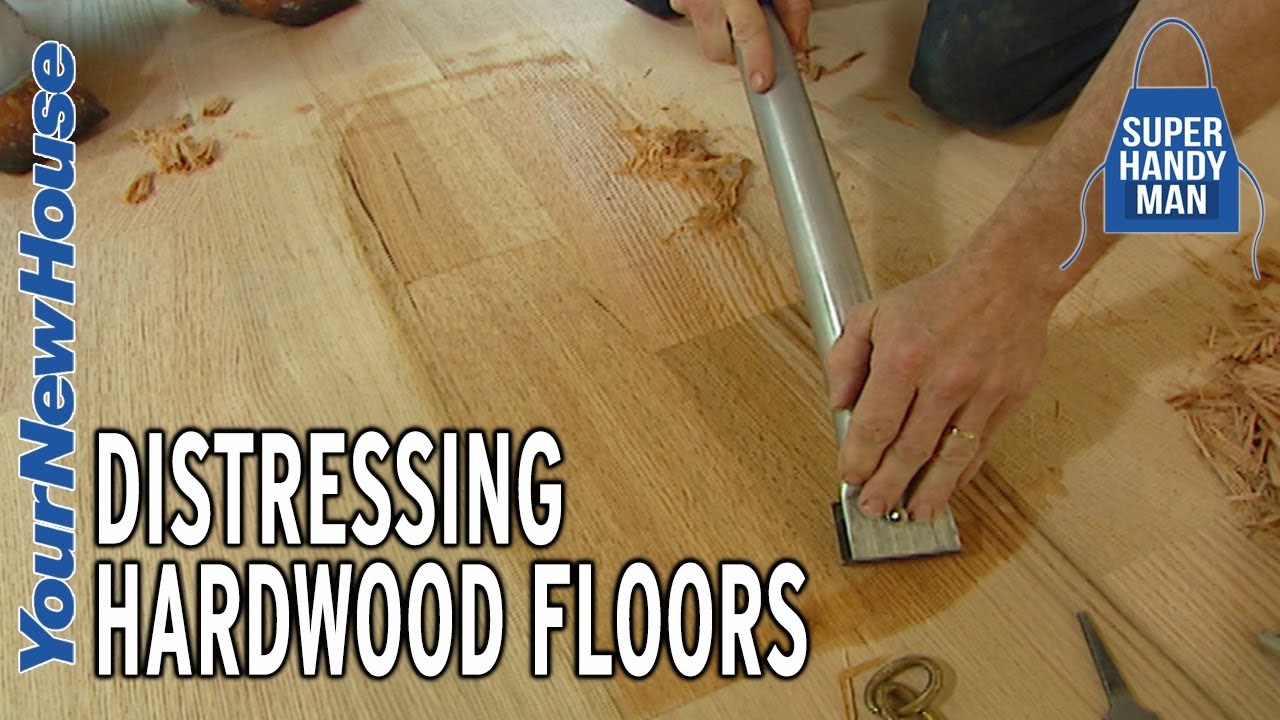
Distressing Hardwood Floors – DIY Hand Scraping
Pin on Painted Floors

Complete Guide to Rustic Grade Hardwood Flooring
/RusticGradeHardwoodFlooring-5c5deb13c9e77c0001d92b66.jpg)
How To: Make Distressed Wood Floors – The Craftsman Blog
DIY Rustic Wide Plank Plywood Flooring – Our Project Ideas
Distressed Hardwood Flooring: 9 Design Ideas with a Cozy
Related Posts:
- Dark Wood Floor Pattern
- Wood Floor White Stain
- Dark Wood Floors Master Bedroom
- Grey Faux Wood Flooring
- Walnut Solid Wood Flooring
- Extra Wide Wood Flooring
- Cherry Wood Floor Bedroom
- White Oak Wood Tile Flooring
- Oak Solid Wood Flooring
- Dark Wood Floor Dining Room
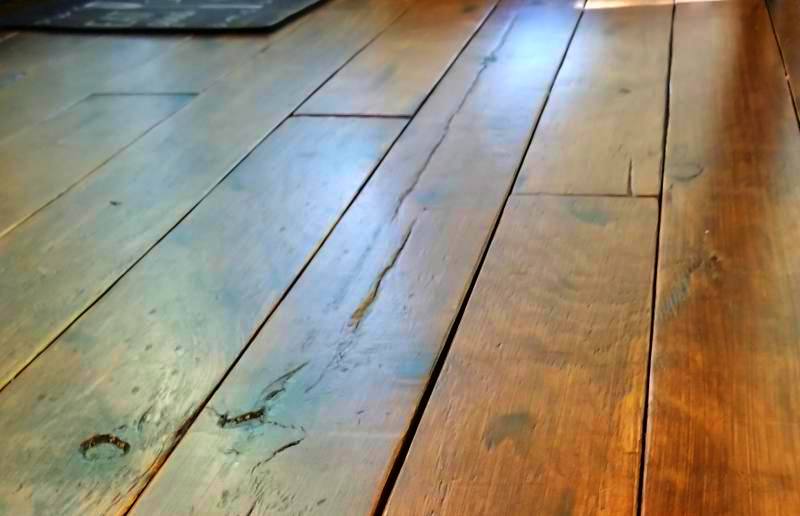
Distressed Wood Flooring DIY: An In-Depth Guide
Distressed wood flooring is a popular choice in many homes, as it adds a unique and rustic charm to any space. Distressing wood is a process of aging the wood and making it look naturally worn, with an emphasis on the wood’s natural grains and character. With this guide, you’ll learn how to distress wood floors yourself, saving time and money.
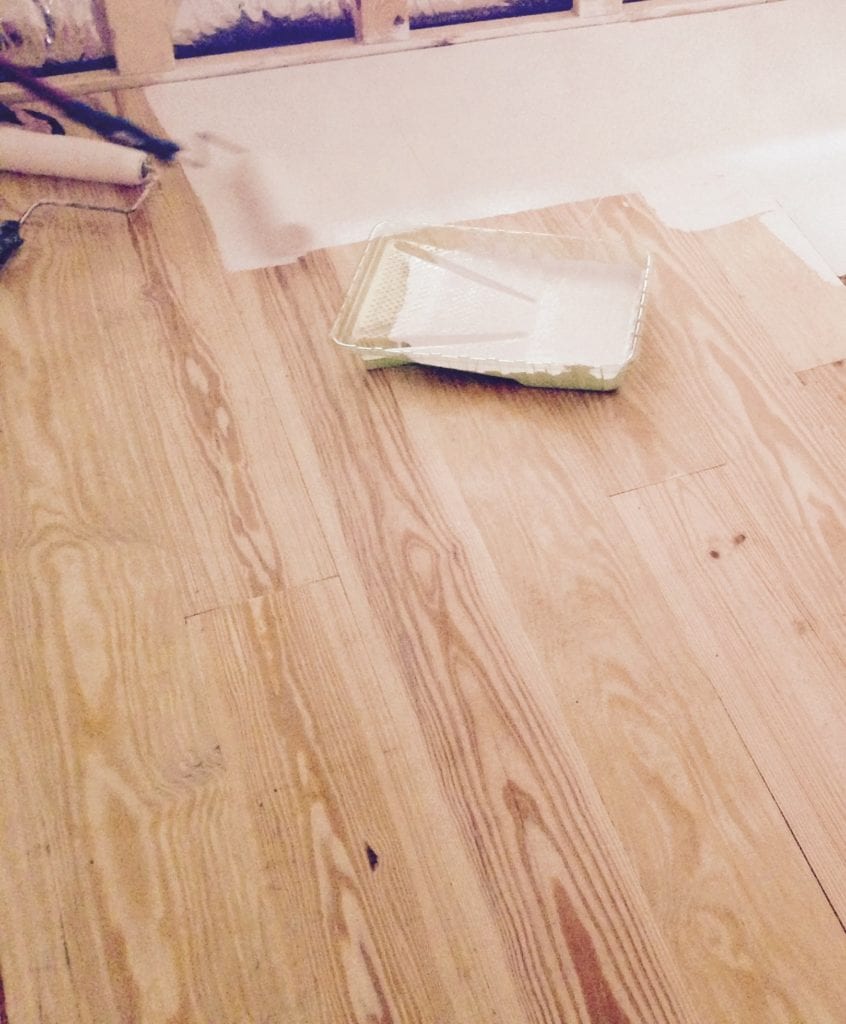
Preparation
Before you begin distressing your wood floors, there are a few steps you must take in order to ensure the best possible results. First, make sure that your floors are clean and free of dust and debris. You’ll also want to sand the entire surface lightly with a fine-grit sandpaper. This will help to create a smoother finish and make it easier to apply the distressed treatment.
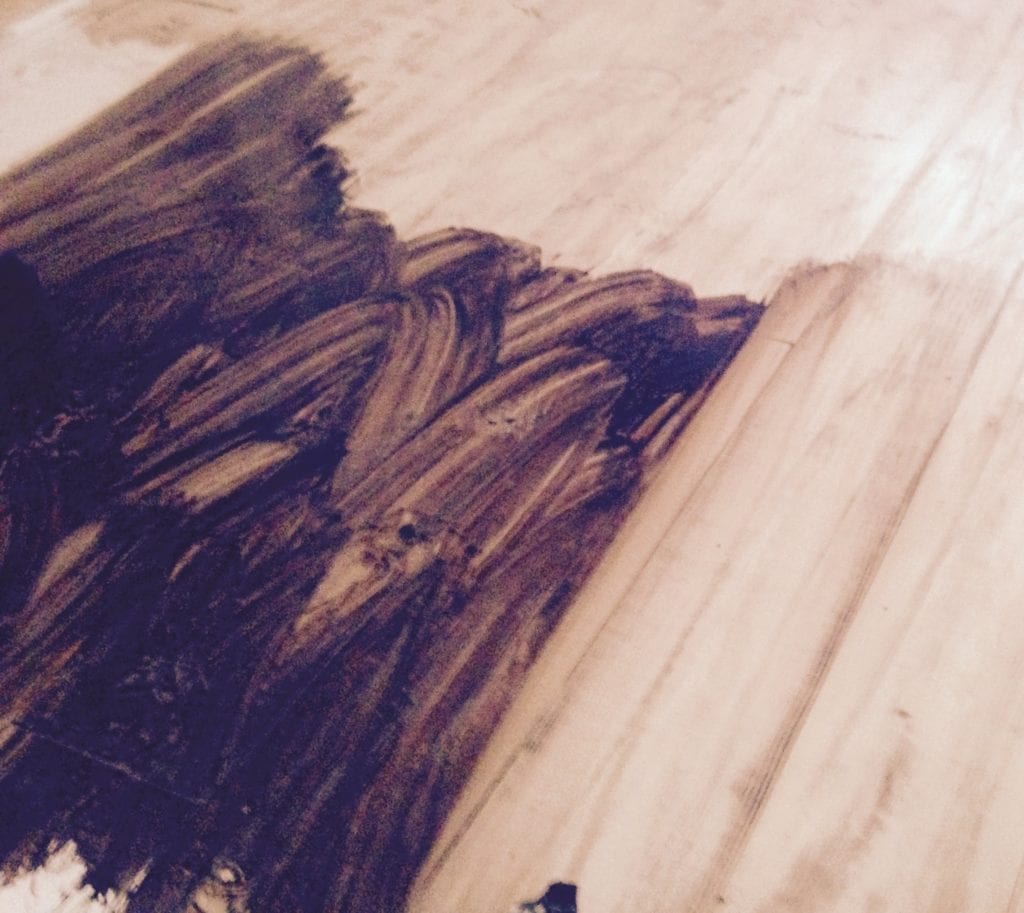
Stain and Seal
Once your floors are clean and prepped, you can apply the stain and sealant. When choosing a stain, it’s important to choose one that will complement the existing color of your floors. Once you’ve chosen the right stain, apply it according to the manufacturer’s instructions. Allow the stain to dry completely before proceeding with the next step.
Adding Distressed Details
Now that your floors are stained and sealed, you can start adding distressed details. You can use a variety of tools to achieve this look, such as chisels, hammers, nails, rasps, or even a wire brush. Start by lightly hitting the surface of your floors with each tool in order to create small indentations or scratches in the wood. You can also use sandpaper for more detailed work if desired. Once you’re happy with the results, seal them with a coat of polyurethane for added protection.
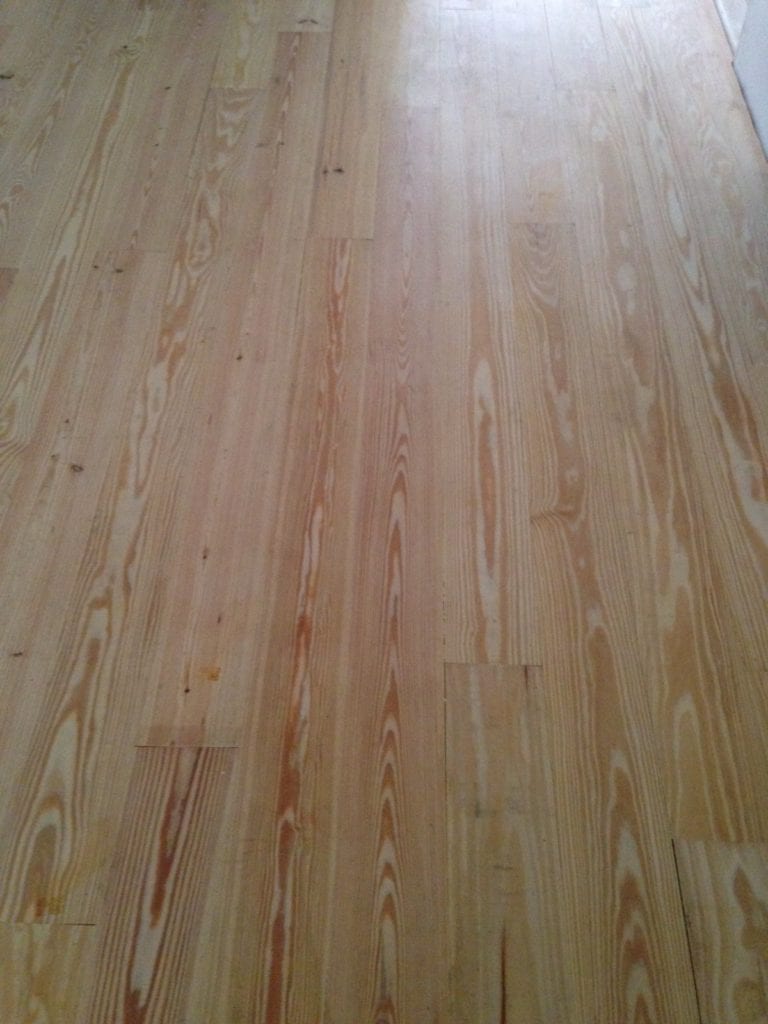
Finishing Touches
Finally, you can add some finishing touches to your distressed wood floors. For example, you can use steel wool to buff out any imperfections or areas that need additional attention. You can also use a wax or paste wax to give your floors a protective layer that will help them last longer.
FAQs
Q: What type of tools do I need for DIY distressed wood flooring?
A: You will need tools such as chisels, hammers, nails, rasps, wire brushes, sandpaper, steel wool, polyurethane sealant, wax or paste wax.
Q: How long does it take to distress wood flooring?
A: It depends on the size of the area that you are distressing and how detailed you would like to be when adding distressed details. Generally speaking, though, it should take about two days for an average-sized room with moderate distressing details.
Q: Is it necessary to seal my distressed wood flooring?
A: Yes! Sealing your distressed wood flooring is essential in order to protect it from dirt and dust buildup which can cause damage over time. Additionally, sealing helps preserve its beauty and prevents fading from UV exposure.