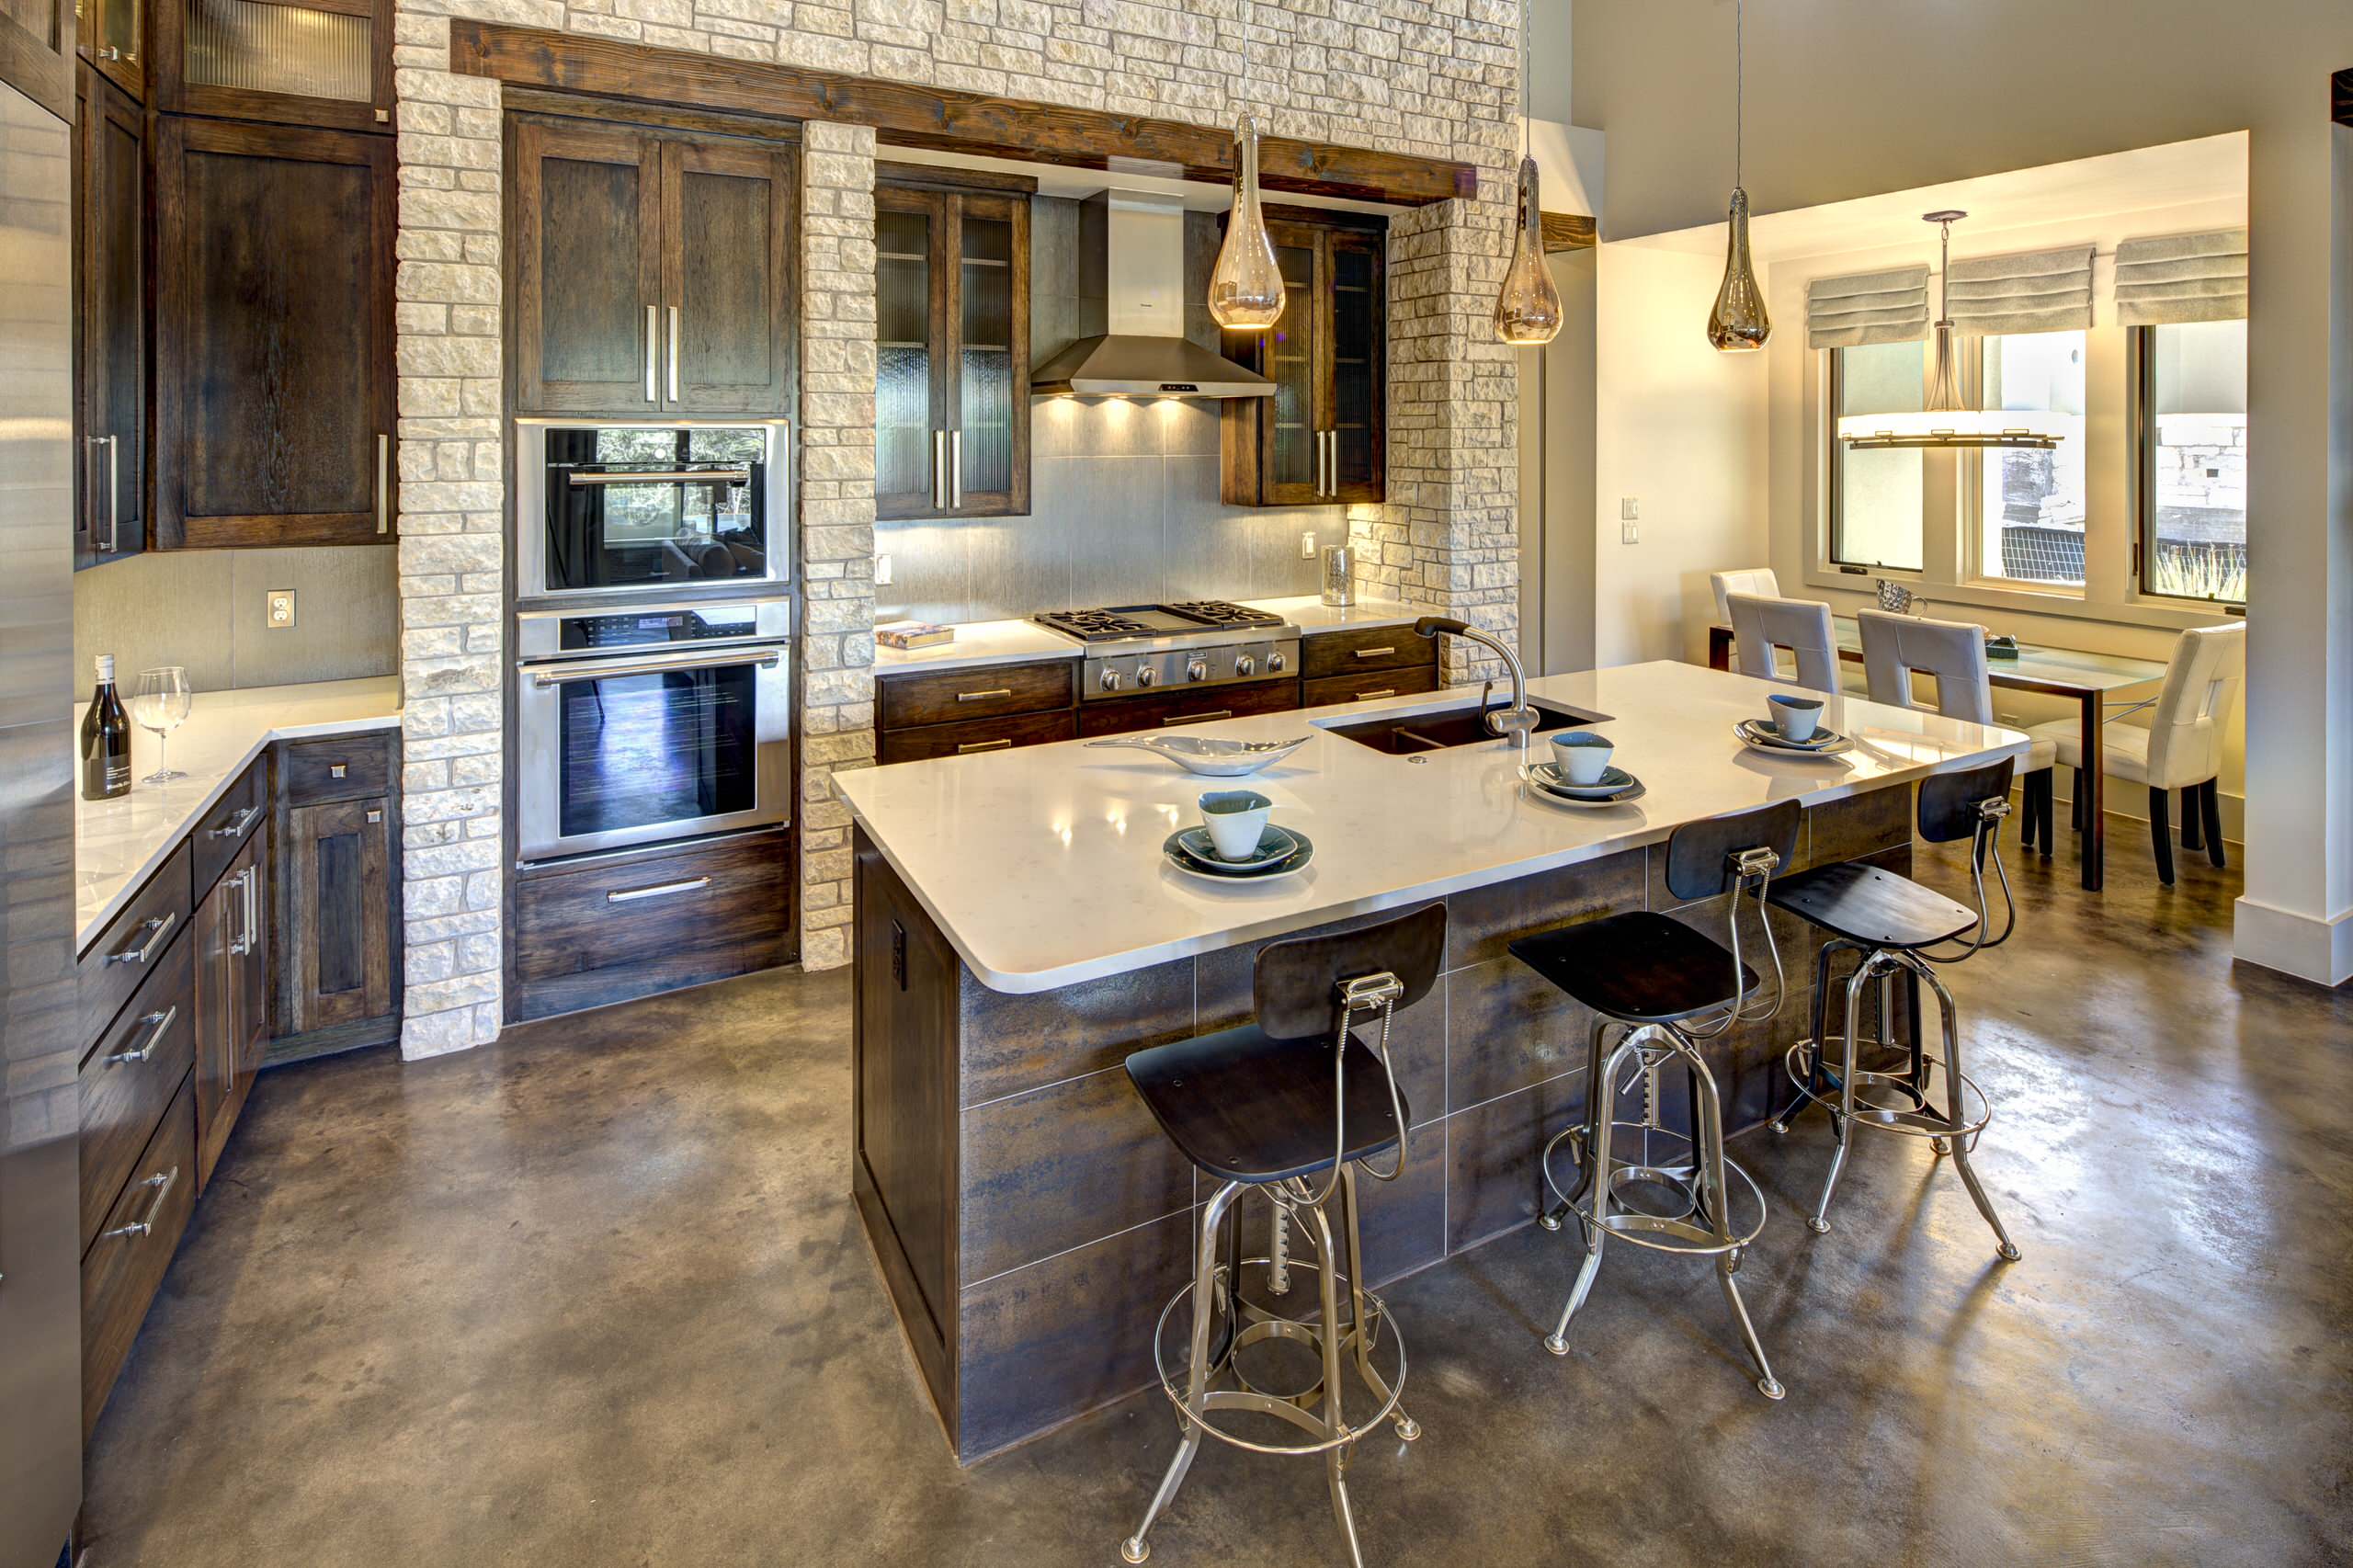
When my husband first suggested stained concrete floors for our kitchen renovation five years ago, I’ll admit I was skeptical. The idea of concrete in my home felt cold and industrial, nothing like the warm, inviting space I envisioned. However, after visiting a friend’s farmhouse with gorgeous, rustic, stained concrete floors, I completely changed my mind. The rich earth tones, the subtle color variations, and the incredibly durable surface won me over. Now, after living with these floors for years, I can honestly say they’ve exceeded every expectation I had and become one of my favorite features of our home.
Choosing the Perfect Stain Color for Your Rustic Look
Selecting the right stain color for my concrete floors was both exciting and overwhelming. I spent weeks collecting samples and testing different combinations in various lighting conditions throughout my kitchen. The beauty of acid stains lies in their unpredictability; each application creates unique patterns that can’t be replicated. I eventually chose a warm terra cotta base with subtle coffee brown accents, which gave me that earthy, rustic feel I was after.
I learned that acid stains react chemically with the minerals in concrete, creating natural-looking variations that mimic aged leather or weathered stone. Water-based stains were another option my contractor presented, offering more consistent color results. However, I preferred the organic, mottled appearance that acid stains produced. The slight imperfections and color variations actually enhanced the rustic character I wanted to achieve in my kitchen space.
Testing became crucial because concrete composition varies, and what looks beautiful on one slab might appear completely different on another. I had my contractor create several test patches in inconspicuous areas using different stain concentrations. Some areas absorbed more stain, creating deeper colors, while others remained lighter. This natural variation became one of my favorite aspects of the finished floor, giving it character and depth that manufactured flooring simply cannot replicate.
The Preparation Process: More Important Than I Expected
I had no idea how critical proper concrete preparation would be until my contractor explained the entire process. My existing concrete slab needed thorough cleaning to remove any oils, sealers, or contaminants that could prevent the stain from penetrating evenly. We used a combination of acid etching and mechanical grinding to open up the concrete pores. This step took an entire day but proved essential for achieving the beautiful, even stain absorption I wanted.
Surface imperfections that I initially worried about actually became design features once the staining process began. Small cracks, slight variations in texture, and minor surface irregularities all contributed to the rustic, aged appearance I was seeking. My contractor showed me how these natural characteristics would enhance rather than detract from the final result. We decided to embrace these imperfections rather than trying to create a perfectly smooth surface.
The grinding process also revealed the aggregate beneath the surface concrete, adding another layer of visual interest to the floor. Exposing small stones and different concrete materials created additional texture and color variation. This wasn’t something I had anticipated, but it enhanced the rustic aesthetic perfectly. The preparation phase taught me that sometimes the flaws we want to hide become the features that make a space truly special and unique.
Staining Techniques That Create Authentic Rustic Character
Watching my contractor apply the stain was like watching an artist create a masterpiece. Rather than using traditional rollers or brushes, he used a combination of spray bottles, sponges, and even crumpled plastic bags to create texture and variation. The layering technique he employed built up color gradually, allowing us to control the intensity and create the weathered, aged look I desired. Each application method produced different effects and patterns across the surface.
I was fascinated by how the stain reacted differently in various areas of the same slab. Areas with higher mineral content turned deeper, richer colors, while other sections remained more subdued. My contractor explained that this unpredictability was part of the charm of stained concrete. We worked together to enhance certain areas with additional stain applications while allowing other sections to remain naturally lighter for contrast.
The antiquing techniques really brought the rustic character to life. Using darker accent colors around the edges and in low areas created the appearance of natural wear and aging. We also used a technique called “dry brushing” with metallic stains to add subtle highlights that caught the light beautifully. The entire staining process took three days, with each layer needing to dry completely before the next application. Patience during this phase was crucial for achieving the depth and complexity of color I wanted.

Sealing and Protecting Your Investment
Choosing the right sealer was just as important as selecting the perfect stain color, something I learned after extensive research and consultation with my contractor. I opted for a penetrating sealer rather than a topical coating because I wanted to maintain the natural texture of the concrete surface. Topical sealers would have created a glossy finish that felt too modern for the rustic aesthetic I was pursuing. The penetrating sealer soaked into the concrete, protecting while preserving the matte, natural appearance.
Application timing proved critical for sealer effectiveness. We waited a full week after the final stain application to ensure complete curing before applying the sealer. My contractor explained that rushing this step could trap moisture or incomplete chemical reactions beneath the sealer, potentially causing problems later. The waiting was difficult when I was so excited to see the finished result, but proper curing was essential for long-term durability.
I chose a sealer that required reapplication every few years rather than a permanent coating. While this means occasional maintenance, it allows me to refresh the protection and even adjust the appearance slightly if desired. The initial sealer application took two coats, applied with a low-pressure sprayer to ensure even coverage. The transformation was remarkable, the colors deepened, and the entire surface gained a subtle, natural-looking protection that enhanced rather than masked the rustic character.

Daily Living with Rustic Stained Concrete Floors
After four years of daily use, I can honestly say these floors have been incredibly practical for our busy family lifestyle. The durability is outstanding, despite constant foot traffic from our three kids, two dogs, and regular entertaining. Spills that would stain other flooring materials simply wipe away from the sealed surface. Even red wine and tomato sauce, my previous flooring nemesis, clean up easily with just soap and water. The rustic coloring helps hide minor scuffs and wear patterns naturally.
Temperature regulation was an unexpected benefit I discovered during our first summer with the floors. The thermal mass of concrete helps keep our kitchen cooler during hot weather and retains warmth from our radiant heating system during the winter months. Walking barefoot on the surface is comfortable year-round, unlike the cold sensation I initially feared. The slight texture from the staining process provides enough grip to prevent slipping, even when the surface is slightly wet from mopping.
Maintenance has been much simpler than I anticipated. Daily sweeping or vacuuming removes dirt and debris, while weekly mopping with a neutral pH cleaner keeps the surface looking fresh. I avoid harsh chemicals and acidic cleaners that could damage the sealer over time. Every two years, I have the floors professionally cleaned and resealed, which costs significantly less than replacing other types of flooring. The investment in quality installation and materials continues to pay dividends in reduced maintenance and replacement costs.

Design Integration: Making Rustic Concrete Work with Your Decor
Integrating rustic stained concrete floors with my existing decor required some thoughtful planning, but the results exceeded my expectations. The neutral earth tones I chose complemented both my existing oak cabinets and the new white quartz countertops I installed. The floor became a perfect foundation that tied together different design elements rather than competing with them. Natural materials like wood, stone, and metal all harmonize beautifully with the organic patterns in the stained concrete.
Furniture placement became more flexible with these durable floors. Unlike hardwood or tile that can show scratches or chips from moving furniture, the concrete surface handles occasional bumps and scrapes without visible damage. I no longer worry about felt pads under every chair leg or protecting the floor during parties and gatherings. The rustic character actually improves with age, developing a subtle patina that adds to its charm rather than detracting from its appearance.
Lighting plays a crucial role in showcasing the depth and variation in stained concrete floors. Under-cabinet LED strips highlight the subtle color changes and texture variations beautifully. Natural light from our large kitchen windows creates different moods throughout the day as shadows shift across the textured surface. Evening ambient lighting brings out warm undertones in the stain that create a cozy, inviting atmosphere. The floor literally changes character with different lighting conditions, providing visual interest that never becomes boring or monotonous.

How much did your rustic stained concrete floors cost compared to other options?
My stained concrete project cost about $8 per square foot, including materials and professional installation. This was significantly less than hardwood flooring and comparable to high-quality tile. The long-term value is exceptional considering the durability and minimal maintenance requirements. Over ten years, factoring in cleaning and occasional resealing, the total cost of ownership is much lower than most alternatives.
Are stained concrete floors cold and uncomfortable underfoot?
I was surprised by how comfortable they are. The thermal mass actually helps regulate temperature, staying cool in summer and warm in winter with radiant heating. The surface isn’t as cold as I expected, even in bare feet. Adding area rugs in seating areas provides extra comfort while showcasing the beautiful floor underneath. The slight texture from staining prevents that slippery feeling I worried about.

How long does the staining process take and can I stay in my home?
The entire process took about a week for my 400-square-foot kitchen. Preparation took two days, staining required three days with drying time between coats, and sealing took another two days. The strong chemical odors during staining required us to stay elsewhere for three nights. Plan for temporary displacement, but the inconvenience is worth the stunning results you’ll achieve with professional installation.
Can stained concrete floors be repaired if damaged?
Minor repairs are possible, but matching the original color and pattern can be challenging. Small scratches or chips can be touched up, though perfect matches are difficult to achieve due to the unique nature of each stain application. The rustic character actually helps hide minor imperfections. For major damage, sections can be ground down and restained, though this requires professional expertise to blend properly.

Do these floors work well with pets and children?
Absolutely! Our two dogs and three kids have put these floors through serious testing, and they’ve held up beautifully. Pet accidents clean up easily, and the sealed surface resists staining. The durability means no worries about scratches from pet nails or dropped toys. The rustic coloring naturally camouflages pet hair and minor dirt between cleanings. They’re actually more kid and pet-friendly than our previous hardwood floors.
How often do stained concrete floors need maintenance?
Daily maintenance is minimal, just sweeping and occasional mopping with neutral cleaners. I have them professionally resealed every two to three years, which costs about $2 per square foot. This maintains the protective barrier and can refresh the appearance. Between sealings, I avoid harsh chemicals and use pH-neutral cleaners. The initial investment in quality sealing pays off in reduced long-term maintenance requirements compared to other flooring types.

Related Posts: