These tiles are terrific for areas of the house that see a great deal of heavy traffic. Hence Epoxy resin flooring offer an appealing, easy and ideal to keep its flooring alternative for your garage area. The key element to effectively install the epoxy flooring of yours for maximum performance is within the planning of the surface in which you want to lay the epoxy flooring.
Images about How To Fix Chipped Epoxy Floor
How To Fix Chipped Epoxy Floor
The epoxy floors coatings are often used over concrete floors to provide best binding benefits and aesthetically appealing surfaces. Epoxy floors can stand up to high pressure and weight. Probably the most commonly used type of epoxy flooring for the place is actually the water based version as it likely the easiest of them to utilize as it is made up both equally of the primer or topcoat and it is definitely perfect for making use of in garage parts.
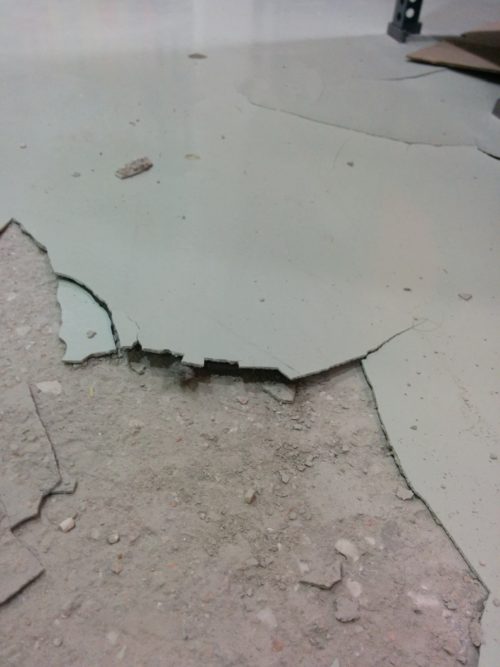
Epoxy Floor Coatings: What about the Cracks? (Part 1)

Epoxy works as concrete finishes, or top coats which improve the style of industrial floor finishes. This sort of flooring is not difficult to put in, and could be practiced by an expert or a motivated do-it-yourselfer by following a number of easy directions. A lot of painters realize it's not user-friendly for these reasons.
How To Touch Up Epoxy Floor

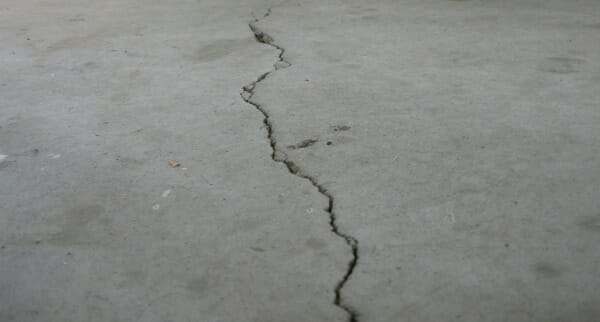
Foundation Floor Crack Repair CrackX

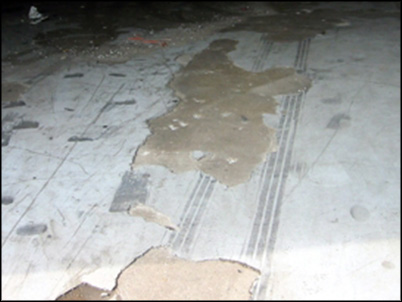
Why Garage Floor Epoxy Peels Up and How to Prevent It All Garage

Raising u0026 Repairing Hoffman Estates Garage Floor – Concrete Hero

DIY Epoxy Garage Floor Coating Repair – Casper, WY

Problems with Epoxy Garage Floor Coating Peeling – Todayu0027s Homeowner

How to fix cracked epoxy flooring Mapei Singapore Mapei

Applying epoxy on rough concrete – 3 useful tips
Epoxy Floor Problems – Troubleshooting Guide for epoxy floors – Ktisis
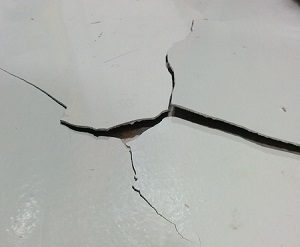
How to Repair Concrete Floor Crack Repairs Repair Garage Floor
How to Repair Garage Floor Cracks and Pitting All Garage Floors
3 Ways to Repair an Epoxy Floor – wikiHow

Related Posts:
- Epoxy Flooring Advantages Disadvantages
- Metallic Epoxy Bathroom Floor
- Sherwin Williams Epoxy Floor
- High Gloss Epoxy Flooring
- Epoxy Flooring Interior Design
- Metallic Epoxy Floor Coating
- Epoxy Floor Coating
- Epoxy Kitchen Floor
- Epoxy Basement Floor
- Epoxy Resin Garage Floor
How To Fix Chipped Epoxy Floor
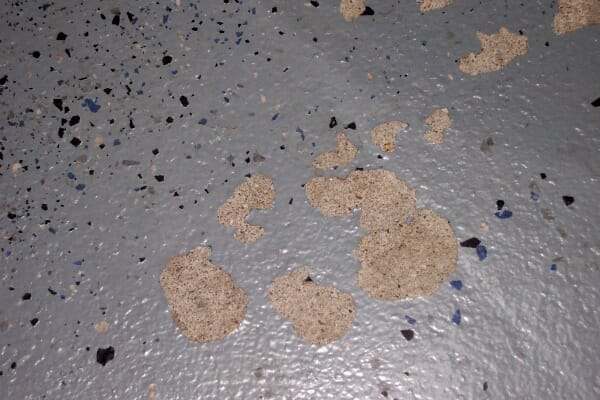
Epoxy floors are a great choice for many homeowners who want a durable, easy to clean surface in their home. Unfortunately, chipping can occur on an epoxy floor, especially if it is not properly maintained. While it is possible to replace the entire floor, it is much more cost effective and less time consuming to patch the existing floor. This guide will provide you with the steps needed to fix chipped epoxy floor and make it look like new again.
Preparing the Area
Before attempting any repairs, it is important to properly prepare the area. Begin by sweeping away any dirt, dust or debris from the chips. If necessary, use a vacuum cleaner to remove embedded dirt and debris. Next, use a mild soap and water mixture to clean the area around the chip and remove any remaining dirt or debris. Once the area has been thoroughly cleaned, use a putty knife or other sharp tool to scrape away any loose chips or damaged epoxy.
Mixing the Epoxy Resin
Once the area is prepared, it’s time to mix the epoxy resin. Read all directions carefully before mixing the resin and hardener together as directions may vary depending on the product used. Generally speaking, it is best to use a two-to-one ratio of resin and hardener; meaning two parts resin to one part hardener. If possible, use a mixing container that has been specifically designed for mixing epoxy resin and a mixing stick to ensure an even mix. Once the resin has been thoroughly mixed, it is ready for application.
Applying the Epoxy Resin
When applying the epoxy resin, be sure to wear gloves and safety goggles for protection against splashes and spills. Using a putty knife or other appropriate tool, scoop out some of the mixed epoxy and apply directly onto the chipped area. Work slowly and carefully until all of the chipped area is covered with a thin layer of epoxy. If necessary, use a brush to spread the epoxy evenly over any cracks or crevices that may exist in the flooring. After applying the epoxy, allow it to dry for at least 24 hours before proceeding with any further repairs.
Smoothing Out The Surface
Once the epoxy has had a chance to dry completely, it’s time to smooth out the surface. Start by lightly sanding down any ridges or bumps that may exist in the newly applied epoxy with 100-grit sandpaper. Be sure not to press too hard or sand too deeply as this could cause further damage to the flooring. After sanding, use a damp cloth or sponge to wipe away any dust particles left behind from sanding.
Applying Finishing Touches
The final step in completing your repair is applying finishing touches such as paint, sealant or wax. While this step is optional, it will help protect your repaired floor from further damage as well as make it look more aesthetically pleasing. If using paint, be sure to choose one that is specifically designed for use on epoxy floors as regular paint may not adhere correctly or last very long on an epoxy surface. Additionally, if using sealant or wax be sure to follow all directions given by manufacturer for best results.
FAQs
Q: How do I know when my epoxy floor repairs are finished?
A: Once all of steps listed above have been followed and your new epoxy coating has had time to dry completely (at least 24 hours) then your repairs are finished!
Q: Can I walk on my repaired floor right away?
A: It’s best to wait at least 24 hours before walking on your newly repaired floor so that the epoxy has had ample time to cure completely. Additionally, try not to place furniture on top of your repaired floor until after at least 48 hours so that all of your repairs are fully set and secure.
Q: How often should I reseal my epoxy floor?
A: Generally speaking, resealing your epoxy floor should take place every 1-3 years depending on foot traffic in your home as well as how well you maintain your