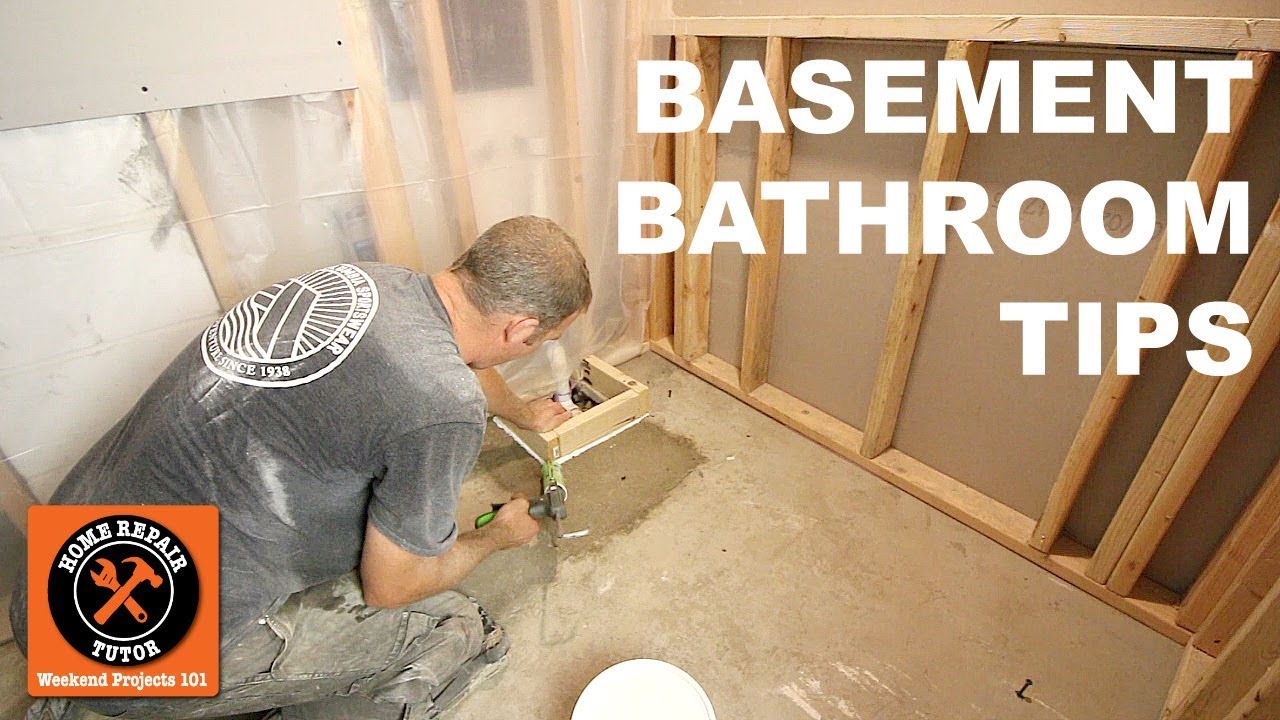
How To Install A Bathroom In A Concrete Basement Floor
Preparing the Concrete Basement Floor for Bathroom Installation
When it comes to installing a bathroom in a concrete basement floor, proper preparation is crucial. Here are the steps you can follow to ensure a successful installation:
1. Clear the area: Before you begin any work, clear the basement floor of any furniture, debris, or obstructions. This will give you a clean slate to work with and make the installation process easier.
2. Assess the condition of the concrete: Inspect the concrete floor for any cracks, unevenness, or damage. It is important to address these issues before proceeding with the bathroom installation. Small cracks can be filled with a concrete patching compound, while larger cracks may require professional repair.
3. Clean the concrete: Thoroughly clean the concrete floor using a broom and a vacuum cleaner to remove any dust, dirt, or loose particles. This will ensure proper adhesion of any flooring or waterproofing materials that will be applied.
4. Apply a moisture barrier: Basements are prone to moisture issues, so it is essential to install a moisture barrier to prevent any water damage. This can be achieved by applying a waterproofing membrane or a moisture-blocking primer on the concrete floor.
5. Level the floor: If the concrete floor is not level, it will need to be leveled before proceeding with the bathroom installation. This can be done by using a self-leveling compound, which will create a smooth and even surface for the bathroom flooring.
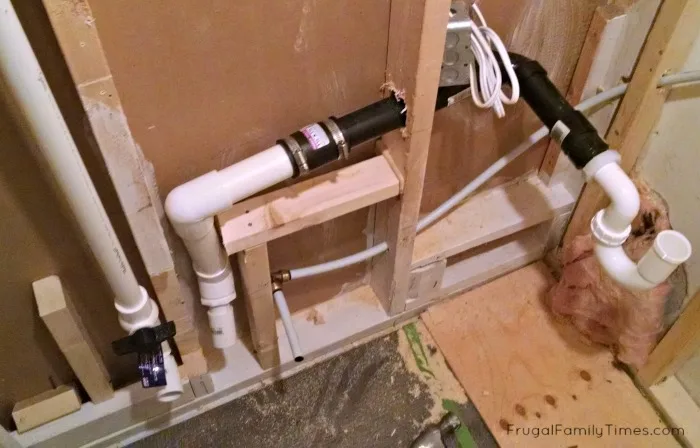
6. Install plumbing and electrical lines: Before laying any flooring or installing fixtures, it is important to plan and install the necessary plumbing and electrical lines. This may involve hiring professionals to ensure that everything is properly connected and meets building codes.
7. Choose the flooring material: Select a suitable flooring material that is waterproof and durable for a basement bathroom. Options may include ceramic tiles, vinyl flooring, or concrete overlays. Consider factors such as moisture resistance, ease of maintenance, and aesthetic appeal.
Step-by-Step Guide to Installing Plumbing and Drainage Systems in a Concrete Basement Floor
Step 1: Prepare the Basement Floor
Before installing plumbing and drainage systems in a concrete basement floor, it is crucial to prepare the area properly. Start by clearing the floor of any debris or obstructions. Use a broom or vacuum to remove dust and dirt. Next, inspect the floor for any cracks or unevenness. If there are any cracks, fill them with an appropriate concrete crack filler and allow it to dry completely. Level any uneven areas using a self-leveling compound according to the manufacturer’s instructions. This step is essential to ensure a smooth and even surface for the plumbing installation.
Step 2: Plan the Layout
Before proceeding with the installation, it is important to plan the layout of the plumbing and drainage systems. Consider the placement of fixtures such as toilets, sinks, and showers, as well as the location of existing plumbing lines. Measure and mark the positions where the fixtures will be installed on the concrete floor. This planning stage will help to determine the placement of pipes and drains, ensuring that the installation is efficient and meets local building codes.
Step 3: Install Pipes and Drains
Once the layout is finalized, it is time to install the pipes and drains. Begin by marking the positions of the pipes and drains on the concrete floor according to the planned layout. Using a concrete saw or jackhammer, carefully create the required trenches or holes for the pipes and drains. Ensure that the trenches are deep enough to accommodate the pipes and have a slight slope to facilitate proper drainage. Install the pipes and drains according to the manufacturer’s instructions, making sure to connect them securely.
Step 4: Test the Plumbing System
After the pipes and drains are installed, it is essential to test the plumbing system for any leaks or issues. Close all the fixtures’ stop valves and fill the system with water. Check for any leaks or drips along the pipes and drains. Inspect the connections and joints for tightness. Let the water run through the system for some time to ensure proper drainage. If any issues are detected, make the necessary adjustments or repairs before proceeding.
Step 5: Seal the Concrete Floor
To ensure the longevity and durability of the plumbing and drainage system, it is crucial to seal the concrete floor. Apply a concrete sealer to the entire floor surface, including the areas around the pipes and drains. This will help to prevent moisture penetration and protect the concrete from damage. Follow the manufacturer’s instructions for the application process and allow the sealer to dry.
Choosing and Installing the Right Fixtures and Accessories for a Concrete Basement Bathroom
When it comes to installing a bathroom in a concrete basement floor, it is important to carefully choose the right fixtures and accessories that will not only fit the space but also withstand the unique challenges that come with basement environments. Here are some tips to help you choose and install the right fixtures and accessories for your concrete basement bathroom.
Consider the layout and size of the space: Before selecting any fixtures or accessories, it is important to consider the layout and size of the basement bathroom. Take accurate measurements of the available space to ensure that the fixtures and accessories you choose will fit properly. Additionally, consider the location of existing plumbing lines and electrical outlets, as this will affect the placement of your fixtures.
Choose fixtures specifically designed for basement use: Basements are prone to moisture and humidity, so it is important to choose fixtures that are specifically designed for this type of environment. Look for fixtures made from materials that are resistant to moisture and rust, such as stainless steel or ceramic. Additionally, consider installing a dehumidifier or ventilation system to help control moisture levels in the basement.
Select low-maintenance fixtures and accessories: Basement bathrooms may require more maintenance due to their unique environment. To make things easier for yourself, choose fixtures and accessories that are low-maintenance and easy to clean. For example, opt for toilets with smooth surfaces that are resistant to staining and easy to wipe down. Similarly, choose accessories such as towel bars and toilet paper holders that are easy to clean and resistant to moisture.
Install proper waterproofing measures: Since concrete is porous, it is crucial to install proper waterproofing measures to prevent water damage in your basement bathroom. This includes applying a waterproof sealant to the concrete floor and walls, as well as installing a waterproof membrane beneath the flooring. Consider consulting with a professional contractor to ensure that all necessary waterproofing steps are taken.
Seek professional help when needed: Installing a bathroom in a concrete basement floor can be a complex task, especially if you are not experienced in plumbing or construction. If you are unsure about any step of the process or if you want to ensure that the installation is done correctly, it is highly recommended to seek professional help. A licensed plumber or contractor can provide guidance and assistance to help you successfully install your basement bathroom fixtures and accessories.
Finishing Touches: Waterproofing, Flooring, and Ventilation for a Functional and Stylish Concrete Basement Bathroom
When it comes to installing a bathroom in a concrete basement floor, it is crucial to pay attention to the finishing touches such as waterproofing the flooring and ensuring proper ventilation. These two elements are not only essential for functionality but also play a significant role in creating a stylish and comfortable space.
One of the primary concerns when working with a concrete basement floor is moisture. Concrete is naturally porous, making it susceptible to water damage and mold growth. To prevent these issues, it is crucial to waterproof the flooring. There are several ways to achieve this, such as using a waterproofing membrane or applying a waterproofing sealant directly on the concrete surface. These products create a barrier that prevents water from seeping into the floor, ensuring its longevity and minimizing the chances of any water-related problems.
In addition to waterproofing, proper ventilation is essential in a basement bathroom. Basements tend to be damp and lack natural airflow, making them prone to humidity and musty odors. Installing a ventilation system, such as an exhaust fan, helps remove excess moisture from the air, preventing the growth of mold and mildew. It also improves air circulation, creating a more comfortable and fresh environment in the bathroom.
To enhance the overall look and style of the concrete basement bathroom, attention should be given to the choice of flooring. There are various options available that are not only waterproof but also visually appealing. For example, luxury vinyl tiles or planks can mimic the look of wood or stone while offering durability and water resistance. Alternatively, ceramic or porcelain tiles are another popular choice, known for their versatility and resistance to moisture.
Basement Bathroom Plumbing: Planning for a Below-Grade Lavatory
plumbing – Installing bathroom in basement – Home Improvement
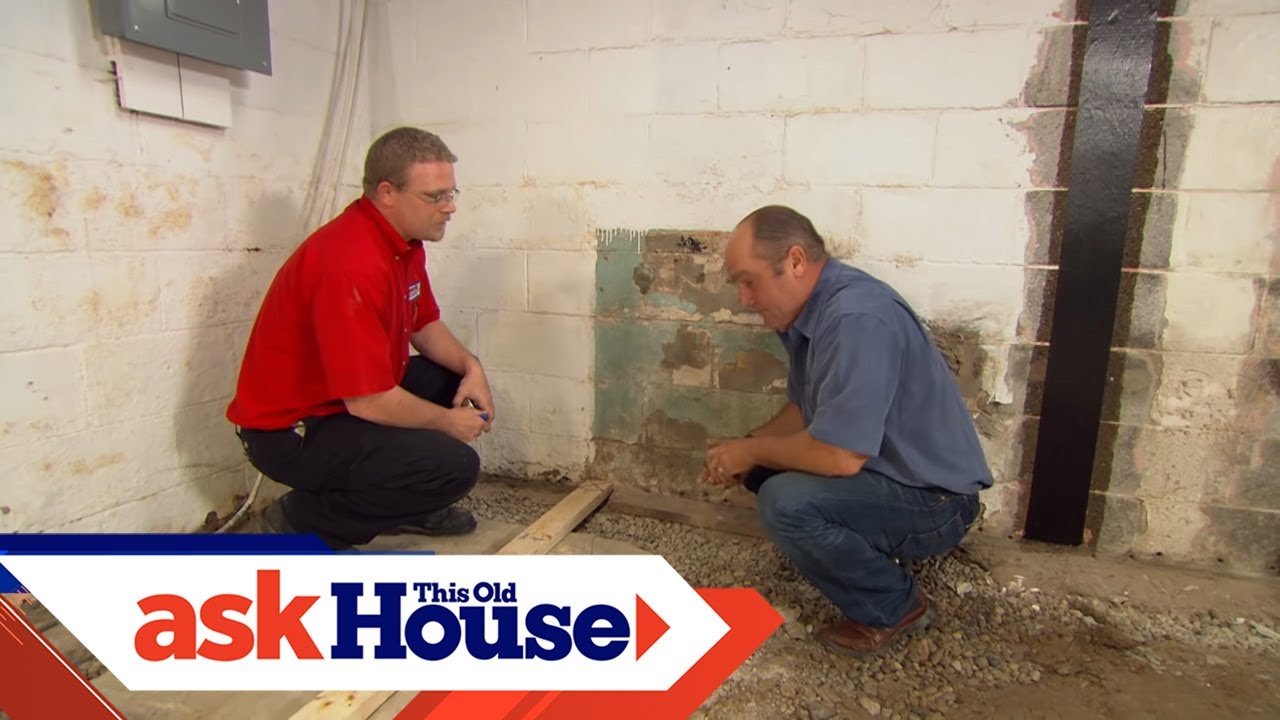
How to Install a Basement Bathroom Ask This Old House
Basement toilet install tie in to cast iron, venting? Terry Love
How To Install A Shower In The Basement Without Breaking Concrete
How To DIY: Bathroom In Basement Without Breaking Concrete
Basement bathroom–use shower vent for toilet Page 2 DIY Home
We use cookies on our website to give you the most relevant experience by remembering your preferences and repeat visits. By clicking “Accept All”, you consent to the use of ALL the cookies. However, you may visit "Cookie Settings" to provide a controlled consent.
This website uses cookies to improve your experience while you navigate through the website. Out of these, the cookies that are categorized as necessary are stored on your browser as they are essential for the working of basic functionalities of the website. We also use third-party cookies that help us analyze and understand how you use this website. These cookies will be stored in your browser only with your consent. You also have the option to opt-out of these cookies. But opting out of some of these cookies may affect your browsing experience.
Necessary cookies are absolutely essential for the website to function properly. These cookies ensure basic functionalities and security features of the website, anonymously.
Cookie
Duration
Description
cookielawinfo-checkbox-analytics
11 months
This cookie is set by GDPR Cookie Consent plugin. The cookie is used to store the user consent for the cookies in the category "Analytics".
cookielawinfo-checkbox-functional
11 months
The cookie is set by GDPR cookie consent to record the user consent for the cookies in the category "Functional".
cookielawinfo-checkbox-necessary
11 months
This cookie is set by GDPR Cookie Consent plugin. The cookies is used to store the user consent for the cookies in the category "Necessary".
cookielawinfo-checkbox-others
11 months
This cookie is set by GDPR Cookie Consent plugin. The cookie is used to store the user consent for the cookies in the category "Other.
cookielawinfo-checkbox-performance
11 months
This cookie is set by GDPR Cookie Consent plugin. The cookie is used to store the user consent for the cookies in the category "Performance".
viewed_cookie_policy
11 months
The cookie is set by the GDPR Cookie Consent plugin and is used to store whether or not user has consented to the use of cookies. It does not store any personal data.
Functional cookies help to perform certain functionalities like sharing the content of the website on social media platforms, collect feedbacks, and other third-party features.
Performance cookies are used to understand and analyze the key performance indexes of the website which helps in delivering a better user experience for the visitors.
Analytical cookies are used to understand how visitors interact with the website. These cookies help provide information on metrics the number of visitors, bounce rate, traffic source, etc.
Advertisement cookies are used to provide visitors with relevant ads and marketing campaigns. These cookies track visitors across websites and collect information to provide customized ads.