Preparing the Area Steps to Ensure a Solid Foundation
1. Clear the area: Before beginning any concrete work, it is essential to clear the area of any debris, vegetation, or obstructions. Remove any rocks, roots, or objects that may interfere with the construction process.
2. Mark the boundaries: Use stakes and string to mark the boundaries of the concrete floor. This will ensure that the area is properly defined and allows for accurate measurements during the construction process.
3. Excavation: Dig out the area to the desired depth for the concrete floor. The depth will depend on the intended use of the floor and any specific requirements or regulations. It is important to excavate evenly and remove all loose soil to create a solid base.
4. Level the area: Once the excavation is complete, use a level to ensure that the area is even and flat. This will prevent any potential problems with the concrete floor, such as unevenness or cracking.
5. Compact the soil: Use a plate compactor or hand tamper to compact the soil in the excavated area. This will further ensure a solid foundation by removing any air pockets and creating a stable base for the concrete.
6. Install a sub-base: Depending on the soil conditions and intended use of the concrete floor, it may be necessary to install a sub-base. This layer of compacted aggregate material provides additional stability and helps prevent settling or shifting of the concrete.
7. Add a layer of gravel: If required, add a layer of gravel on top of the compacted soil or sub-base. This will help with drainage and provide further stability to the concrete floor.
8. Install forms: Use wooden or metal forms to create the desired shape and edges of the concrete floor. Ensure that the forms are properly aligned and securely in place to prevent any shifting or movement during the pouring and curing process.
9. Reinforcement: Depending on the size and intended use of the concrete floor, it may be necessary to add reinforcement such as rebar or wire mesh. This will help to strengthen the concrete and prevent cracking.
10. Check for proper slopes: Before pouring the concrete, double-check that the area is sloped correctly to allow for proper drainage. The slope should be away from any nearby structures or buildings to prevent water accumulation.

Mixing and Pouring Concrete Techniques for a Smooth and Even Surface
To achieve a smooth and even concrete surface when working on an outside concrete floor, it is important to pay attention to the mixing and pouring techniques. By following these steps, you can ensure a successful and aesthetically pleasing result.
Gather the necessary tools and materials:
– Concrete mix
– Water
– Mixing container
– Mixing paddle or drill with a mixing attachment
– Wheelbarrow or concrete mixer
– Shovel or hoe
– Trowel or float
– Level
Prepare the area:
– Clear the area of any debris or obstacles.
– If needed, excavate the ground to the desired depth and compact the soil.
– Install any necessary forms or edge restraints to contain the concrete.
Measure and mix the concrete:
– Follow the instructions provided by the concrete mix manufacturer for the correct water-to-concrete ratio.
– Start by adding a portion of the water to the mixing container.
– Gradually add the concrete mix while continuously mixing until it reaches a workable consistency.
– Avoid adding too much water, as it can weaken the concrete.
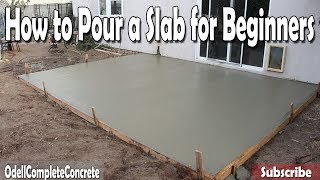
Pour the concrete:
– If using a wheelbarrow, carefully transfer the mixed concrete to the pouring area.
– Pour the concrete in small sections, starting from one end and working your way towards the other.
– Use a shovel or hoe to spread and level the concrete as you go.
– Ensure that the concrete is evenly distributed and fills the forms or edge restraints completely.
Consolidate and smooth the surface:
– Once the concrete is poured, use a trowel or float to consolidate and smooth the surface.
– Work the trowel or float over the concrete in a back and forth motion, applying light pressure.
– Continue this process until the surface is even and free of any imperfections.
– Use a level to ensure that the surface is flat and level.
Finishing and Sealing the Concrete Enhancing Durability and Aesthetics
Once the concrete floor outside has been poured and leveled, the next step is to finish and seal it. This process not only enhances the durability of the concrete but also improves its overall appearance. Here are the steps to achieve a beautifully finished and sealed concrete floor outside.
1. Curing the concrete: Before applying any finishes or sealers, it is crucial to allow the concrete to cure properly. This usually takes around 28 days, during which the concrete gains strength and stability. Curing can be done by keeping the concrete moist through regular watering or by using a curing compound.
2. Surface preparation: To ensure a smooth and even finish, it is important to properly prepare the surface. This involves cleaning any debris, dirt, or loose particles from the concrete. A power washer or a stiff-bristle broom can be used for this purpose. Any cracks or imperfections should also be repaired before proceeding.
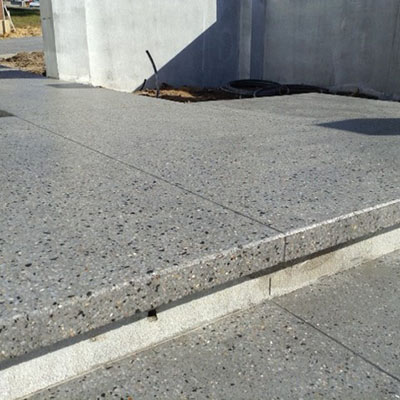
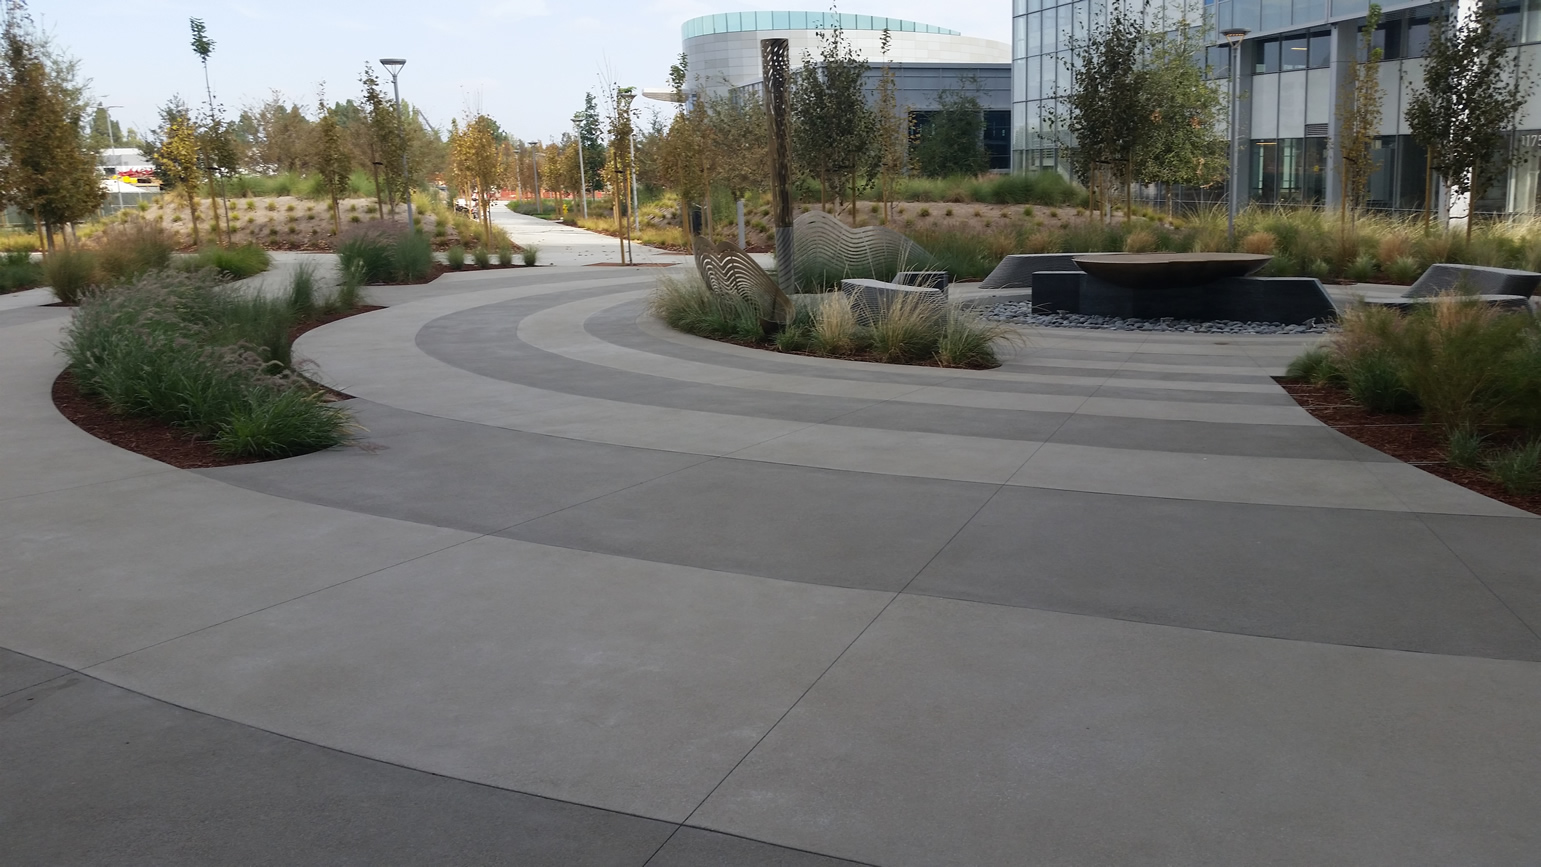
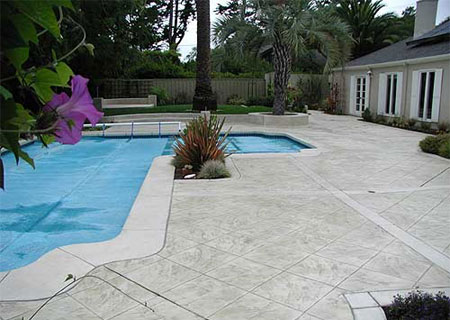
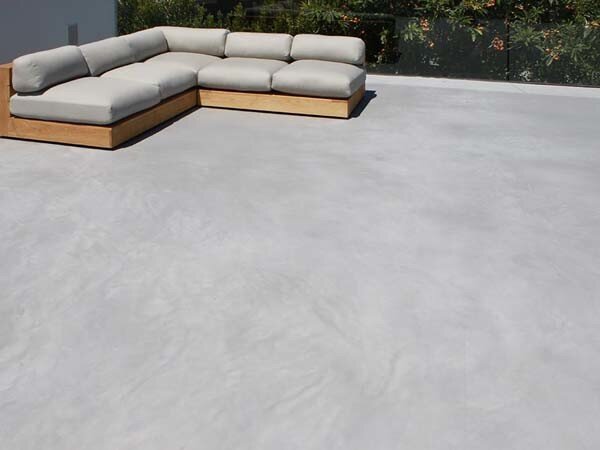
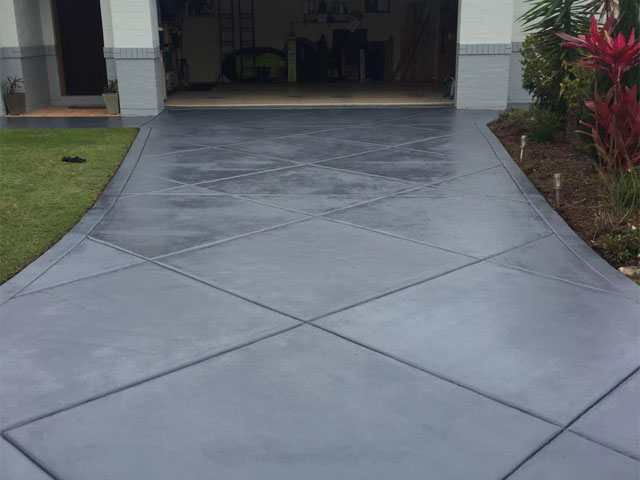
3. Applying a surface finish: There are various options available for surface finishes, depending on the desired aesthetics and functionality. One common choice is a broom finish, which provides a textured surface for better traction. Alternatively, a smooth finish can be achieved by using a steel trowel. Other decorative finishes like stamped or stained concrete can also be considered to enhance the visual appeal.
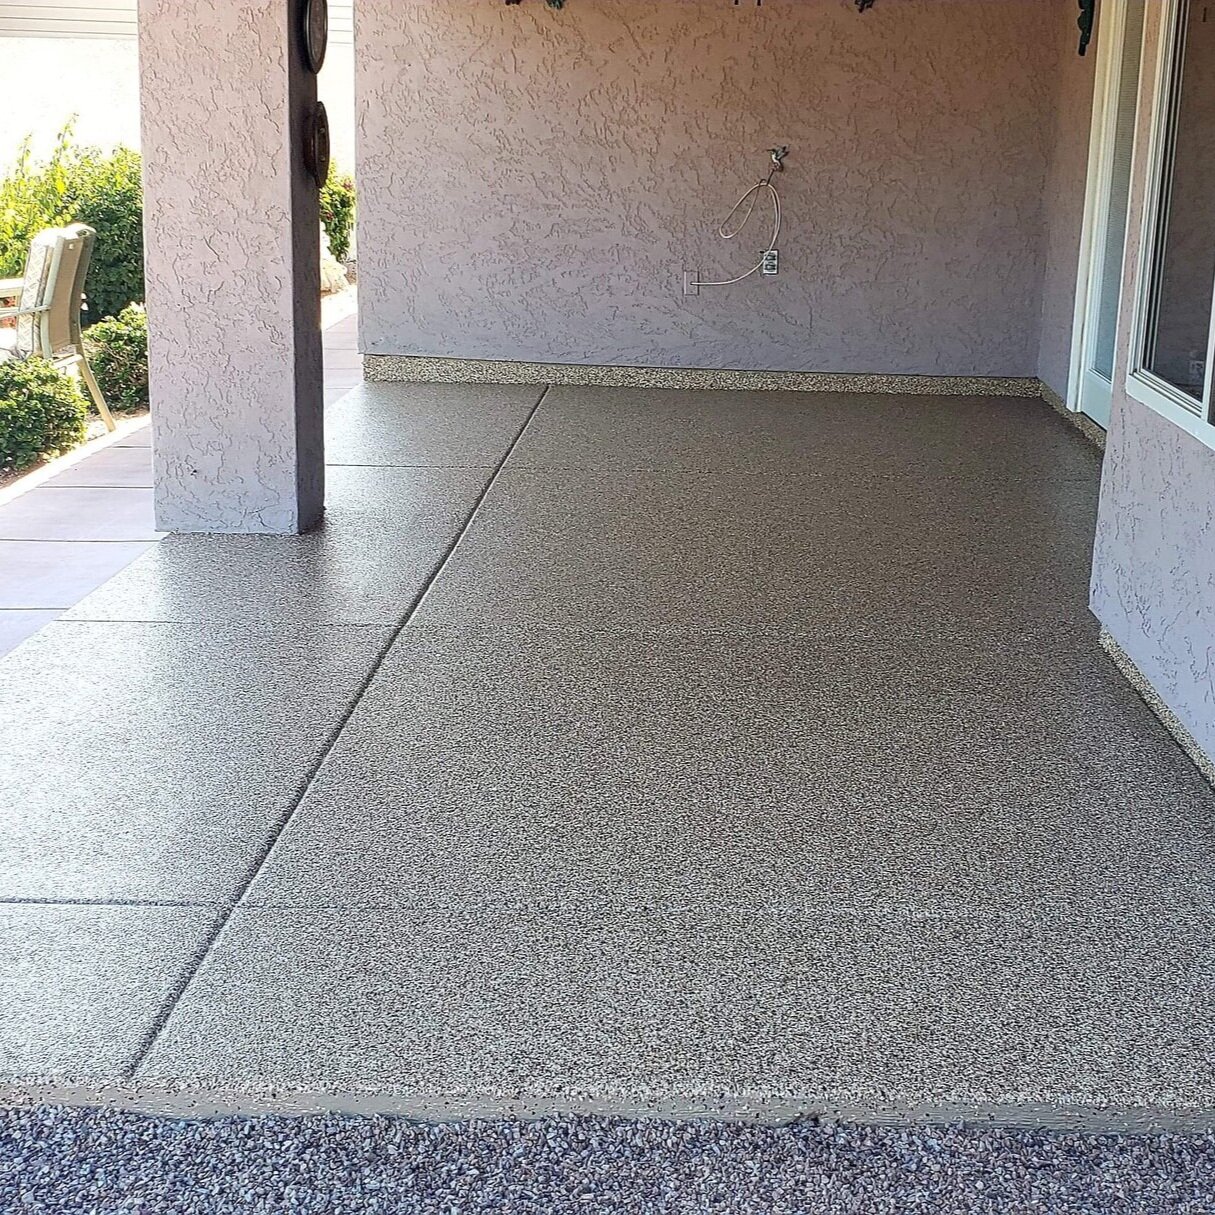
4. Sealing the concrete: Sealing the concrete is essential to protect it from moisture, stains, and damage caused by external elements. A concrete sealer acts as a protective barrier, preventing water penetration and extending the lifespan of the concrete floor. Before applying the sealer, the surface should be thoroughly cleaned and allowed to dry completely. The sealer can be applied using a sprayer, roller, or brush, following the manufacturer’s instructions.
5. Maintenance: To ensure the longevity of the concrete floor outside, regular maintenance is necessary. This includes routine cleaning to remove dirt, debris, and stains. It is recommended to use a mild detergent or a concrete-specific cleaner and a soft-bristle brush or mop. Avoid using abrasive cleaners or tools that can damage the sealer or the concrete surface.

Maintenance Tips: Keeping Your Outdoor Concrete Floor in Top Condition
Regular Cleaning
To keep your outdoor concrete floor in top condition, it is important to regularly clean it. Sweep or use a leaf blower to remove any dirt, leaves, or debris from the surface. This will prevent them from getting ground into the concrete and causing damage. Use a mild detergent and water to wash the floor, scrubbing with a stiff brush to remove any stubborn stains. Rinse thoroughly with clean water and allow the floor to dry completely before using it again.
Sealing the Concrete
One of the most effective ways to protect your outdoor concrete floor is by sealing it. A good quality concrete sealer will help to prevent water, oil, and other substances from penetrating the surface and causing stains or damage. Before applying the sealer, make sure the floor is clean and dry. Use a roller or sprayer to evenly apply the sealer, following the manufacturer’s instructions. Allow the sealer to dry completely before walking or placing any objects on the floor.
Avoid Harsh Chemicals
When cleaning your outdoor concrete floor, it is important to avoid using harsh chemicals. Acidic or abrasive cleaners can damage the surface and cause it to deteriorate over time. Instead, opt for mild detergents or specialized concrete cleaners that are specifically designed for outdoor use. Always test any new cleaner on a small, inconspicuous area of the floor before applying it to the entire surface.
Preventive Measures
Taking preventive measures can go a long way in maintaining the condition of your outdoor concrete floor. Place doormats at the entrances to your home or any high-traffic areas to prevent dirt and debris from being tracked onto the floor. Use furniture pads or coasters under heavy objects to prevent them from scratching or denting the surface. Avoid dragging or dropping heavy items on the floor, as this can cause cracks or chips.
Repairing Cracks and Damage
Over time, outdoor concrete floors may develop cracks or other types of damage. It is important to address these issues promptly to prevent further deterioration. Small cracks can be repaired using a concrete patching compound or epoxy filler. Follow the manufacturer’s instructions for application and make sure the repaired area is properly sealed. For larger or more severe damage, it may be necessary to seek professional help to ensure proper repair and restoration of the floor.

How to Pour a Concrete Slab for Beginners DIY
Concrete floor outside Images, Stock Photos u0026 Vectors Shutterstock
![]()
Guide to Leveling an Uneven Exterior Concrete Slab Business
7 Outdoor concrete flooring ideas outdoor concrete floors

HOME DZINE Garden Benefits of a concrete patio
An In-Depth Look at 30 Concrete Floor Designs – Concrete Flooring

Why not Epoxy Your Patio? u2014 Quick Response Garage Floor Coatings
Concrete Overlay Systems What You Need To Know u2014 Alt. Surfaces
Exterior Epoxy Flooring Brisbane u0026 Gold Coast Tough Floors
Outdoor Flooring Ideas That Will Rejuvenate Your Backyard Space

Related Posts: