Preparing the Concrete Surface for Tiling
Before you can start tiling your bathroom floor, it’s crucial to properly prepare the concrete surface. This ensures that the tiles will adhere well and result in a durable and long-lasting installation. We will guide you through the essential steps to prepare your concrete surface for tiling.
- Clean the Surface: Begin by thoroughly cleaning the concrete surface. Remove any dust, dirt, or debris using a broom, vacuum, or a damp cloth. It’s important to have a clean surface to ensure proper adhesion of the tile adhesive.
- Repair Any Damages: Inspect the concrete surface for any cracks, chips, or uneven areas. Use a concrete repair compound to fill in these imperfections. Smooth out the repaired areas with a trowel, following the manufacturer’s instructions. Allow the repairs to dry completely before proceeding.
- Level the Surface: If the concrete floor has any noticeable uneven spots or slopes, it’s crucial to level them out. Use a self-leveling compound, following the manufacturer’s instructions, to achieve an even surface. This step is vital for preventing any future tile cracking or shifting.
- Apply a Primer: To enhance the bond between the concrete surface and the tile adhesive, apply a primer. Choose a primer specifically designed for concrete surfaces and follow the manufacturer’s instructions. Apply the primer evenly using a roller or brush and allow it to dry completely.
- Check for Moisture: Before tiling, it’s essential to check the moisture levels of the concrete. Excessive moisture can cause problems with the tile installation. You can use a moisture meter to determine if the concrete is dry enough for tiling. If the moisture level is too high, consider using a moisture barrier or consulting a professional for further guidance.

Choosing the Right Tiles for Your Bathroom Floor
Selecting the right tiles for your bathroom floor is crucial for achieving the desired aesthetic and functionality. With a wide range of options available, it’s essential to consider factors such as durability, slip resistance, and style. We will guide you through the process of choosing the perfect tiles for your bathroom floor.
- Consider the Material: Tiles come in various materials, such as ceramic, porcelain, natural stone, and vinyl. Each material has its advantages and considerations. Ceramic and porcelain tiles are durable and moisture-resistant, while natural stone tiles offer a unique and luxurious look. Vinyl tiles are affordable and easy to install. Consider the pros and cons of each material before making a decision.
- Assess Durability: Bathroom floors endure high levels of moisture and foot traffic, so it’s important to choose tiles that can withstand these conditions. Look for tiles with a high PEI (Porcelain Enamel Institute) rating, which indicates their durability. Opt for tiles that are specifically designed for flooring and can handle the demands of a bathroom environment.
- Evaluate Slip-Resistance: Bathrooms can be prone to wet surfaces, making slip-resistance a crucial factor to consider. Look for tiles with a slip-resistant rating, such as those with a textured or matte finish. These tiles provide better traction and reduce the risk of accidents, especially in wet areas like showers or near bathtubs.
- Consider Style and Aesthetics: Tiles play a significant role in the overall aesthetics of your bathroom. Consider the color, pattern, and size of the tiles to complement your desired style. Light-colored tiles can make a small bathroom appear more spacious, while bold patterns can add visual interest. Take into account the existing bathroom design and choose tiles that harmonize with it.
- Set a Budget: Lastly, determine your budget for the tile selection. Tiles vary in price, so it’s important to set a realistic budget before starting your search. Remember to consider the cost of installation as well. Investing in high-quality tiles that will withstand the test of time is recommended, but be mindful of your budget limitations.
Step-by-Step Guide to Tile Installation on Concrete
Installing tiles on a concrete floor is a rewarding DIY project that can transform the look of your bathroom. However, it’s important to follow a step-by-step guide to ensure a successful and professional outcome. Below we provide you with a comprehensive guide on how to install tiles on a concrete floor.
Gather the Necessary Tools and Materials: Before starting the tile installation process, gather all the tools and materials you will need. This includes tiles, tile adhesive, trowel, tile spacers, tile cutter, grout, grout float, sponge, and a level. Having everything prepared beforehand will make the installation process smoother.
Prepare the Surface: Ensure that the concrete surface is clean, repaired, leveled, and primed, as mentioned in the previous article. This step is crucial for a successful tile installation.
Plan the Layout: Before applying the tile adhesive, plan the layout of the tiles. Start by finding the center of the room and mark it as a reference point. Dry lay the tiles from the center outward, using tile spacers to maintain consistent gaps between them. Adjust the layout as needed to avoid small, uneven cuts at the edges.
Apply the Tile Adhesive: Following the manufacturer’s instructions, mix the tile adhesive to the correct consistency. Using a trowel, apply the adhesive to a small area of the concrete floor. Hold the trowel at a 45-degree angle to create grooves in the adhesive. This helps ensure proper adhesion of the tiles.
Install the Tiles: Place the first tile at the center reference point and press it firmly into the adhesive. Continue placing tiles, using tile spacers to maintain consistent gaps between them. Use a level to ensure the tiles are flat and even. Work in small sections to prevent the adhesive from drying before you can lay the tiles.
Cut and Fit Tiles: As you approach the edges or obstacles, you will likely need to cut the tiles to fit. Measure the required size, mark the tile, and use a tile cutter to cut. Be cautious and wear safety goggles when cutting tiles. Fit the cut tiles into place, ensuring they align with the surrounding tiles.

Grouting and Sealing for a Professional Finish
Grouting and sealing are essential steps to achieve a professional and finished look for your tiled bathroom floor. Grout fills the gaps between tiles while sealing protects the grout and tiles from stains and moisture. We will guide you through the process of grouting and sealing your tiled bathroom floor.
Allow the Tiles to Set: Before grouting, ensure that the tiles have fully set in the adhesive. Follow the adhesive manufacturer’s instructions for the recommended setting time. This typically ranges from 24 to 48 hours. It’s crucial to allow enough time for the adhesive to dry and bond the tiles securely.
Choose the Right Grout: Select a grout color that complements your tiles and desired aesthetic. There are various types of grout available, including sanded and unsanded grout. Sanded grout is suitable for wider gaps between tiles, while unsanded grout is used for narrower gaps.
Mix and Apply the Grout: Follow the grout manufacturer’s instructions for mixing the grout to the correct consistency. Using a grout float, apply the grout diagonally across the tiles, pressing it into the gaps. Work in small sections, ensuring that the grout fills the gaps completely. Avoid grouting over the tile surface.
Clean Excess Grout: After applying the grout, wait for the recommended drying time, usually around 15 to 30 minutes. Using a damp sponge, gently wipe away the excess grout from the tile surface. Rinse the sponge frequently and avoid applying excessive pressure, which can remove the grout from the gaps.
Seal the Grout and Tiles: Once the grout has fully cured, typically after 48 to 72 hours, it’s time to seal the grout and tiles. Choose a penetrating grout sealer or a grout and tile sealer, following the manufacturer’s instructions. Apply the sealer using a brush or roller, ensuring complete coverage. Allow the sealer to dry according to the manufacturer’s recommendations before using the bathroom.
Maintenance Tips for a Long-Lasting Tiled Bathroom Floor
Proper maintenance is essential to ensure the longevity and beauty of your tiled bathroom floor. By following a few simple tips, you can keep your tiles looking pristine and prevent damage. Here are several maintenance tips to help you enjoy a long-lasting tiled bathroom floor.
Regular Cleaning: Regularly clean your tiled bathroom floor to prevent the buildup of dirt, grime, and soap residue. Use a mild, pH-neutral cleaner and a soft mop or cloth. Avoid harsh chemicals or abrasive materials that can damage the tiles or grout. Sweep or vacuum the floor before mopping to remove any loose debris.
Grout Cleaning: Over time, grout can become discolored or stained. Periodically clean the grout using a grout cleaner or a mixture of baking soda and water. Apply the cleaner to the grout lines, scrub gently with a grout brush, and rinse thoroughly. This will help maintain the cleanliness and appearance of the grout.
Preventing Moisture Damage: Bathrooms are prone to moisture, which can cause damage to the tiles and grout. To prevent moisture-related issues, ensure proper ventilation in the bathroom. Use exhaust fans or open windows during and after showers to reduce humidity levels. Promptly address any leaks or water spills to avoid long-term damage.
Avoid Harsh Chemicals: Certain cleaning products, such as bleach or acidic cleaners, can damage the tiles or grout. Avoid using these harsh chemicals on your tiled bathroom floor. Stick to mild, pH-neutral cleaners specifically designed for tiled surfaces. Test any new cleaning product in a small, inconspicuous area before using it on the entire floor
Repairing Damaged Tiles: If a tile becomes cracked or damaged, it’s important to address the issue promptly. Replace the damaged tile to maintain the integrity of your bathroom floor. Carefully remove the damaged tile using a chisel and hammer, taking care not to damage the surrounding tiles. Clean the area and apply new tile adhesive before installing the replacement tile. Once the adhesive has set, grout the area to ensure a seamless appearance.
Protecting the Floor: To protect your tiled bathroom floor from potential damage, consider using rugs or mats in high-traffic areas, such as in front of the sink or shower. These can help prevent excessive wear and tear on the tiles. Additionally, be cautious when moving heavy objects or furniture across the floor to avoid scratching or cracking the tiles.
Regular Inspections: Regularly inspect your tiled bathroom floor for any signs of damage or wear. Look for loose or cracked tiles, damaged grout, or any other issues that may require repair. Catching and addressing these problems early can prevent further damage and save you from costly repairs in the future.
Periodic Maintenance: In addition to regular cleaning, periodic maintenance is necessary to keep your tiled bathroom floor in optimal condition. This may include resealing the grout every few years to maintain its water resistance and prevent stains. Follow the manufacturer’s instructions for the recommended frequency of resealing based on the type of grout used.
Professional Maintenance: For more extensive maintenance or repair needs, it may be beneficial to seek the assistance of a professional. Professional tile cleaners have specialized equipment and expertise to deep clean and restore the appearance of your tiled bathroom floor. They can also guide specific maintenance techniques or products suited for your tiles.
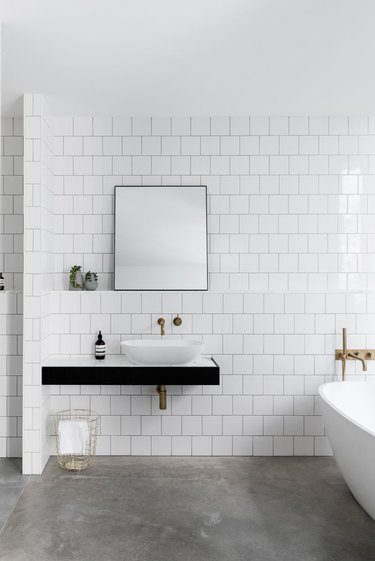
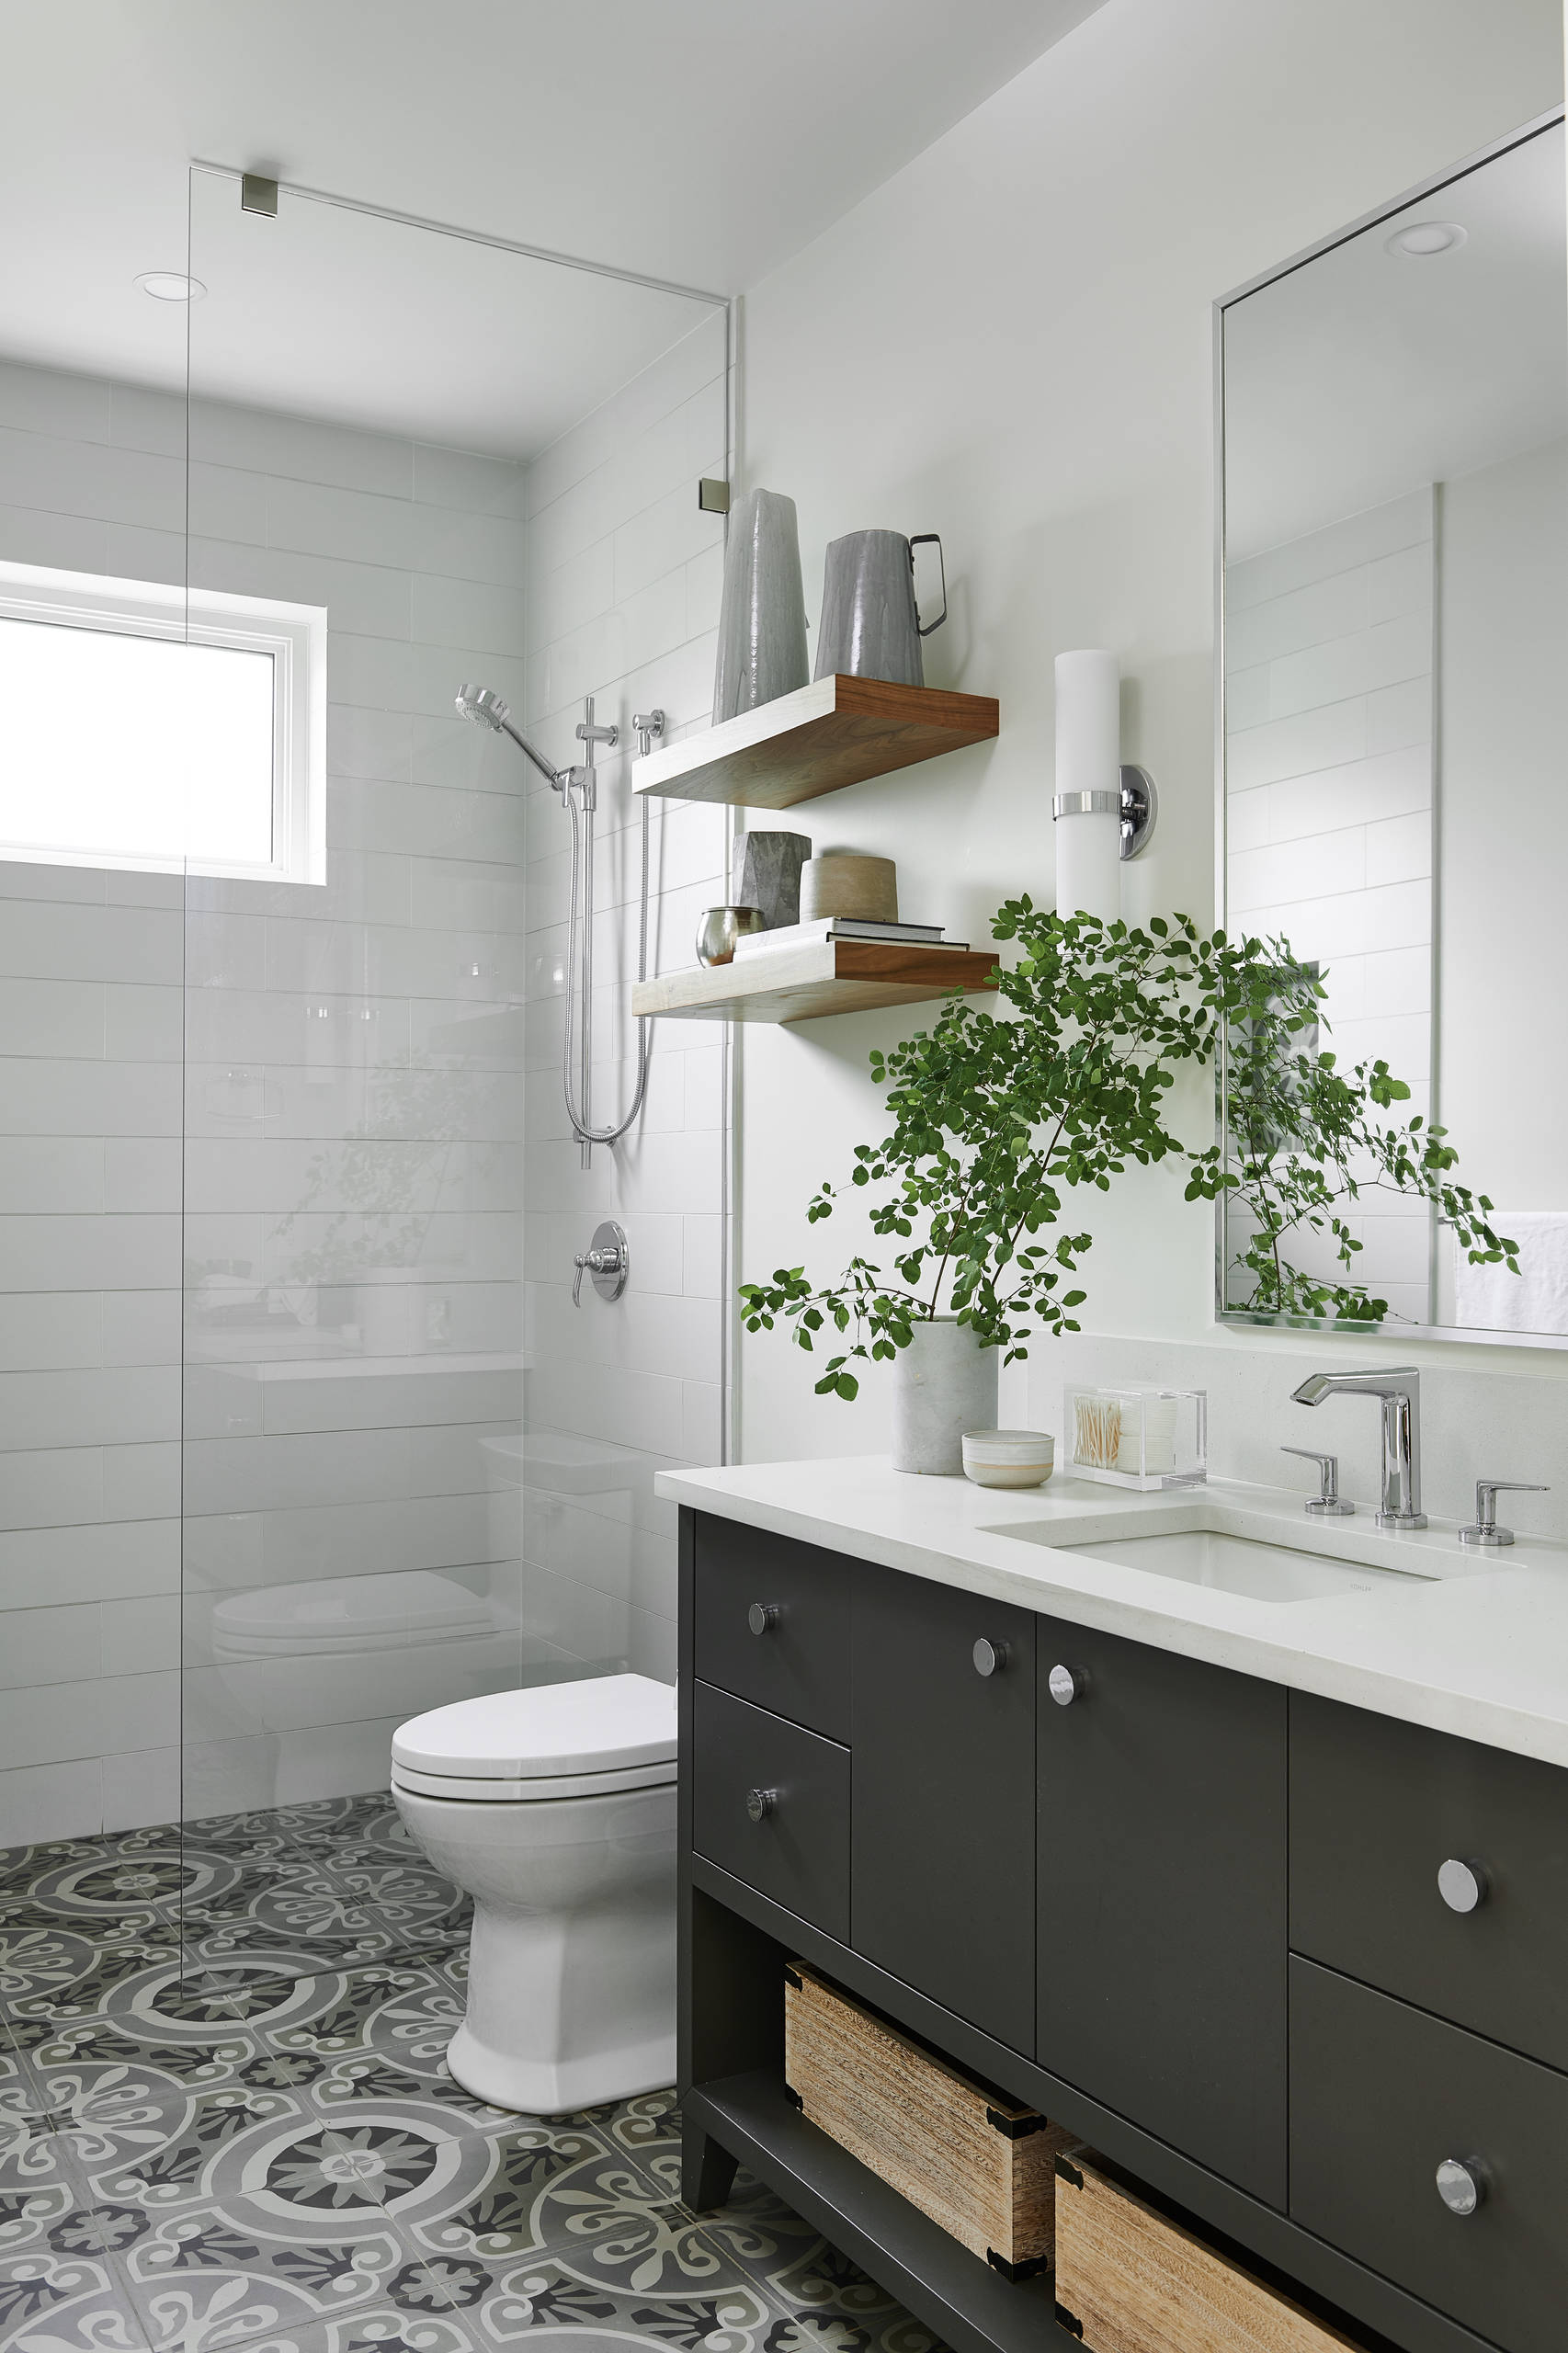
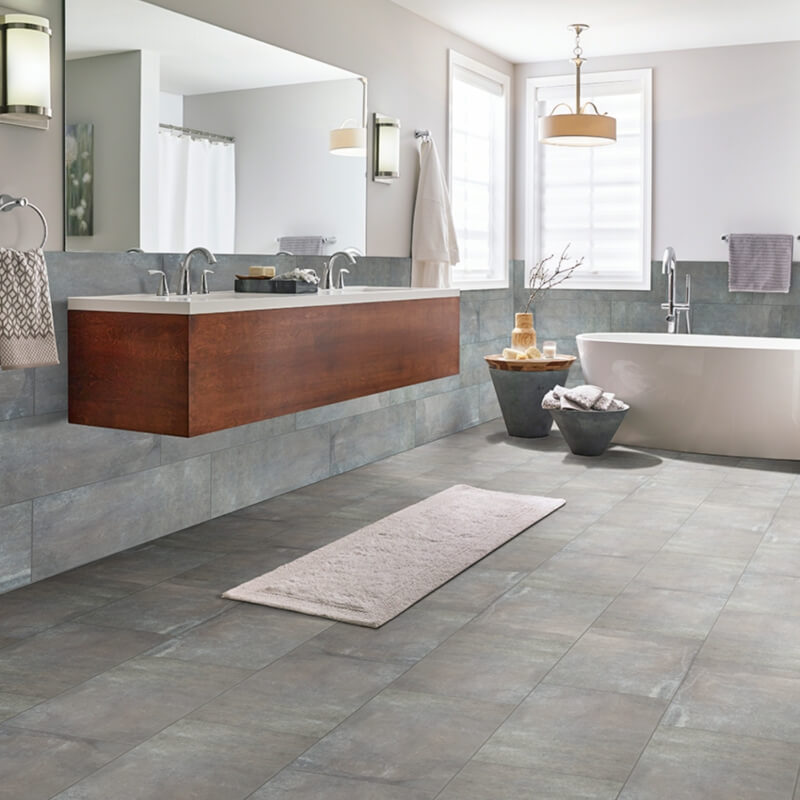
Cement Tile Floor Bathroom Ideas You’ll Love
Large Bathroom Tile Ideas to Adopt Concrete bathroom, Bathroom

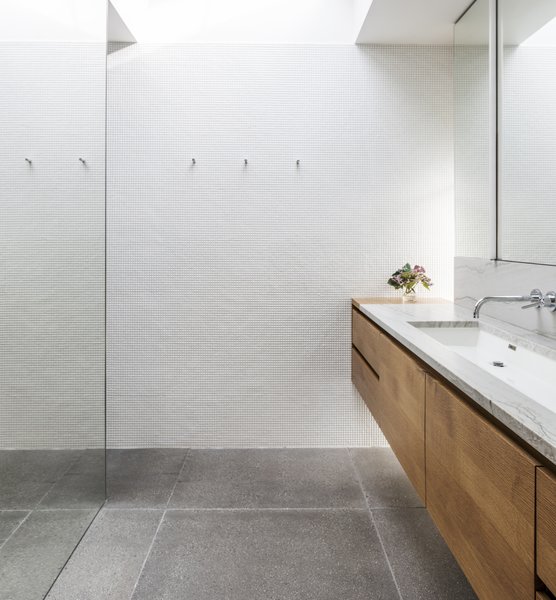
9 Reasons Modern Design Lovers Choose Concrete Lookalike Porcelain
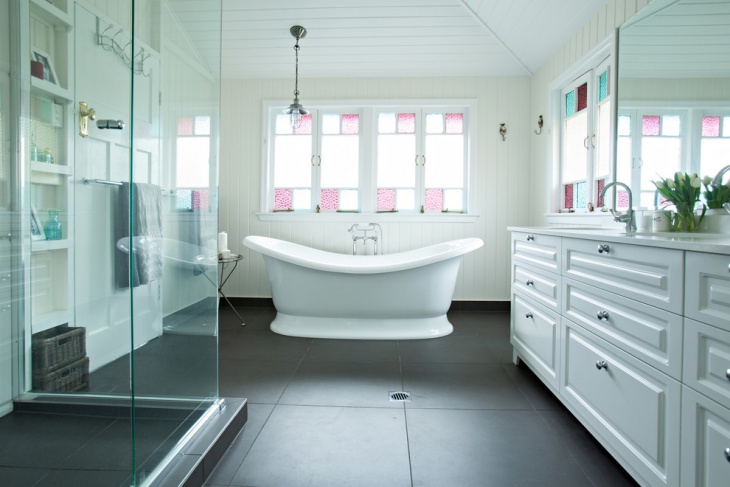
Concrete Bathroom Floor Designs, Ideas Design Trends
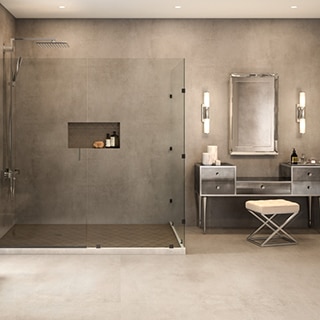
Concrete Shower Floor (Pros and Cons u0026 Design Guide) – Designing Idea
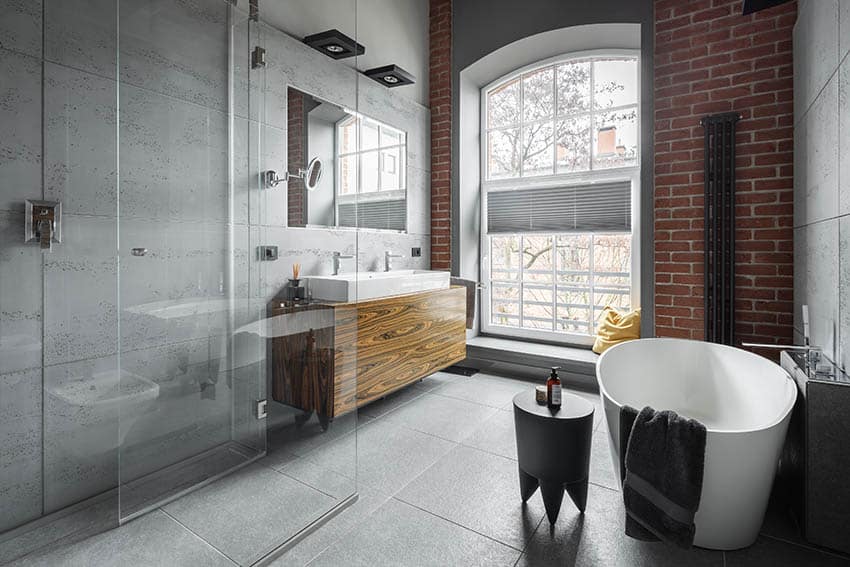
Bathroom Tiles – Kronos Ceramiche – Floor coverings in porcelain

Related Posts: