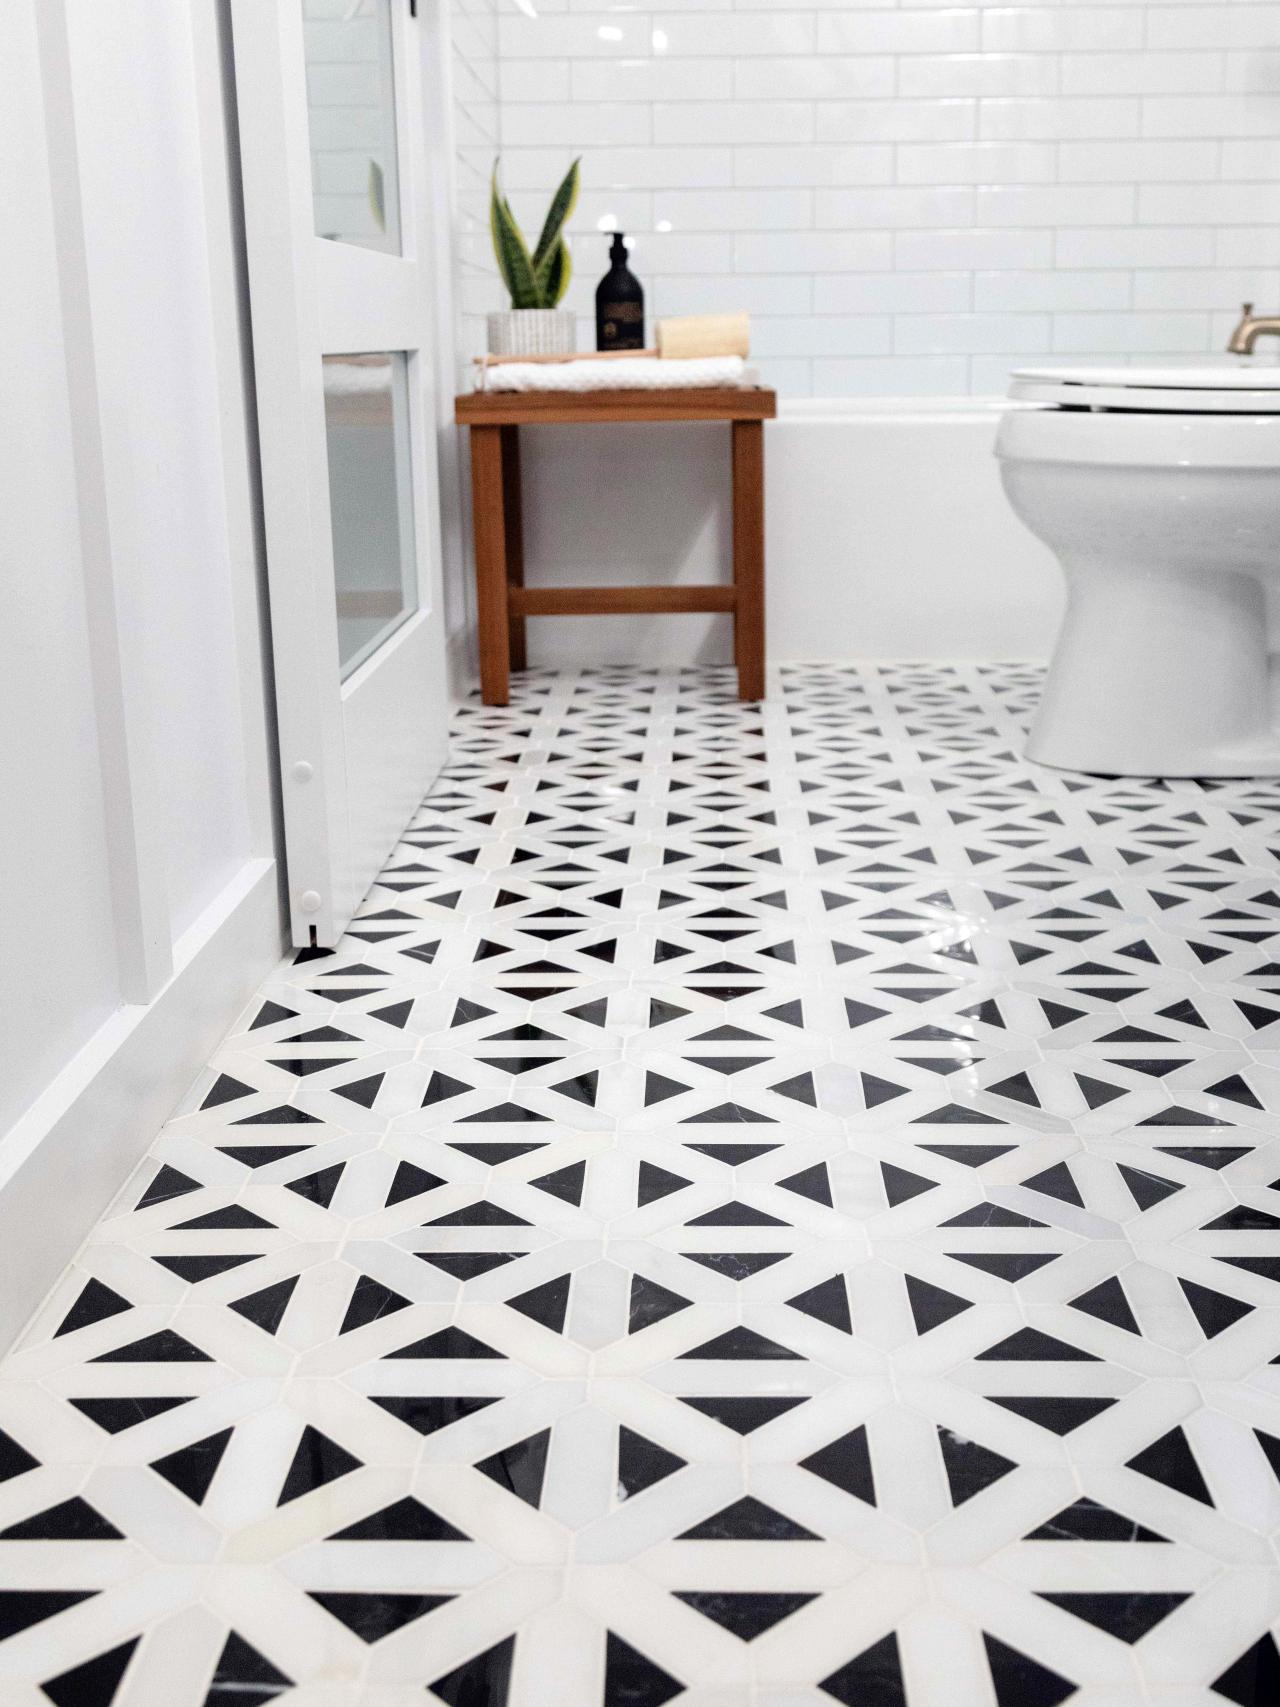
Tiling your bathroom floor is a rewarding DIY project that can transform the look and feel of your space while adding durability and easy maintenance. Before you begin, gather all the necessary tools and materials, including tiles, tile adhesive, grout, spacers, a tile cutter, a notched trowel, a grout float, and a sponge. Start by preparing the subfloor, ensuring it is clean, level, and dry. If necessary, remove any existing flooring and repair any imperfections or uneven areas. Once the subfloor is ready, measure and mark the center of the room to establish a starting point for laying the tiles.
Images about How To Tile Your Bathroom Floor
How To Tile Your Bathroom Floor

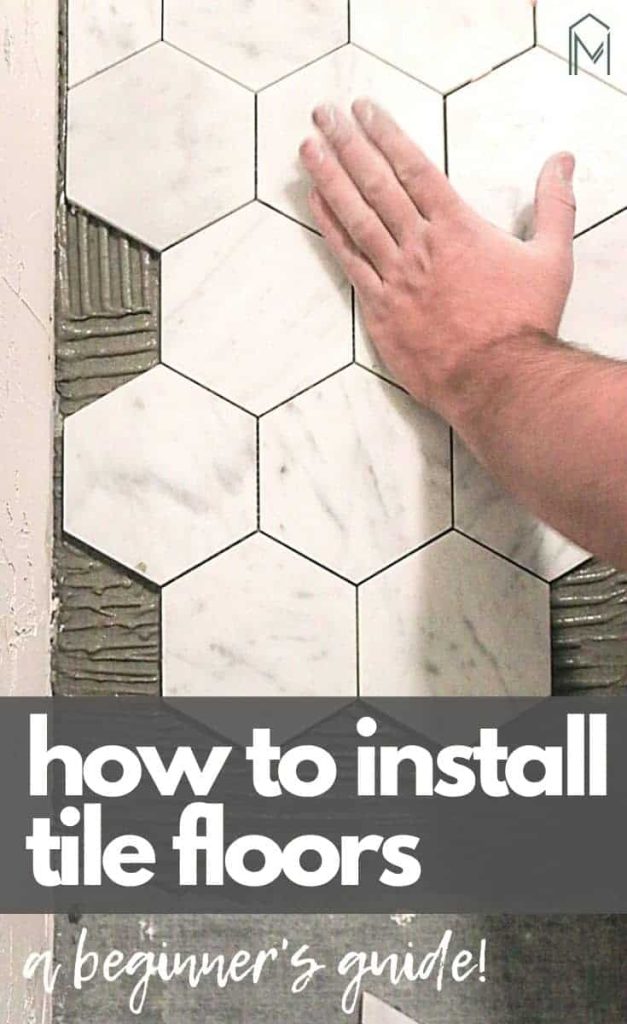
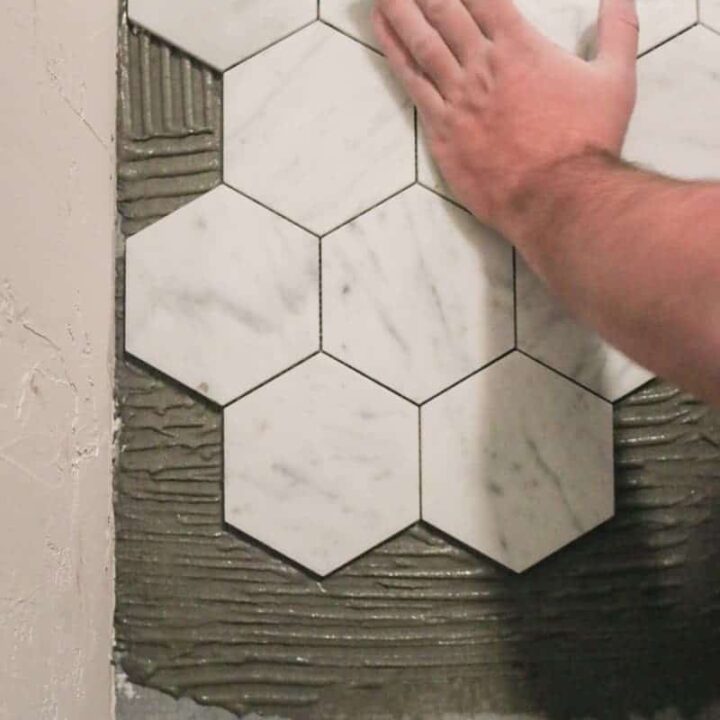
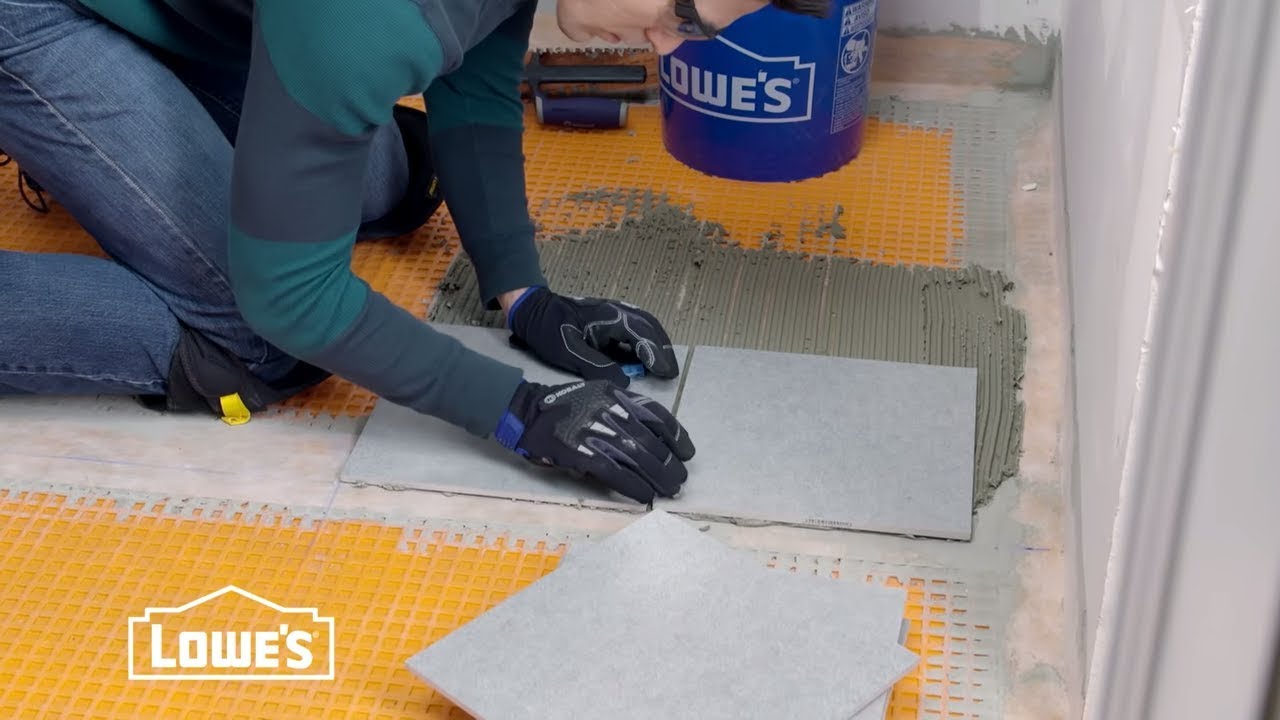
Next, apply tile adhesive to a small section of the subfloor using a notched trowel, spreading it evenly and creating grooves to help the tiles adhere properly. Begin laying the tiles along the centerline, working outward toward the walls in a grid pattern. Use tile spacers to ensure uniform spacing between tiles and create straight grout lines. Cut tiles as needed to fit around obstacles such as toilets, vanities, or doorways using a tile cutter or wet saw. Continue laying tiles until the entire floor is covered, periodically checking for level and adjusting as necessary.
Once all the tiles are in place, allow the adhesive to dry according to the manufacturer’s instructions before grouting. Mix grout to the desired consistency and apply it to the tiles using a grout float, working it into the joints at a 45-degree angle. Remove excess grout from the surface of the tiles with a damp sponge, rinsing frequently to prevent grout haze. Allow the grout to dry completely before sealing the tiles with a grout sealer to protect against stains and moisture.
Finally, install any necessary trim or transition pieces around the edges of the floor to provide a finished look and protect the edges of the tiles. Once the grout and sealer have dried, your newly tiled bathroom floor is ready for use! With proper preparation, careful planning, and attention to detail, tiling your bathroom floor can be a satisfying and cost-effective way to enhance the beauty and functionality of your space while adding value to your home.

How To Tile a Bathroom Floor?

Install Ceramic Tile Flooring in Bathroom
![]()
How to Lay a Tile Floor
How To Update Your Bathroom Floor Tiles – 6 DIY ideas

How To Tile A Bathroom Floor (For Beginners!) – Making Manzanita
How to Lay Tile: Install a Ceramic Tile Floor In the Bathroom (DIY)

How To Tile A Bathroom Floor – A Simple Guide With Useful Tips
How To Tile A Bathroom Floor (For Beginners!) – Making Manzanita
How To Tile a Bathroom Floor
Related Posts:
- Reglazing Bathroom Floor Tiles
- Colorful Bathroom Floor Tile
- Vinyl Flooring For Bathrooms
- Bathroom Flooring Ideas
- Bathroom Floor Patterns
- Bathroom Tile Floors
- Modern Vinyl Bathroom Flooring
- Mosaic Bathroom Floor Tiles
- Wood Bathroom Floor
- 1930s Bathroom Floor Tile
How To Tile Your Bathroom Floor
Bathroom floors are often one of the most overlooked areas of the home, yet it is one of the most important to keep looking great. Tiling your bathroom floor can be a great way to instantly upgrade the look and feel of your bathroom. Not only does tiling add a sleek, modern touch to your bathroom, but it also helps to protect your floors from water damage. If you’re looking for an easy way to spruce up your bathroom, then tiling your bathroom floor might be just the project for you. Here’s how to get started.
Gather Your Supplies
Before you begin tiling, you’ll need to gather all of the supplies that you’ll need. This includes tile, grout, tile adhesive, thinset mortar, a trowel, a level, spacers, a rubber float, a sponge, and a sealant. Make sure that you have enough supplies to cover the entire area that you plan on tiling. Once you have everything that you need, you can begin prepping your area for tiling.
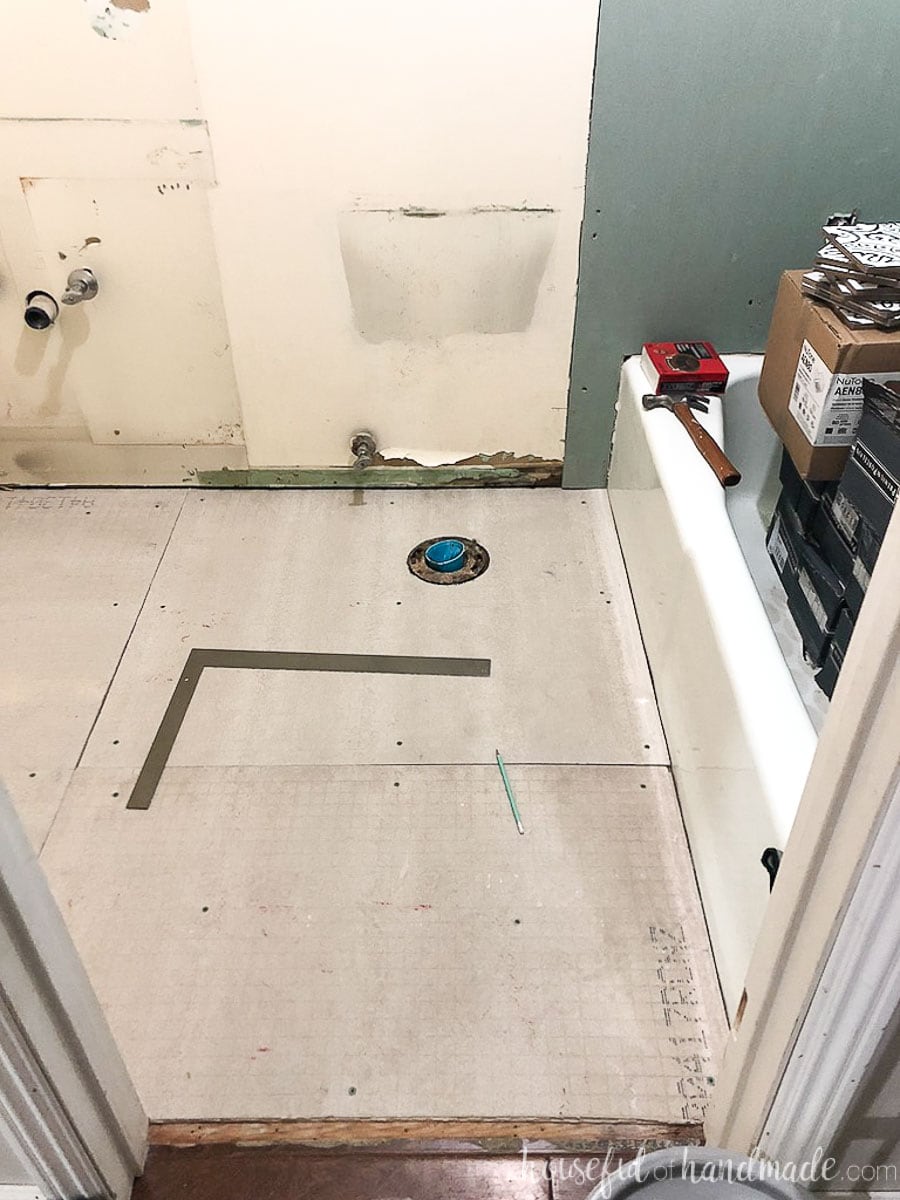
Prepare Your Floor
Before laying down any tiles, you want to make sure that the surface of your floor is clean and level. Start by removing any furniture from the room and sweeping up any dust and debris from the floor. You may also want to sand down the surface or use a patching compound if there are any deep cracks or imperfections in your floor. Once the surface is smooth and level, it’s time to start laying down the tile.
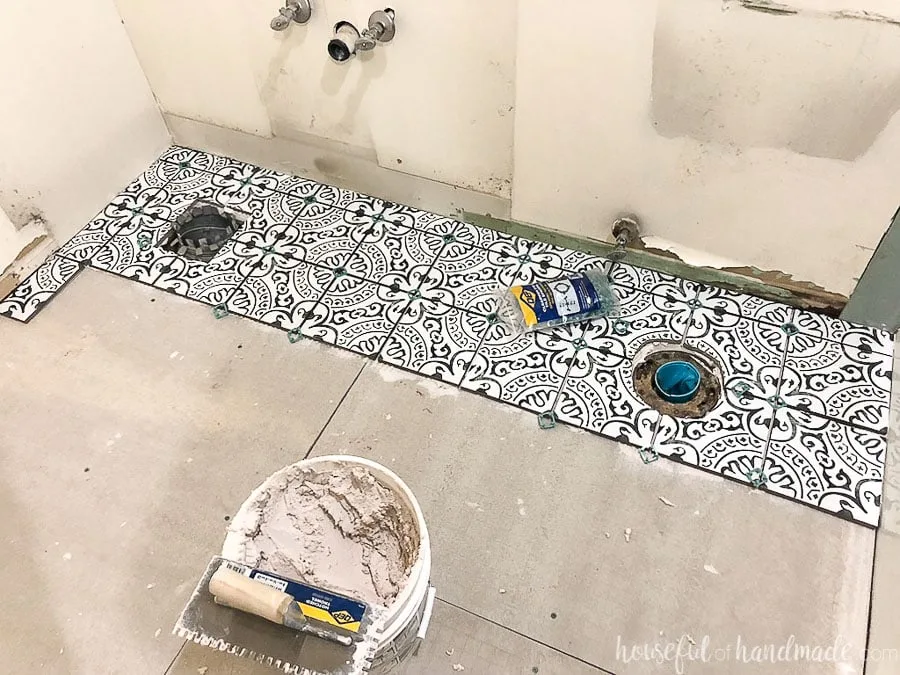
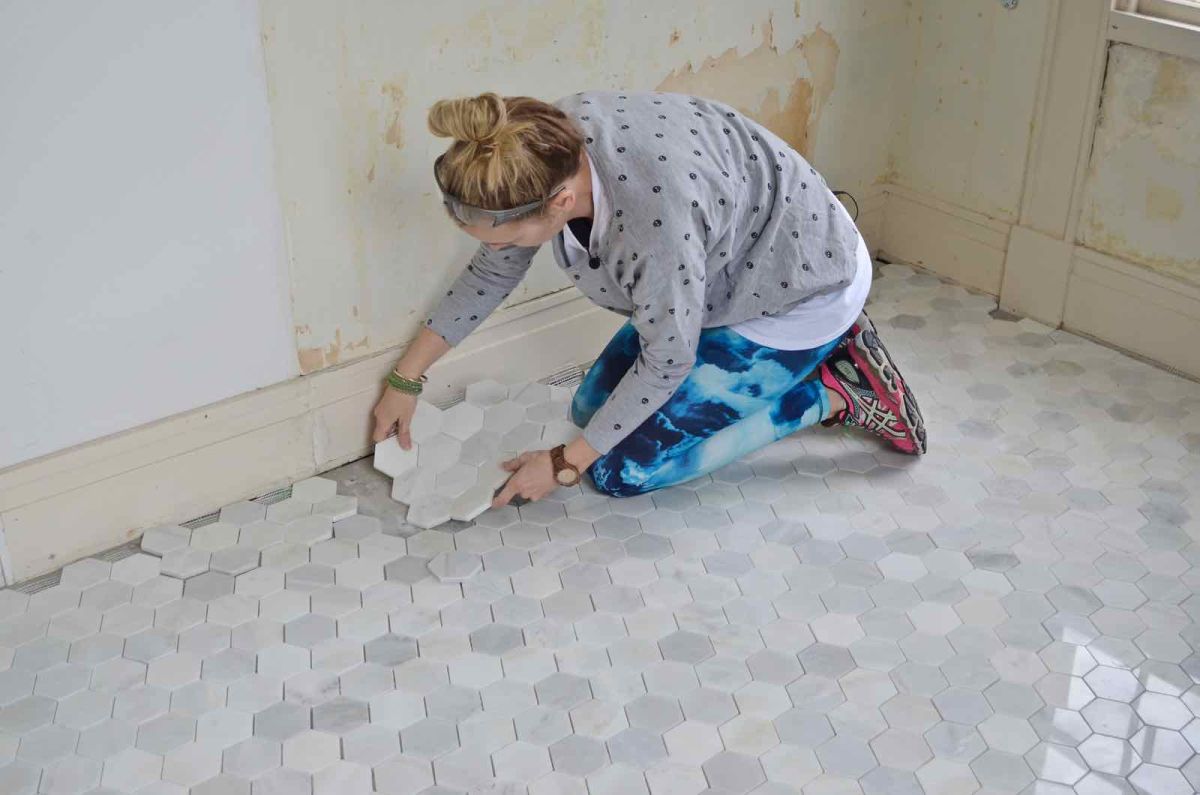
Lay Down Tile
You can start laying down tile in any corner of the room and work your way outwards. Before applying tile adhesive to the back of each tile, make sure that you measure and mark where each tile should go. This will ensure that your tiles are laid down in even rows and lines. After laying down each tile, use spacers in between them to ensure even spacing between each tile. When all of your tiles have been laid down, it’s time to move on to grouting them in place.
Grout The Tiles
After laying down all of your tiles, it’s time to grout them in place. Begin by mixing the grout according to package instructions and using a rubber float to apply it in between each tile. Make sure that you evenly spread out the grout across all of the joints between each tile. Afterward, use a damp sponge to wipe off any excess grout from the surface of each tile and allow it to dry overnight.
Apply The Sealant
Once your tiles have had time to dry overnight, it’s time to apply a sealant over them. This will help protect them from water damage and stains in the future. Begin by applying a thin layer of sealant over all of your tiles with a clean cloth or brush. Allow the sealant to dry completely before walking on or cleaning your newly tiled bathroom floor.
What supplies do I need for tiling my bathroom floor?
You will need tile, grout, tile adhesive, thinset mortar, a trowel, a level, spacers, a rubber float, a sponge, and a sealant for tiling your bathroom floor.
How do I prepare my floor for tiling?
Start by removing any furniture from the room and sweeping up any dust and debris from the floor. You may also want to sand down the surface or use a patching compound if there are any deep cracks or imperfections in your floor. Once the surface is smooth and level, it’s time to start laying down the tile.