Marble floors inside ancient Greek and Roman ruins found in Europe have retained the beauty of theirs even after 2,500 seasons. The procedure of polishing is also convened with the help of industrial diamonds. It doesn't matter if you're looking for the plain, individual color tiles or the multicolored flooring with a choice of various hues, you will surely enjoy the number of options that are available with marble flooring.
Images about Italian Marble Flooring Laying Procedure
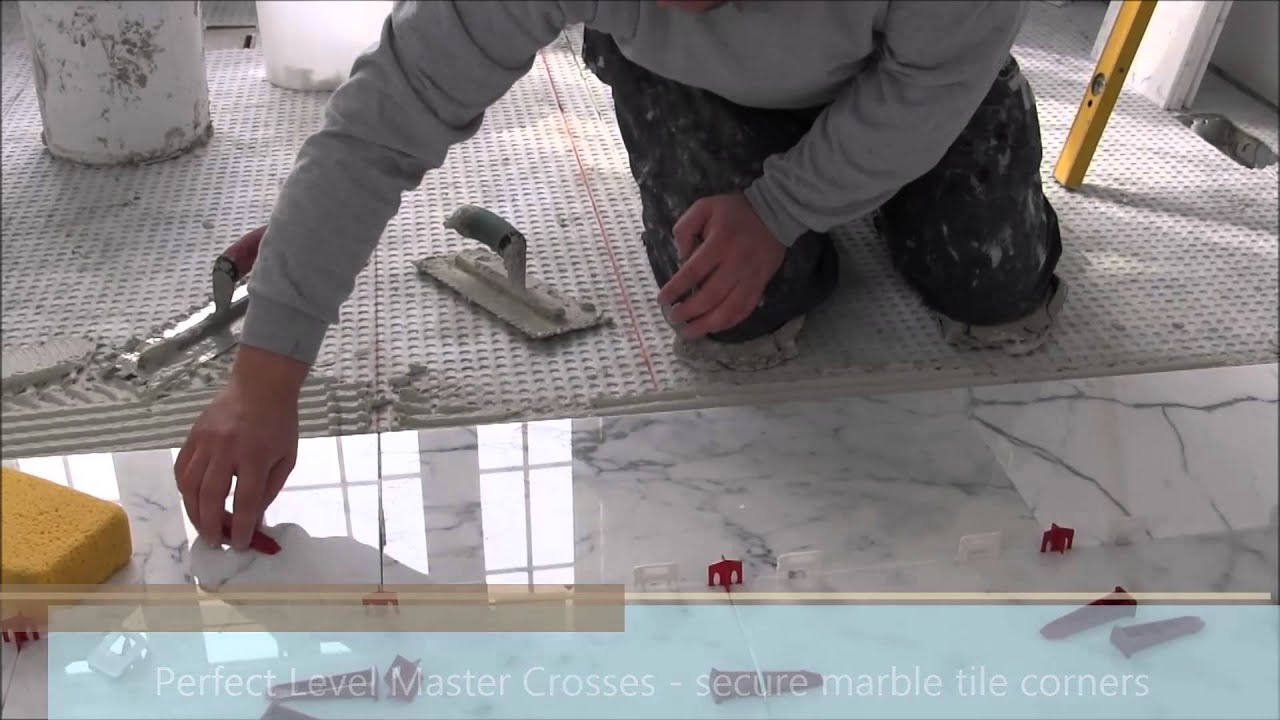
Italian Marble Flooring Laying Procedure
These marble floors mustn't be treated just like the cemented floors. Nevertheless, you have to know how to effectively use and store it to prevent extra destroys. Consequently it is crucial that virtually any marble floors you do have fitted is actually cleaned and resealed professionally every 9 to 18 weeks in order that it's stays in the best condition possible and therefore lasts for many years to come.
Marble Flooring Installation marble flooring marble floor tile

If you would like to boast up the style of the floorings, then you definitely need to have them polished. Contrary to popular opinion, marble counter tops aren't often white or perhaps ivory. The majority of the folks want using this natural stone because it is long lasting & long-lasting. In the bathroom you may possibly discover that claw polish, shampoo, as well as other fluids are spilled all too often.
How to install Italian marble flooring FULL PROCESS
/184592313-56a1bc405f9b58b7d0c220f2.jpg)
method of statement for marble stone installation

Marble Flooring Installation How To Install Marble Floor Checklist of Marble Flooring

Process Of Marble Flooring At Site I Learning Technology
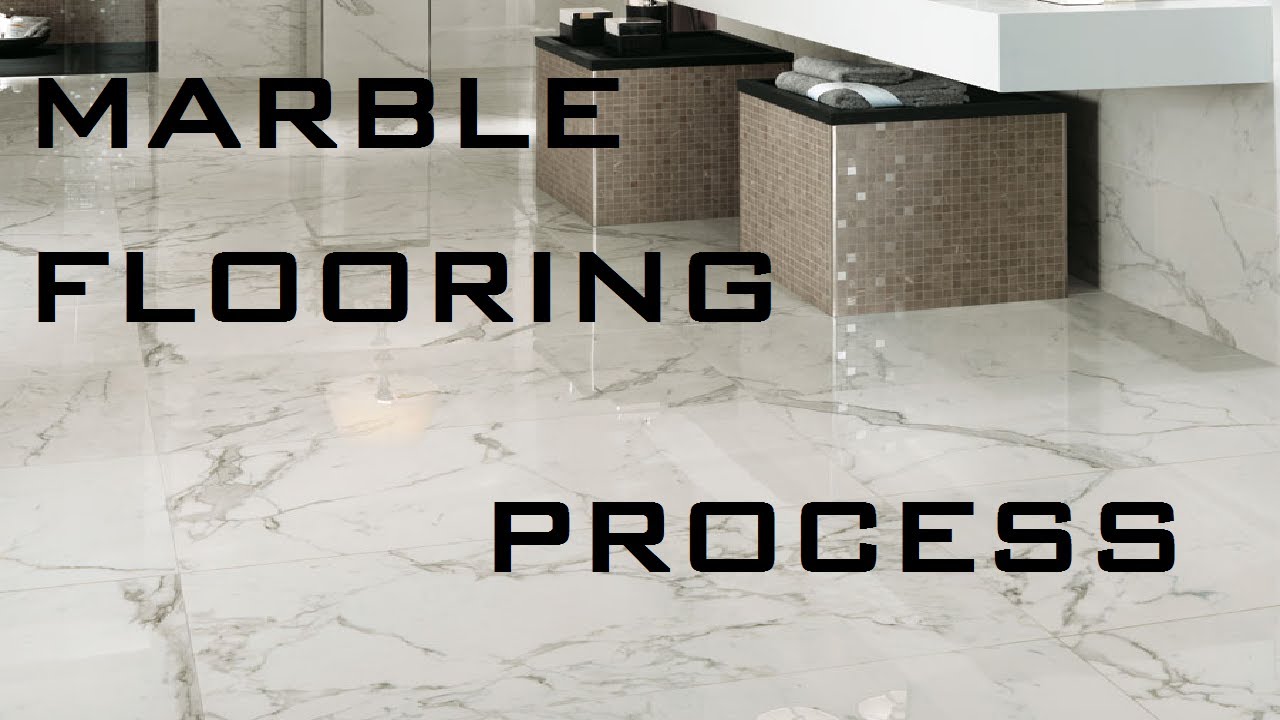
Marble Flooring: One of the Most Luxurious Flooring Material

How to Install Marble Floor Tiles
/5-56a2fc793df78cf7727b6a26.jpg)
True Process to Marble Coating with Sealer – ContractorBhai

How to install marble floor: the detailed instructions

How to install Italian marble flooring!! #marble#granite#tiles#stone

Installing, Sealing and Protecting Marble Tile Flooring
Marble Stone Flooring Installation Guide
Marble vs vitrified tiles: Which is a better flooring option

Related Posts:
- Marble Flooring Border
- Home Marble Floor Design
- Beige Marble Flooring
- Black White Marble Floor
- White Carrara Marble Floor
- Marble Floor Design Ideas
- How To Clean White Marble Floors
- Marble Floor Entrance
- Yellow Marble Floor Tiles
- Luxury Marble Flooring Design
Introduction:
Italian marble flooring is one of the most luxurious and stylish types of flooring available. Its natural beauty and elegance make it an ideal choice for many homes and businesses. But laying Italian marble flooring requires a certain level of skill and expertise. This article will provide a detailed overview of the Italian marble flooring laying procedure, including an explanation of the steps involved, materials needed, and tips for successful installation.
Materials Needed for Italian Marble Flooring Laying:
Before starting the installation process, it’s important to make sure you have all the necessary materials on hand. These include marble tiles, adhesive, grout, saws, trowels, spacers, sandpaper, sealer, and a damp cloth. Additionally, you will need safety goggles and gloves to protect yourself during the installation process.
Steps Involved in Installing Italian Marble Flooring:
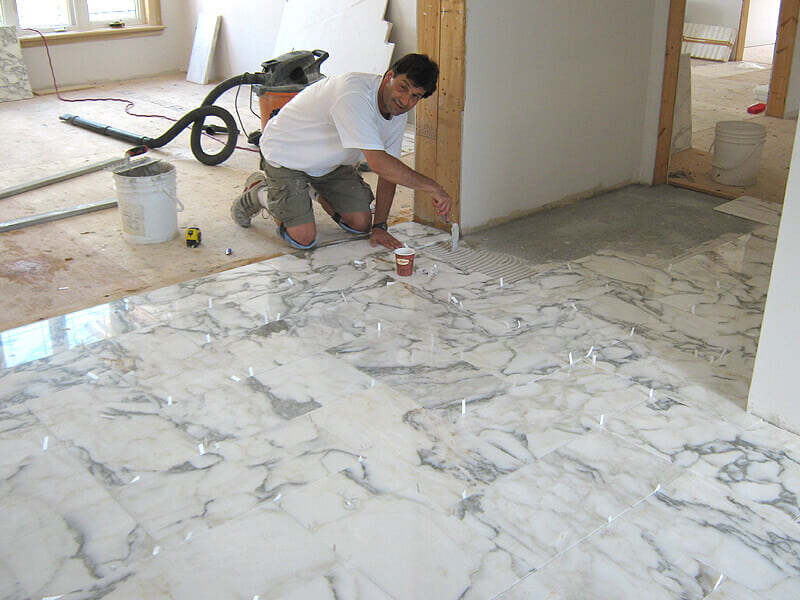
The first step in installing Italian marble flooring is prepping the area where it will be laid. This includes removing any existing flooring and cleaning the surface to ensure it is free of dirt and debris. Once the area is prepped, you are ready to start laying the tiles.
Begin by laying out the tiles in the desired pattern and making sure all the edges line up properly. You can use spacers to ensure that each tile is evenly spaced from its neighbors. Once you are satisfied with the layout, you can begin affixing them to the surface with adhesive. Use a trowel to spread the adhesive evenly across the back of each tile and then press them firmly into place.
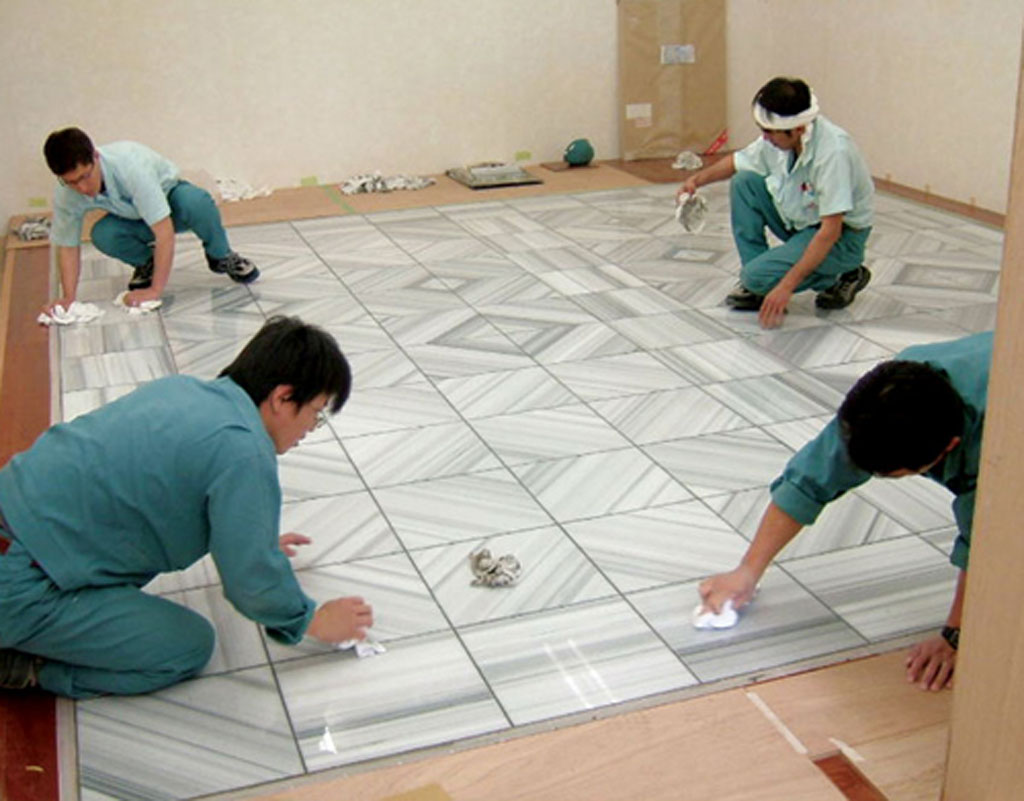
Once all the tiles are in place, use sandpaper to remove any excess adhesive from the surface of the tiles. Then use a damp cloth to wipe away any dust or debris that may have accumulated during the installation process. Finally, apply a layer of grout between each tile to give them a finished look and to prevent water from seeping between them. Once the grout has dried, apply a sealer to protect it from staining and wear over time.
Tips for Successful Installation:
Installing Italian marble flooring can be tricky if you don’t have experience with this type of project. Here are some tips for successful installation:
• Make sure to use a high-quality adhesive specifically designed for marble tiles.
• Always wear safety goggles and gloves when handling sharp tools such as saws or trowels.
• Make sure that all edges line up correctly before applying adhesive or grout.
• Allow ample time for the adhesive and grout to dry completely before applying sealer or walking on the tiles.
• Clean up any debris or dust immediately after installation to prevent staining or discoloration of the marble tiles.
FAQs:
Q1: What type of adhesive should I use when installing Italian marble flooring?
A1: It is important to use a high-quality adhesive specifically designed for marble tiles when installing Italian marble flooring. This type of adhesive will provide a strong bond between the tile and the surface below it, helping ensure a long-lasting installation with minimal maintenance requirements over time.
Q2: How long do I need to wait before applying sealer?
A2: It is important to allow ample time for both adhesive and grout to dry completely before applying sealer or walking on the tiles. Generally speaking, it is best to wait at least 24 hours after laying down your tiles before applying sealer so that all components have time to properly set into place.
Q3: Can I walk on my newly installed Italian marble flooring right away?
A3: No, it is important not to walk on your newly installed Italian marble flooring until after you have applied sealer. This will help protect your investment by preventing staining and discoloration due to dirt or moisture seeping between tiles or through cracks in grout lines. Additionally, walking on your newly installed Italian marble flooring before sealer is applied can cause damage if any components such as adhesive or grout have not had sufficient time to properly set into place.