It is best to wear a fix with neutral pH value to clean marble floors. Although for a lot of years marble was just quarried around Italy for included in creating though these days it is currently being quarried around Spain, Mexico, China and even Russian federation. Allow me to share some tips to assist marble floor owners continue their flooring looking its best on a daily schedule. These tiles are water stain resistant as it's glazed & sleek.
Images about Laying A Marble Floor
Laying A Marble Floor
:max_bytes(150000):strip_icc():saturation(0.2):brightness(10):contrast(5)/184592313-56a1bc405f9b58b7d0c220f2.jpg)
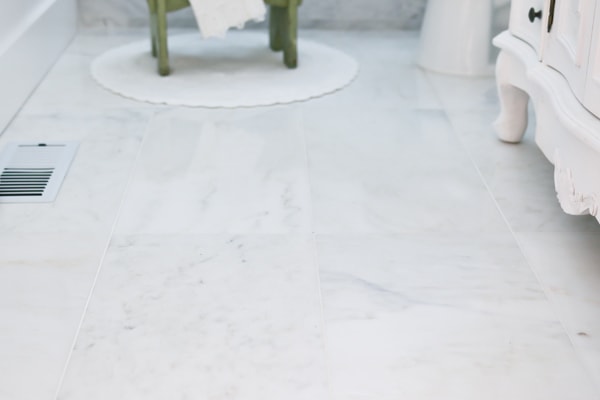
Marble flooring is actually a stain resistant materials and made of stone. to be able to understand those things is usually to specifically protect the self of yours from any unwanted bad things that it may provide. These tiles are most famous in the kitchen area, although a lot of men and women additionally use them in the bathroom of theirs too. Additionally, buffing off a marble floor is somewhat an easy action to take.
How to Install Marble Floor Tiles
/5-56a2fc793df78cf7727b6a26.jpg)
Usually when a marble floor is initially laid it will be handled by way of a stain resistant sealant which normally helps to protect it for aproximatelly ten years and then after that period it should then be resealed. And that makes them important in every way to effectively maintain the marble surface area in the good shape that it is in. We've all heard about the old saying if you fail to plan you're planning to be unsuccessful.
How to Install Marble Tile Floor?

How to Install Marble Tile Floor?

How to install marble tiles
Marble Tile Installation: PRO or DIY?Learning Center

How to Install Marble Floor Tile (with Pictures) – wikiHow

Marble Flooring: What to Know About Buying, Installing, and

Tips u0026 Articles – Natural Stone Online

How to install marble floor: the detailed instructions
How to Install Marble Floor Tiles
/3-56a2fc775f9b58b7d0cffd7b.jpg)
How to Install Granite or Marble Floor Tiles – Fulei Stone
Marble Flooring: One of the Most Luxurious Flooring Material
How to Install Marble Tile – Tidbits
Related Posts:
- Marble Flooring Border
- Home Marble Floor Design
- Beige Marble Flooring
- Black White Marble Floor
- White Carrara Marble Floor
- Marble Floor Design Ideas
- How To Clean White Marble Floors
- Marble Floor Entrance
- Yellow Marble Floor Tiles
- Luxury Marble Flooring Design
Laying A Marble Floor: A Comprehensive Guide
A marble floor is a classic choice for any home or business, adding beauty and elegance to any space. If you’re looking to add a unique and luxurious flooring option to your space, laying a marble floor is the perfect way to do it. Laying a marble floor requires some skill, but with the right tools and materials, anyone can do it. In this article, we’ll explain all the steps involved in laying a marble floor, from prepping the surface to applying the grout. We’ll also include some FAQs at the end, so you can get all your questions answered.
Preparing the Surface
The first step in laying a marble floor is preparing the surface. This involves cleaning and leveling the surface so that it’s ready for the marble tiles. Start by sweeping and vacuuming the area to remove any dust and debris. Then use a level and trowel to make sure that the surface is even and flat. Once it’s even, use a concrete patching compound to fill in any cracks or holes in the surface. Allow the patching compound to dry before moving on to the next step.
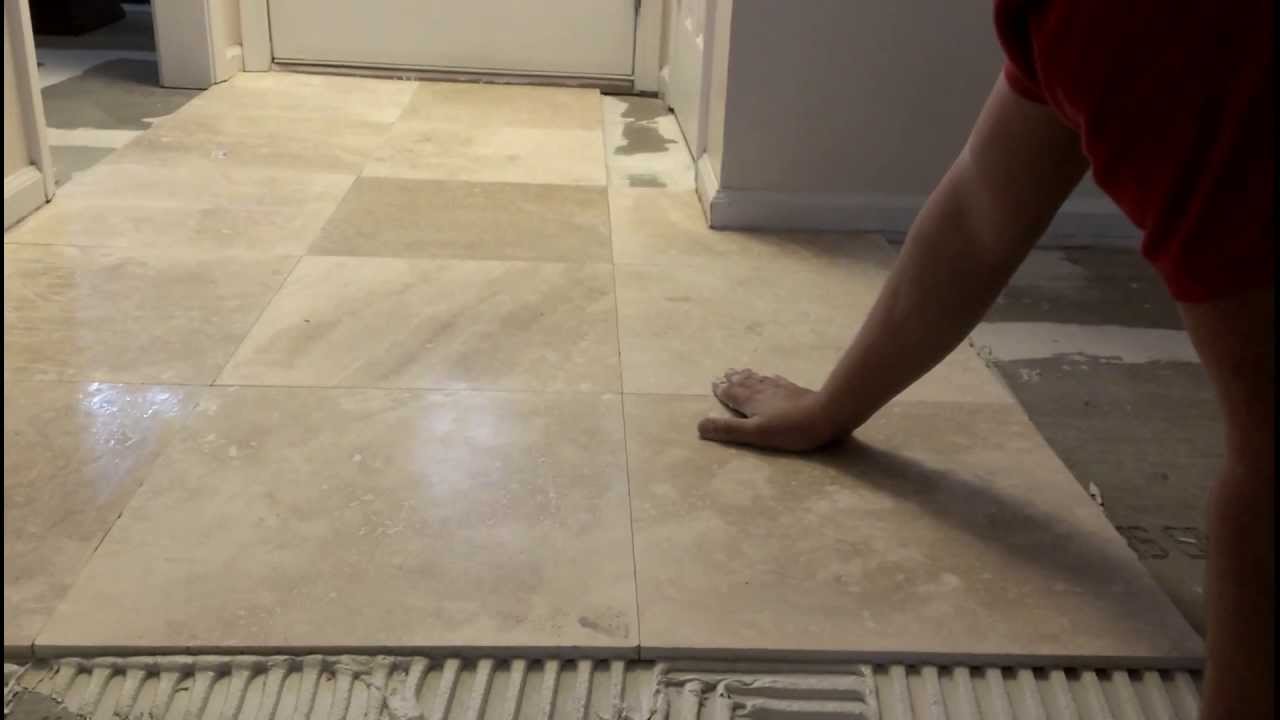
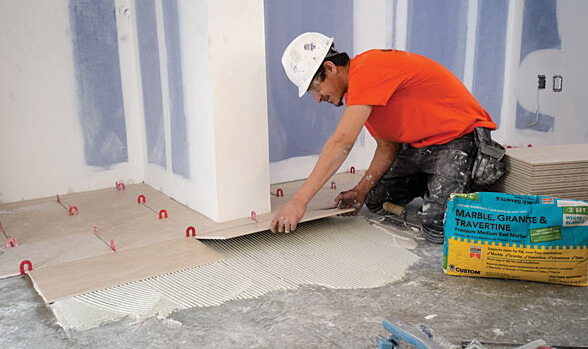
Applying The Adhesive
Once the surface is prepped and ready, it’s time to apply the adhesive. Start by measuring out an area of about four square feet and applying adhesive in that section. Make sure you spread it evenly across the entire area. Then place your marble tiles onto the adhesive, making sure they are even and level with each other. Continue applying adhesive and laying tiles until your entire floor is covered.
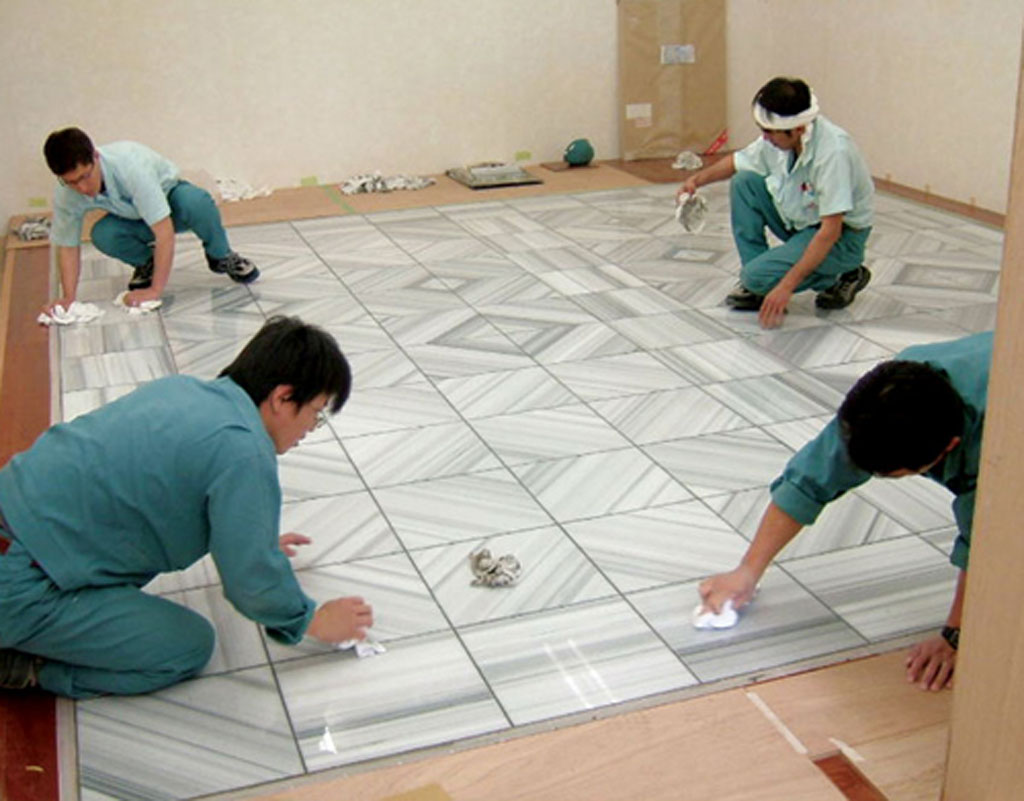
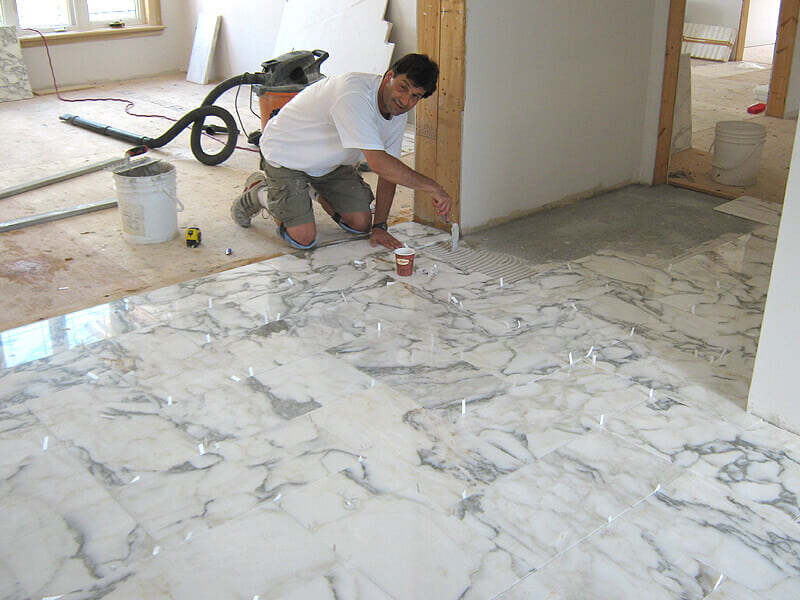
Spacing The Tiles
Once all of your tiles are laid, you need to make sure there’s enough space between them for grout. Use spacers to create uniform gaps between each tile – this will ensure that your grout looks even and professional when it’s finished. You can also use thin strips of wood or plastic to create straight lines between tiles if needed.
Cutting The Tiles
You may need to cut some of your tiles in order to fit them around corners or other obstacles. To do this, use a wet saw with a diamond blade specifically made for cutting marble tiles. Make sure you wear safety goggles when cutting tiles, as they can produce small particles of dust that can be harmful if inhaled.
Applying The Grout
Once all of your tiles are laid and spaced properly, it’s time to apply the grout. Start by mixing your grout according to the instructions on the packaging – it should be a thick paste-like consistency when finished. Then use a rubber float to apply the grout onto the tiles in an even layer. Make sure you fill in all of the gaps between tiles, then let it sit for about 30 minutes before wiping off any excess with a damp sponge. Allow the grout to dry completely before moving on to sealing.
Sealing The Floor
Sealing your marble floor is an important step – it helps protect it from water damage and makes it easier to clean in the future. Start by applying a thin layer of sealant over the entire surface using a paintbrush or roller. Let it sit for about 20 minutes before wiping off any excess with a damp cloth or sponge. Allow it to dry completely before walking on or using the surface again.
FAQs About Laying A Marble Floor
Q: What type of adhesive should I use for my marble floor?
A: The type of adhesive you use will depend on what type of substrate you’re installing your marble on top of. For concrete surfaces, use an acrylic based adhesive; for wood surfaces, use a vinyl-based adhesive; for metal surfaces, use an epoxy-based adhesive; and for tile surfaces, use a mastic-based adhesive.
Q: How long does it take for grout to dry?
A: It typically takes about 24 hours for grout to completely dry – however, this can vary depending on factors such as temperature and humidity levels in your area.
Q: How often should I seal my marble floor?