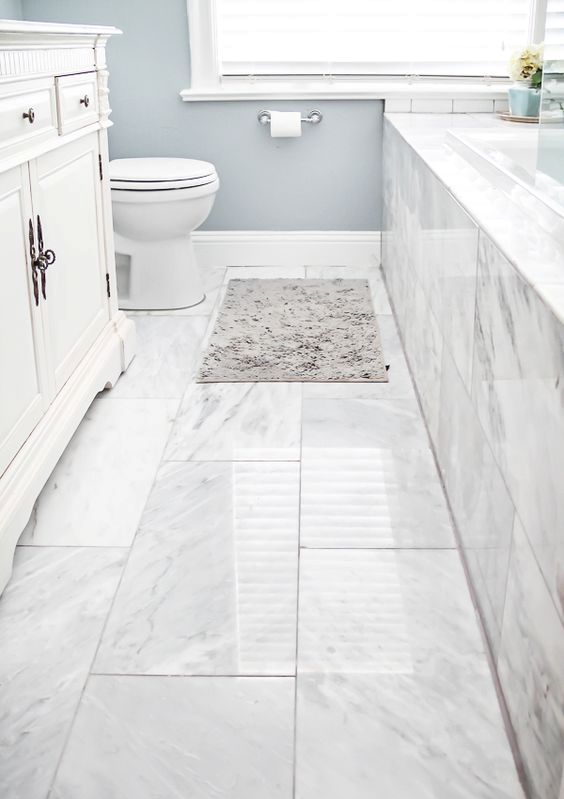
Benefits of Tile Flooring in the Bathroom
When I think about bathroom flooring, tile is always my go-to option. It just makes sense for a space that deals with constant moisture and humidity. One of the first benefits that comes to mind is the tile’s water resistance. I’ve had a few unfortunate experiences with other types of flooring in bathrooms, and they just don’t hold up the way tile does. With tile, I never have to worry about it warping, swelling, or getting damaged from spills or high humidity levels.
- Durability and Longevity
Tile flooring is incredibly durable, which is something I value in high-traffic areas like the bathroom. Over the years, I’ve found that tile can withstand the daily wear and tear, from constant foot traffic to heavy items accidentally being dropped. Some tiles, like porcelain, are especially strong and resistant to cracks, which means I don’t have to worry about replacing them any time soon. - Water and Moisture Resistance
One of the biggest reasons I always choose tile for bathrooms is its water resistance. Whether it’s ceramic, porcelain, or natural stone, tile does a fantastic job of keeping water from seeping into the subfloor. This feature is crucial in a bathroom where moisture is inevitable. I’ve had peace of mind knowing that even with kids splashing around, the floor will stay intact and look great. - A Wide Variety of Styles
Tile offers so many design possibilities. Whether I want a classic white subway tile or something bold like patterned tiles, the options are endless. I love that I can mix and match different colors, shapes, and patterns to create a look that fits my style. With other types of flooring, I feel limited in my choices, but with tile, the sky’s the limit. - Easy to Clean and Maintain
I’ve learned over time that one of the best features of tile is how easy it is to clean. In a bathroom, spills and messes happen frequently, and I don’t have to stress about scrubbing the floors. A quick sweep and mop usually does the trick. And if grout starts to get dirty, a little elbow grease and grout cleaner bring it right back to life. - Allergy-Friendly Flooring Option
What I appreciate about tile is that it doesn’t trap dust, pollen, or pet dander the way carpet or other porous materials can. As someone who deals with allergies, it’s a relief knowing that my bathroom floors won’t contribute to any symptoms. Tile is a solid option for anyone looking for a hypoallergenic flooring solution. - Affordability
While tile can range in price depending on the material, there are plenty of affordable options that don’t sacrifice quality or style. Over the years, I’ve found ceramic tiles to be especially budget-friendly while still providing all the benefits I want on a bathroom floor. The best part is that I get the look of luxury without breaking the bank.
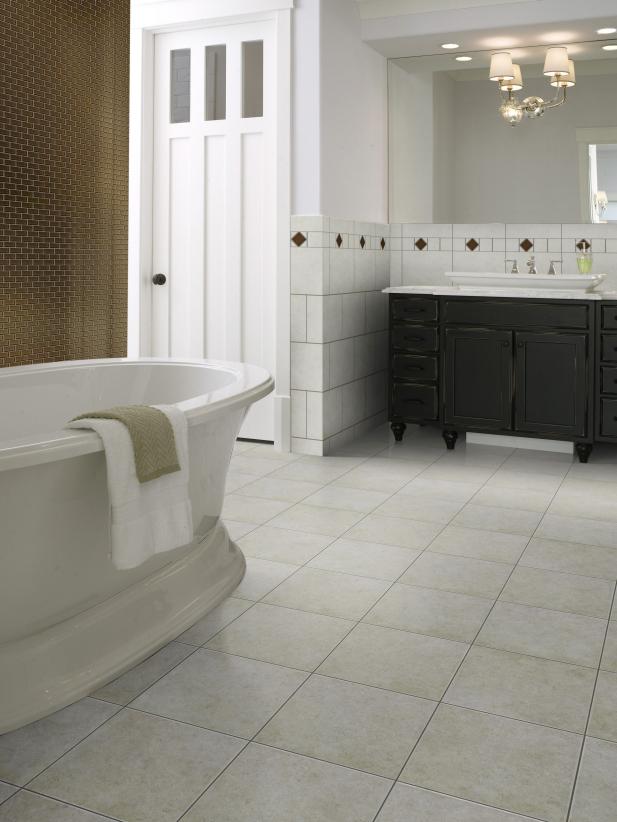
Popular Tile Materials for Bathroom Floors
Whenever I start a bathroom remodel, one of my first decisions is picking the right tile material. With so many options available, it can be overwhelming, but I’ve come to learn the strengths and weaknesses of each. Whether I’m working on a master bath or a guest powder room, choosing the right tile material can make all the difference in both appearance and functionality.
Ceramic Tile: Affordable and Versatile
Ceramic tile is always at the top of my list when I’m on a budget. It’s cost-effective and offers a wide range of design possibilities. I’ve used ceramic tiles in many bathrooms over the years, and they’ve held up surprisingly well. One thing I love is that ceramic comes in various finishes, from matte to glossy, so I can always find a look that fits the style I’m going for.
Porcelain Tile: The Durable Choice
When I want something more durable and long-lasting, I go for porcelain tile. It’s denser than ceramic, making it more resistant to moisture and damage. In high-traffic bathrooms or spaces that see a lot of water, like a kid’s bathroom, porcelain is my go-to choice. I also love that it can mimic the look of natural stone at a fraction of the cost.
Natural Stone: Timeless Beauty
For me, natural stone tile is the epitome of luxury. Whether it’s marble, granite, or slate, stone tiles bring a timeless, elegant feel to any bathroom. I’ve installed marble floors in a master bath, and the result was breathtaking. The only downside is that natural stone requires a bit more maintenance, as it needs to be sealed regularly to prevent staining.
Glass Tile: Perfect for Accents
While I wouldn’t necessarily use glass tile for the entire floor, it makes for beautiful accents in a bathroom. I’ve used glass mosaics to create borders or insets in a tile design, and they add a touch of sophistication. They reflect light beautifully, making smaller bathrooms feel more open and airy.
Cement Tile: Bold and Trendy
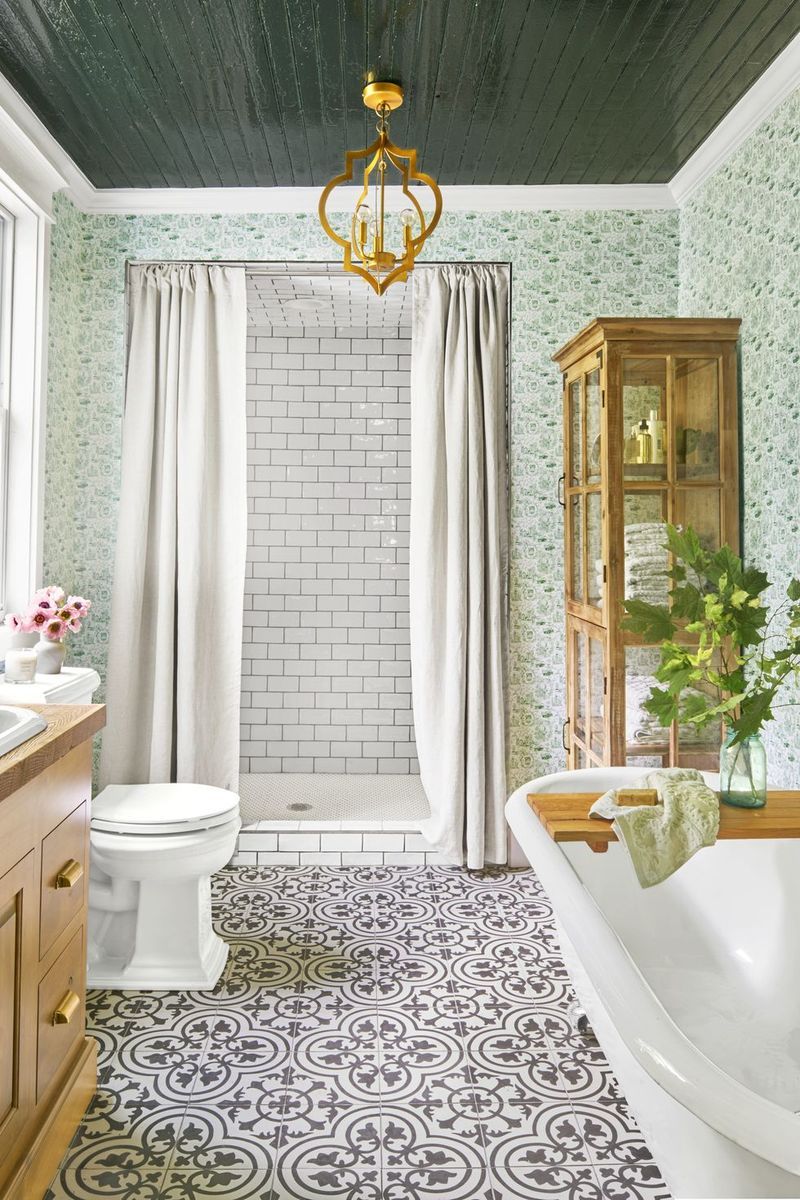
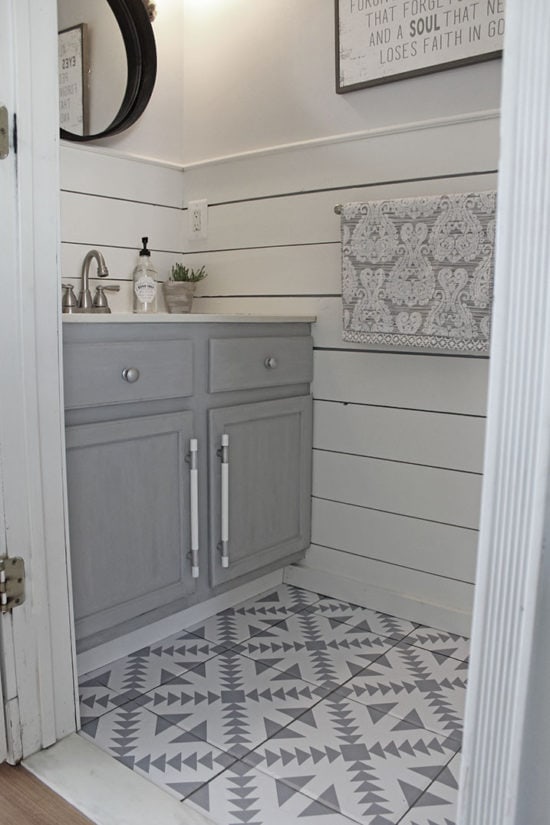
If I’m looking to make a statement, cement tile is a bold choice. The intricate patterns and vibrant colors are perfect for creating a focal point in the bathroom. I’ve used cement tiles in a powder room to add a bit of flair, and they never fail to grab attention. The only thing to note is that cement tiles are porous, so sealing is a must to prevent staining.
Pebble Tile: Natural and Relaxing
For a spa-like feel, I sometimes go for pebble tiles. They add texture and a natural element to the bathroom, which I find incredibly calming. I’ve used pebble tiles on shower floors, and the sensation of walking on smooth stones feels like a mini foot massage. The key with pebbles is ensuring proper grouting to keep the tiles secure.
Choosing the Perfect Tile Size for Your Bathroom
Choosing the right tile size is a critical step that I’ve learned can make or break a bathroom design. The size of the tile impacts not only the look of the space but also how easy the installation and upkeep will be. Over time, I’ve developed a keen eye for selecting the best tile size for different bathroom layouts.
Small Tiles for Small Bathrooms
In smaller bathrooms, I usually opt for smaller tiles, like 2×2-inch squares or mosaics. I’ve found that small tiles give me more flexibility in tight spaces, particularly around curves or tricky areas like shower benches. What’s great about smaller tiles is that they create a more intricate design, making the space feel detailed and refined without being overwhelming.
Large Tiles for a Spacious Look
When I’m working with a larger bathroom, I like to go for larger tiles, such as 12×24-inch rectangles. Large-format tiles create a sleek, modern look that I love. One trick I’ve learned is that using larger tiles in a small bathroom can make the room feel bigger, as fewer grout lines are breaking up the space. It gives the illusion of a more open area.
Subway Tiles for a Classic Appeal
I’m a big fan of subway tiles in the bathroom, and while they’re traditionally used on walls, I’ve also seen them work beautifully on floors. Their 3×6-inch size is perfect for creating a classic, timeless look. I’ve used subway tiles in a herringbone or brick pattern for a unique twist, and they never go out of style.
Hexagon Tiles for a Trendy Touch
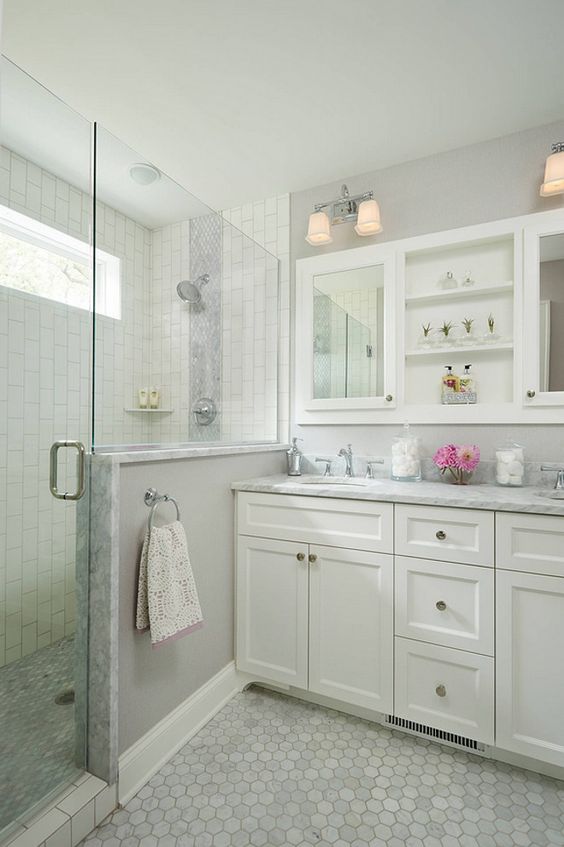
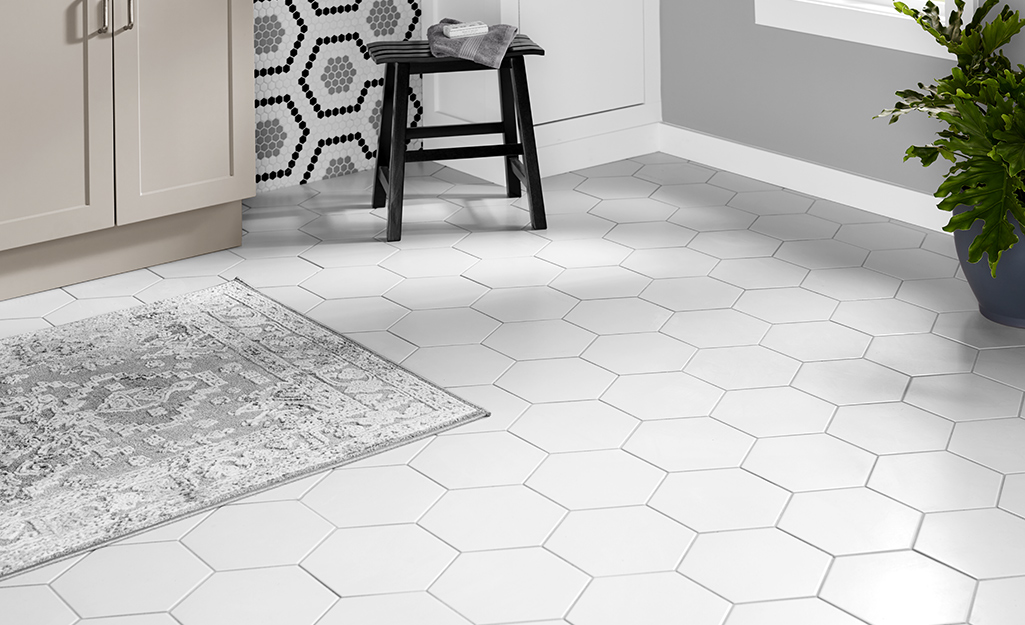
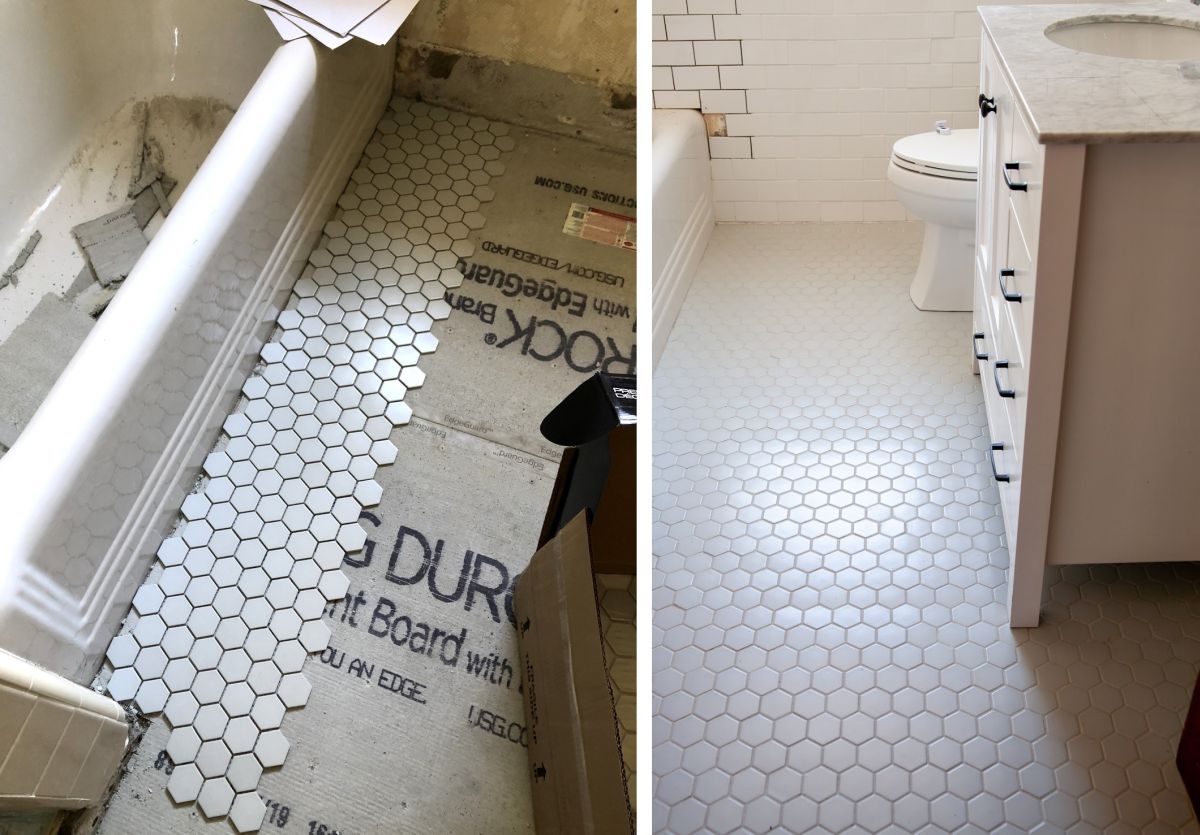
If I’m going for something more trendy, I lean toward hexagon tiles. Whether they’re small penny tiles or larger formats, hexagons add a geometric flair that feels both modern and retro at the same time. I love experimenting with hex tiles in bathrooms, and they’re perfect for creating unique, eye-catching floor patterns.
Long, Plank Tiles for a Wood-Look Effect
One of my favorite trends in bathroom flooring is wood-look tile, and these come in long, plank-style formats. I’ve used these tiles to replicate the appearance of hardwood floors while still maintaining the durability and water resistance of tile. The longer planks create a seamless, continuous flow that adds warmth and texture to the bathroom.
Mixing Tile Sizes for a Custom Look
I’ve also played around with mixing tile sizes in a single space, and the results have been stunning. Combining small mosaic tiles with larger tiles can create visual interest and break up the monotony of a single-size tile layout. I’ve used this technique to highlight certain areas, like a shower floor or a bathtub surround, and it’s a fun way to personalize the bathroom.
Creative Tile Layout Patterns for a Stylish Look
Tile patterns are where I get to have fun. Laying out tiles in different patterns can completely change the vibe of a bathroom. Whether I want a modern, minimalist look or something more traditional and ornate, the layout pattern is a crucial part of the design process.
Straight Lay for a Clean and Modern Look
The straight lay pattern is probably the simplest and most common tile layout. I’ve used this when I want a clean, no-fuss look. The tiles are aligned in straight rows, creating a minimalist vibe. While it’s basic, this pattern works beautifully with bold tiles, like patterned cement or colorful ceramics, allowing the tiles themselves to be the star of the show.
Diagonal Lay for a Dynamic Feel
When I want to add a bit of movement to the floor, I go for a diagonal lay. It’s similar to the straight lay, but the tiles are positioned at a 45-degree angle. I’ve found that this pattern can make a small bathroom feel larger, as it draws the eye outward. It’s a subtle change, but it creates a more dynamic and interesting look without being too bold.
Herringbone for Timeless Elegance
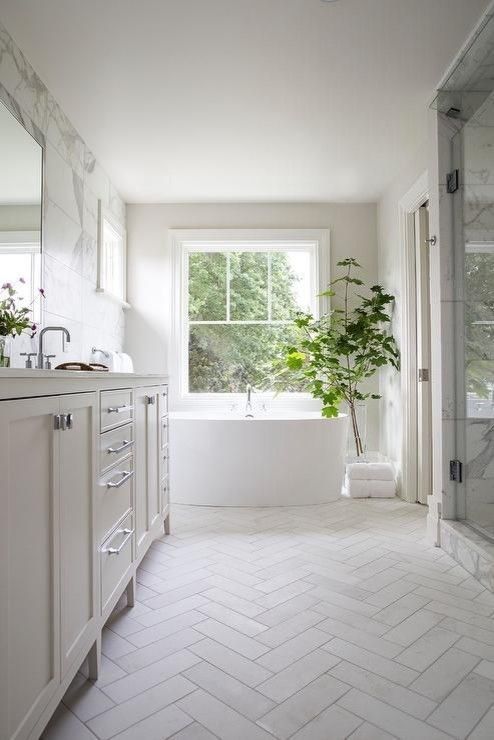
Herringbone is one of my favorite patterns for bathroom floors. The V-shaped design is classic and elegant, and it works especially well with rectangular tiles like subway or wood-look planks. I’ve used the herringbone pattern in both traditional and contemporary bathrooms, and it never fails to add that wow factor. The angled design creates depth and makes the floor a focal point.
Basketweave for a Retro Vibe
For a retro or vintage-inspired bathroom, the basketweave pattern is a great option. I’ve used this with small rectangular tiles, and the interlocking design creates a woven effect that’s both charming and nostalgic. It’s perfect for a traditional Victorian-style bathroom and paired with black and white tiles, it brings a touch of old-world charm.
Chevron for a Bold Statement
Similar to herringbone, the chevron pattern features tiles laid in a V-shape, but with each tile cut at an angle. This pattern is a bit bolder and more modern, and I love using it when I want the floor to be a real statement piece. I’ve found that it works best with long, narrow tiles, and the result is a striking, zigzag effect that draws the eye.
Pinwheel for a Playful Twist
When I want to add a playful element to the bathroom, I go for the pinwheel pattern. This layout combines smaller tiles with larger ones, creating a design that resembles spinning pinwheels. It’s fun and quirky, and I’ve used it in bathrooms where I wanted to inject a bit of personality. It’s a great way to mix things up and keep the floor from feeling too formal.
Best Color Schemes for Bathroom Tile Floors
Choosing the right color scheme for bathroom tiles can completely change the mood of the space. Over the years, I’ve experimented with a wide range of colors, from serene neutrals to bold, dramatic tones. Color is one of the most exciting parts of designing a bathroom, and I love how it allows me to express my style.
Classic White and Grey
When I want a timeless, clean look, I often opt for a white and grey color scheme. White tiles, whether glossy or matte, create a bright, airy feel that makes the bathroom look fresh and inviting. I usually pair them with grey grout or grey accent tiles for a bit of contrast. This combination is versatile and works well in both modern and traditional bathrooms.
Earthy Tones for a Natural Look
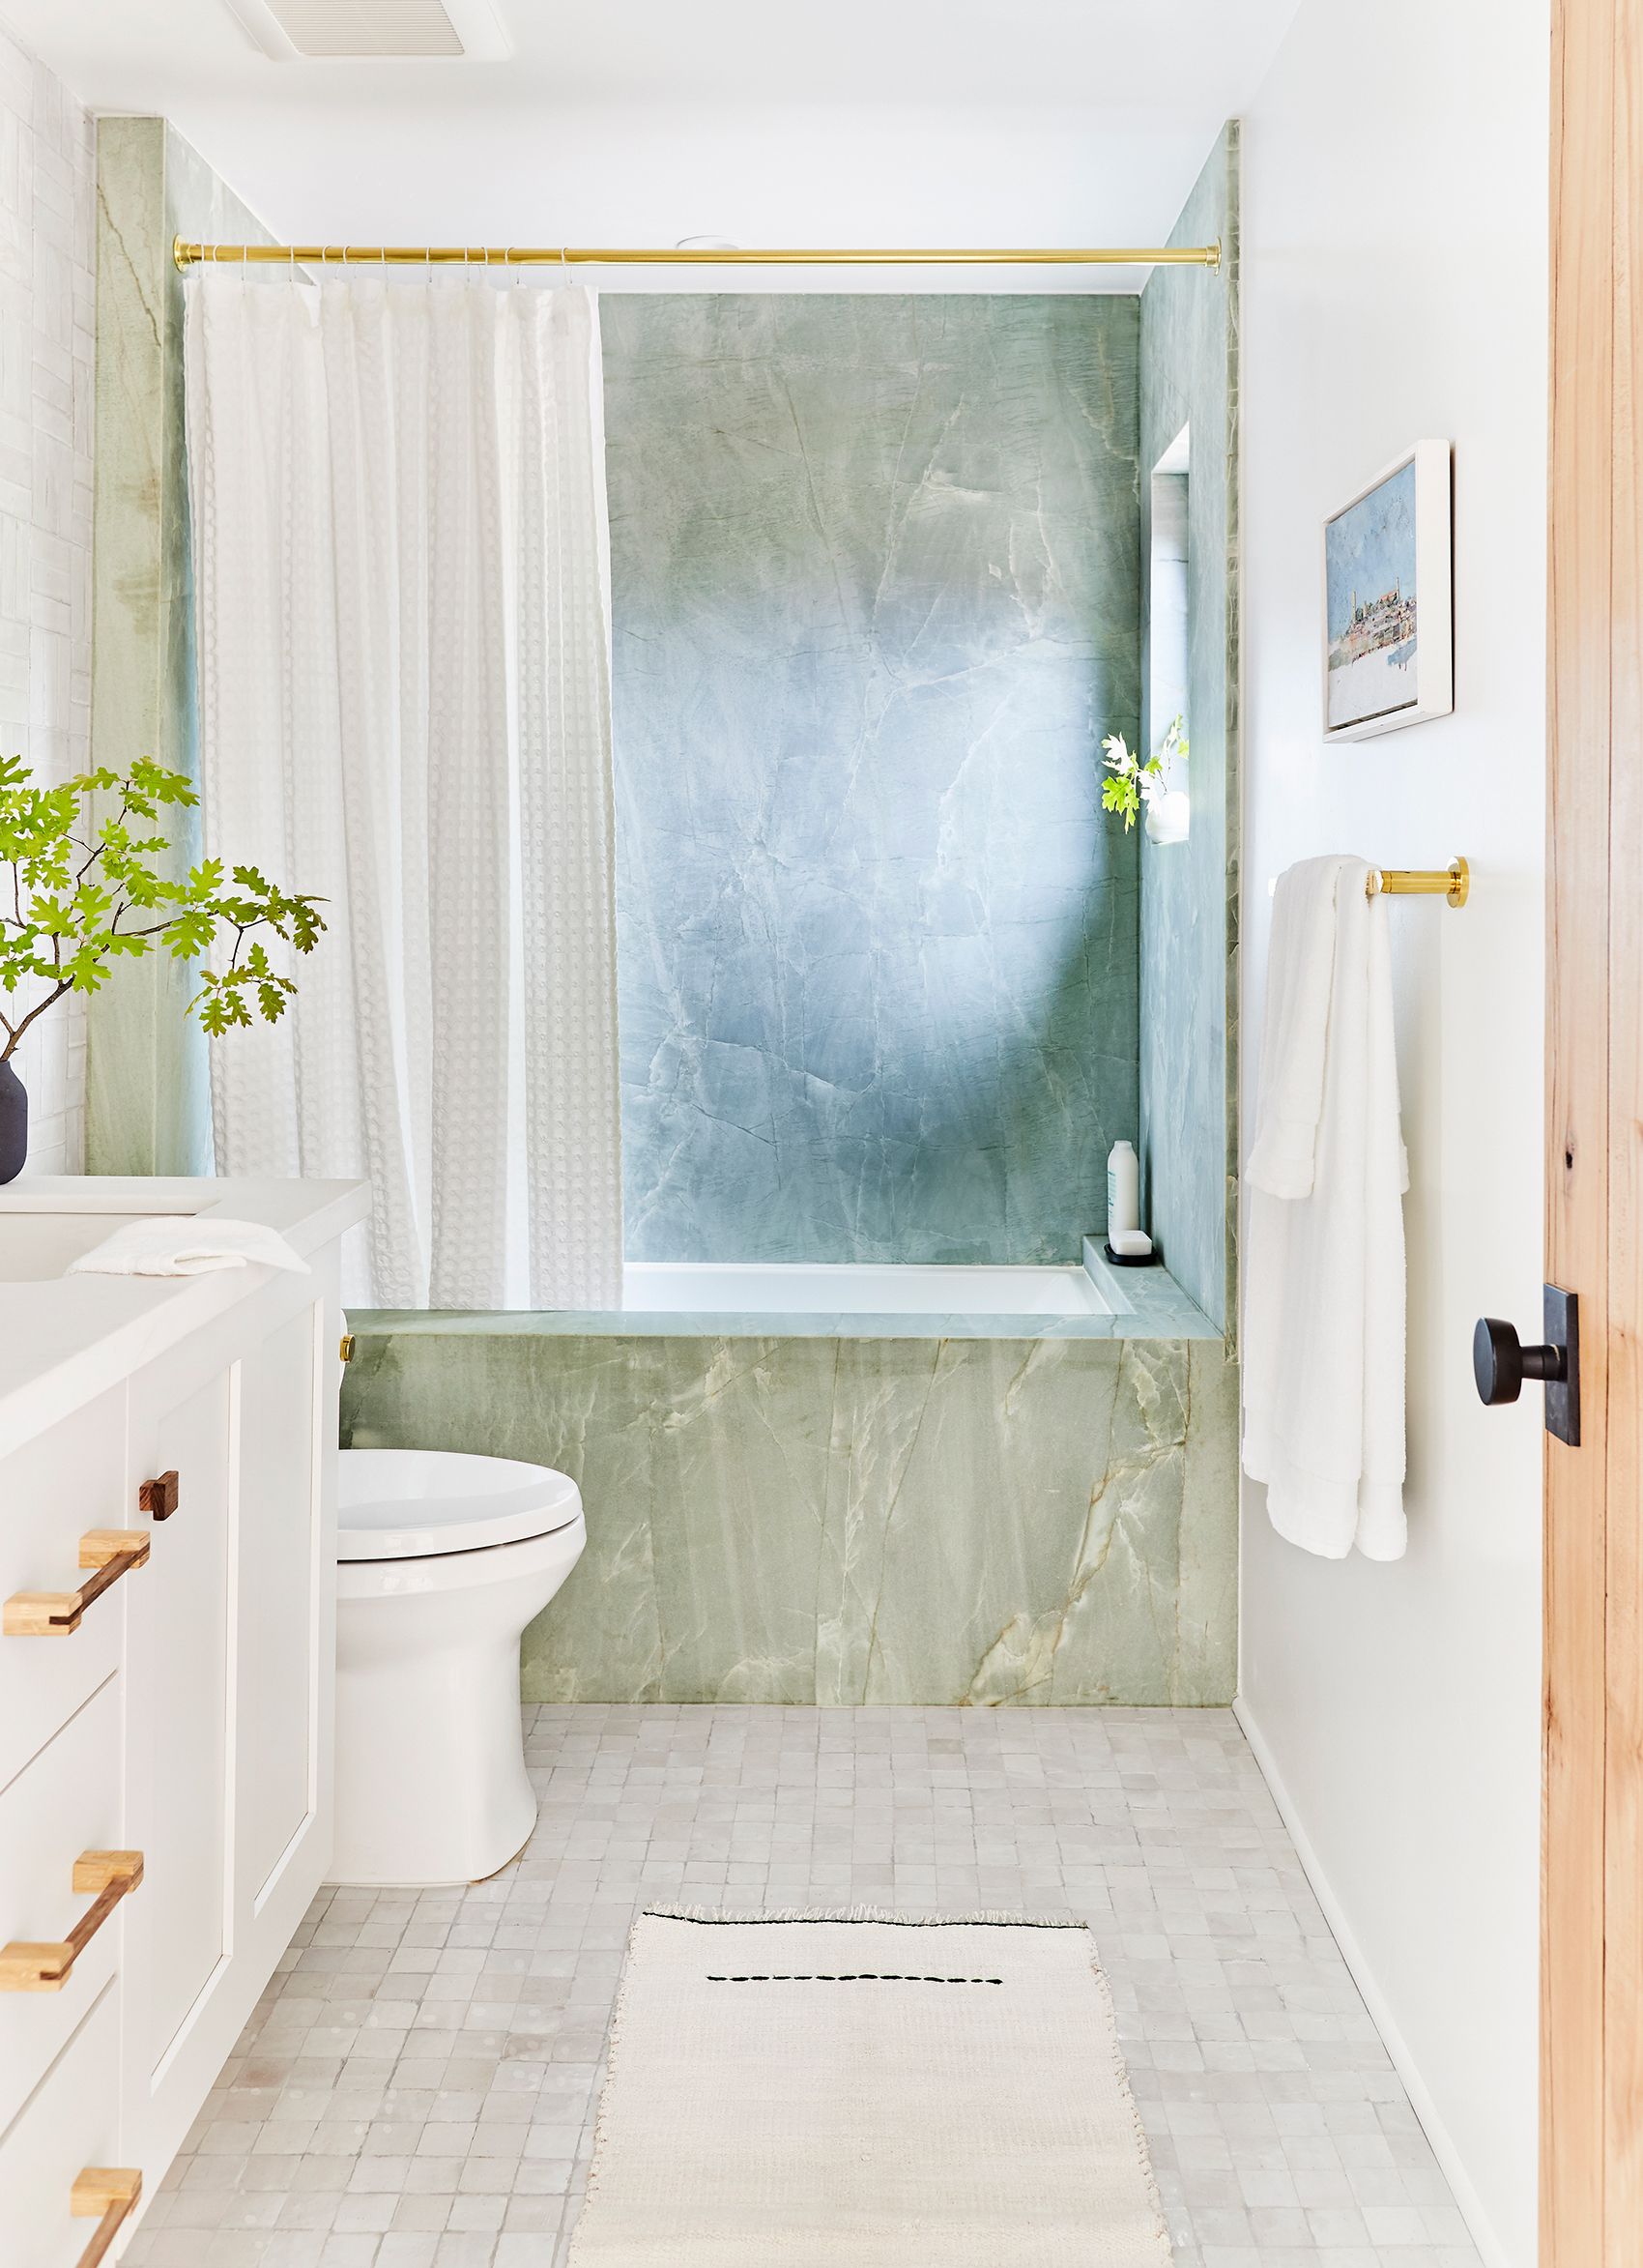
For a more organic, spa-like feel, I love using earthy tones like beige, tan, and soft greens. These colors bring a sense of calm and relaxation to the space, which is exactly what I want in a bathroom. I’ve used light beige tiles with natural stone accents to create a peaceful, grounded atmosphere. These tones pair well with wood-look tiles for a cohesive, nature-inspired design.
Bold Black and White for Contrast
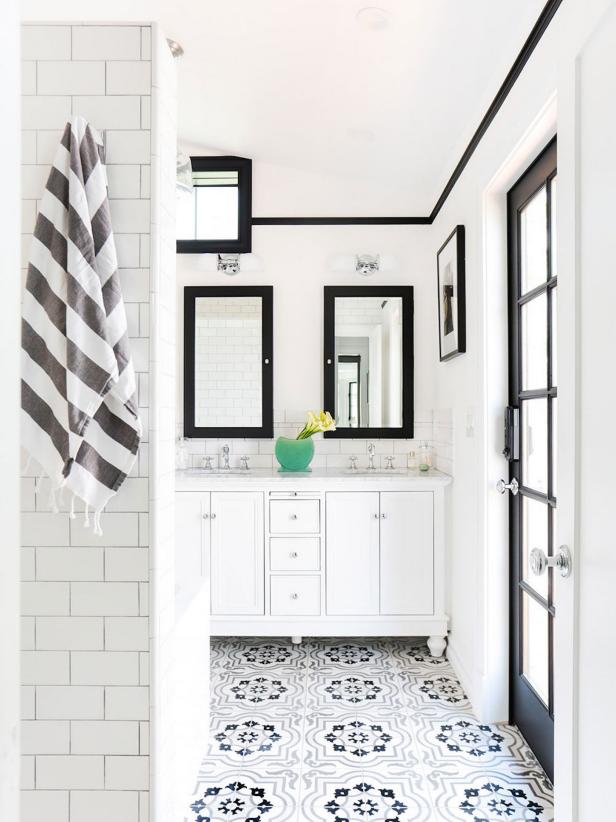
When I’m feeling bold, black and white tiles are my go-to. The high contrast creates a dramatic, graphic look that I love in contemporary or Art Deco-inspired bathrooms. I’ve used black and white checkerboard patterns or black tiles with white grout for a striking effect. It’s a daring choice, but when done right, it looks incredibly sophisticated and timeless.
Soft Blues and Greens for a Coastal Vibe
For a light, breezy feel, I lean toward soft blues and greens. These colors remind me of the ocean and sky, making them perfect for creating a relaxing, coastal-inspired bathroom. I’ve used seafoam green tiles on the floor with white accents to evoke a beachy atmosphere. These colors also pair beautifully with natural materials like wood and stone.
Monochrome for a Modern Aesthetic
When I want a sleek, modern look, I go for a monochrome color scheme. Whether it’s all white, all grey, or even all black, using a single color in different shades creates a cohesive and polished look. I’ve done an all-grey bathroom with varying tones of grey tiles, and the result was contemporary and chic without feeling too cold or sterile.
Warm Terracotta and Rust for a Mediterranean Feel
I’ve always been drawn to warm, earthy tones like terracotta and rust. These colors bring a sense of warmth and richness to the bathroom, and they remind me of Mediterranean-style homes. I’ve used terracotta tiles paired with creamy whites and deep browns for a cozy, inviting feel. It’s a bold choice, but it adds so much character and charm to the space.
Pros and Cons of Different Tile Finishes
Over the years, I’ve worked with various tile finishes, and I’ve come to understand how each finish affects the look, feel, and functionality of the bathroom. Whether I’m choosing between glossy, matte, or textured tiles, I weigh the pros and cons to find the best option for each project.
Glossy Finish: Sleek and Reflective
Glossy tiles are one of the most popular finishes, and I can see why. The shiny surface reflects light, making the bathroom feel larger and brighter. I’ve used glossy tiles in small bathrooms to open up the space and give it a clean, modern look. However, the downside is that glossy tiles can show smudges and water spots easily, so they require regular cleaning.
Matte Finish: Soft and Subtle
When I want a more understated look, I go for matte tiles. They have a soft, non-reflective surface that feels more relaxed and natural. I’ve used matte tiles in bathrooms where I wanted to create a calm, serene atmosphere. The best part is that they don’t show dirt or water spots as easily as glossy tiles, making them lower maintenance.
Textured Finish: Slip-Resistant and Unique
For areas where slip resistance is a priority, like the shower floor, I prefer textured tiles. The rough surface provides extra grip, which is important in wet environments. I’ve also used textured tiles to add visual interest, as they come in a variety of patterns and designs. The only downside is that textured tiles can be harder to clean, as dirt can get trapped in the crevices.
Satin Finish: A Balance Between Glossy and Matte
Satin-finish tiles offer the best of both worlds. They’re not as shiny as glossy tiles, but they still have a subtle sheen that adds a touch of elegance. I’ve found that satin tiles are easier to maintain than glossy ones, as they don’t show smudges as easily. They’re a great choice for those who want a bit of shine without the high maintenance.
Polished Finish for a Luxurious Look
Polished tiles have a mirror-like surface that adds a high-end, luxurious feel to the bathroom. I’ve used polished marble and granite tiles in master bathrooms for a truly upscale look. However, polished tiles can be slippery when wet, so I avoid using them in areas like the shower floor. They also require regular sealing to maintain their shine.
Honed Finish for Natural Stone
When working with natural stone tiles, I sometimes choose a honed finish. This finish is smooth but not shiny, which gives the stone a more natural, organic look. I’ve used honed marble in a bathroom where I wanted a soft, sophisticated feel without the high gloss of polished marble. The only downside is that honed stone can be more prone to scratches and stains, so sealing is essential.
Maintenance Tips for Long-Lasting Bathroom Tile Floors
I’ve learned that the key to keeping bathroom tile floors looking beautiful and lasting for years is proper maintenance. While tile is generally low maintenance, a little extra care can go a long way in preserving its appearance and durability.
Regular Sweeping and Mopping
To keep dirt and debris from scratching the tile surface, I make sure to sweep or vacuum the floor regularly. A soft-bristle broom or vacuum attachment works best to avoid any damage. I also mop the floor with a mild cleaner once a week to remove any lingering grime or soap scum.
Avoid Harsh Cleaners
One mistake I’ve made in the past is using harsh, abrasive cleaners on tile floors. Over time, I’ve learned that these products can wear down the tile finish and damage the grout. Instead, I use a gentle, pH-neutral cleaner specifically designed for tile. This keeps the tiles clean without causing any harm.
Sealing Grout and Natural Stone Tiles
If I’m working with natural stone tiles or unsealed grout, sealing is a must. I apply a high-quality sealant to protect the porous surfaces from moisture and stains. I’ve found that sealing the grout every year or so helps keep it looking fresh and prevents discoloration. Sealing natural stone tiles also preserves their beauty and prevents water damage.
Clean Grout Regularly
Grout can easily become discolored over time, especially in a bathroom where there’s a lot of moisture. To keep the grout looking clean, I use a grout cleaner or a mixture of baking soda and water to scrub away any stains. For particularly stubborn areas, a toothbrush and a little elbow grease usually do the trick.
Address Cracks and Chips Promptly
Over time, tiles can crack or chip, especially in high-traffic areas. I’ve learned that it’s important to address these issues as soon as they arise. If left unattended, cracks can allow moisture to seep into the subfloor, causing bigger problems down the road. I always keep a few extra tiles on hand for quick repairs.
Prevent Scratches and Wear
To prevent scratches and wear on the tile surface, I place rugs or mats in high-traffic areas, like in front of the sink or the shower. I also avoid dragging heavy furniture or appliances across the floor. For added protection, I use felt pads on the bottoms of furniture legs. This simple step helps prevent unnecessary wear and tear.
Floor Stickers in The Bathroom! – The Honeycomb Home
How To Update Your Bathroom Floor Tiles
Best Bathroom Floor Tile Ideas
Cool Bathroom Floor Tiles Ideas You Should Try
Popular Bathroom Tile Ideas – Bathroom Wall and Floor Tiles
Related Posts:
