Pros and Cons of Using Real Wood Flooring in the Kitchen
Real wood flooring adds warmth, character, and natural beauty to any space, including the kitchen. However, using real wood flooring in the kitchen comes with its own set of advantages and disadvantages. Before making a decision, it’s essential to consider both the pros and cons:
Pros:
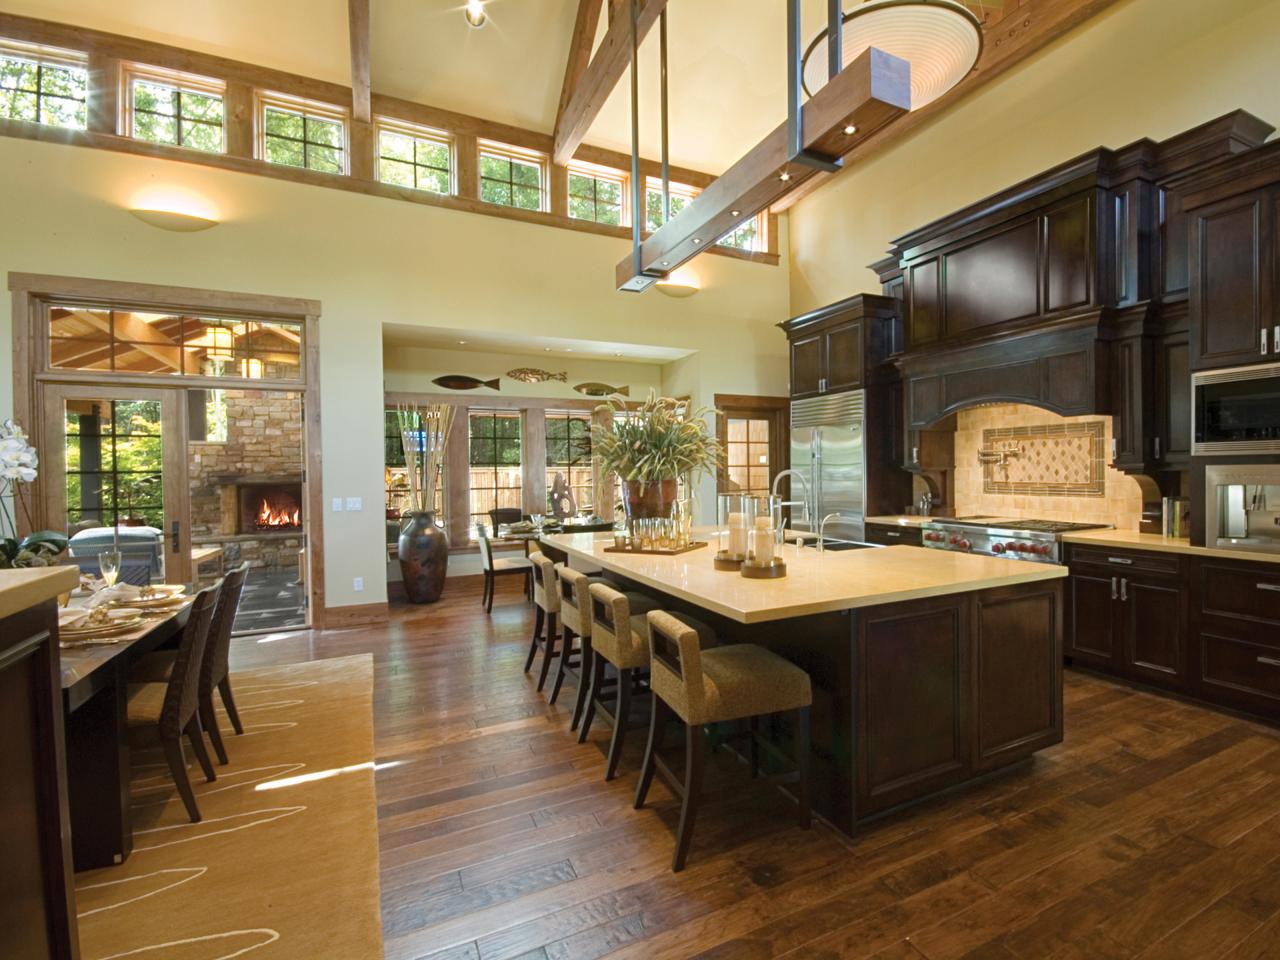
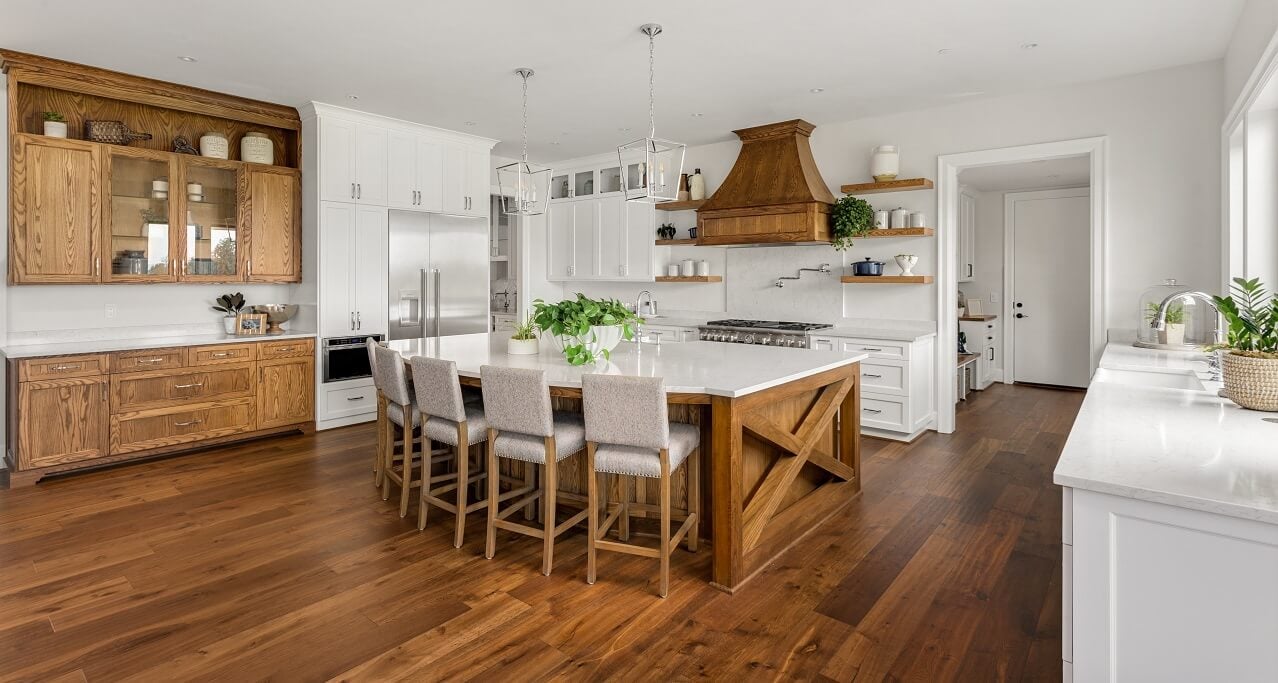
- Aesthetic Appeal: Real wood flooring brings a timeless and elegant look to the kitchen. Its natural grain patterns, textures, and colors add warmth and character to the space, creating a welcoming atmosphere that enhances the overall aesthetic appeal of the kitchen.
- Durability: When properly cared for and maintained, real wood flooring can last for decades, making it a long-term investment for your home. High-quality hardwoods are naturally resistant to wear and tear, scratches, and dents, making them suitable for high-traffic areas like the kitchen.
- Value: Real wood flooring adds value to your home and can increase its resale value. Potential buyers are often drawn to homes with hardwood flooring, as it is seen as a premium feature that adds luxury and sophistication to the space.
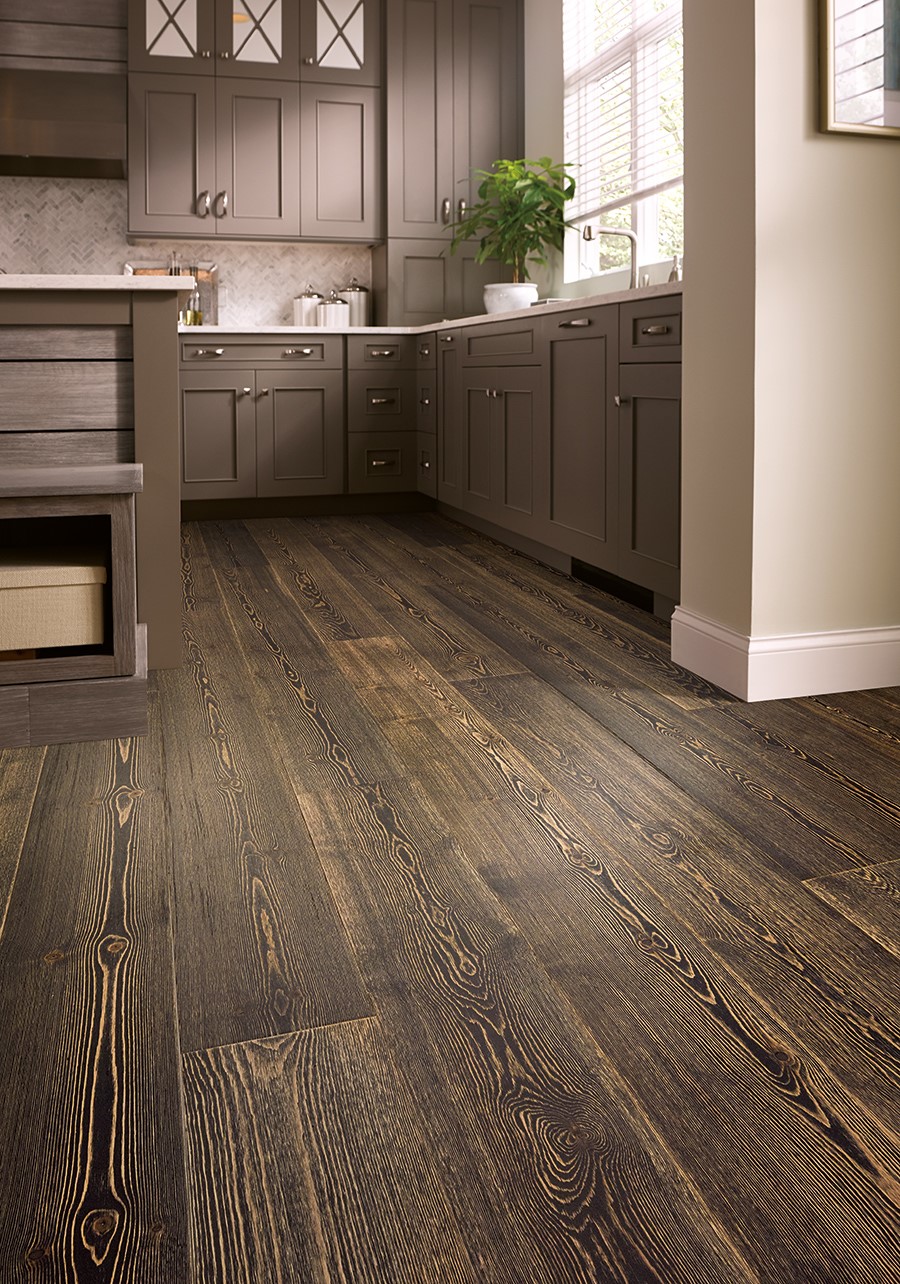
- Versatility: Real wood flooring comes in a variety of species, finishes, and styles, allowing you to customize the look to suit your personal preferences and design aesthetic. Whether you prefer traditional oak, exotic walnut, or rustic reclaimed wood, there’s a hardwood flooring option to match any kitchen decor.
Cons:
- Moisture Sensitivity: Wood is naturally susceptible to moisture and humidity, which can cause it to warp, swell, or cup over time, especially in areas prone to spills and splashes like the kitchen. Proper sealing and maintenance are essential to protect the wood from moisture damage.
- Scratch and Dent Prone: While hardwood flooring is durable, it is not indestructible. Heavy furniture, pet claws, and high heels can cause scratches, dents, and other damage to the wood surface, detracting from its appearance over time. Area rugs and furniture pads can help minimize wear and tear.
- Maintenance Requirements: Real wood flooring requires regular maintenance to keep it looking its best. This includes sweeping or vacuuming regularly to remove dirt and debris, wiping up spills promptly to prevent staining and water damage, and periodically refinishing or resealing the surface to maintain its protective coating.
- Cost: Real wood flooring can be more expensive upfront compared to other flooring options such as laminate or vinyl. The cost varies depending on the type of wood, grade, finish, and installation method. However, many homeowners consider it a worthwhile investment due to its durability and aesthetic appeal.

Best Types of Real Wood Flooring for Kitchen Use
Choosing the best type of real wood flooring for the kitchen involves considering factors such as durability, moisture resistance, and aesthetic appeal. Not all hardwood species are suitable for use in the kitchen, as they may be prone to damage from moisture, scratches, and stains. Here are some of the best types of real wood flooring for kitchen use:
Oak: Oak is one of the most popular choices for hardwood flooring due to its durability, versatility, and affordability. It is available in a range of colors and finishes, from light blonde to rich chestnut, making it easy to match any kitchen decor. Oak is also known for its strong grain patterns and resistance to wear and tear, making it suitable for high-traffic areas like the kitchen.
Maple: Maple is another excellent choice for kitchen flooring, thanks to its hardness and durability. It has a smooth, uniform grain pattern and is available in a variety of natural colors, including light beige, reddish-brown, and golden hues. Maple is resistant to scratches and dents, making it ideal for kitchens where heavy foot traffic and furniture are common.
Cherry: Cherry hardwood flooring adds warmth and elegance to the kitchen with its rich, reddish-brown tones and lustrous grain patterns. While cherry is softer than oak or maple, it is still a durable option for kitchen flooring when properly sealed and maintained. It develops a beautiful patina over time, enhancing its natural beauty and character.
Hickory: Hickory is one of the hardest and most durable hardwood species available, making it an excellent choice for kitchen flooring. It features bold grain patterns and natural color variations, ranging from creamy whites to deep browns and reddish hues. Hickory is resistant to scratches, dents, and moisture, making it suitable for kitchens with heavy use.
Engineered Hardwood: Engineered hardwood flooring consists of a thin layer of real wood veneer bonded to layers of plywood or high-density fiberboard. This construction provides added stability and resistance to moisture, making it a practical choice for kitchen flooring. Engineered hardwood comes in a variety of wood species, finishes, and styles, allowing you to achieve the look of real wood with added durability and versatility.
Installation Considerations for Real Wood Flooring in the Kitchen
Installing real wood flooring in the kitchen requires careful planning and attention to detail to ensure a successful and long-lasting result. Proper installation is essential to minimize issues such as gaps, buckling, and moisture damage that can affect the performance and appearance of the flooring over time. Here are some key considerations to keep in mind when installing real wood flooring in the kitchen:
Moisture Barrier: Before installing real wood flooring in the kitchen, it’s important to install a moisture barrier to protect the wood from moisture damage. This can be achieved by laying down a layer of plastic sheeting or moisture-resistant underlayment over the subfloor before installing the hardwood planks. This barrier helps prevent moisture from seeping up through the subfloor and causing the wood to warp, swell, or cup over time.
Acclimation: Proper acclimation of the hardwood flooring is essential to minimize issues such as expansion, contraction, and warping after installation. Allow the hardwood planks to acclimate to the temperature and humidity of the kitchen environment for at least 48 hours before installation. This helps the wood adjust to its new surroundings and reduces the risk of problems down the line.
Subfloor Preparation: Ensure that the subfloor is clean, flat, and level before installing the hardwood flooring. Remove any debris, adhesive residue, or uneven patches from the subfloor surface, and use a leveling compound or floor patching compound to fill in low spots and smooth out any imperfections. A level subfloor provides a stable foundation for the hardwood planks and helps prevent issues such as squeaking and unevenness.
Expansion Gaps: Leave expansion gaps around the perimeter of the room and at intervals along the length of the hardwood planks to allow for natural expansion and contraction of the wood. These gaps should be approximately 1/4 to 1/2 inch wide, depending on the size of the room and the width of the planks. Cover the gaps with baseboards or quarter-round molding to create a finished look while still allowing for movement.
Installation Method: There are several methods for installing real wood flooring in the kitchen, including nail-down, glue-down, and floating installation. The method you choose will depend on factors such as the type of hardwood flooring, the condition of the subfloor, and your personal preferences. Consult with a professional installer or flooring expert to determine the best installation method for your kitchen.
Finishing Touches: Once the hardwood flooring is installed, add finishing touches such as baseboards, transitions, and thresholds to create a polished and cohesive look. Seal the expansion gaps with a flexible sealant to prevent moisture and debris from accumulating in the gaps and to provide a seamless transition between rooms.
Maintenance and Care Tips
Proper maintenance and care are essential to keeping real wood flooring in the kitchen looking its best and prolonging its lifespan. While hardwood flooring is durable and long-lasting, it requires regular upkeep to protect it from damage and maintain its natural beauty. Here are some maintenance and care tips for real wood flooring in the kitchen:
Regular Cleaning: Sweep or vacuum the hardwood flooring regularly to remove dirt, dust, and debris that can scratch the surface. Use a soft-bristled broom or vacuum attachment to avoid scratching the wood. For deeper cleaning, use a damp mop or hardwood floor cleaner recommended by the manufacturer. Avoid using harsh chemicals or abrasive cleaners that can damage the finish and wood.
Prompt Spill Cleanup: Wipe up spills and splashes promptly to prevent moisture from seeping into the wood and causing damage. Use a clean, dry cloth or paper towel to blot up spills immediately, then follow up with a damp cloth to remove any remaining residue. Avoid allowing spills to sit on the surface for an extended period, as this can lead to staining and warping of the wood.
Protective Measures: Place area rugs or mats in high-traffic areas, near sinks, and in front of the stove to protect the wood flooring from scratches, dents, and moisture. Use furniture pads or coasters under heavy furniture and appliances to prevent indentations and damage to the wood surface. Trim pet nails regularly to minimize scratches and gouges on the floor.
Regular Maintenance: Periodically inspect the hardwood flooring for signs of wear, damage, or finish wear. Touch up any scratches or dents with a wood touch-up pen or stain marker that matches the color of the flooring. Reapply finish or sealer to high-traffic areas or areas prone to wear to maintain protection and enhance the appearance of the wood.
Avoid Excessive Moisture: Wood flooring is susceptible to moisture and humidity, which can cause it to warp, swell, or cup over time. Use a dehumidifier or air conditioner to maintain a consistent indoor humidity level of 30% to 50% to minimize moisture-related issues. Wipe up spills promptly and avoid excessive mopping or wet cleaning, as this can saturate the wood and lead to damage.
Professional Maintenance: Periodically have the hardwood flooring professionally cleaned, refinished, or resealed to maintain its appearance and performance. Professional maintenance services can help rejuvenate the wood, remove surface stains and scratches, and extend the lifespan of the flooring.
Styling and Design Ideas for Kitchens with Real Wood Flooring
Real wood flooring adds warmth, charm, and character to the kitchen, creating a welcoming and inviting space for cooking, dining, and entertaining. When styling and designing a kitchen with real wood flooring, there are several ideas and considerations to keep in mind to enhance the overall aesthetic appeal and functionality of the space. Here are some styling and design ideas for kitchens with real wood flooring:
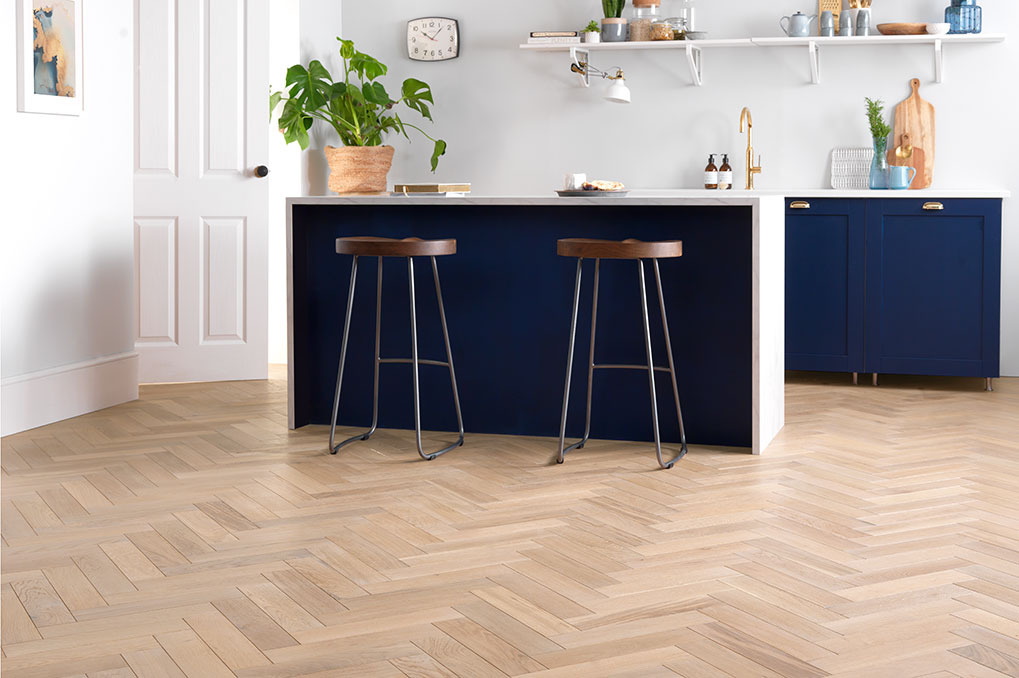
Natural Elements: Embrace the natural beauty of the wood flooring by incorporating other natural elements into the kitchen design. Choose natural stone countertops, marble backsplashes, and wood cabinetry to complement the warmth and texture of the wood flooring. Add potted plants, fresh flowers, or herbs to bring a touch of nature indoors and create a fresh and inviting atmosphere.
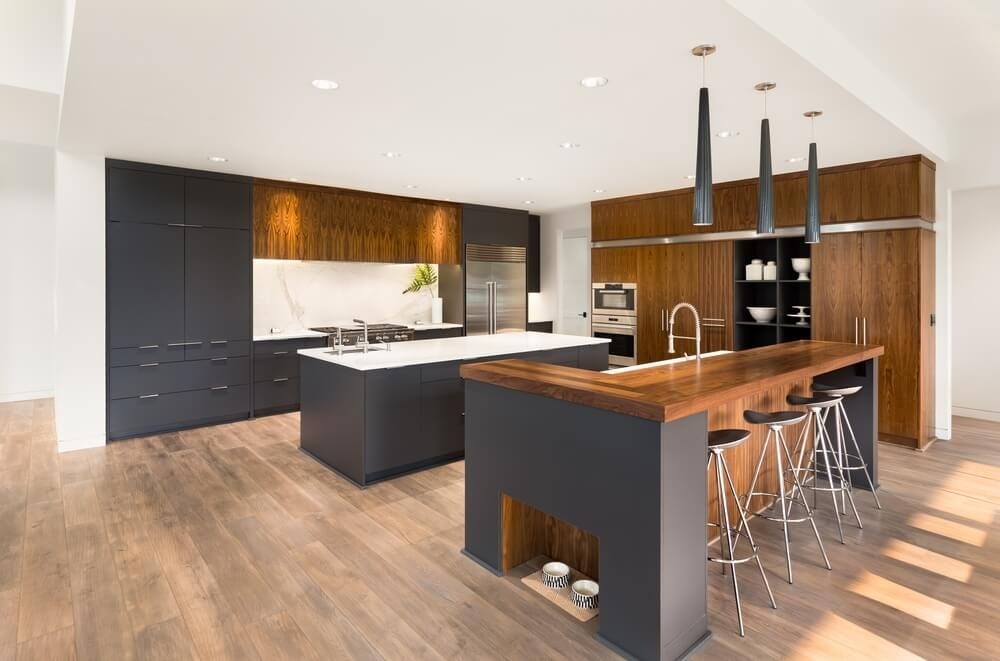
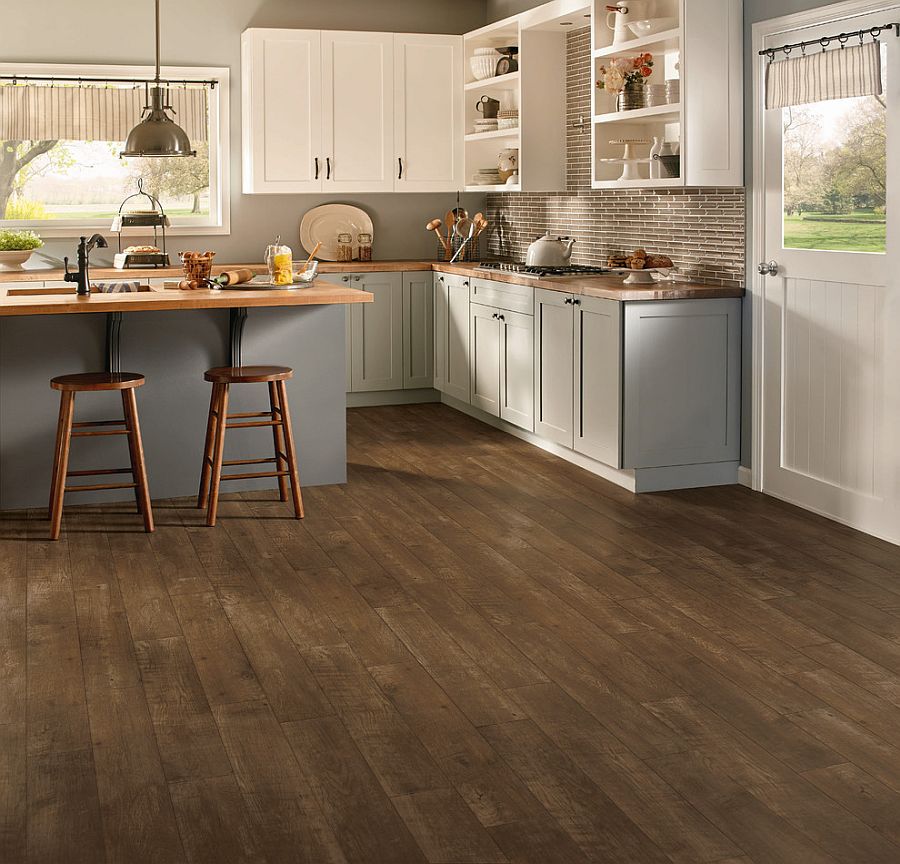
Contrast and Balance: Create visual interest and contrast by pairing the rich tones and textures of the wood flooring with lighter colors and materials. Opt for light-colored cabinetry, countertops, and walls to balance the warmth of the wood and create a bright and airy feel in the kitchen. Add pops of color with accessories such as artwork, rugs, or decorative accents to infuse personality and style into the space.
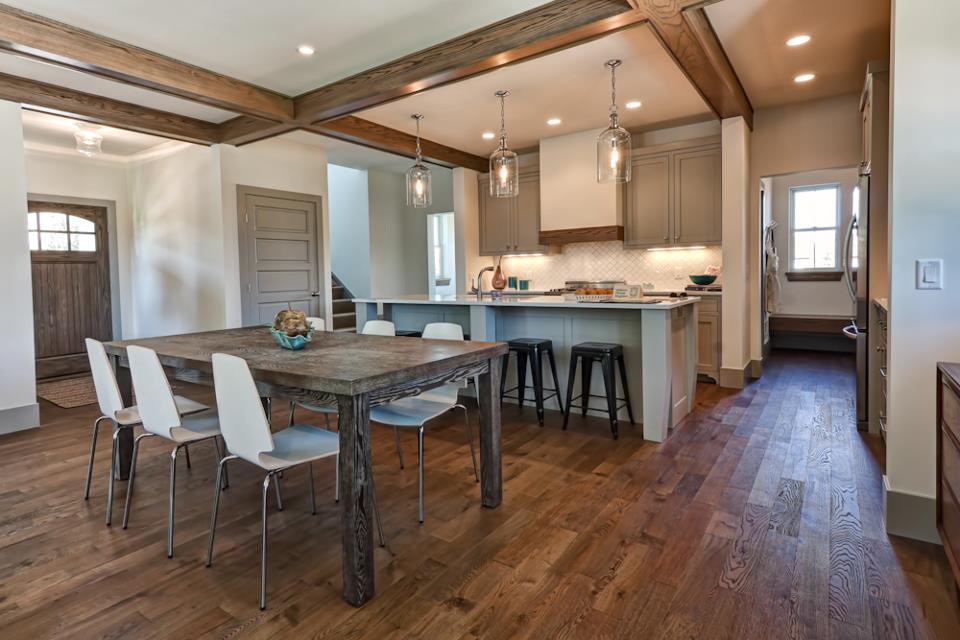
Mix and Match: Experiment with mixing different wood tones and species to add depth and dimension to the kitchen design. Combine light oak flooring with dark walnut cabinetry or maple countertops with cherry accents to create a dynamic and layered look. Incorporate wood elements such as beams, paneling, or shelving to further enhance the richness and texture of the space.
Open Shelving: Showcase the beauty of the wood flooring by incorporating open shelving into the kitchen design. Install floating wood shelves or reclaimed wood brackets to display dishes, glassware, cookbooks, or decorative items. Open shelving adds visual interest and allows the wood flooring to shine while providing functional storage and display space.
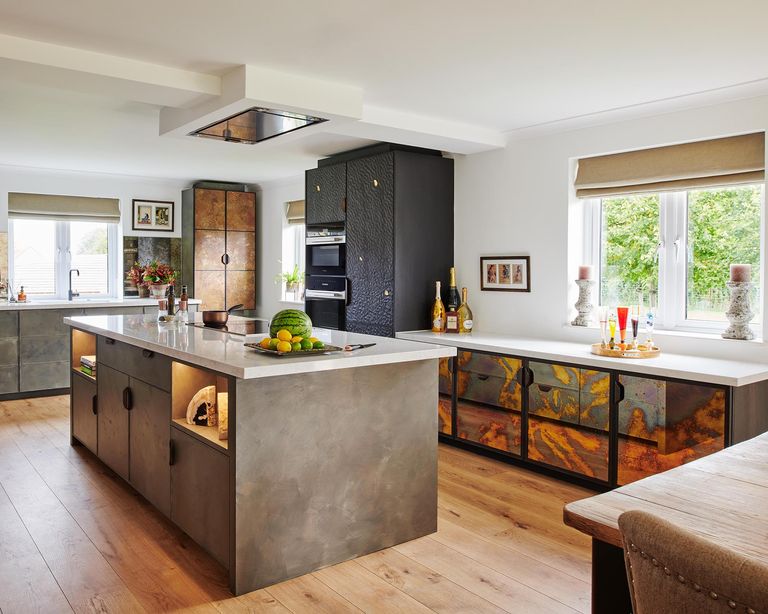
Texture and Pattern: Add depth and dimension to the kitchen design by incorporating texture and pattern into the space. Choose textured finishes for cabinetry, countertops, and backsplashes to contrast with the smooth surface of the wood flooring. Consider adding a patterned rug, tile backsplash, or wallpaper to create visual interest and draw the eye.
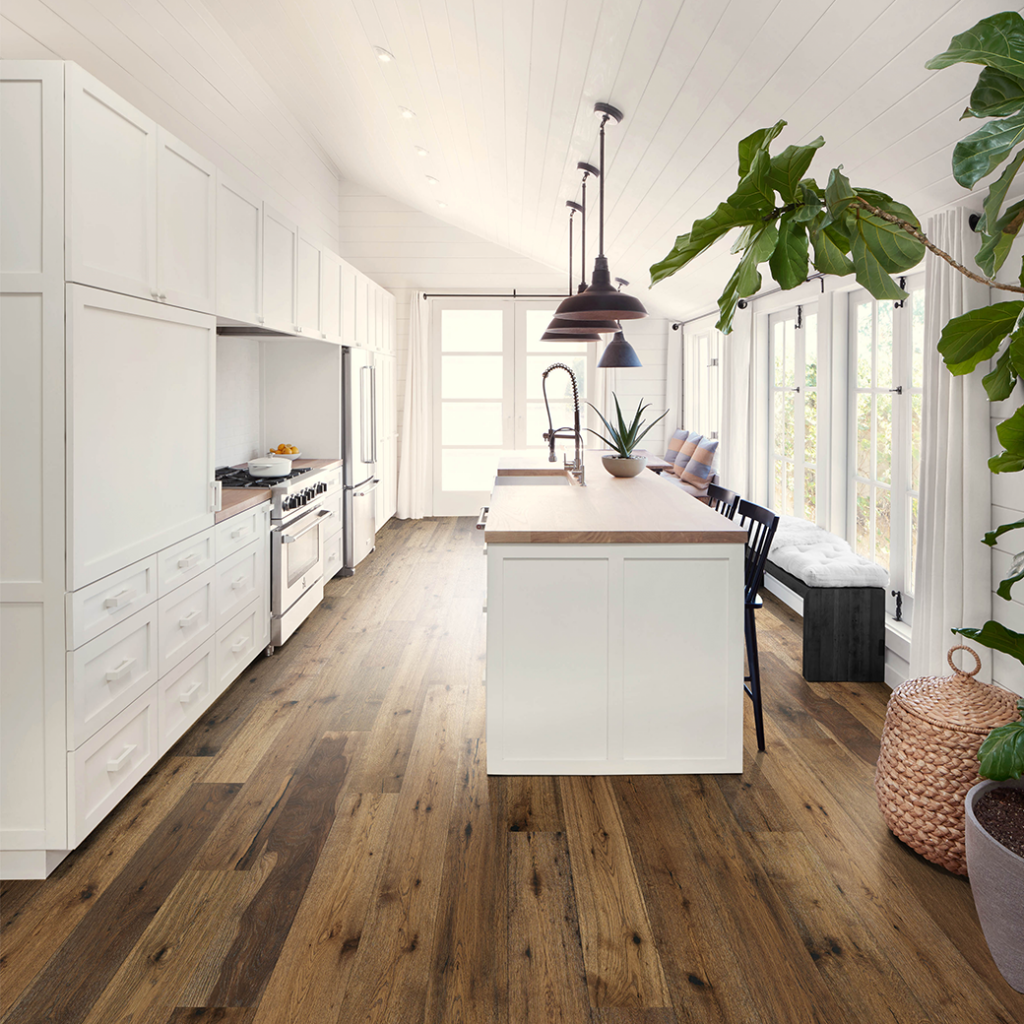
Lighting: Illuminate the wood flooring and enhance its natural beauty with strategic lighting design. Install recessed lighting, pendant lights, or under-cabinet lighting to highlight the wood grain and create a warm and inviting ambiance. Consider adding a statement chandelier or pendant light fixture as a focal point to anchor the space and add visual interest.
Best Wood Flooring for Kitchens: Hardwood Engineered
How Hard Can It Be to Choose a Hardwood Floor? – The New York Times

Hottest Trending Kitchen Floor for 2024
Hardwood Flooring in the Kitchen: Pros and Cons
Tips for Wood Flooring in a Kitchen

A New Flooring Recipe to Try in Your Kitchen Flooring America
Kitchen Wood Flooring: Is it Suitable? Woodpecker Flooring
THE BEST KITCHEN FLOOR: TILE VS HARDWOOD

Best Kitchen Floor for 2024

Related Posts:
- Outdoor Wood Flooring Ideas
- Wood Flooring Ideas For Bedroom
- Wide Plank Natural Wood Flooring
- Engineered Wood Flooring Scratches
- White Wood Flooring For Bathrooms
- Wood Floor Tile Kitchen Ideas
- Wood Floor Joist Construction
- How To Install Wood Flooring In Kitchen
- Dark Wood Floors And White Walls
- Wood Floor Mold Removal