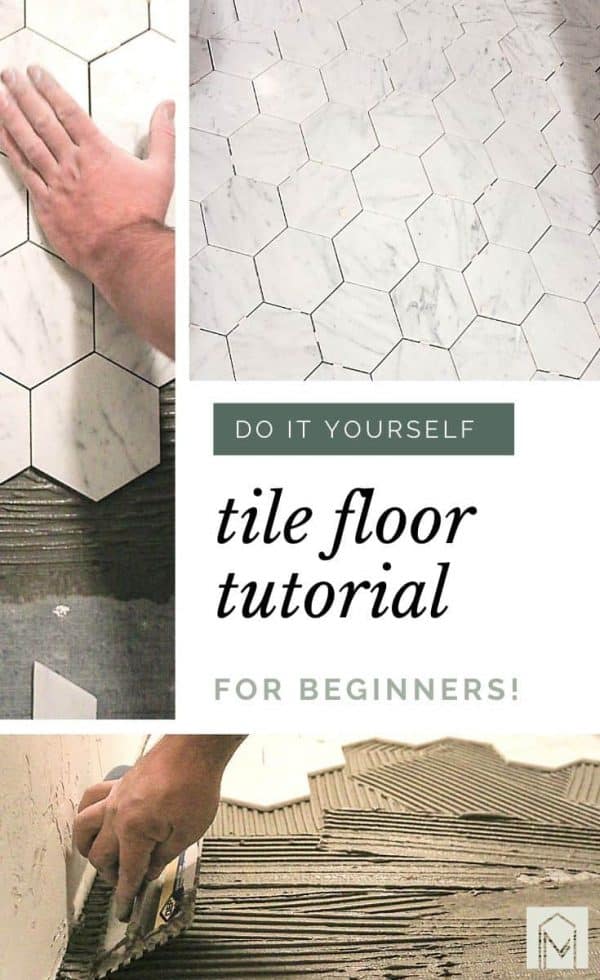
Ah, the bathroom – the sanctuary where we kickstart our day with invigorating showers and unwind after long hours. But what about that worn-out linoleum or those outdated tiles that have seen better days? It might be time to give your bathroom a fresh makeover, and guess what? You can do it yourself! In this step-by-step guide, I’ll walk you through the process of transforming your bathroom floor with beautiful tiles. Not only will you save money, but you’ll also experience the pride of creating something amazing with your own two hands.
Preparation
Before we dive into the exciting world of tiling, let’s get prepared. First things first, let’s talk about your canvas – the subfloor. Whether you’re working with wood or concrete, it’s crucial to ensure a clean and level surface. If you’re removing existing flooring, take the time to strip away the old materials and give your subfloor a thorough clean. Moisture can be a sneaky culprit, so a quick moisture test will ensure your tiles stand the test of time. If necessary, a primer will create a solid base for your tiles to adhere to.
Now, let’s gear up! Gather your supplies – the stars of the show. Tiles, of course, are the main event, but don’t forget about the unsung heroes: grout, trowels, spacers, and safety gear like gloves, goggles, and knee pads. And let’s not overlook the tools that’ll help bring your vision to life: a trusty tile cutter and a mixer for that perfect grout consistency.
Layout and Design Planning
Just like a painter visualizes their masterpiece, you need to plan your tile layout. Measure the space accurately and calculate the amount of tile needed – you don’t want to run out midway! Choose a layout pattern that complements your bathroom’s style – herringbone, diagonal, or classic grid – the choice is yours. And don’t forget the crucial dry fit step. Lay out your tiles without any adhesive to get a sense of how they’ll look. It’s like arranging puzzle pieces, and trust me, it’s oddly satisfying.
Installation
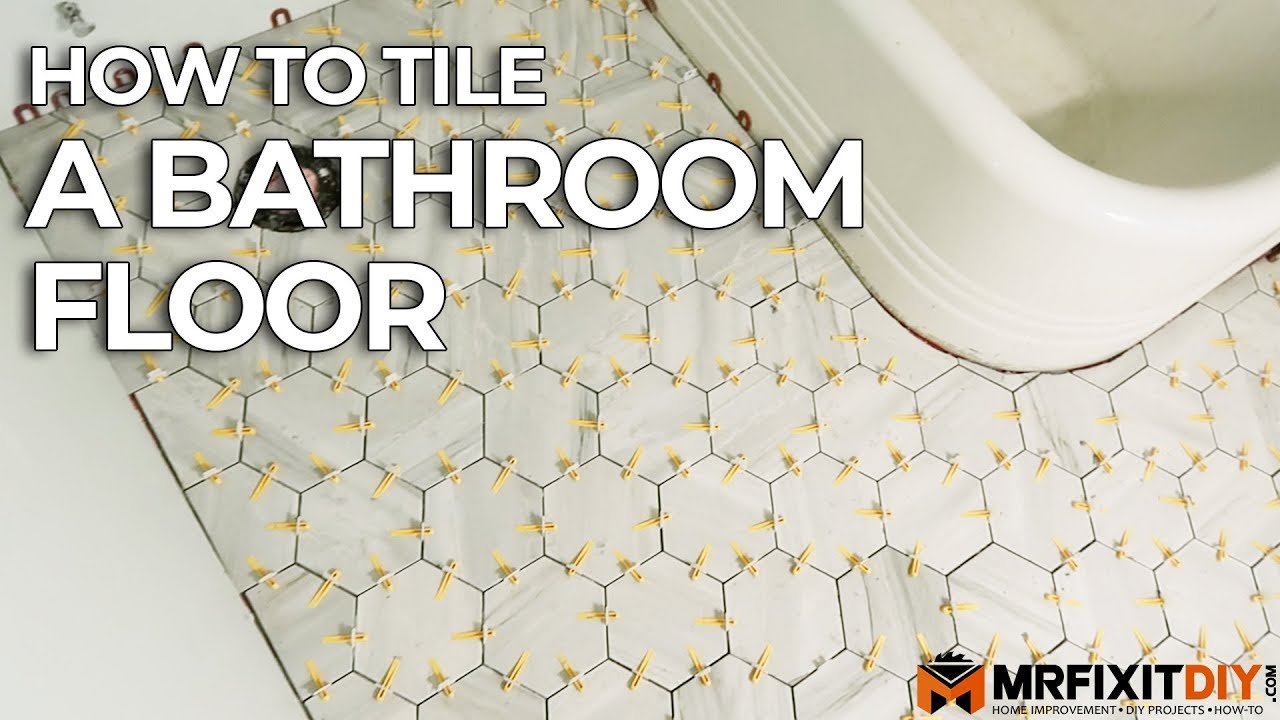
Now comes the fun part – installation. Let’s break it down step by step. Grab your thinset mortar – the magical glue that’ll bond your tiles to the floor. Spread it evenly on a small section of the subfloor using a trowel. Gently press the tiles into place, using spacers to maintain consistent gaps. For those tricky spots around edges and fixtures, you might need to summon your inner sculptor and cut tiles to fit perfectly.
Once the tiles are snug in their new home, be patient. Let the thinset cure before moving on to grouting. Mixing and applying grout is an art in itself. Use a grout float to press the grout into the spaces between tiles, then wipe away the excess at an angle. After a bit of elbow grease, your tiles will start to shine through.
Tips and Tricks
Tiling is a dance, and like any dance, it’s better with a few smooth moves. Start in the hardest-to-reach spot – you’ll thank yourself later. Mix thinset and grout thoroughly – they’re like a dynamic duo, and you want them to perform their best. Don’t shy away from using leveling tools – they’re your guides to a flawless finish. And remember, cleanliness is key. Clean as you go, and your DIY dance floor will be stunning.
Finishing and Curing
Your tile floor is nearly there, but it’s not quite ready to steal the show. Give it some time to shine. Allow the grout and thinset to fully cure – a few days of patience will pay off. Once that’s done, apply caulk around the edges and fixtures for a polished look. A final clean and sealant application will ensure your tiles stay resilient against the bathroom’s daily adventures.
Congratulations! You’ve just completed your DIY tile floor masterpiece. From planning and prepping to grouting and sealing, you’ve embarked on a journey that not only saved you money but also filled your bathroom with a touch of your personality. Take a moment to review your accomplishments – you tackled major steps, estimated time, and even weighed the cost savings against hiring a professional. As you step onto your newly tiled floor, remember that every step was worth it. So go ahead, enjoy your new tile floor, and revel in the pride of a project well done.
How To Update Your Bathroom Floor Tiles – 6 DIY ideas

How To DIY a Custom Tile Floor Architectural Digest
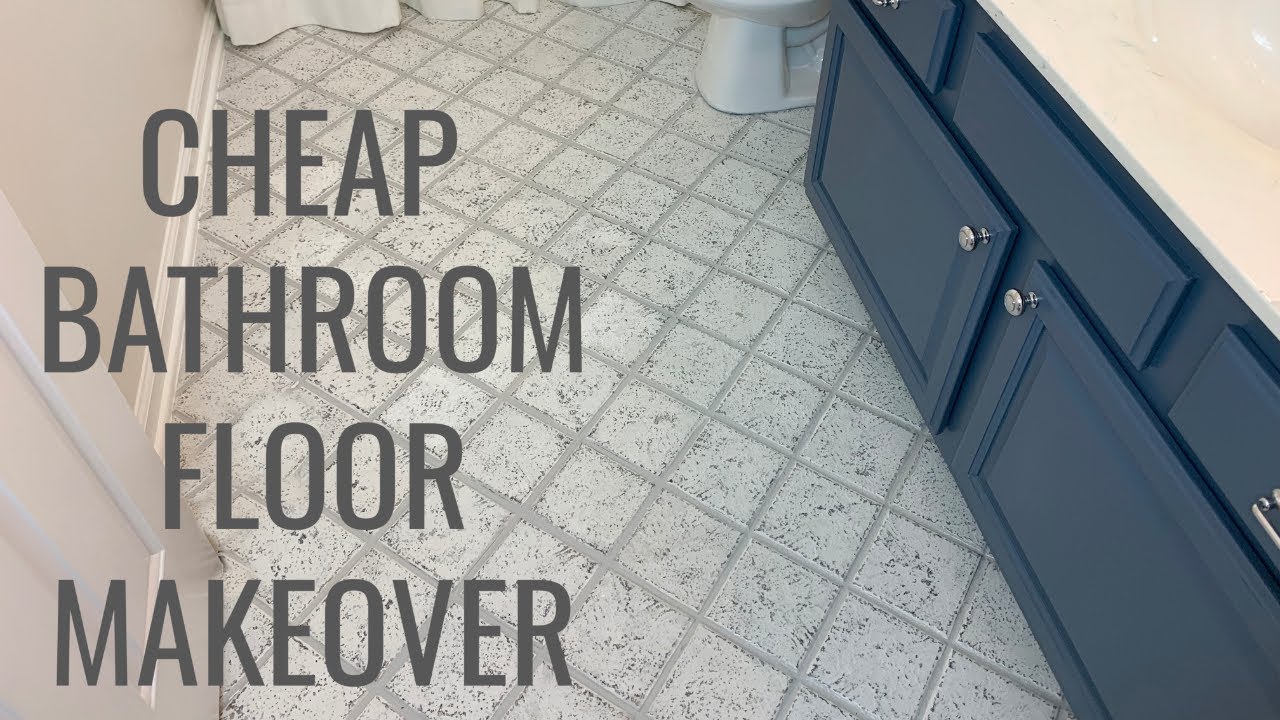
Cheap Bathroom Floor Makeover Easy DIY
DIY: How to Paint Ceramic Floor Tile
How to Lay a Tile Floor

How to Lay a Tile Floor In Bathroom
How I Painted Our Bathroom’s Ceramic Tile Floors
Laying Floor Tiles in a Small Bathroom
Peel-and-Stick Tile: A Foolproof Guide to Doing It Yourself
 Related Posts: